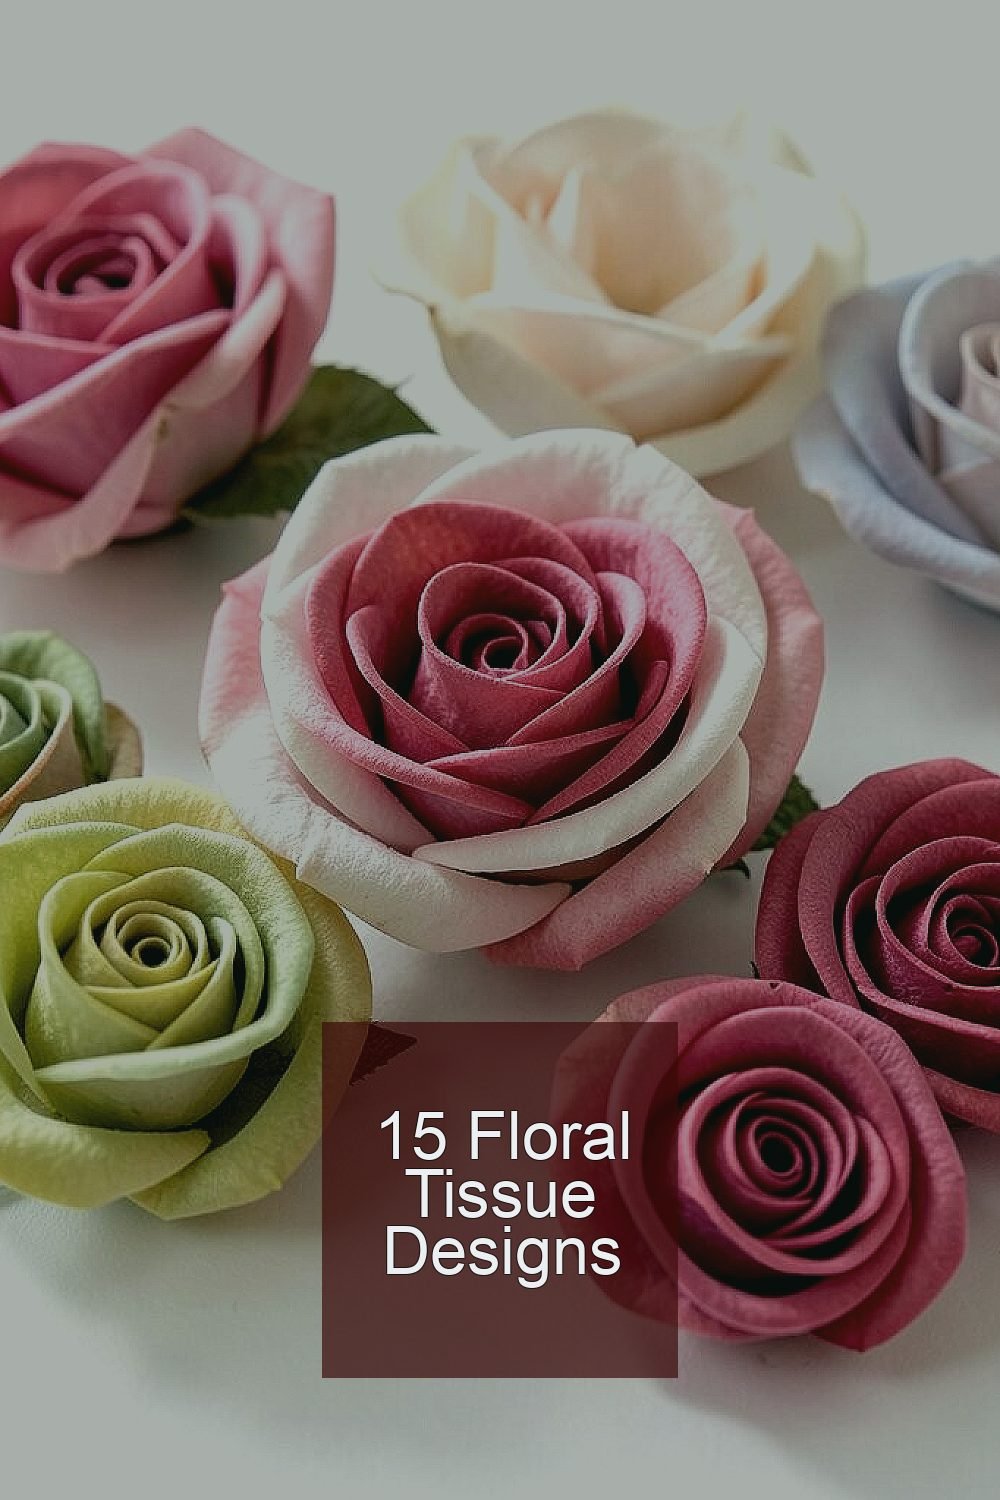
The room suddenly feels softer when paper turns into petals. These floral tissue designs are small projects with big heart.
You can use them for gifts, party decor, or everyday joy without needing fancy tools.
1. Rolled Rose Tissue Blossoms

Rolled rose tissue blossoms look like tiny bouquets you can tuck into a card. Start with a few layered tissue squares, then roll tightly and loosen the top so the petals curl outward.
You will get a realistic swirl that feels delicate but sturdy once it’s glued. For a smoother finish, use a thin glue line at the base and keep your rolls even in size.
2. Tissue Garden Confetti Flowers

This design turns scraps into bright little blooms. Tear tissue into irregular shapes, stack them, and pinch the center so each flower looks like it’s mid-bloom.
They’re fun because you can mix colors like a rainbow garden. To make them match your theme, choose one main color plus one accent shade for contrast.
Use them to fill gift bags, sprinkle on table settings, or add texture to handmade invitations. A handy trick is to vary the pinched centers so no two flowers look exactly the same.
3. Heartfelt Tissue Hydrangea Clusters

Hydrangea clusters are all about volume, and tissue makes that easy. Crumple small tissue pieces lightly, glue them to a circular base, and leave tiny gaps for a fluffy look.
When you layer shades of the same color, the petals look like they overlap naturally. Try blending light blue with white, or pink with lavender, for a gentle, dreamy effect.
Use these clusters on wreaths, gift toppers, or as wall decor. If you want them to last longer, seal the finished piece with a light coat of craft-safe adhesive spray.
You can personalize by adding a small paper center in a contrasting tone. Keep the base sturdy with thicker cardboard so the tissue won’t sag over time.
4. Simple Tissue Blossoms With Quilted Texture

Quilted tissue blossoms bring a stitched vibe without actual sewing. Fold tissue strips accordion-style, then glue them around a circle so they form tiny repeating ridges.
The texture adds charm and makes the flower look more detailed from far away. Use matching thread color paper dots in the center for a cute handmade touch.
5. Vintage Botanical Tissue Frames

With vintage botanical tissue frames, you can borrow the mood of old herb books. Cover a cardboard rectangle with tissue in layers, then add pressed-shape cutouts like leaves and small blossoms.
For a unique look, add a faint outline using colored marker along the leaf edges. This craft also works well for cost saving because you can use thrifted paper scraps for the extras.
Personalize by choosing colors tied to a room, like sage green for kitchens or warm beige for cozy corners. Finish with clear tape around the edges so everything stays flat and clean.
6. Tissue Paper Sunflower Burst Centers

Sunflower burst centers feel playful and bold, even when they’re small. Cut tissue into petal strips, curl them gently, and glue them around a textured center made from crumpled yellow tissue.
For a realistic look, mix dark and light yellow petals, then add tiny brown speckles in the middle. This design pops on cards and gift wraps because the layers catch the light.
To make the petals look like a burst, space them slightly apart and don’t overstuff the center. Keep glue minimal so the tissue stays soft instead of stiff.
7. Paper Tulle Look Tissue Peony Layers

Peony layers feel fancy, but the steps are simple. Stack tissue petals by cutting rounded shapes, then overlap them from smallest at the center to largest at the outside.
The benefit is that you get a full, fluffy look with very little material. Add a gentle wave by lightly crumpling each petal before gluing.
Try making a color gradient, like blush fading into white, for a romantic effect. This style fits current trends for soft, airy decor, especially in spring-themed crafts.
8. Watercolor Ombre Tissue Petals

Ombre petals look like watercolor blooms, even though it’s tissue. Pick several tissue shades that gradually change from dark to light, then layer them so each ring fades smoothly.
It’s a uniqueness booster because your flower will never match any other exact palette. Personalize by choosing ombre colors that match clothing, a nursery theme, or a wedding palette.
For best results, use a ruler or coin to trace circles for consistent spacing. If you want lower cost, cut petal shapes from affordable tissue packs and save the best pieces for the top layer.
9. Tissue Butterfly Flower Holders

This idea mixes flowers and movement, like a butterfly hovering over petals. Create a small floral base, then attach tissue “wings” on top with only the center glued so they lift slightly.
The visual effect is sweet and airy, and it’s great for gifting. Keep the wings light by using thin tissue and pressing glue only where you need it.
Personalize the colors by matching the butterfly to the flower base, or swap them for a fun surprise. For a practical tip, add a small loop of string or a cardstock tab so it can hang easily.
These designs also work well as table accents for spring events. If you’re on a budget, use scrap tissue and save larger sheets for the wings where texture shows most.
10. Tissue Bloom Backdrops for Photo Booths

Floral tissue backdrops make ordinary walls look like a celebration. Use a template circle or strip layout to glue flowers onto a backing sheet, keeping spacing consistent for a neat rhythm.
You’ll enjoy the benefit of instant impact, because tissue blooms create a soft background that photographs beautifully. For a uniqueness twist, mix flower sizes and keep the color palette limited to three shades.
Trim edges with tissue leaves or extra petal clusters so the whole backdrop feels finished. If you’re crafting on a cost limit, build the structure with recycled cardboard or poster board and use tissue mostly where it shows.
11. Layered Tissue Lily of the Valley Sprigs

Lily of the valley sprigs look like dainty bells reaching upward. Cut small teardrop shapes, fold the pointed end slightly, and glue them in a line along a thin strip of cardstock.
The benefit is that it feels delicate and elegant without needing complicated tools. Use green tissue for the stem, then add tiny white or pale yellow blossoms for a fresh look.
To personalize, bend the sprig gently into an S shape so it resembles how flowers grow in nature. A practical tip is to let each row dry before adding the next so the bells stay aligned.
This style fits current trends for minimalist nature decor. It also works great as a bookmark, because the stem line stays neat and printable.
12. Fanned Tissue Rose Bud Fans

Fanned tissue rose bud fans are cute because they look like little folded smiles. Fold tissue accordion-style, then pinch one edge and secure it at the center to form a bud shape.
Then fan out the top layer so it opens like a rose beginning to bloom. The uniqueness comes from your folding direction, since even small changes make different petal angles.
Use these buds on party invitations, gift tags, or as simple hair accessories with a small clip. For cost considerations, you can cut many buds from one sheet, which helps stretch your supplies.
Personalize with metallic marker dots on the petals or a tiny ribbon at the base. Keep the glue spot small so the bud still moves and looks light.
13. Tissue Flower Wreath With Hidden Texture Layers

A floral tissue wreath feels like a warm welcome on your door or wall. Wrap a foam ring or cardboard circle with tissue strips first, then add flower clusters on top for depth.
You get the benefit of a rich, full look because the texture layer shows between petals. For practical tips, press petals gently so they don’t lift, and stagger flower heights so it doesn’t look flat.
Uniqueness is easy by changing the focal color. Make one larger “center” flower on top, then surround it with smaller blooms for a balanced layout.
If you want lower cost, use leftover tissue as filler and reserve the best colors for the visible outer layer. Tie a ribbon at the end so it’s easy to hang and looks finished right away.
14. Tissue Blossoms in Mason Jar Shadowboxes

Shadowboxes make tissue flowers feel like treasured keepsakes. Place tissue blooms on a small frame or jar-sized backing, then add a clear cover or glass-like panel to protect the delicate layers.
This design is uniquely calming because it creates a mini garden behind a window. Personalize by adding tiny paper butterflies, a name cutout, or a small message strip tucked near the flowers.
For practical tips, keep tissue flat by pressing it gently under a book for a few minutes before you glue. If you’re working with a jar, use the lid as a base and glue lightly around the edges so it opens later if you want.
15. Punch-Shape Tissue Bloom Confetti Toppers

Punch-shape tissue blooms are quick and satisfying, especially when you want lots of small flowers fast. Use a hole punch to create petal dots, then stack them into tiny layered blooms on a cardstock base.
The benefit is consistency, which makes your craft look neat and polished. Add personalization by mixing punch sizes and using different tissue thicknesses for a subtle variety in texture.
Current trends lean toward simple, repeatable decor, and these toppers fit right in. They’re perfect for cupcakes, cupcakes-style gift boxes, or party favor tags where every detail counts.
To manage cost, use the punch for efficient cutting and save scrap strips for the smallest petals. Finish with a tiny center dot made from rolled tissue so the flower looks complete.
You can also add a light spray of clear adhesive to help hold the layers together. Keep a small jar of finished toppers so you can assemble quickly when you need last-minute charm.