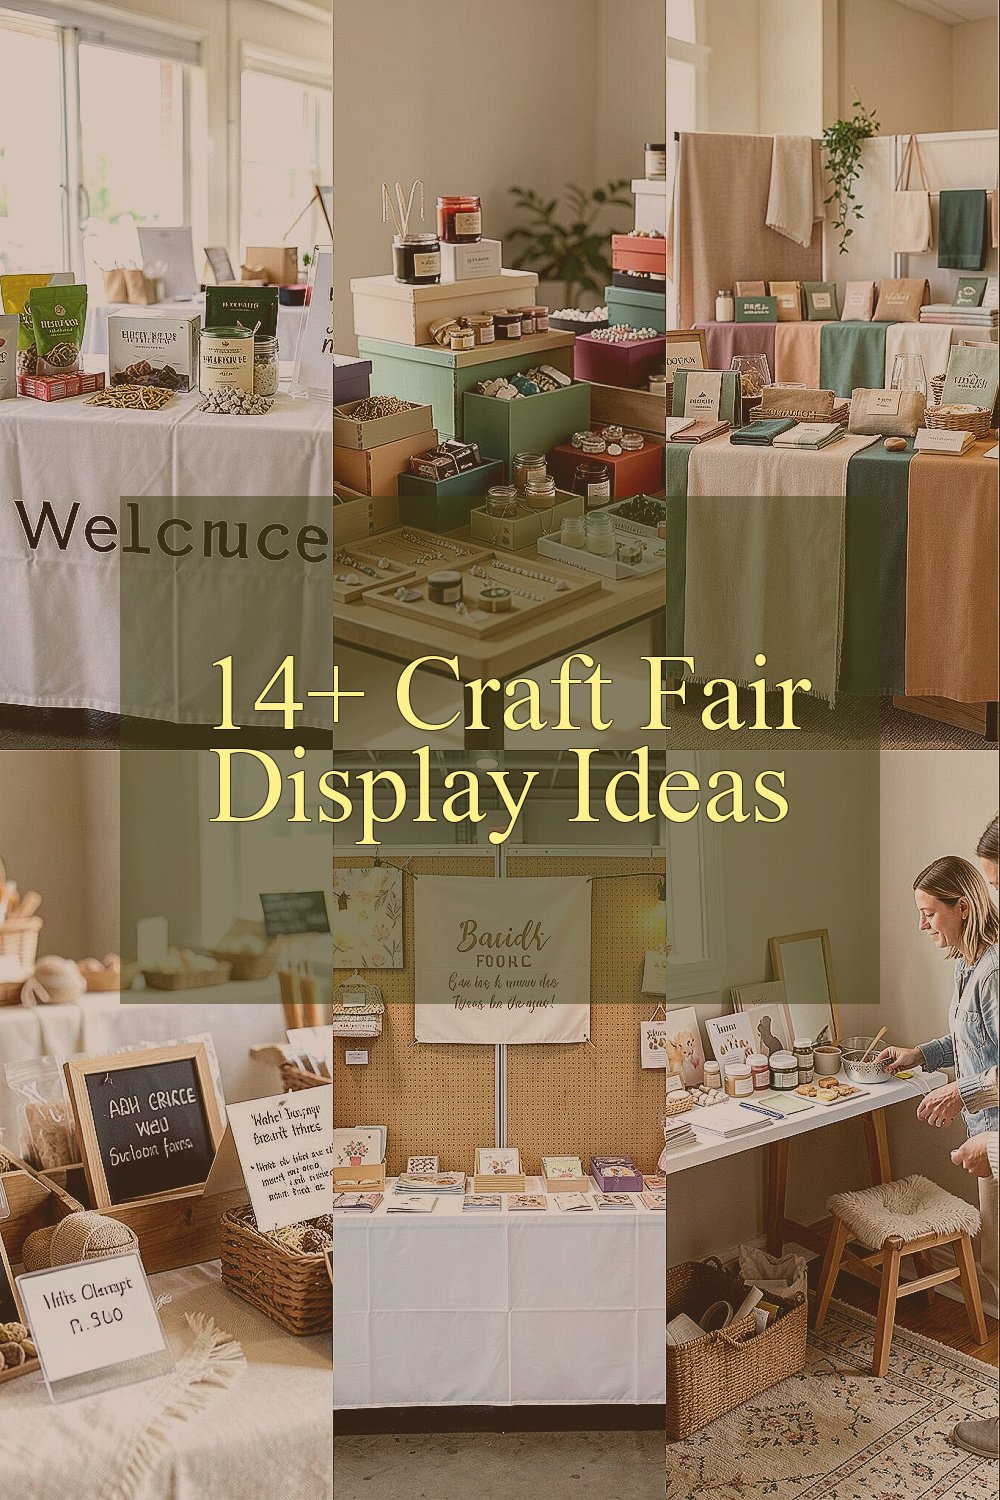
Great booths stop people in their tracks. Small details can turn a busy aisle into your best sales day.
1. Build a Strong Front Table Welcome
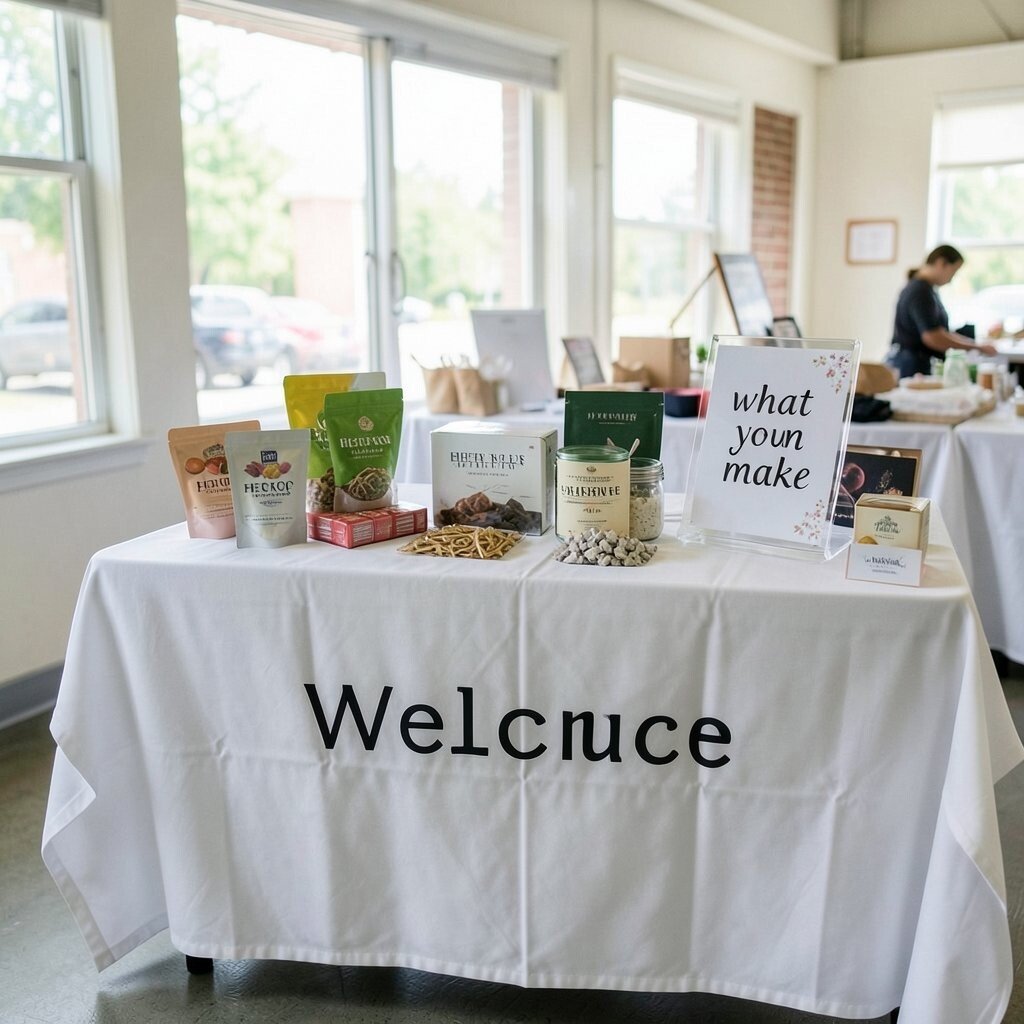
A front table sets the first mood for your whole booth. When it looks neat and inviting, shoppers feel safe stepping closer.
Use a clean cloth, a few hero products, and one clear sign that says what you make. Keep the front edge open so people can see in and feel welcome, not blocked out. This setup is budget-friendly, easy to change, and great for makers who want a simple start with a polished look.
2. Create Height With Risers and Stands
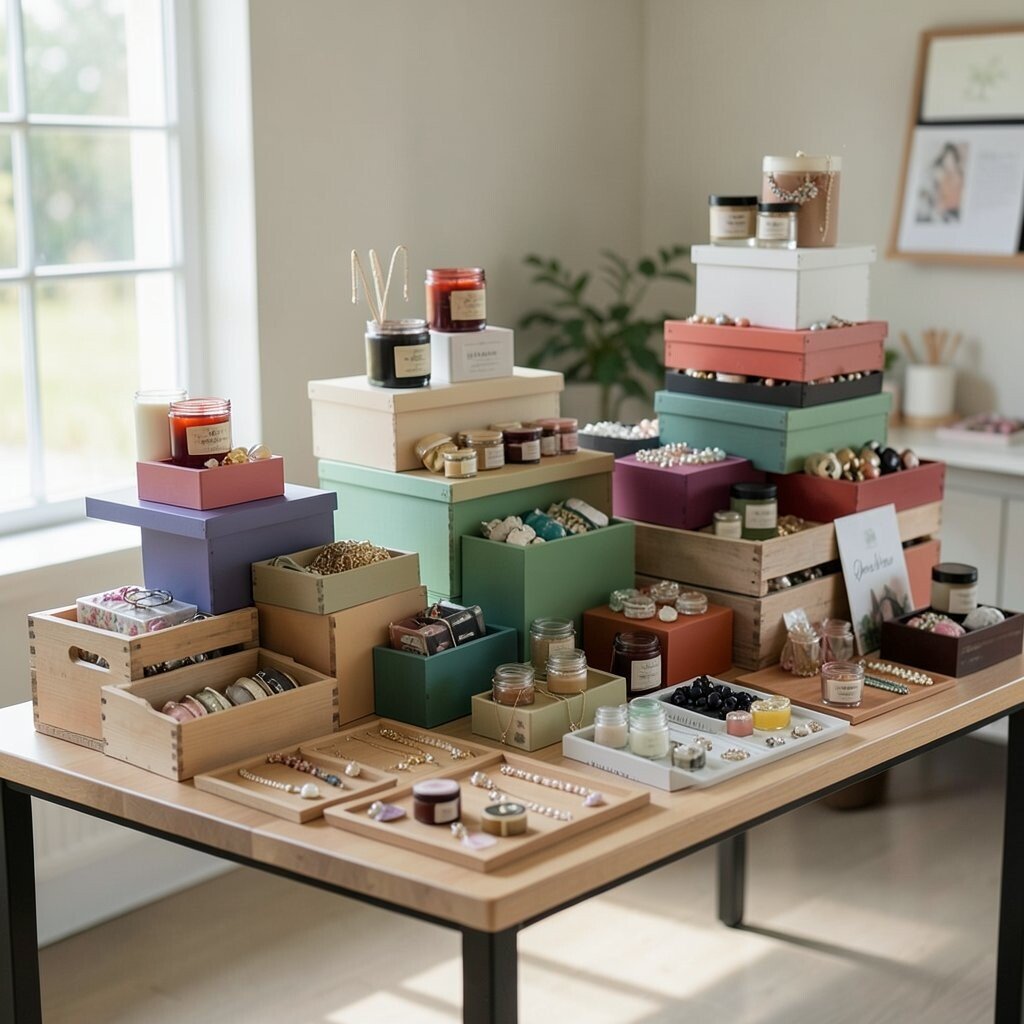
Flat tables can make everything blend together. Tall and short layers help the eye move around and notice more items.
Use crates, boxes, shelves, or sturdy risers to lift some pieces higher than others. This adds depth, makes small goods easier to see, and gives your booth a richer look without much cost. You can paint or wrap the risers in your brand colors for a custom touch.
If you sell jewelry, candles, or tiny art pieces, height is especially helpful. It makes the display feel full while keeping the table from looking crowded.
3. Use a Color Story That Matches Your Brand
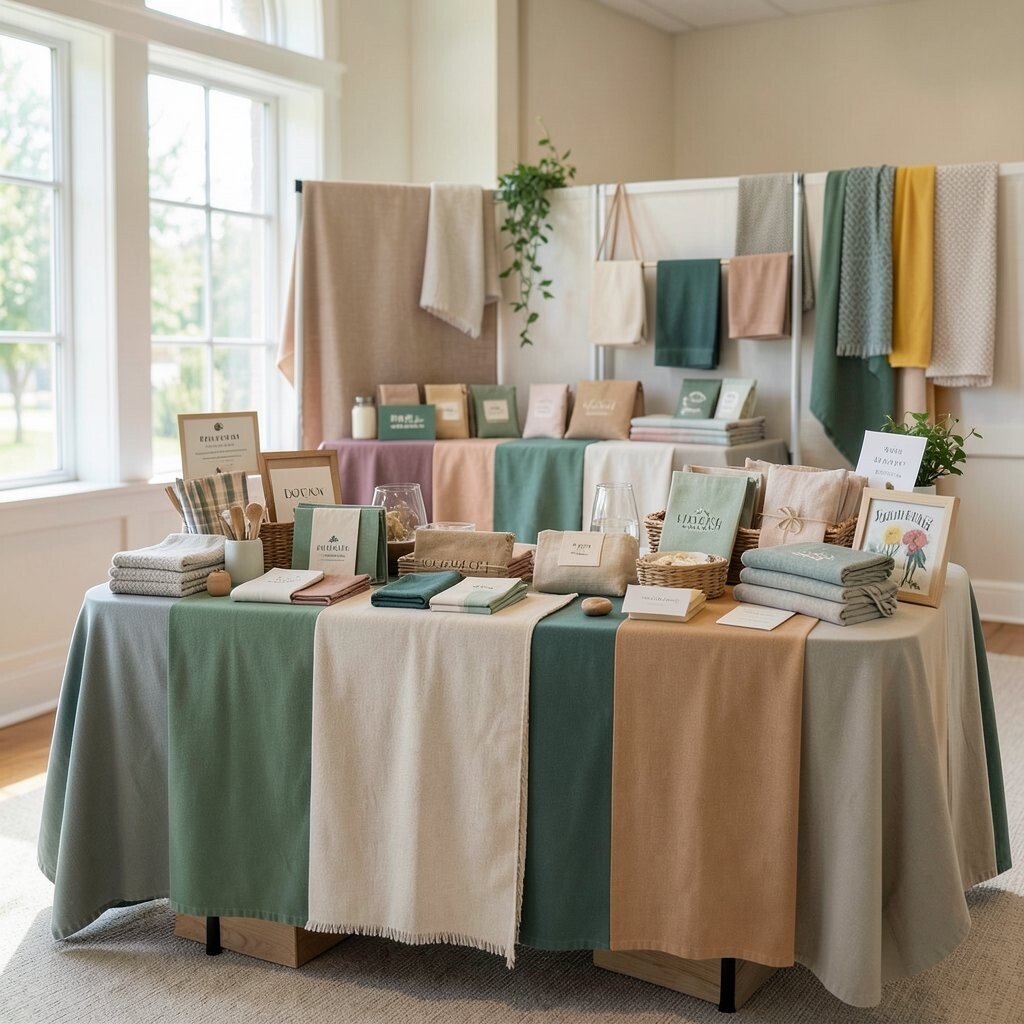
Colors can shape how shoppers feel in just a second. A calm palette gives a soft mood, while bold shades feel lively and fun.
Pick two or three main colors and repeat them in cloths, signs, packaging, and display props. This makes your booth look tidy and planned, even if your products are very different from one another. If you want a fresh trend, try soft earth tones, warm neutrals, or one bright pop color for contrast.
Personal touches matter here, too. A color story that matches your style helps people remember you after the fair ends.
4. Add Clear Price Signs and Simple Labels
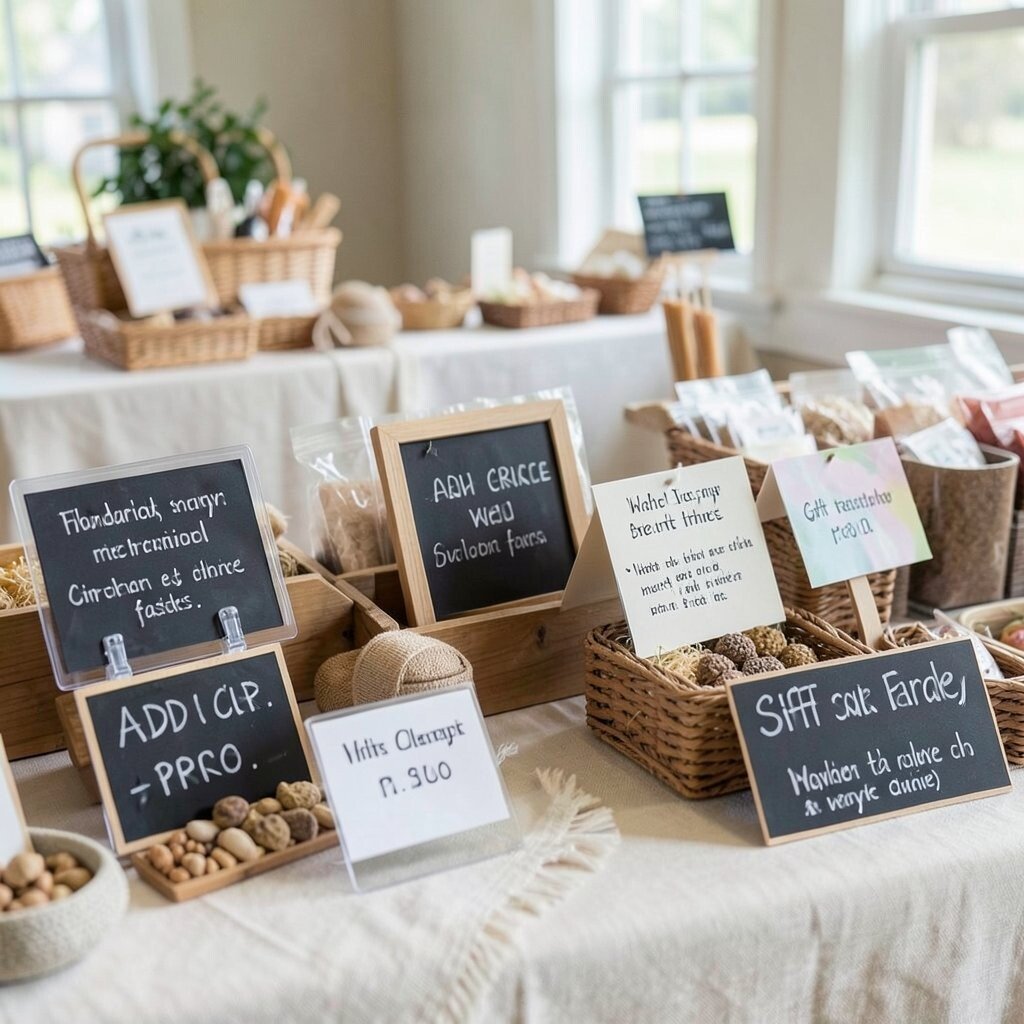
People like to know what things cost without asking for every item. Clear signs save time and help shoppers feel relaxed.
Make labels big, clean, and easy to read from a few steps away. You can use chalkboards, tent cards, or small tags clipped to products, depending on your style and budget. This setup also works well when you are busy and cannot explain every piece one by one.
Good labels can also highlight special features like handmade materials or gift-ready packaging. That small bit of detail can help a buyer choose faster.
5. Build a Backdrop That Frames Your Booth
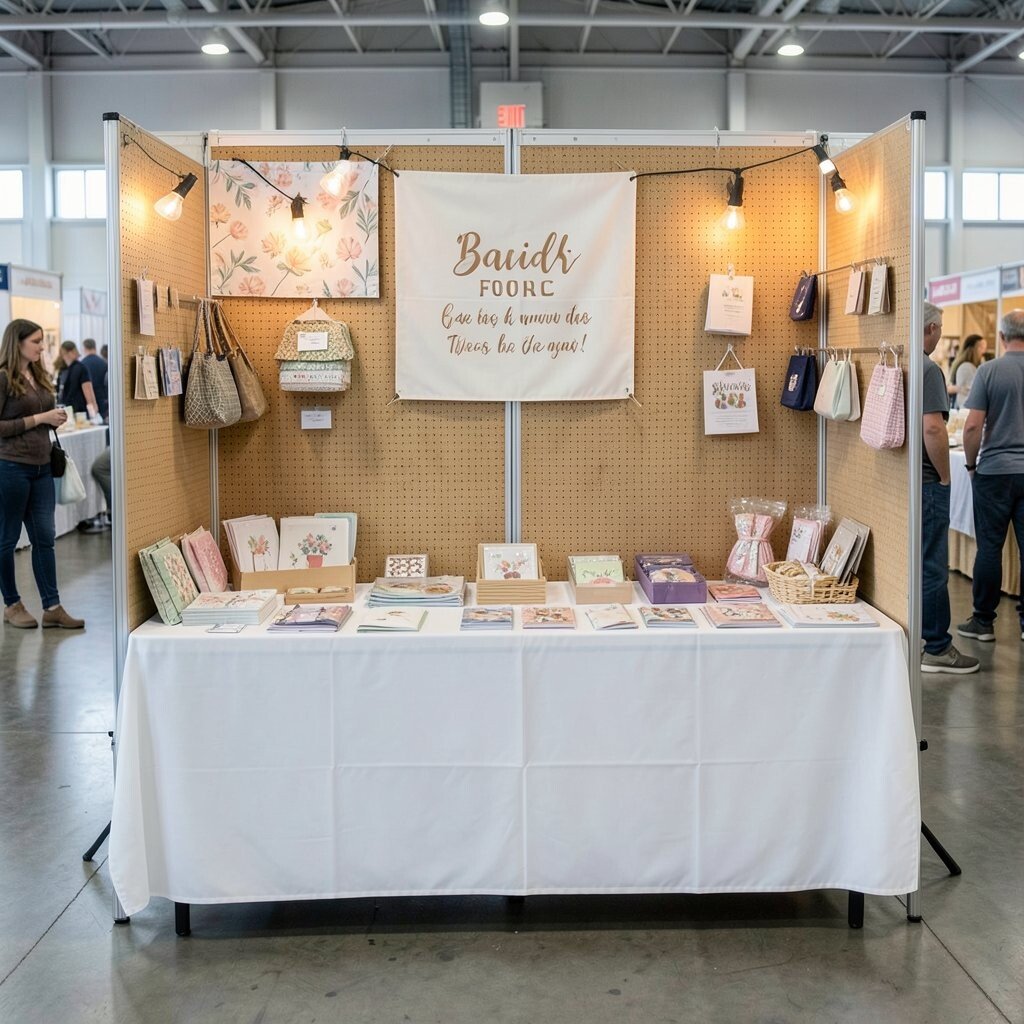
A backdrop gives your space a finished look. It can make even a small booth feel like its own tiny shop.
Use fabric panels, hanging banners, pegboard, or wooden screens to create a clean wall behind your table. This helps products stand out and gives you a place for signs, lights, or hanging items. A backdrop can be simple and affordable, yet still make your setup feel much more special.
Try adding your logo, a favorite quote, or a soft pattern that matches your products. That little extra style can make your booth feel memorable in a crowded fair.
6. Make a Cozy Corner for Hands-On Browsing
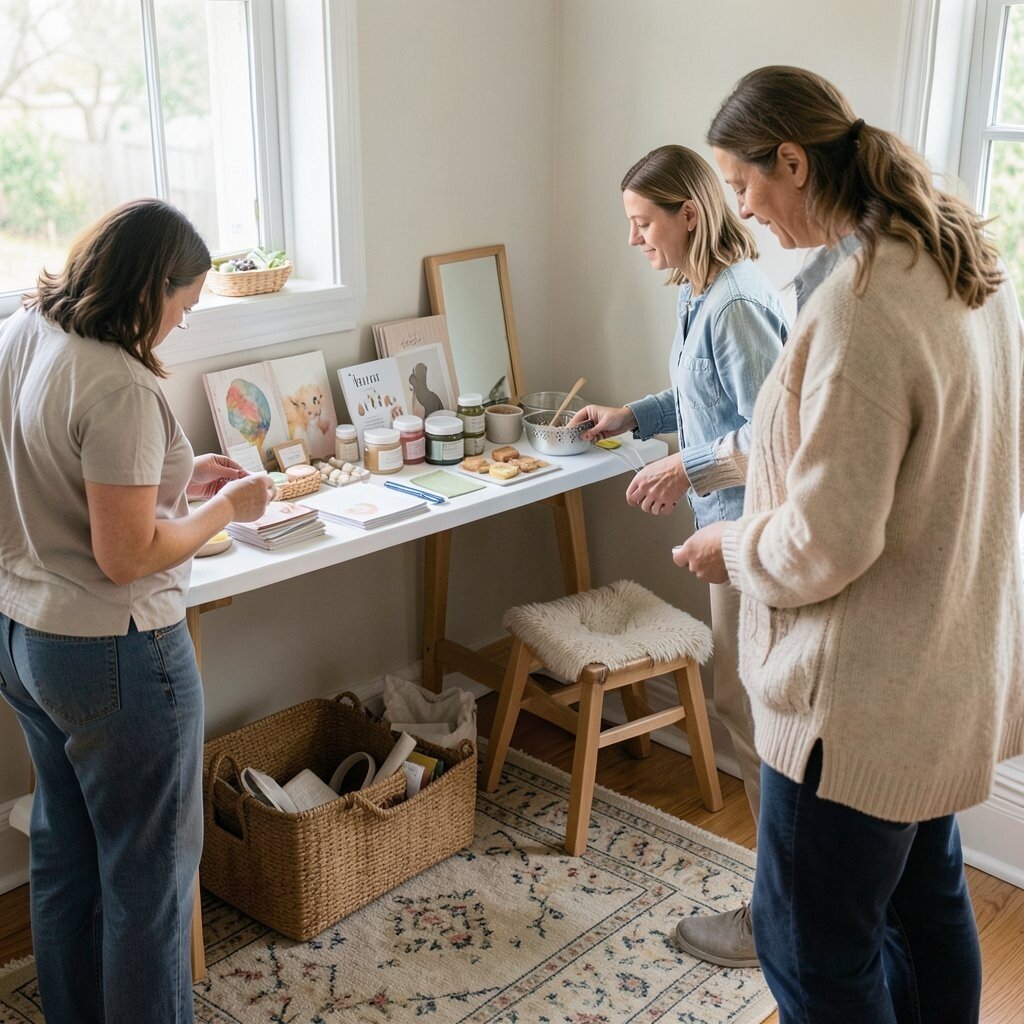
Shoppers like to touch, hold, and look closely at items. A calm little corner invites them to stay longer.
Set aside a small space for samples, test pieces, or products people can pick up easily. Use a rug, a chair, or a small bench to make the area feel warm and friendly. This kind of setup is great for items like soaps, stationery, art prints, or home goods.
It also helps when your booth gets busy, because people can browse while others wait nearby. If you can, add a small mirror, tester bowl, or demo card to make the corner more useful.
7. Hang Products to Save Table Space
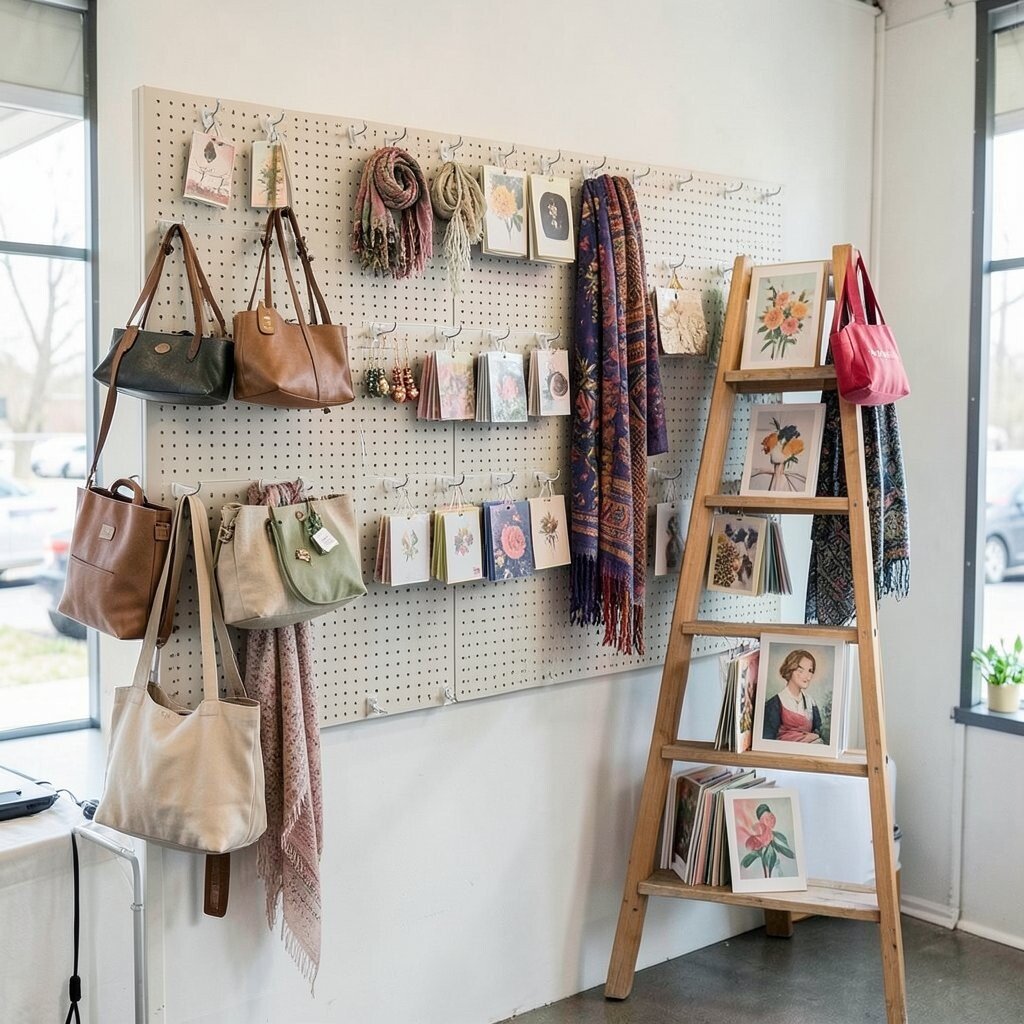
Walls, grids, and hooks can free up a lot of room. Hanging displays also make your booth look taller and more exciting.
Use a mesh grid, pegboard, ladder shelf, or simple hooks to show off items that can hang. This setup works well for bags, scarves, cards, earrings, and art prints. It can be low-cost if you reuse pieces you already own or shop secondhand.
Try to keep hanging items at eye level so shoppers notice them fast. A few well-placed items often look better than too many packed together.
8. Set Up a Gift-Ready Display
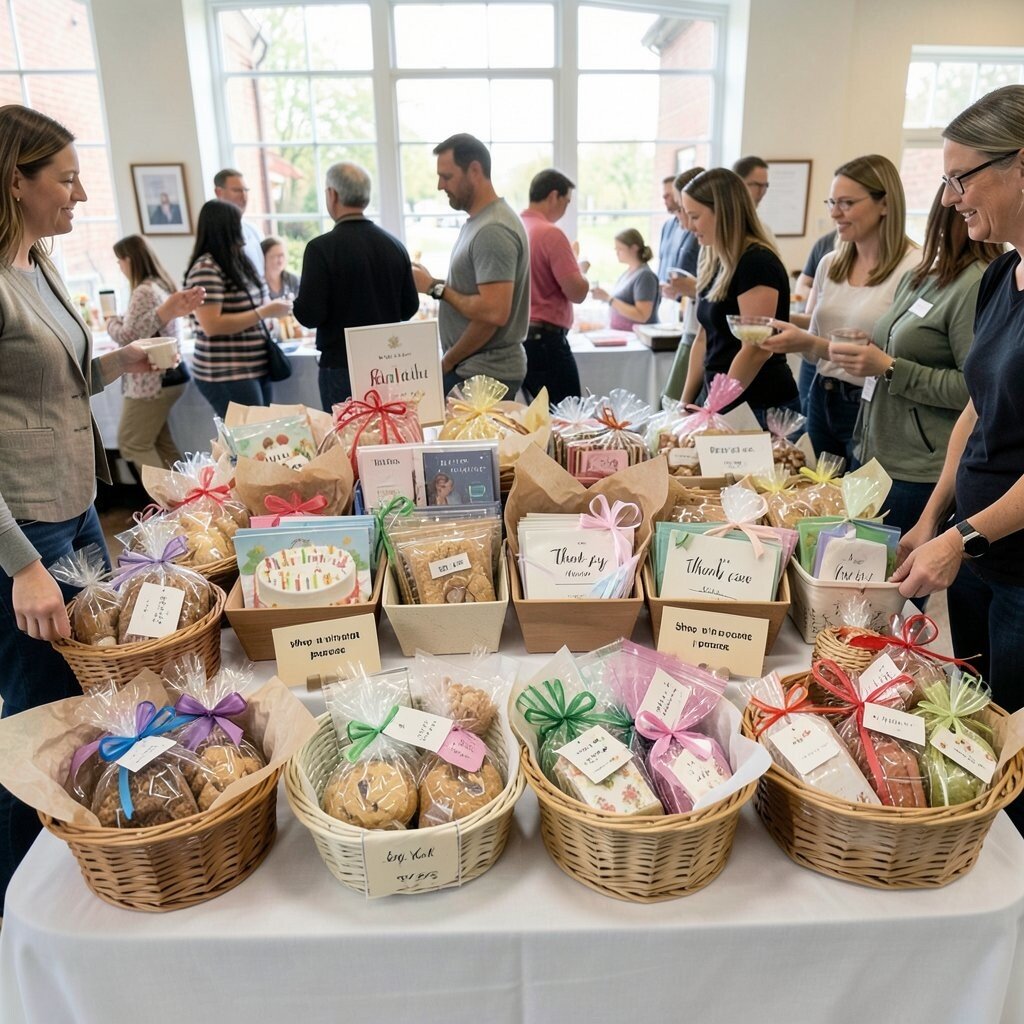
Many fair shoppers are looking for quick gifts. A display that feels ready to wrap can make buying easier.
Group items by theme, like birthday, thank-you, home, or self-care. Place small signs near each group so people can shop with a purpose. This style feels helpful and organized, and it can raise sales because buyers can picture who the gift is for.
You do not need costly props to make this work. Simple tissue paper, ribbon, baskets, and neat tags can give your booth a thoughtful look.
9. Use Baskets and Trays for Small Items
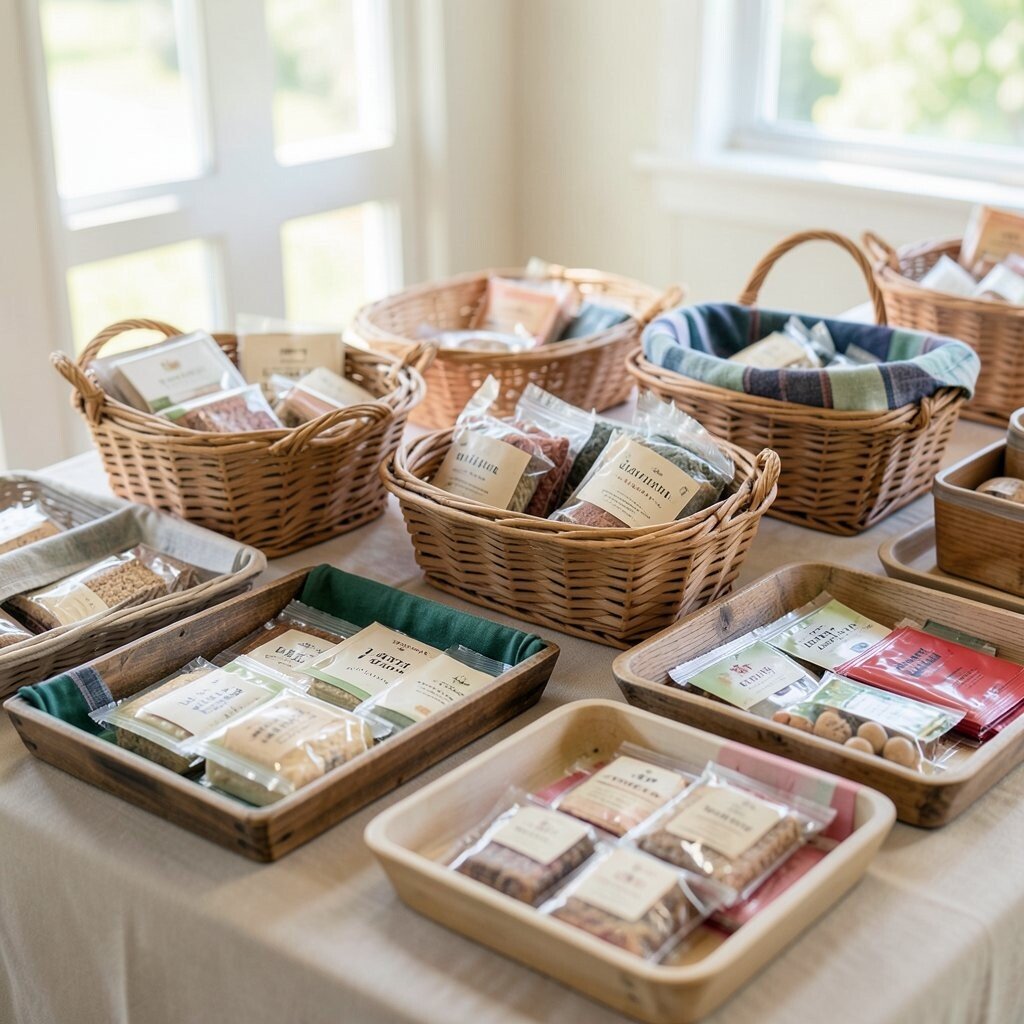
Little things can get lost on a big table. Baskets and trays keep them neat and easy to scan.
Choose shallow trays for flat items and woven baskets for soft goods or packaged pieces. These containers make the booth feel tidy and warm, and they are often inexpensive or easy to reuse at future shows. They also help shoppers see groups of related products at a glance.
For a personal touch, line a basket with fabric that matches your brand colors. That small detail can make even simple displays feel handmade and special.
10. Add Lighting That Makes Everything Glow
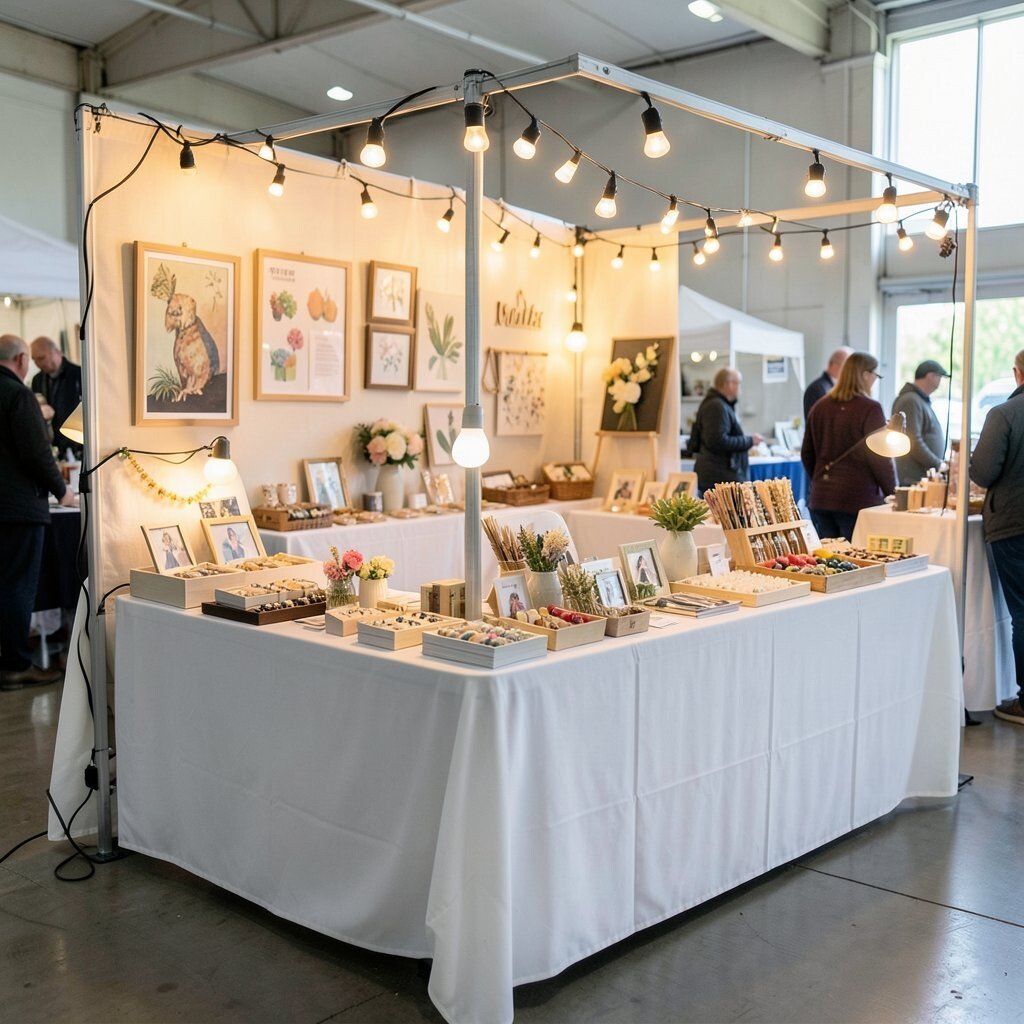
Good light can change how your products look in a big way. It helps colors pop and makes your booth feel more open.
Try clip lights, battery lamps, or string lights if the fair rules allow them. Warm light gives a cozy feel, while bright white light can make details stand out more clearly. Lighting does cost extra, but it often pays off by helping people notice your work from farther away.
Be sure cords are safe and out of the path if you use plug-in lights. A well-lit booth also feels more professional and easier to shop.
11. Make a Story Wall With Photos and Notes
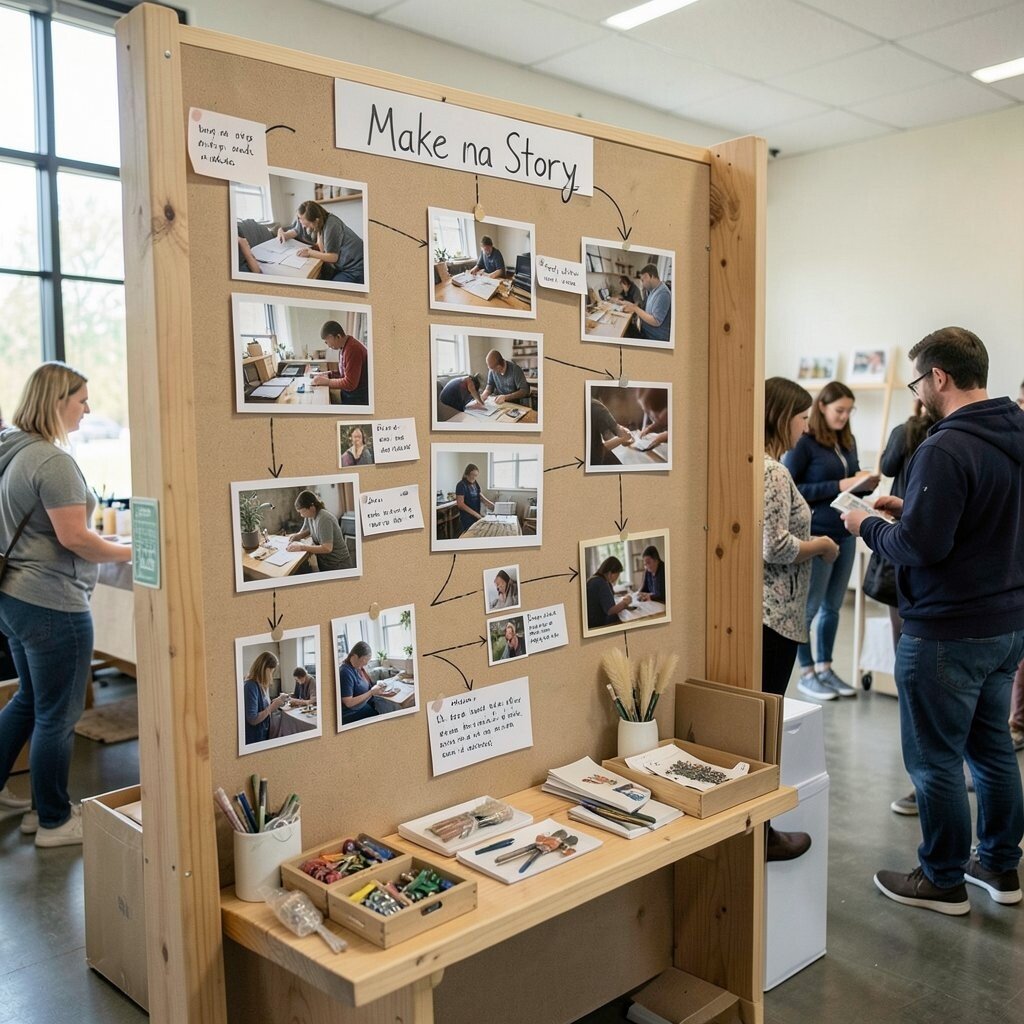
Shoppers enjoy knowing the maker behind the work. A story wall gives them a reason to care beyond the product itself.
Use photos, short notes, or a simple timeline to show how your items are made. You can include your process, your studio space, or what inspires your designs. This adds heart to your setup and helps your booth stand out from plain product tables.
Keep the text short so people can read it quickly as they pass by. A few real details often feel more powerful than a long explanation.
12. Set Up a Try-On or Demo Zone
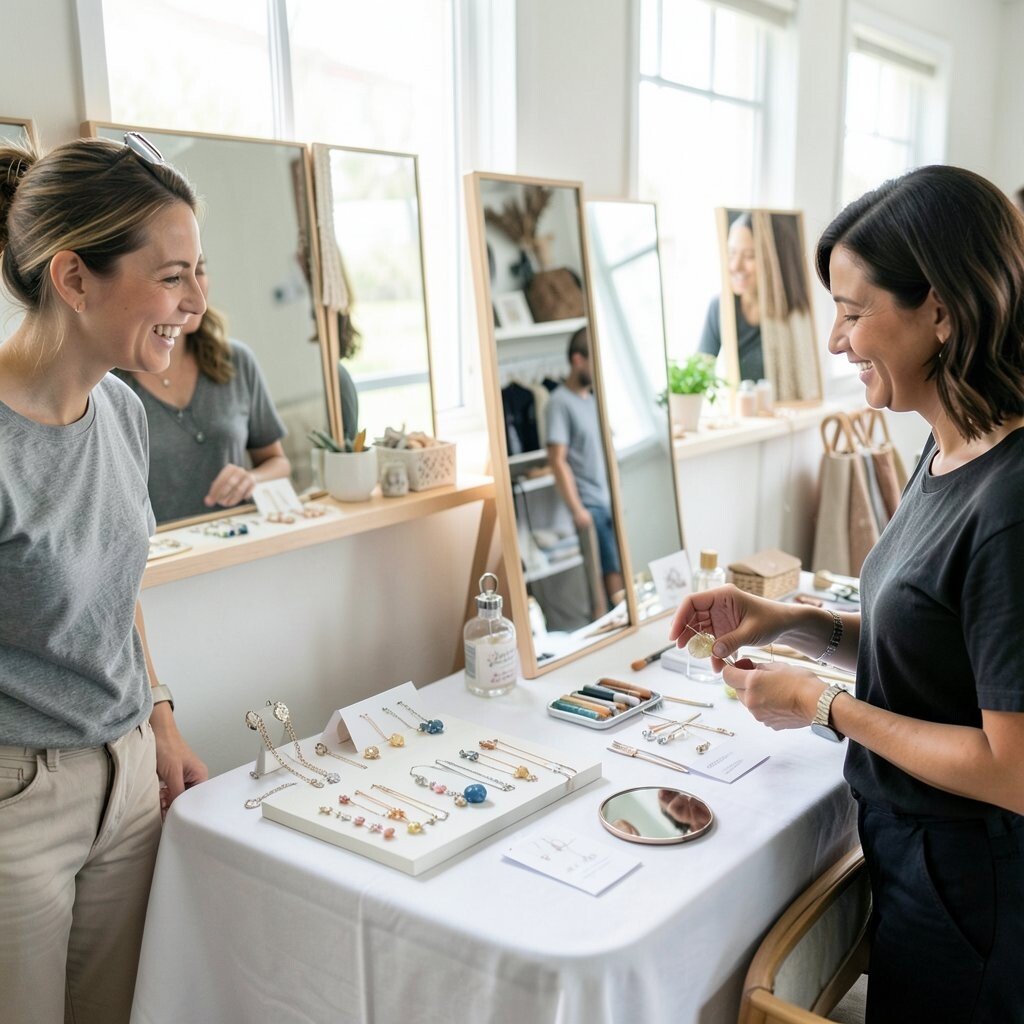
When people can test something, they feel more sure about buying it. A demo zone makes your booth feel active and fun.
For jewelry, use mirrors. For art or craft tools, show a quick example. For home items, let shoppers see texture, size, or scent in a simple and safe way. This setup can lead to more trust and more sales because buyers understand what they are getting.
Keep the area clean and easy to reset after each customer. A small hand mirror, sample card, or demo stand can go a long way without taking much money.
13. Use Vertical Signs to Pull People In
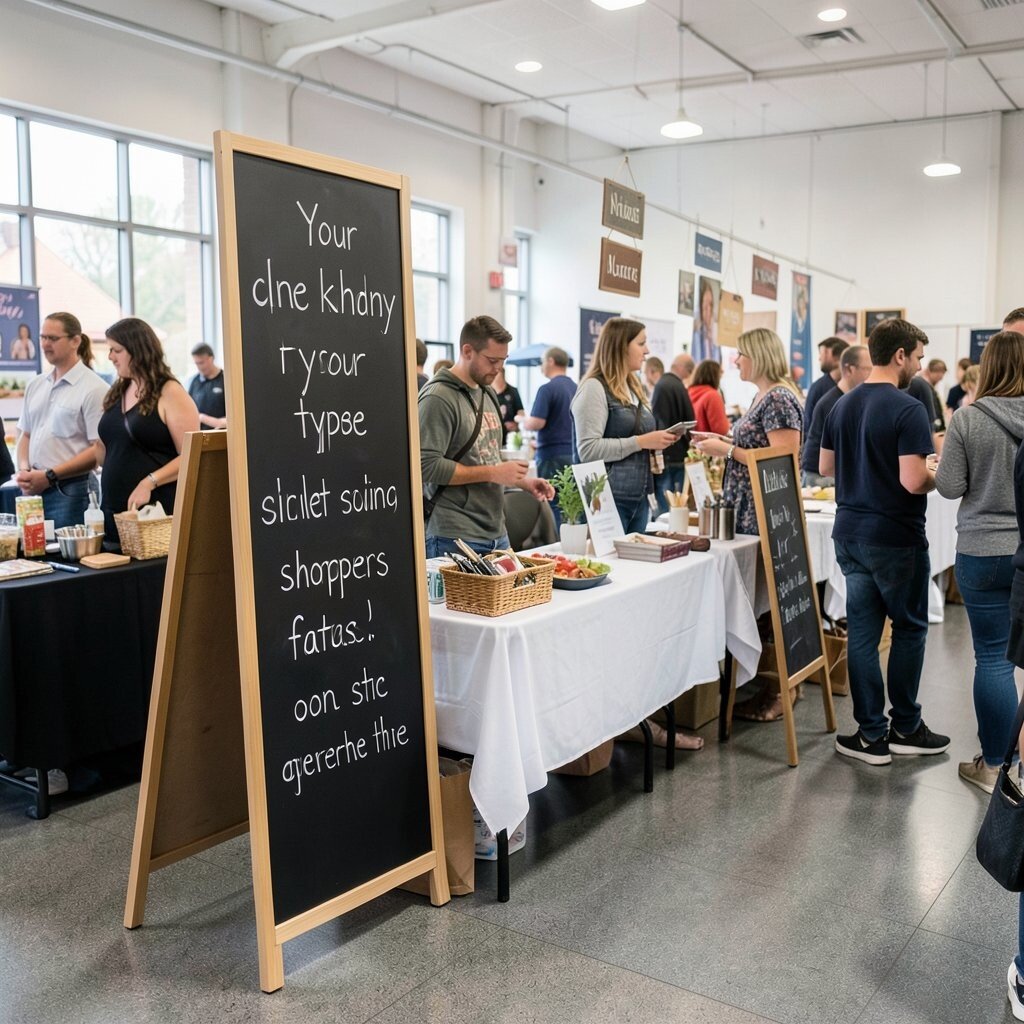
Signs that stand up tall can catch eyes from far away. They help people know what you sell before they reach the table.
Try banner stands, tall chalkboards, or hanging name signs that rise above the crowd. This is a smart choice in busy fairs where many booths sit close together. A strong sign can save time, guide shoppers faster, and make your space feel more polished.
Keep the message short and bold. Your name, product type, and one key phrase are often enough to make the booth clear.
14. Make a Checkout Spot That Feels Easy
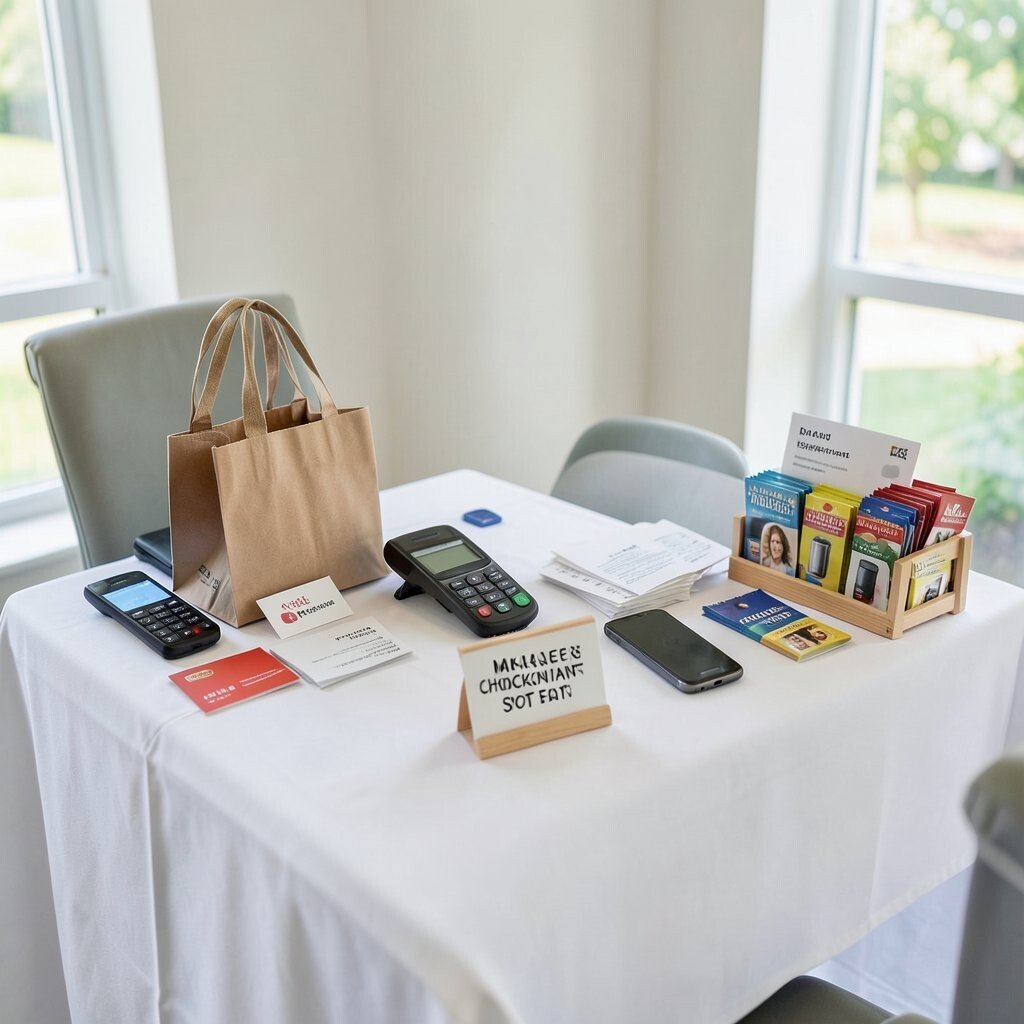
A smooth checkout area keeps the buying moment pleasant. It should feel simple, calm, and ready for quick use.
Place your payment tools, bags, business cards, and receipts in one neat spot near the front or side of the booth. Add a small sign that says how you accept payment, since many shoppers want card or phone options today. This setup can make you look organized and help you close more sales without stress.
If you have room, include a tiny display of impulse-buy items near checkout. Small add-ons often boost total sales in a natural way.
15. Style Your Booth With One Unique Signature Piece
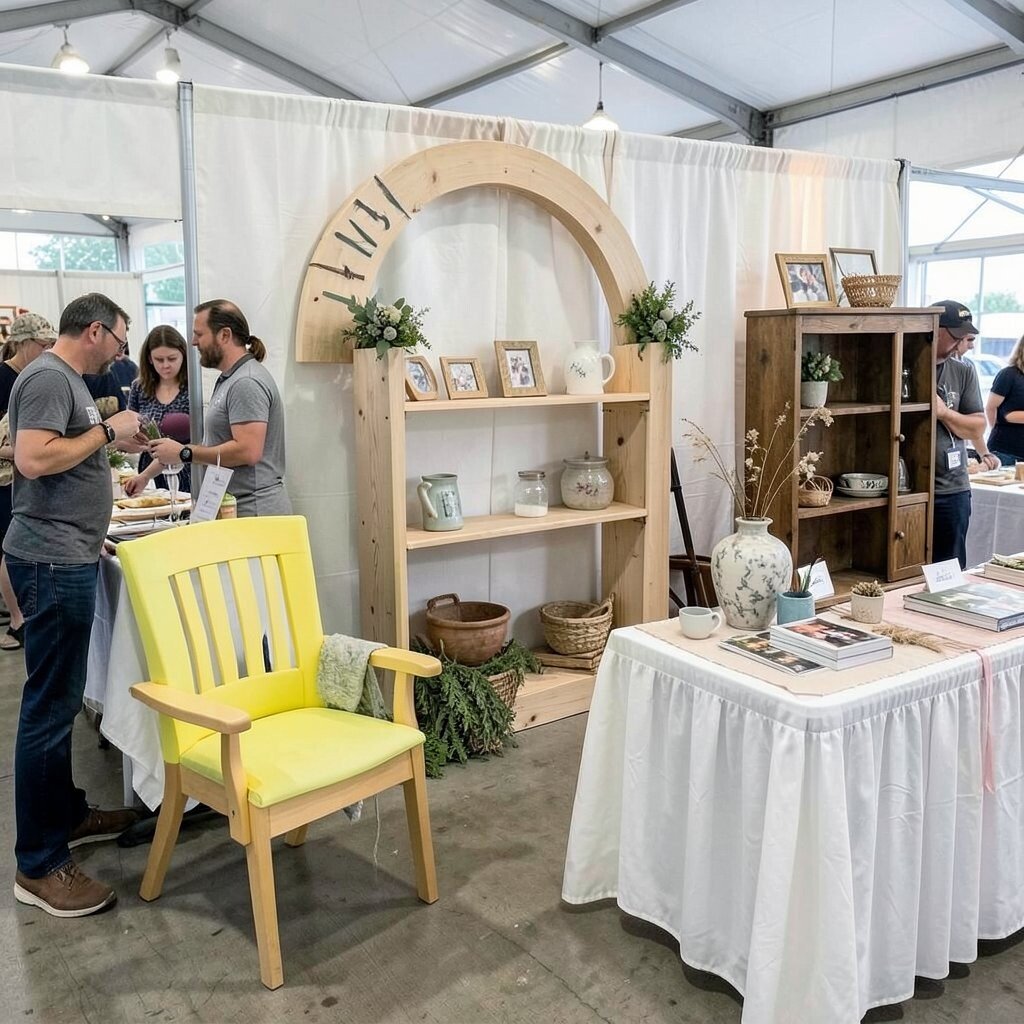
A special feature can make your whole booth memorable. It gives shoppers something to point at and talk about.
That signature piece could be a bright chair, a handmade arch, a painted shelf, or a vintage cabinet that fits your brand. It adds charm and helps your booth stand out in photos, which matters a lot in today’s social media world. While custom pieces may cost more at first, they can become a long-term part of your market setup.
Choose something that feels like you, not just something trendy. When your display has one strong personal touch, people remember the booth long after they leave the fair.