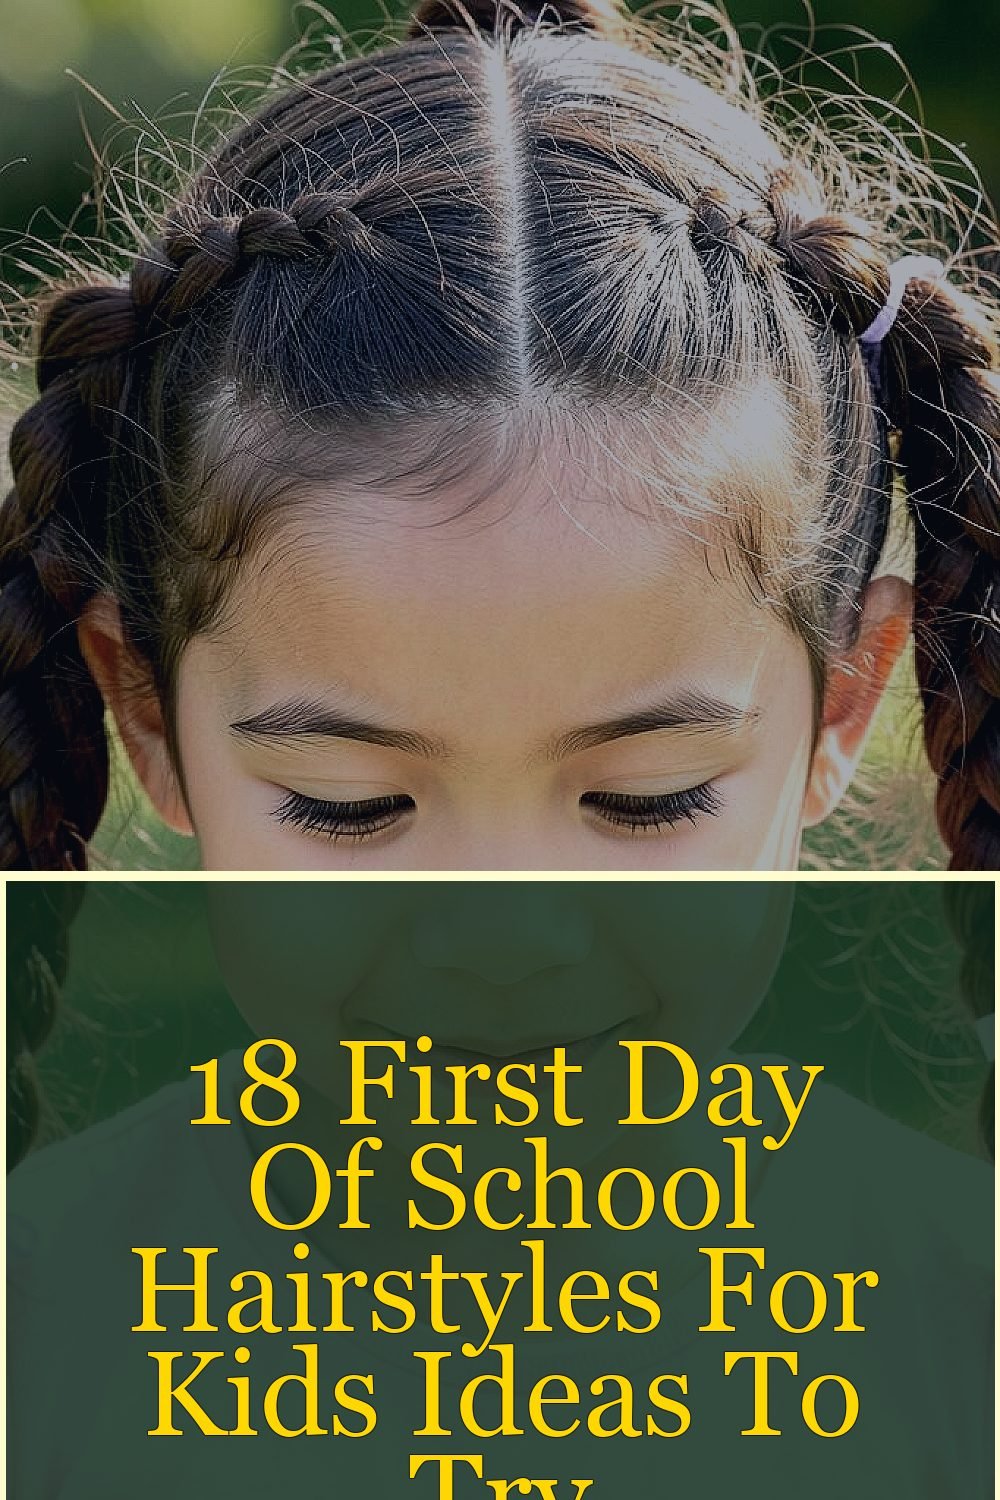
The first day can feel like a tiny whirlwind. A great hairstyle helps kids feel comfy, confident, and ready to learn.
From quick braids to playful clips, these styles are built for real school mornings. Each one brings a fresh look without taking forever.
1. Bubble Braid Crown
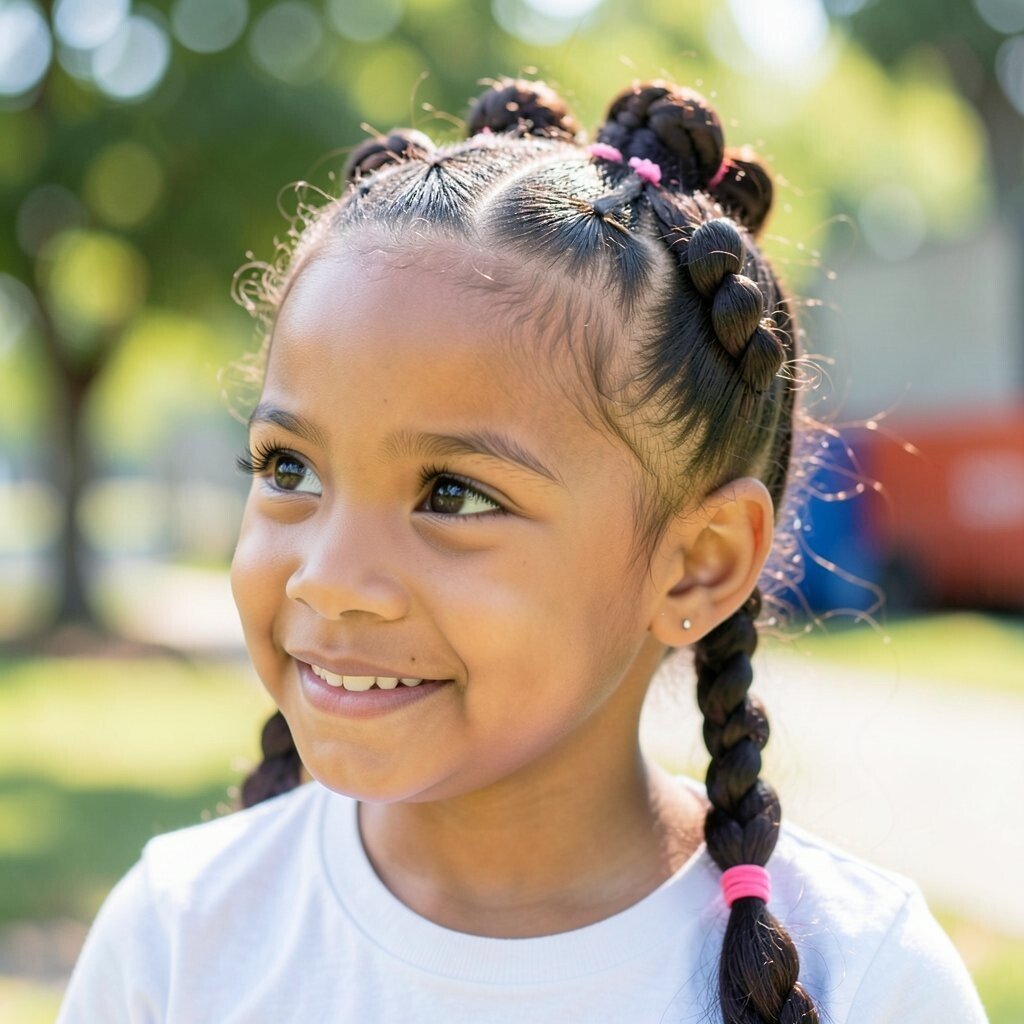
Picture little bubble segments wrapped along the hairline, like a soft crown made of neat curves. It looks fancy, but it’s surprisingly easy once you get the hang of it.
This style keeps hair back from the face and makes it easy for kids to focus. Start with slightly damp hair, add a light smoothing product, and divide into two sections before braiding. Use small elastic bands so the “bubbles” stay even, then finish with a gentle tug for a fuller shape.
2. Half-Up Space Buns
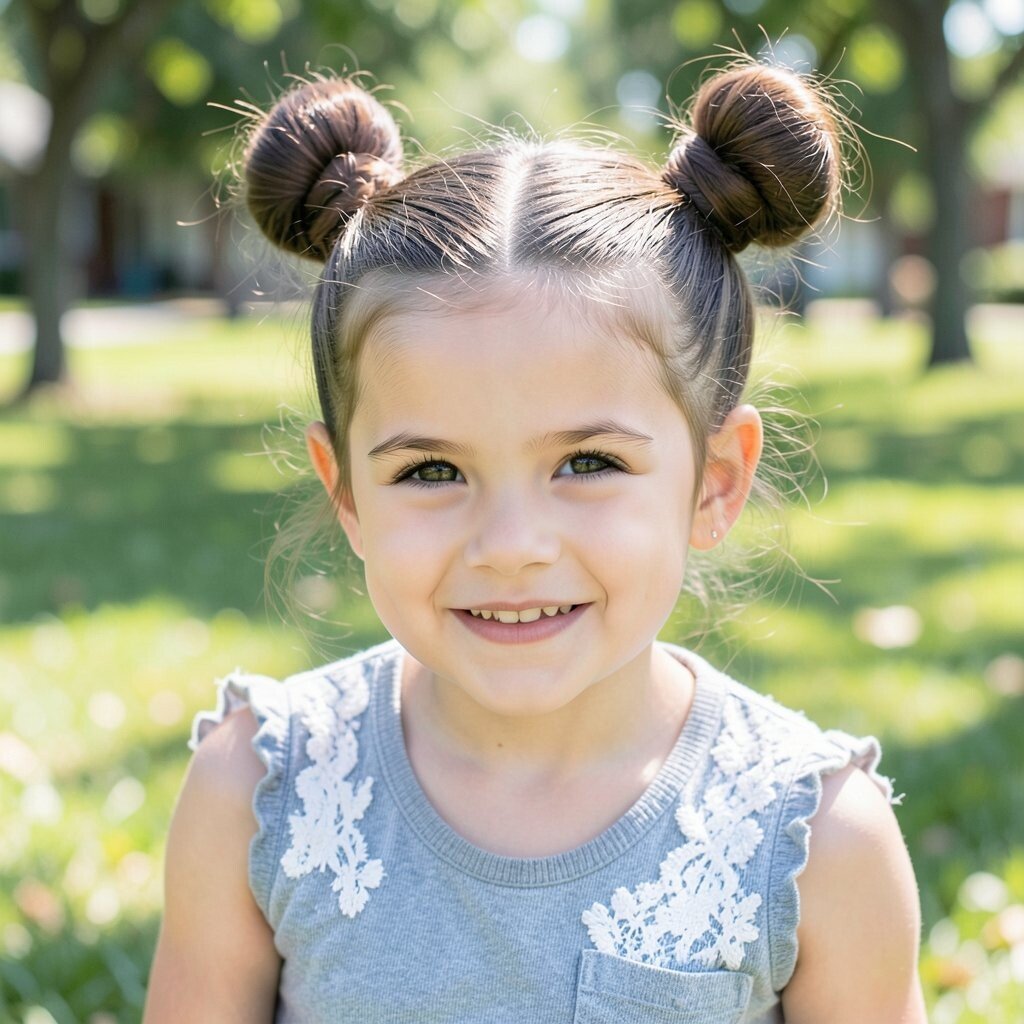
Two mini buns sit high like friendly little planets, while the rest of the hair flows freely. Your kid will look playful, and the top pieces won’t slide around.
To keep flyaways calm, smooth the top sections first and secure them firmly with soft elastics. Try adding colorful clips on one side for a fun match to a backpack or lunchbox. For cost, elastics and bobby pins are usually enough, and you can reuse bows from past events. Choose a size that fits your child’s hair thickness so the buns hold all morning.
For personalization, switch to braided space buns by doing quick mini braids before twisting into buns. This small change makes the style feel unique without adding time. If hair is very fine, tease the bun base lightly to create lift.
3. Messy Side Braid With Ribbon
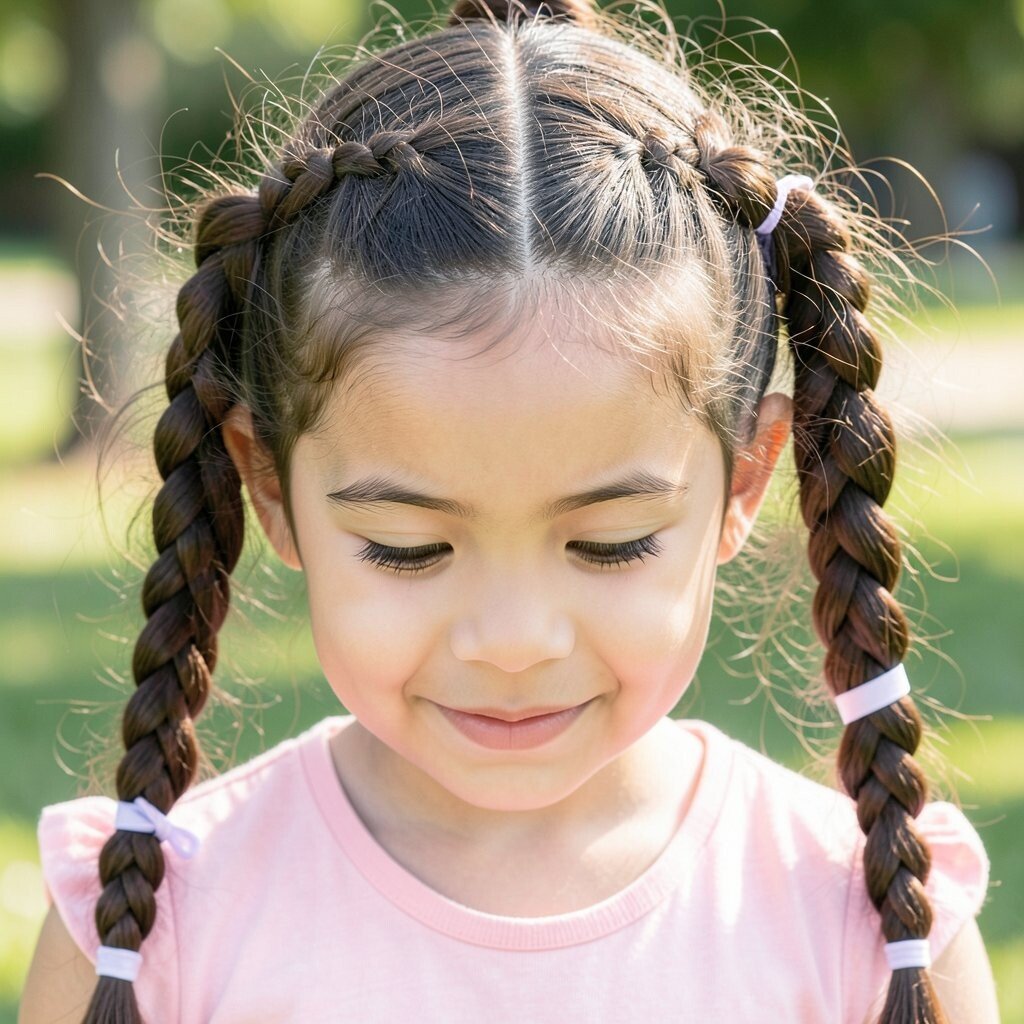
A side braid looks romantic and relaxed, especially when it drapes over one shoulder. A ribbon woven into the braid adds movement and a little sparkle with every step.
It’s helpful for kids who hate their hair getting in their eyes. Use a wide-tooth comb to detangle, then braid starting near the temple so the side placement stays flattering. Tie the ribbon into the braid using a small knot at the start, and braid around it so it stays secure.
To personalize, pick a ribbon color that matches the school theme, a favorite hoodie, or seasonal outfits. If you want a current look, choose a satin ribbon that reflects light softly. For practical timing, prep hair with a tiny mist of water so the braid looks smoother and holds longer.
Because ribbons can be slippery, secure the end with a clear elastic inside and wrap the ribbon over it. That way the braid stays neat even during recess.
4. Sleek Low Ponytail With Braided Tie
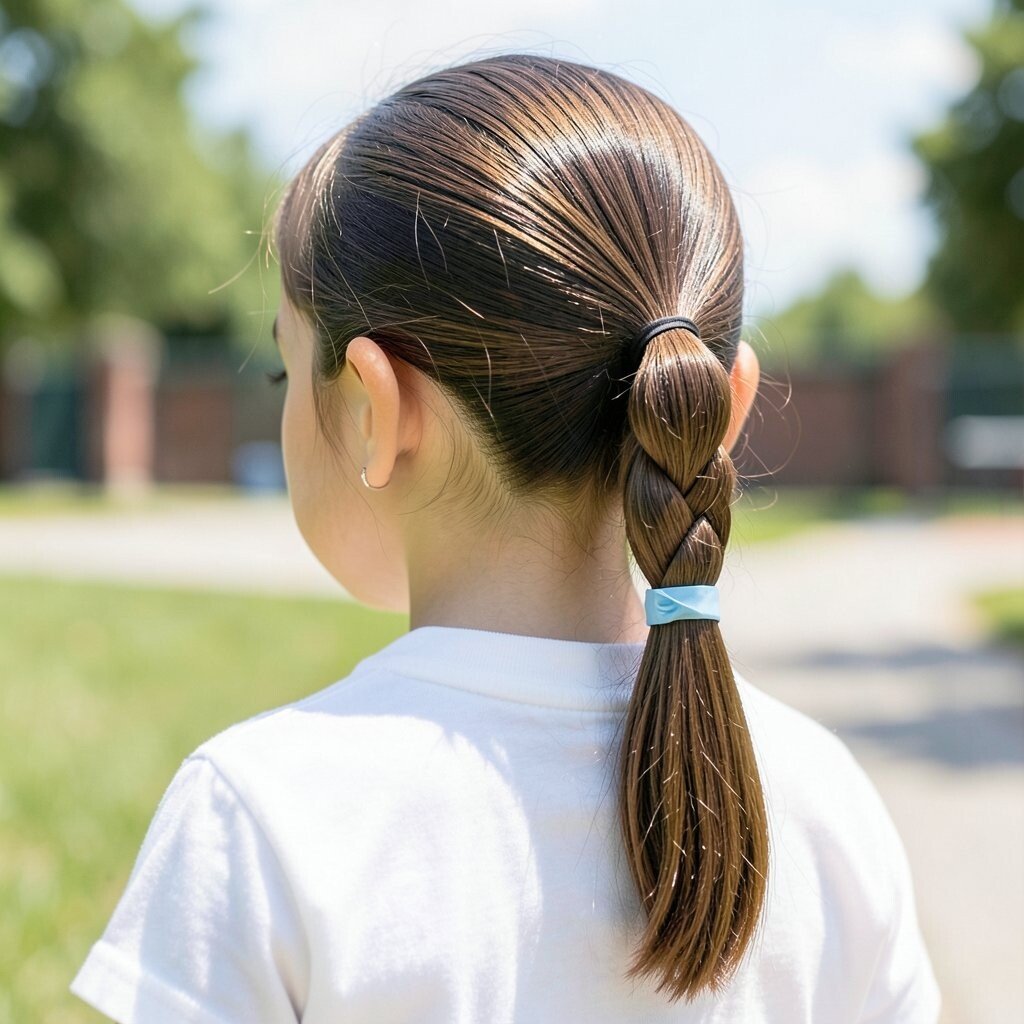
A low ponytail sits neatly at the back, and a tiny braid wraps around the elastic like a clean finishing touch. It gives a polished look that still feels kid-friendly and not too formal.
This hairstyle is great for active days since the hair is gathered close to the head. Make it extra practical by using a brush made for detangling and a gentle hair gel or cream to smooth flyaways. For cost, you can keep everything simple with one brush, one elastic, and a few bobby pins.
For uniqueness, try a braided tie instead of just a ribbon. You can also add a small charm clip that matches your child’s personality. If hair is thick, create the ponytail with two sections and smooth each one separately for an even finish.
5. Quick French Braid Headband
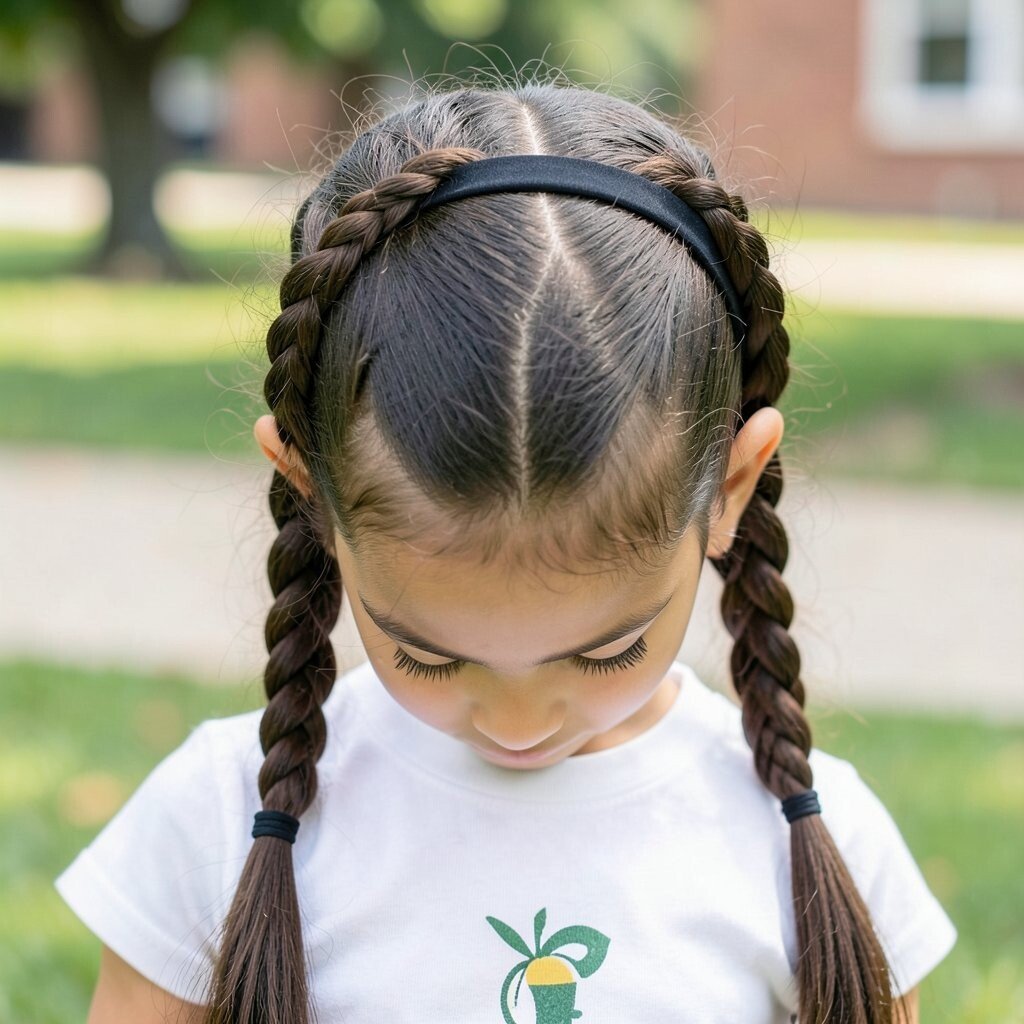
Imagine a thin braid running across the front like a headband, keeping hair off the forehead. It looks neat, and it frames the face without making the whole head feel heavy.
This style helps kids who want a low-maintenance day but still want their hair to look special. Start at one side above the ear, do a French braid across the top, and stop at the other side. Secure with bobby pins hidden under the hair so the braid stays put.
For practical tips, braid with small sections for a more detailed look. If your child has shorter layers, use a light styling spray to help tiny pieces blend into the braid. Consider adding a small barrette at the side for a trendy “school photo” touch.
6. Twisted Crown With Side Clips
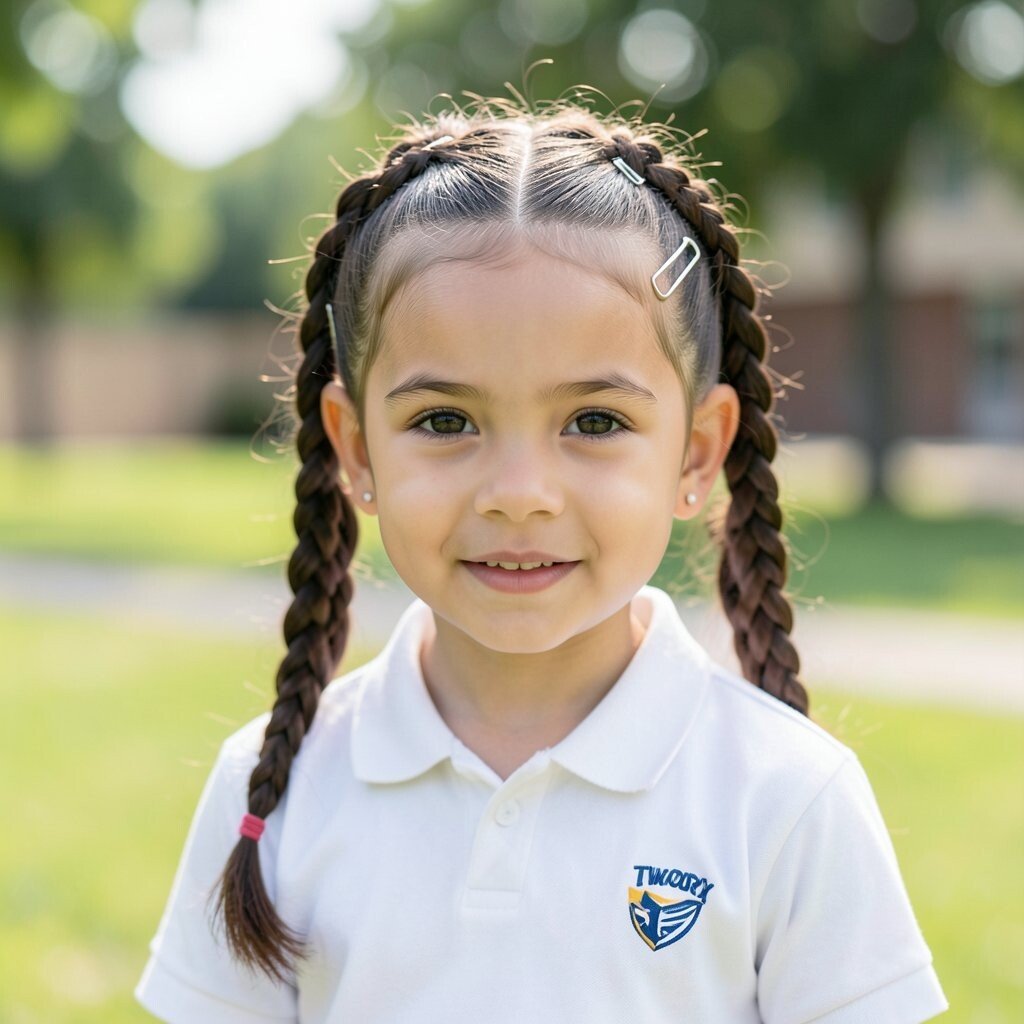
Soft twists wrap around the head like a crown, and side clips add a little sparkle. It’s a gentle, pretty style that works well for both straight and slightly wavy hair.
This hairstyle keeps hair away from eyes while still letting the hair feel airy. Begin by parting hair to one side, then take two front sections and twist them back. Secure each twist with small pins, and tuck the ends underneath for a clean finish.
To personalize, use matching clips shaped like stars, hearts, or simple flowers. If you want a current look, choose clips in neutral tones with a bit of shine. For cost, you can make it budget-friendly by using one pack of snap clips and reusing them often.
If your child has very curly hair, use a light leave-in conditioner before twisting so the curls cooperate.
7. Classic Two-Strand Twists
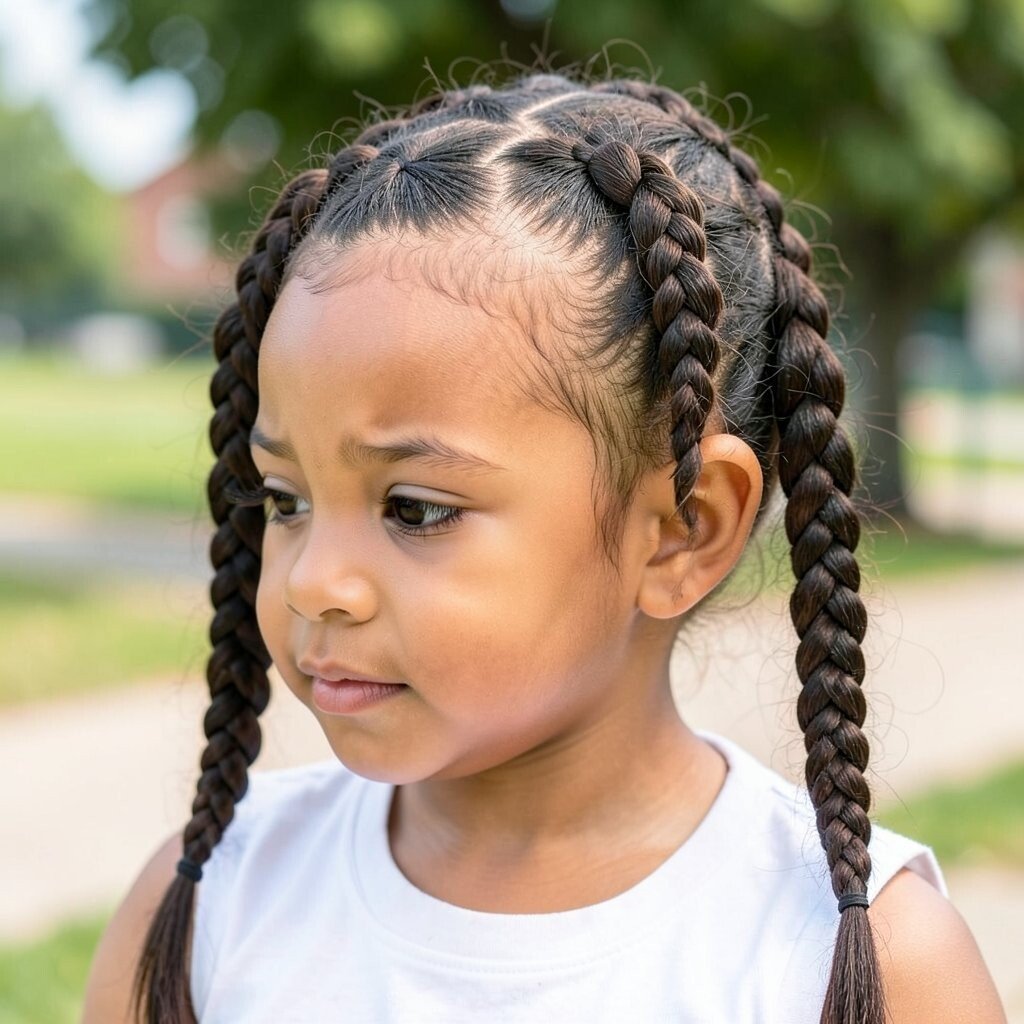
Two-strand twists look like mini ropes, and they instantly make hair feel tidy and fun. When done near the front, they also make the face look extra bright.
This style is comfortable for kids because it doesn’t pull too tightly when the twists are thick. Separate the hair into small sections, twist each one, and pin or tie them close to the scalp. For practical tips, keep the twists consistent in size so the whole look feels balanced.
Uniqueness comes from placement, like doing twists only on the sides or creating a small zigzag pattern. You can also mix textures by twisting the top while leaving the bottom down. If you want an affordable option, use small elastics you already own and upgrade with clip-on accessories only if desired.
8. High Half Ponytail With Scrunchie
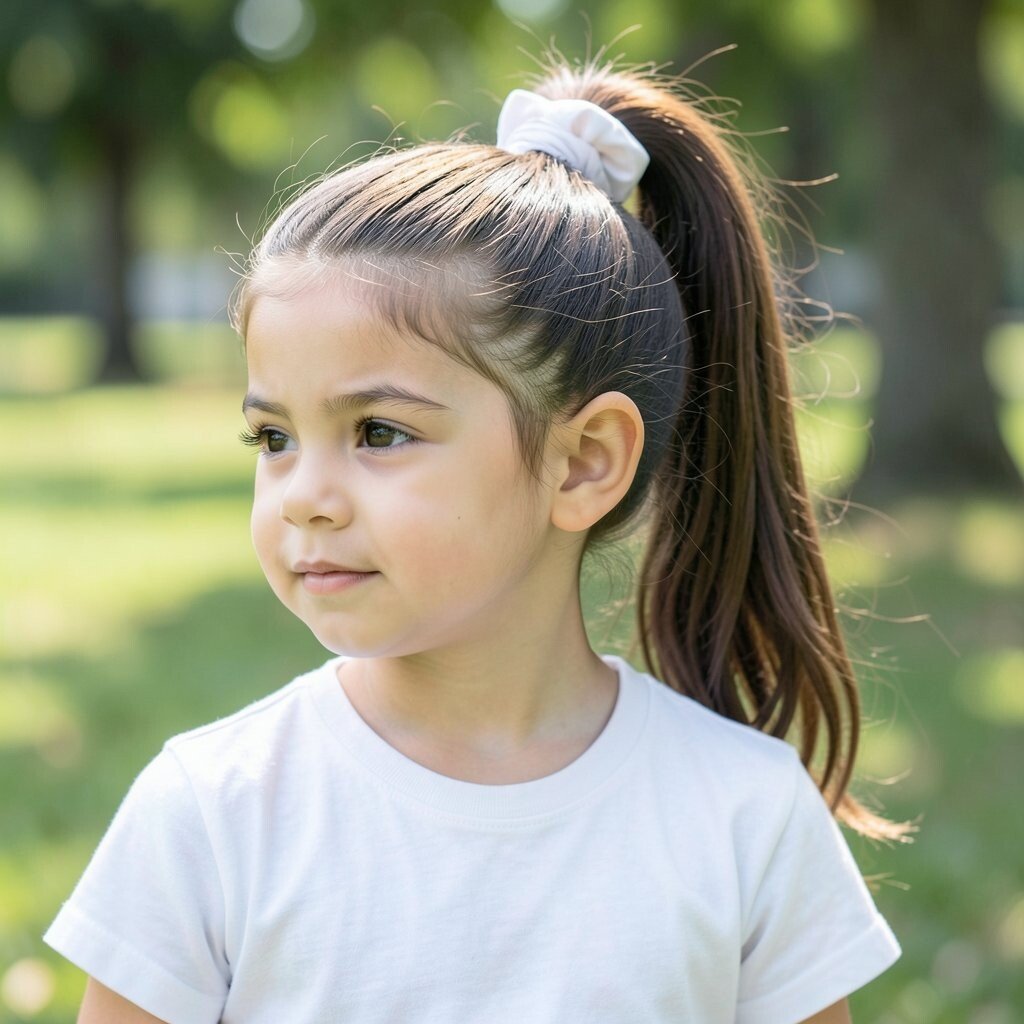
A high half ponytail sits between a regular pony and a full updo, giving a lively, energetic vibe. A scrunchie adds a cozy feel and makes the style look extra nostalgic and fun.
This choice is great on mornings when you need something fast but still want it to look intentional. Gather the top half, secure it gently with a scrunchie, and smooth the sides with a soft brush. If hair is thick, use a second elastic around the base so it stays in place during running games.
Personalize by adding a small clip just above the scrunchie or wrapping a thin ribbon around it. For trends, scrunchies are back in a big way, especially in bright colors and soft pastels. Cost is usually low since you can reuse one scrunchie for a whole school week.
To prevent headaches, keep it snug but not tight, and check the placement in the mirror before you walk out.
9. Side Swept Dutch Braid
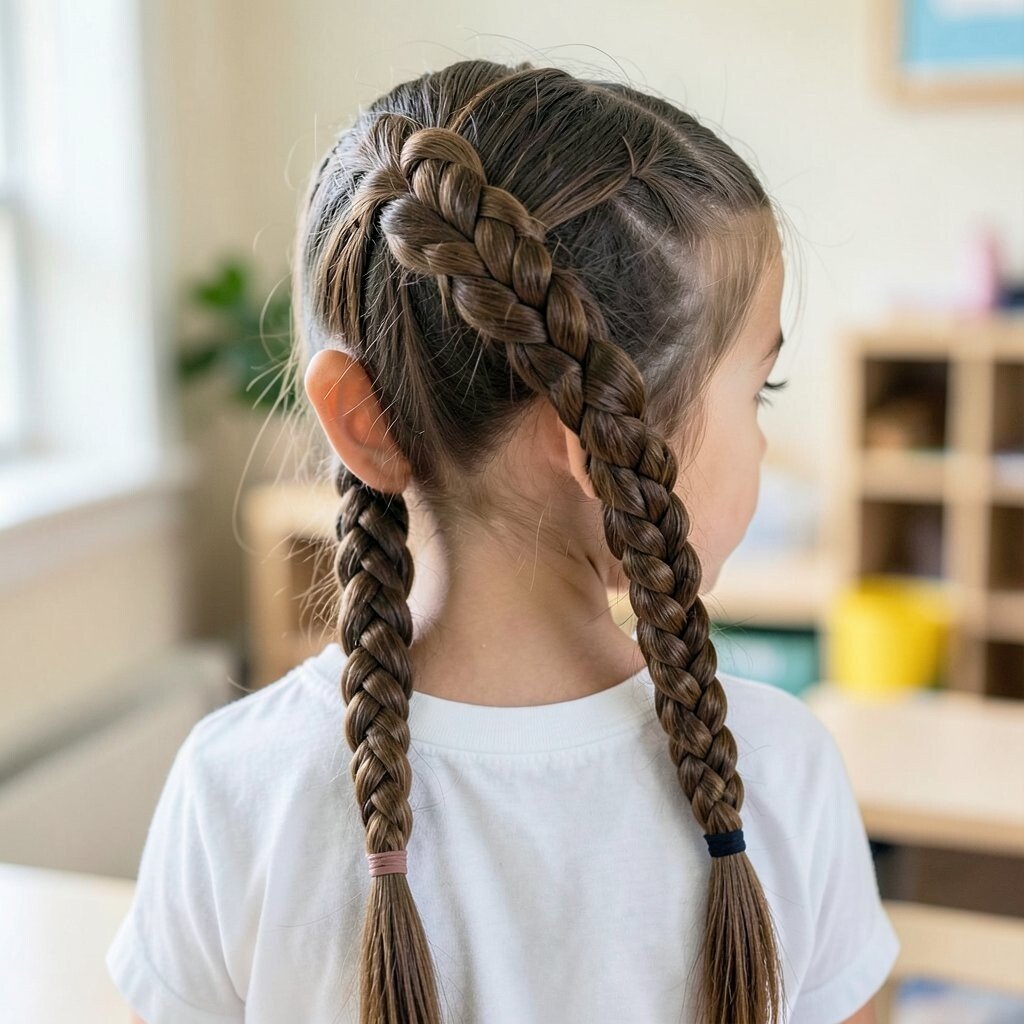
A Dutch braid on the side looks bold and sporty, like a sleek hairstyle for a team day. The braid sits thicker because the strands cross under, creating extra depth.
This style is helpful for keeping hair controlled while still giving a dramatic look. Start with a deep side part, then braid using the Dutch method across the side. Secure the braid end with an elastic, and gently pull sections to make it look fuller.
For practical tips, use a tiny bit of styling cream to reduce frizz while braiding. If your child’s hair slips out easily, anchor the first few stitches with extra pin support. Uniqueness comes from braid size, so try a wider braid for a bigger visual and a thinner braid for a more delicate look.
Cost considerations are easy since you only need elastics, bobby pins, and optional styling cream. Pair it with a cute headband if you want a more “first day” finish.
10. Waterfall Braid With Clip Sparkle
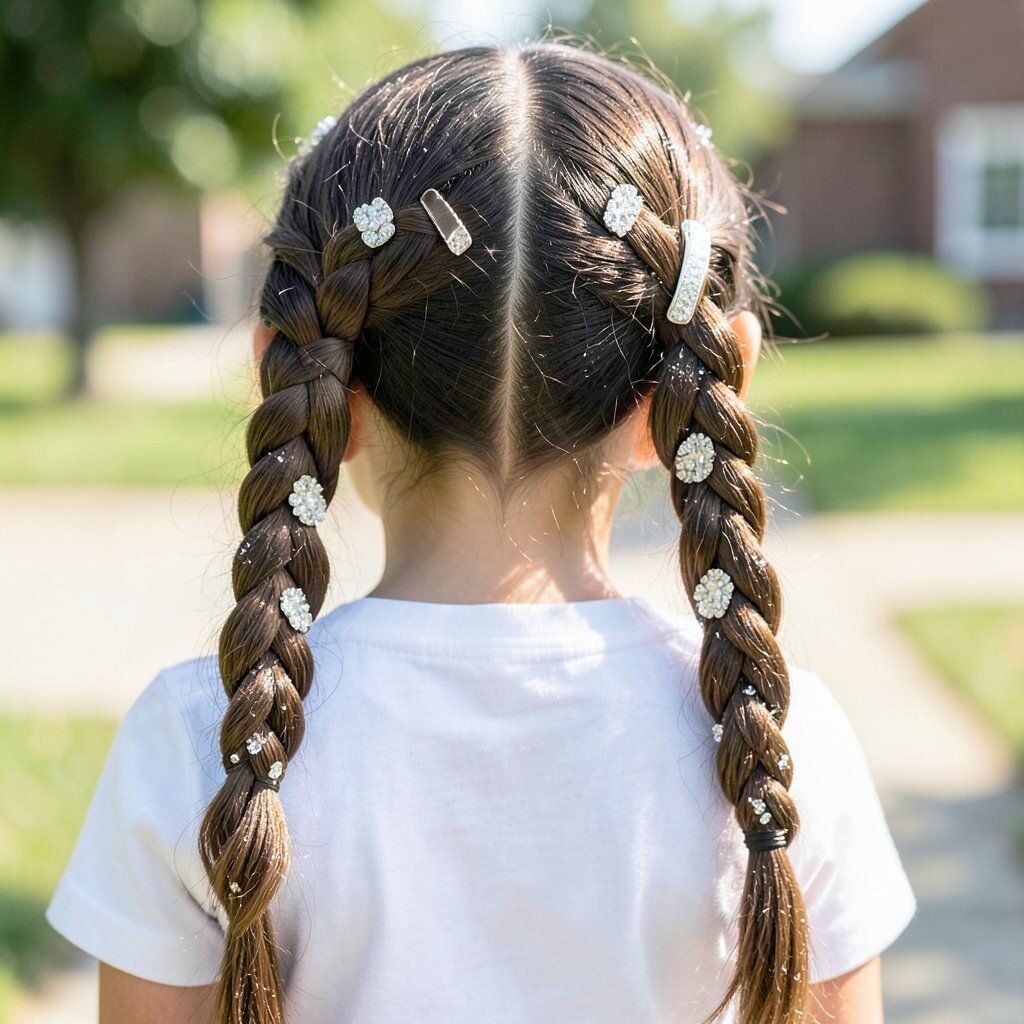
A waterfall braid creates ribbon-like strands that hang down while the rest stays braided. It looks dreamy, and it’s a fun step up from a simple braid.
This hairstyle keeps hair out of the face but still lets some hair fall naturally for comfort. To make it manageable, practice slowly on a dry run day or use a detangling spray to reduce knots. Split hair into sections, braid across, and release small strands to create the waterfall effect.
For personalization, add a clip at the point where the braid starts or ends. Choose a clip that matches earrings or a favorite color in the outfit. If hair is short, do a mini waterfall on just one side for an easier fit.
For cost, you can keep the look simple with a single decorative clip and basic elastics. Current trends lean toward softer, slightly tousled edges, so don’t aim for perfection.
11. Low Knotted Ponytail
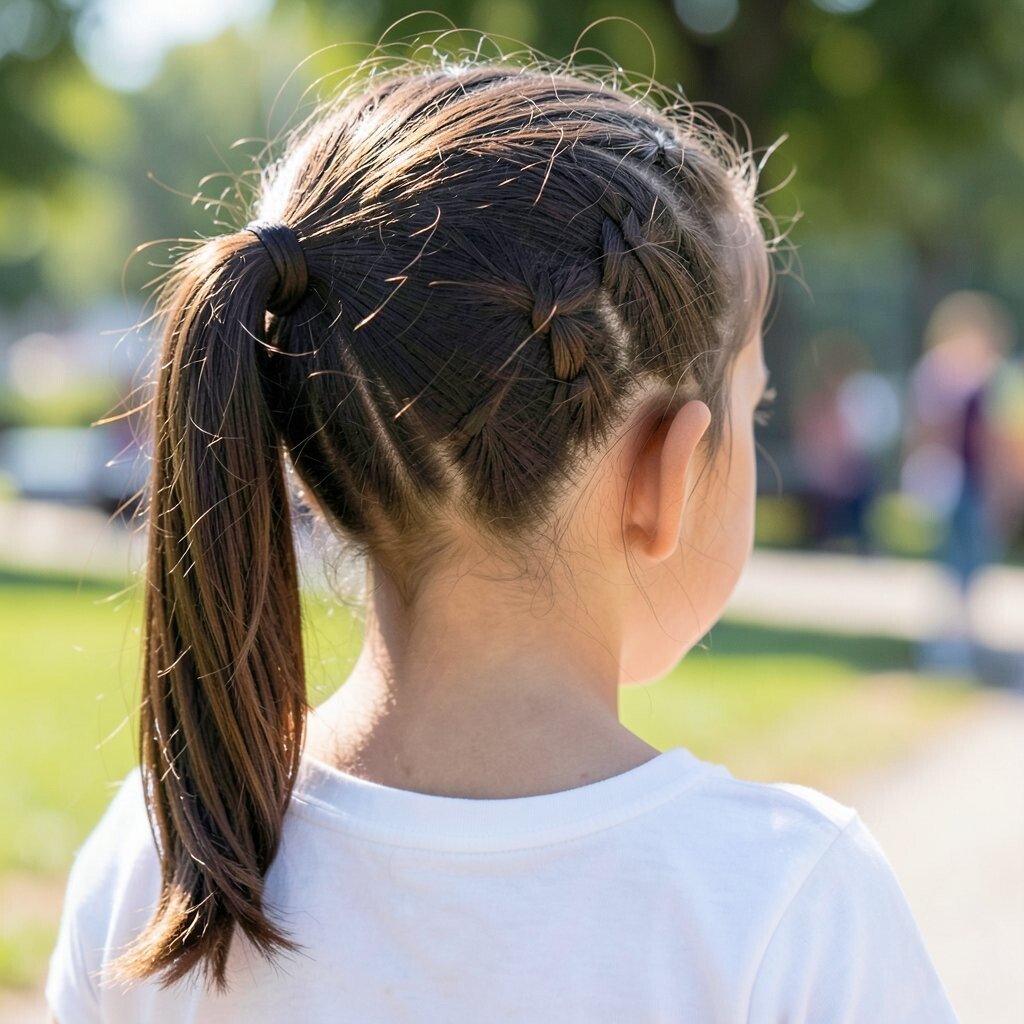
A low knotted ponytail looks stylish and different, with a twist that makes it feel modern. It’s like a ponytail wearing a cute jacket.
This style works well for kids who want their hair controlled but not too tight. Start by gathering hair into a low ponytail, then split the hair above the elastic and pull the ponytail through to form a knot. Smooth the knot area with your fingers so it looks neat.
To personalize, add a small braid around the elastic or wrap a thin ribbon over it. If your child has straight hair, a bit of shine spray can help the knot look extra sleek. For a budget-friendly approach, use elastics you already have and only add a decorative clip if you want extra flair.
This hairstyle also helps hair stay tidy during gym class since it’s anchored low and secure.
12. Crown Braid For Bangs And Layers
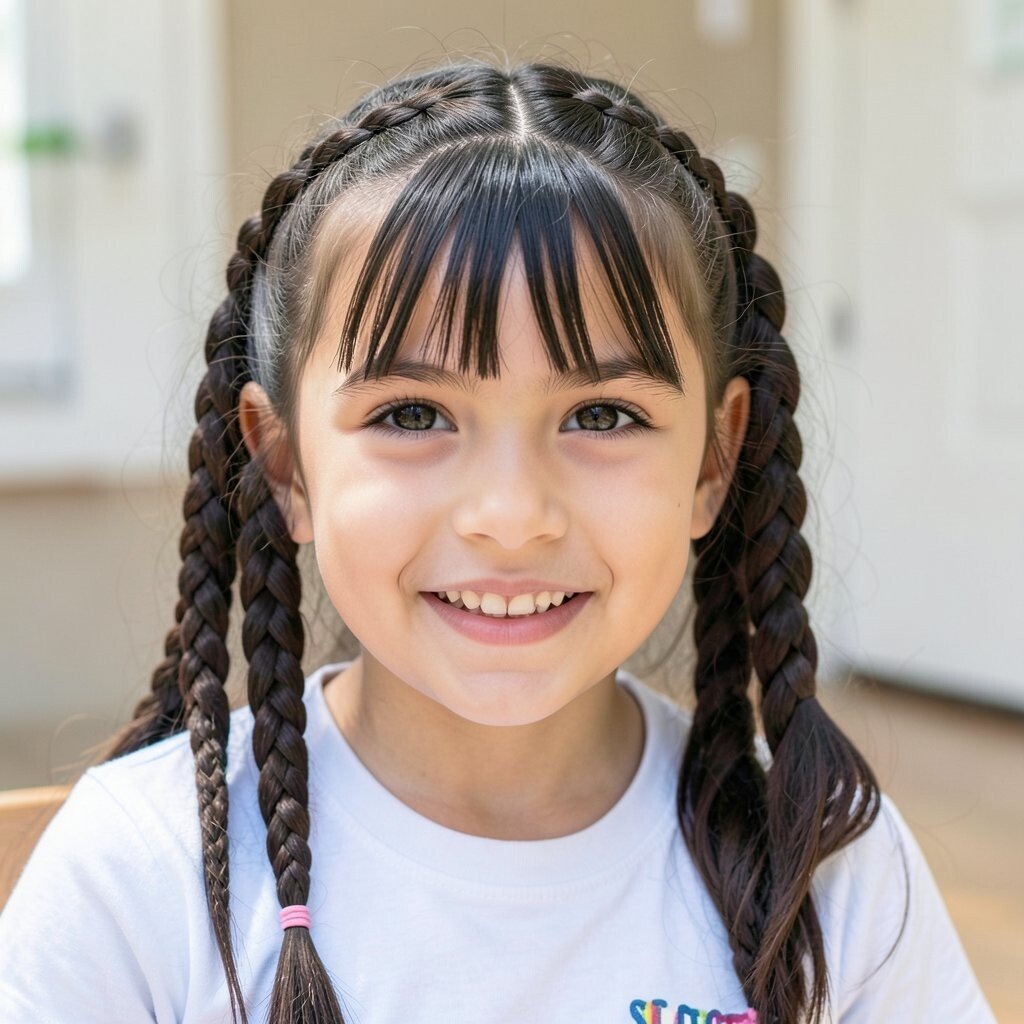
If your kid has bangs or shorter layers, a crown braid helps them blend in beautifully. The braid supports the front pieces so they don’t poke or flip during school.
This is a smart, practical style for windy days and busy playground time. Start by sectioning the front fringe area, then braid along the hairline toward the back. Use bobby pins to tuck the ends, and keep the braid snug enough to hold but not uncomfortable.
Uniqueness comes from how you manage the front, like adding small loops for a “storybook” look. For trends, kids’ hairstyles are leaning toward soft texture, so slightly loosen the braid for a relaxed finish. Cost is usually minimal, and most parents only need pins and a comb to get started.
Personalization is easy by choosing pin colors that match your child’s hair or outfit.
13. Braided Top With Down Hair
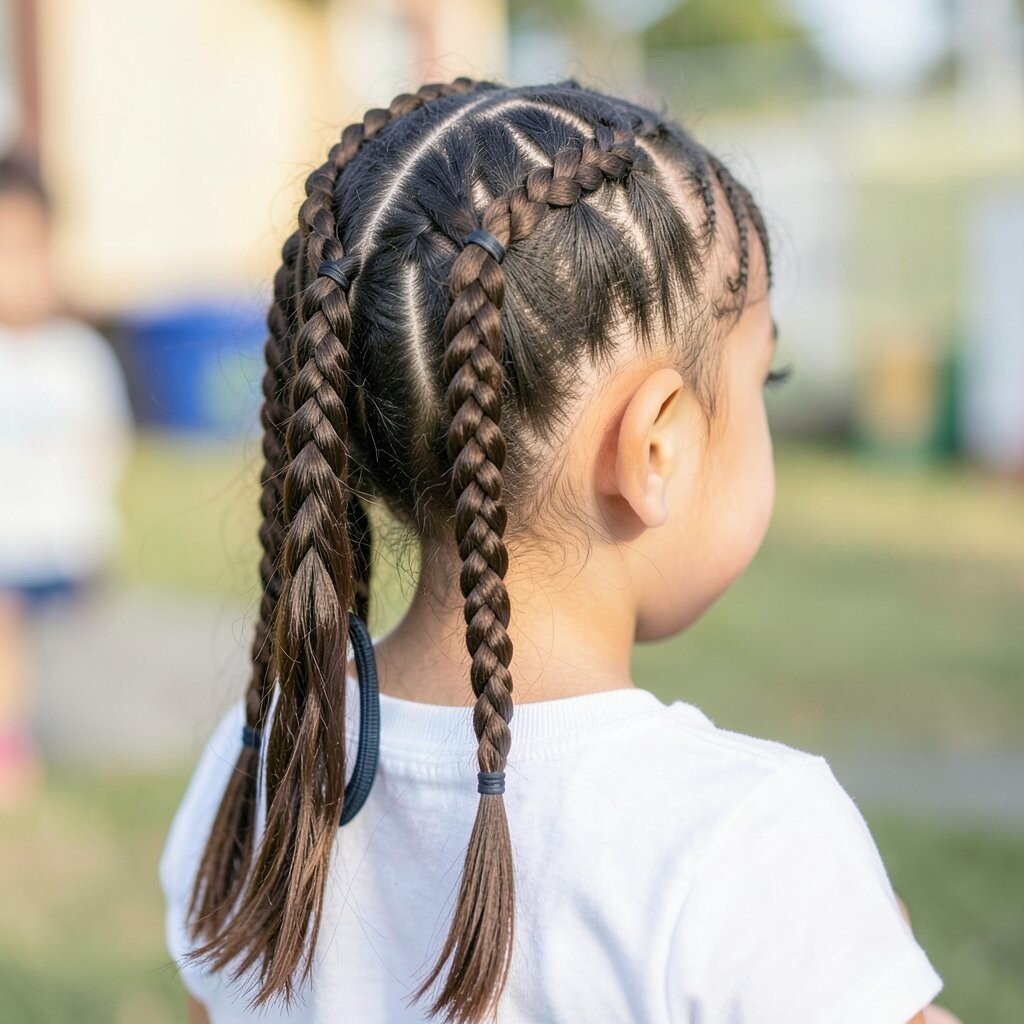
A braided top with down hair looks bright and cheerful, like a half-up hairstyle with extra personality. The braid acts like a frame, while the rest of the hair stays loose and comfy.
This keeps the face area neat without trapping all the hair on the head. Part hair slightly to one side, braid a section from the front toward the middle, and secure it with a small elastic or pin. If your child has thick hair, you can do two smaller braids instead of one large one.
For practical tips, use a light detangler and comb through before braiding. Add a bobby pin cross pattern for extra hold so the braid doesn’t slip. Uniqueness comes from the braid style, like doing a Dutch braid instead of a regular braid for a bolder look.
For cost, you can skip fancy accessories and simply use one matching barrette to complete the look.
14. Puff Pastry Ponytail (Mini Puffs)
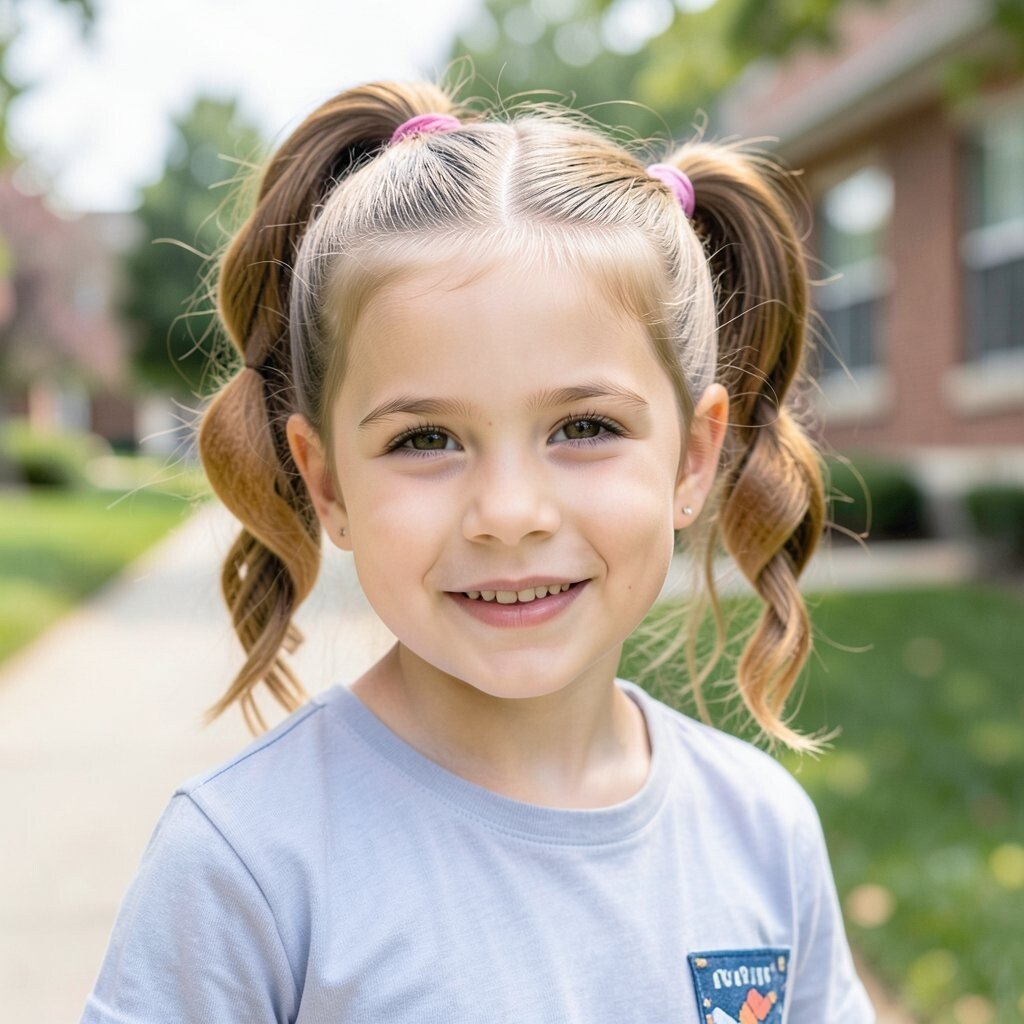
Mini puffs along the head look like little pillows, giving a playful pattern without needing a full updo. This style is adorable for kids with medium to long hair and loves being photographed.
The benefit is that each puff holds a small section, so the hair doesn’t all fall forward at once. To create it, divide hair into small sections, secure each with tiny elastics, and gently smooth around the edges. Leave a bit of space between puffs for a puffy, bouncy feel.
Personalize by using elastics in different colors if your child enjoys color variety. Current trends often feature colorful hair accessories, so this is a fun way to match the season. Cost considerations are simple since elastics are inexpensive, but you can choose a matching set to look extra coordinated.
For practical mornings, keep the sections slightly larger if you’re short on time so the look still feels full and cute.
15. Bubble Ponytail With Two Ties
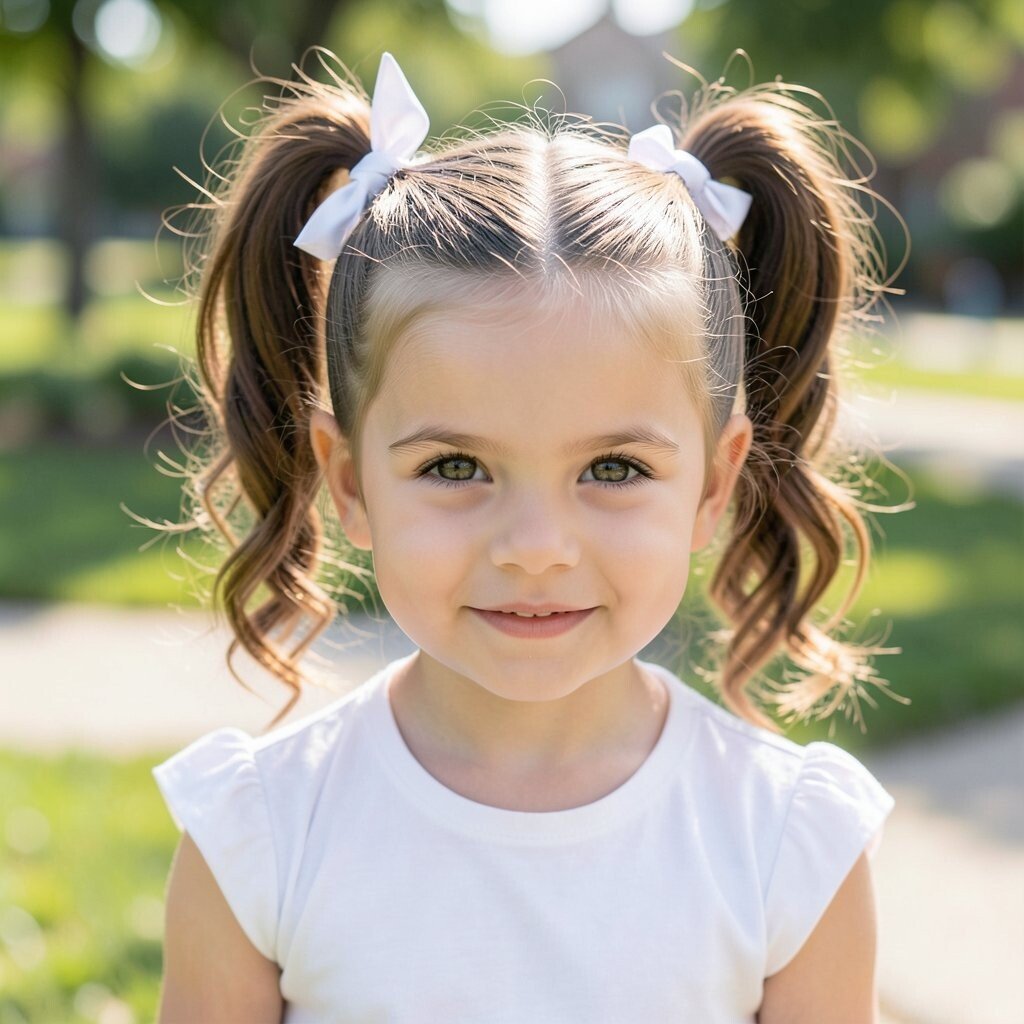
A ponytail with bubble bands creates a fun “stacked” effect that looks like small circles along the length. It’s perfect when you want something easy but still different from a basic ponytail.
This hairstyle helps manage hair during the day because the ponytail keeps everything gathered. Start with a standard ponytail at the height you like, then add elastics down the length at even spaces. Gently pull each bubble outward so it looks round and bouncy.
Uniqueness comes from how you style the first bubble, like wrapping a small braid around the base for extra detail. If your child has curly hair, keep the curls soft and don’t tug too hard when you pull the bubbles. Personalization is easy using colored elastics that match school spirit colors.
Cost is low since most of what you need is elastic bands. For a more finished look, add a small bow clip at the base to brighten the overall style.
16. Curly Hair Accessory Headband Twist
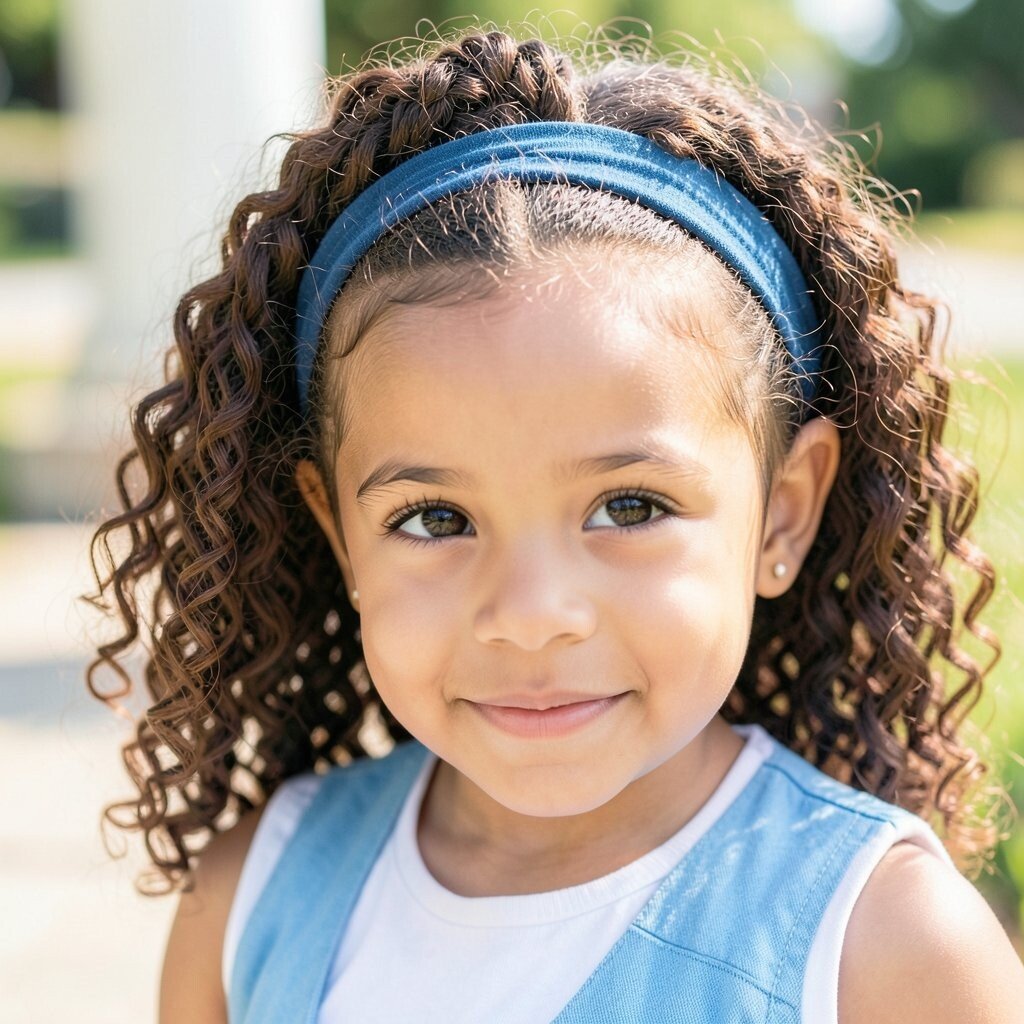
If your kid has curls, a headband twist can look amazing with almost no effort. Imagine the curls pushed back slightly, with a twist made from front sections that feels light and secure.
This helps with tangles and keeps curls from flattening against the face during class. Use a soft headband, then take two small front twists and tuck them under the band. Add a gentle curl cream so the curls stay defined without getting crunchy.
For personalization, choose a headband pattern that fits your child’s style, like stripes, stars, or simple solid colors. Current trends include soft fabric headbands because they’re comfortable and look cute in photos. Cost considerations are great here since you can find multipacks or use one headband you already own.
Practical tip for all-day wear is to choose a headband that doesn’t pinch, especially for kids with sensitive scalps.
17. Braided Fringe With Face-Framing Layers
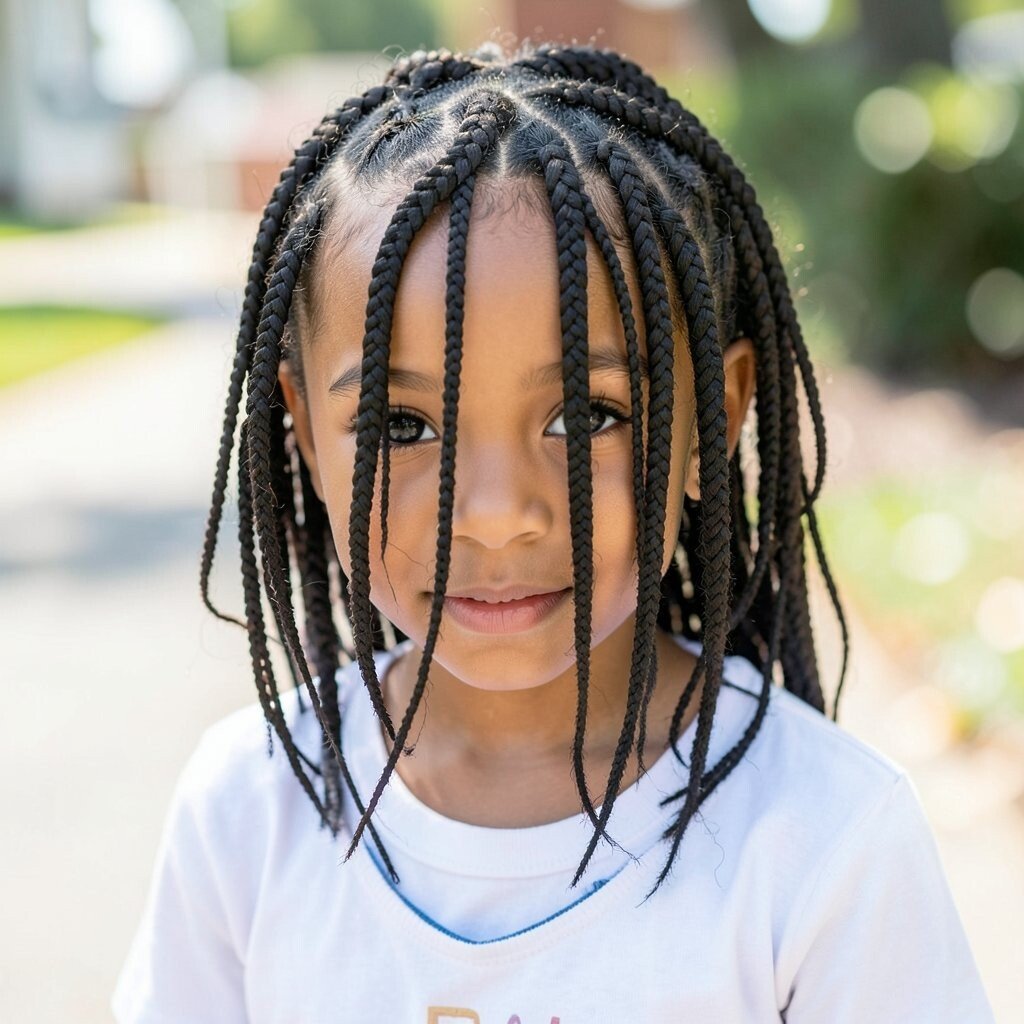
A braided fringe style wraps the front like a soft headband while leaving the rest of the hair free. The face-framing layers make it look extra sweet and balanced.
This option is great when you want a polished look but your kid doesn’t want hair fully pinned up. Take small sections from the fringe area, braid them in tiny strands, and place them across the front. Secure each side with bobby pins under the hair so the braid feels hidden and secure.
Uniqueness can come from making the braid thicker on one side for an asymmetrical vibe. Personalization is easy by choosing hair clips that match your child’s outfit, such as matching colors to shoes or a backpack tag. If hair is fine, use a tiny amount of mousse before braiding to give texture that holds.
Cost is minimal, because most of the work uses only hair tools. For a more current look, loosen the braid slightly for a softer, natural finish instead of super tight edges.
18. Tie-Off Ponytail With Scarf Wrap
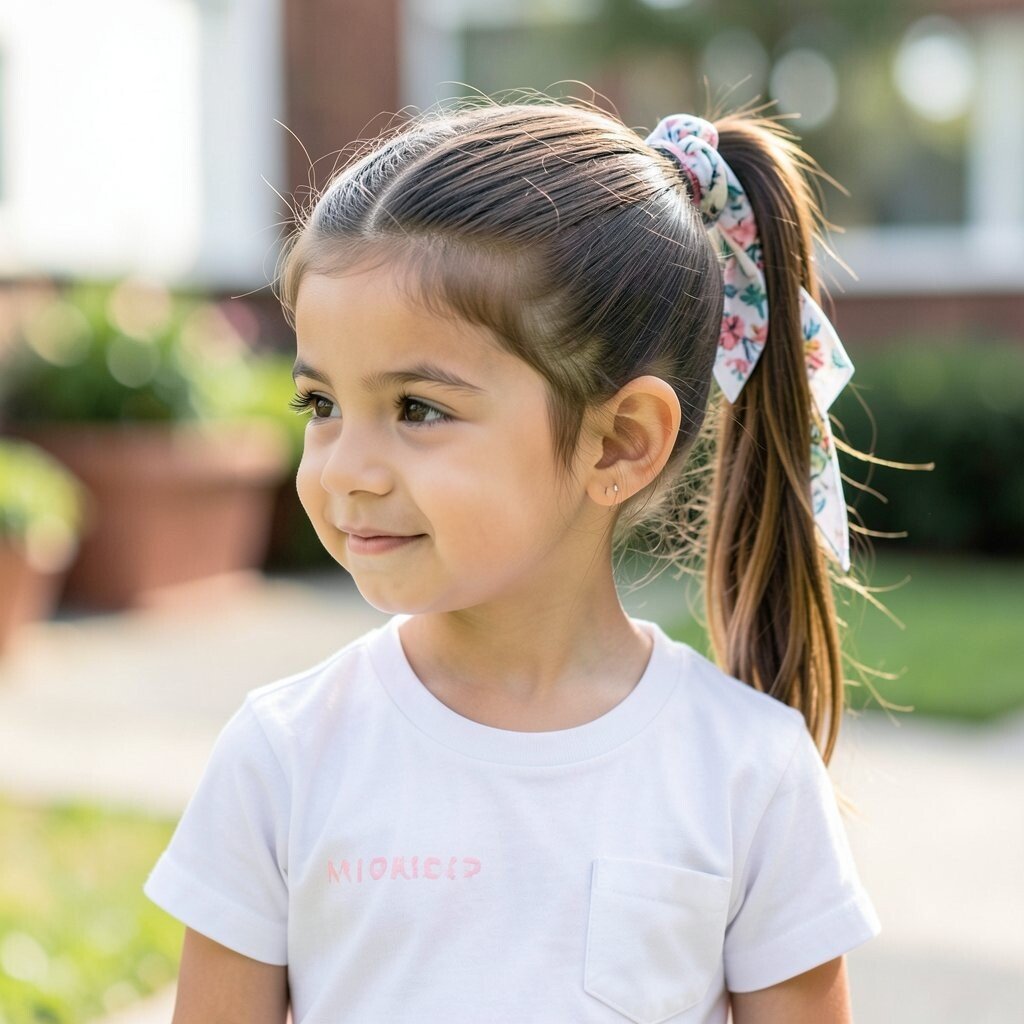
A ponytail tied off with a scarf wrap looks bold, bright, and instantly photo-ready. The scarf adds color without needing much skill, and it moves beautifully when your kid walks.
This style helps keep hair gathered while also covering the elastic with something comfy. Tie the ponytail with a regular elastic, then wrap a small scarf strip around the base and tie a secure knot at the back. Choose a scarf size that won’t slide and won’t be too bulky under a collar.
For personalization, use a scarf color that matches a favorite theme, like animals, rainbows, or a sport team. Trends often favor small accessories that make a simple outfit feel special, and a scarf wrap does exactly that. Cost considerations are friendly since a small scarf can be reused and swapped for different looks all year.
Practical tip is to cut the scarf ends shorter and tuck them neatly if your child prefers nothing sticking out. Make sure the knot sits flat so it feels comfortable during the whole school day.