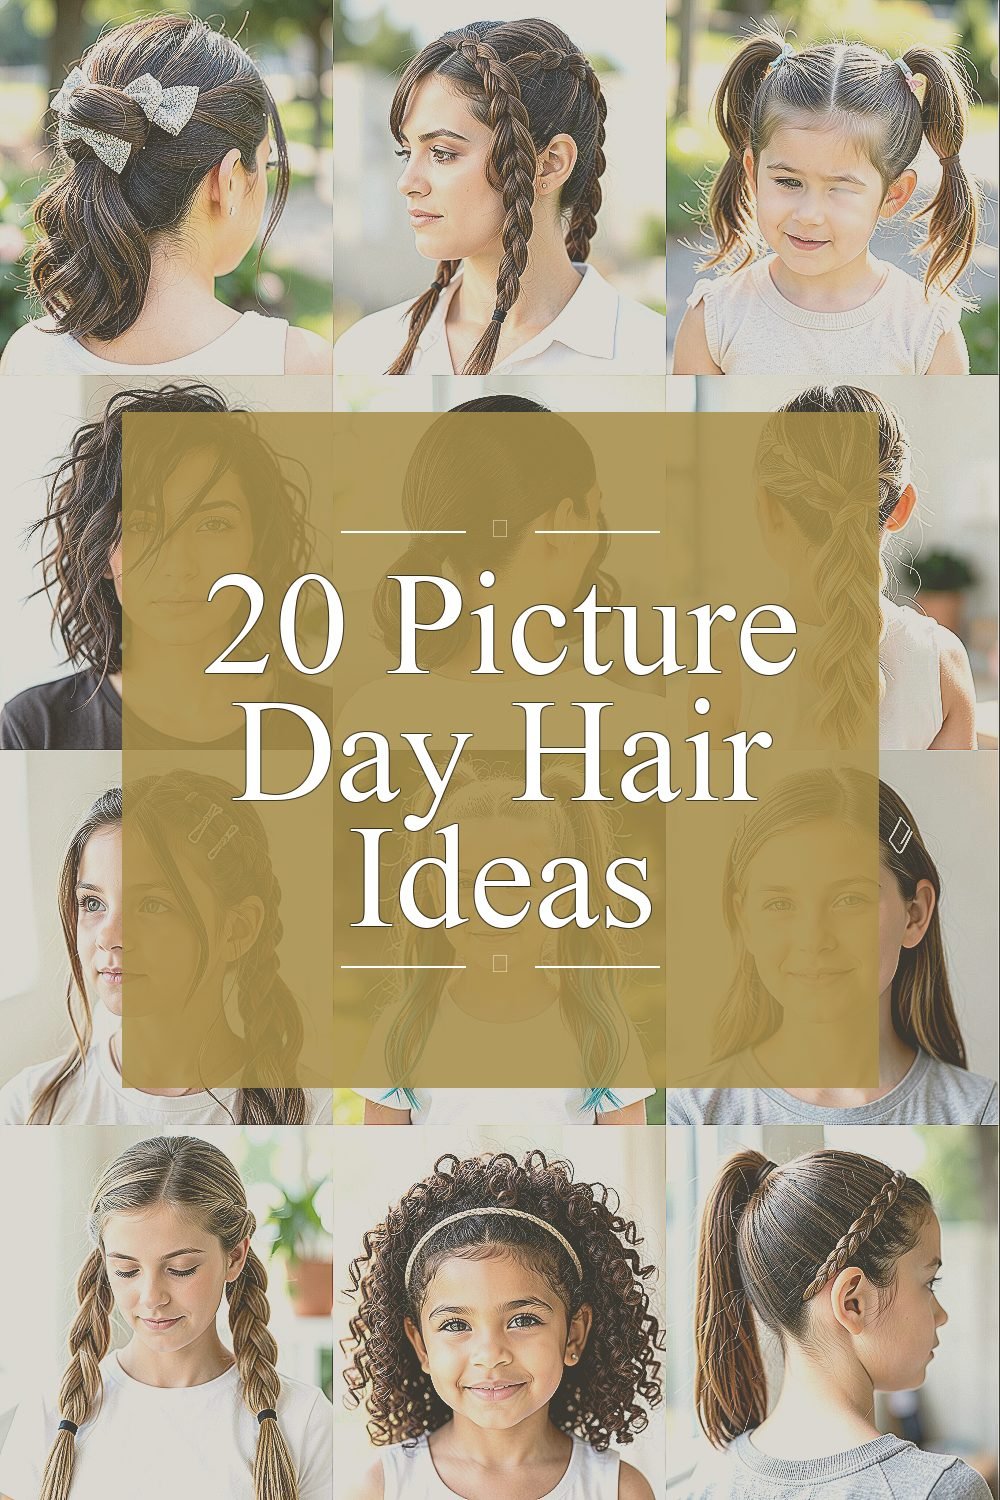
The camera catches every little detail on picture day. The good news is that your hair can look adorable without taking over your whole morning.
From soft waves to quick braids, these ideas are meant to feel doable and look amazing under bright school lights.
1. Sparkly Half-Up Bow Wave
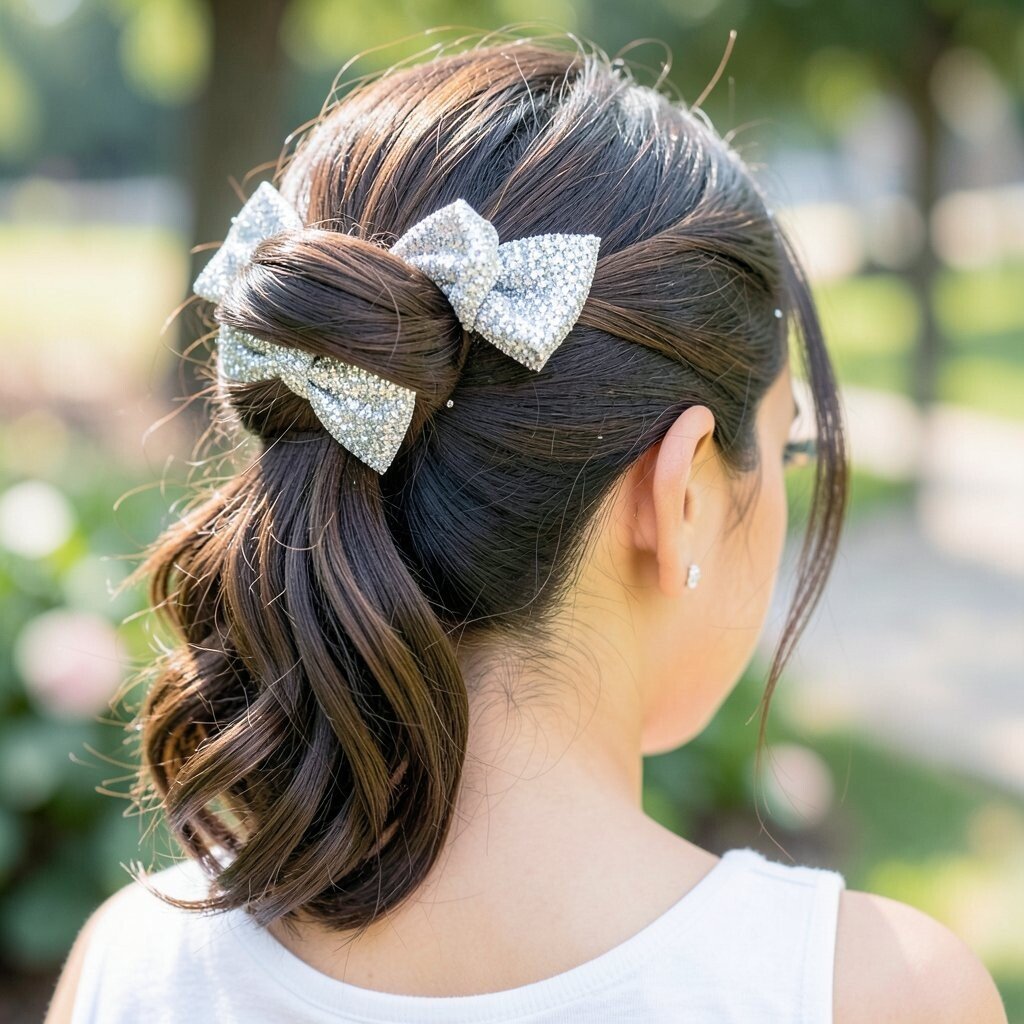
This look mixes comfy style with a sweet picture-ready finish. You’ll see soft waves in the front and a neatly gathered half-up section that frames your face.
Add a small bow clip or a fabric tie near the crown for instant cuteness. Use a light curl spray or mousse so the wave holds, then finger-comb for a natural shape. Finish with a tiny mist of shine spray to keep flyaways calm all day.
2. Crown Braid With Soft Side Sweep
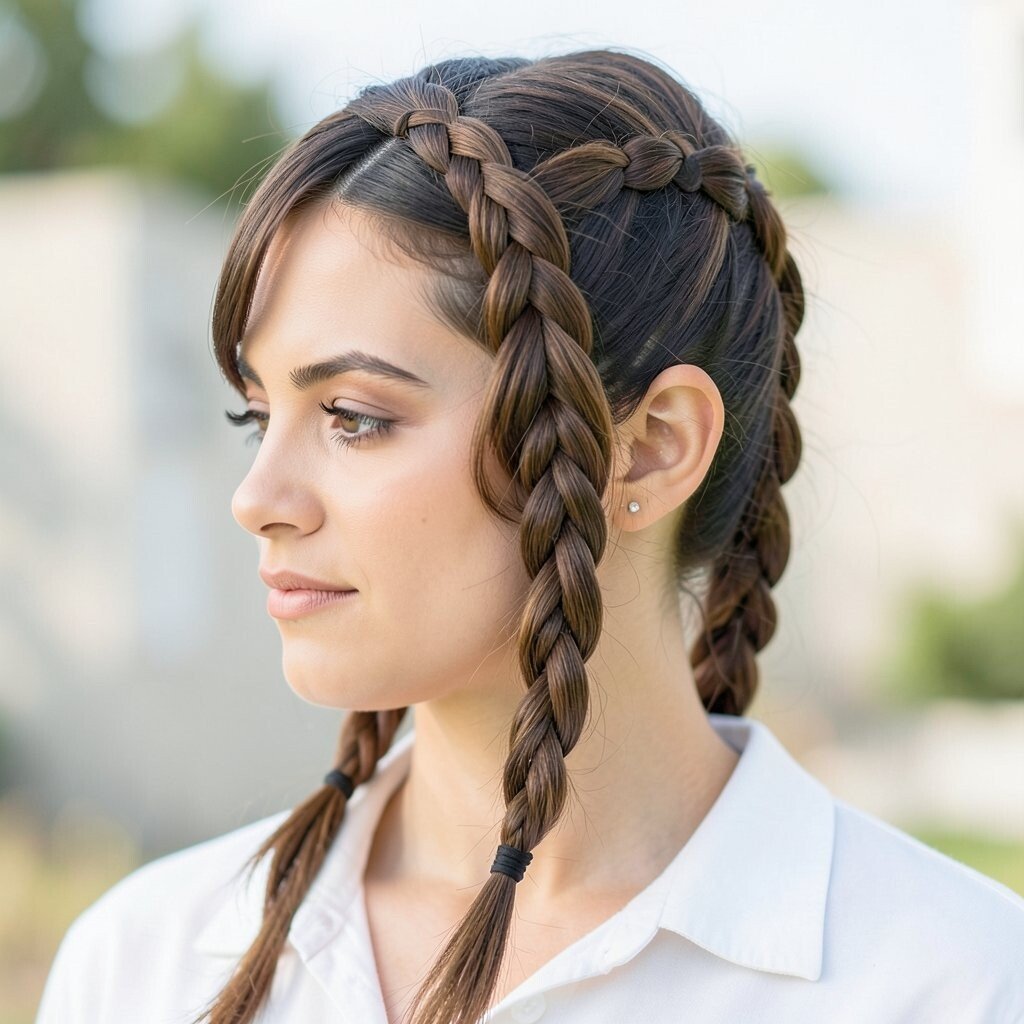
A crown braid gives a tidy, princess-like vibe that looks special in photos. It sits close to the head while the rest of the hair falls in a gentle sweep.
To make it stay put, braid slightly tighter at the base, then loosen a few strands for a fuller look. Part your hair where you normally feel comfortable, and sweep one side forward to soften the braid. If you have shorter hair, tuck the ends into the braid and secure with bobby pins that match your hair color.
This style can be unique for your hair type because the braid pattern stays the same while the side sweep changes. For cost, you can keep it simple with just pins and a small hair elastic, or add a ribbon if you want extra charm.
3. Bubble Ponytail With Tiny Ties
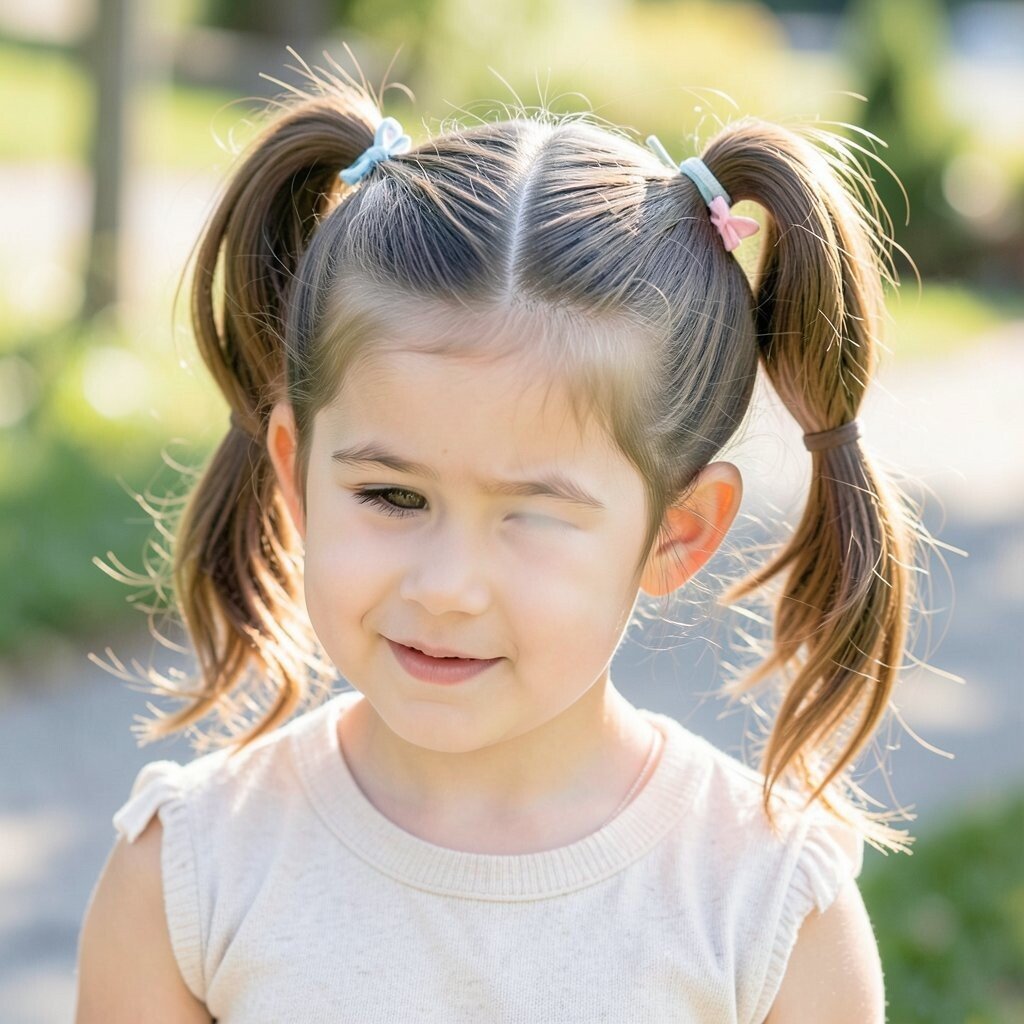
A bubble ponytail looks playful and modern, like your hair is wearing mini balloons. You’ll get clear, photo-friendly sections that pop from every angle.
Start with a smooth ponytail, then add small elastics down the length to form the bubbles. Gently tug each bubble to round it out, but don’t tug too hard or you’ll lose the neat shape. Curl the bottom ends with a wand or flexi rods for a bouncy finish.
For personalization, try a high ponytail for bold energy or a mid ponytail for an extra gentle look. If you have thick hair, use thicker elastics and a slightly looser tug for comfort. For cost considerations, these elastics are usually cheap and easy to find in multipacks.
Pair it with a side part or a middle part to match your outfit vibe, and you’ll look effortlessly styled.
4. Messy Chic Texture With Face-Framing Pieces
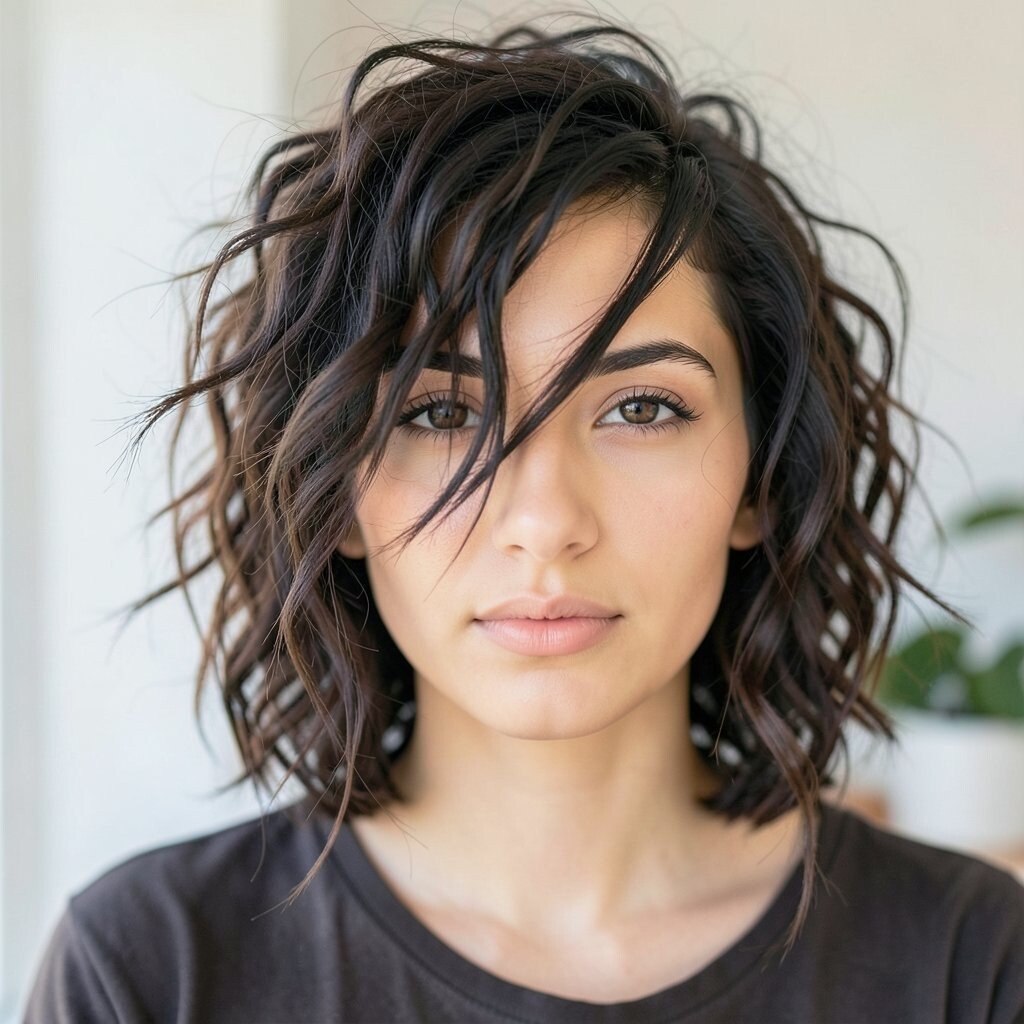
Not every picture day look has to be perfectly polished. A messy chic texture shows off your natural hair in a cute, confident way.
Spritz a texturizing spray and scrunch your hair while it dries to create soft volume. Pull two small front strands forward so they frame your cheeks. Keep the ends slightly tousled so it looks intentional, not accidental.
5. Sleek Low Bun With Curled Ends
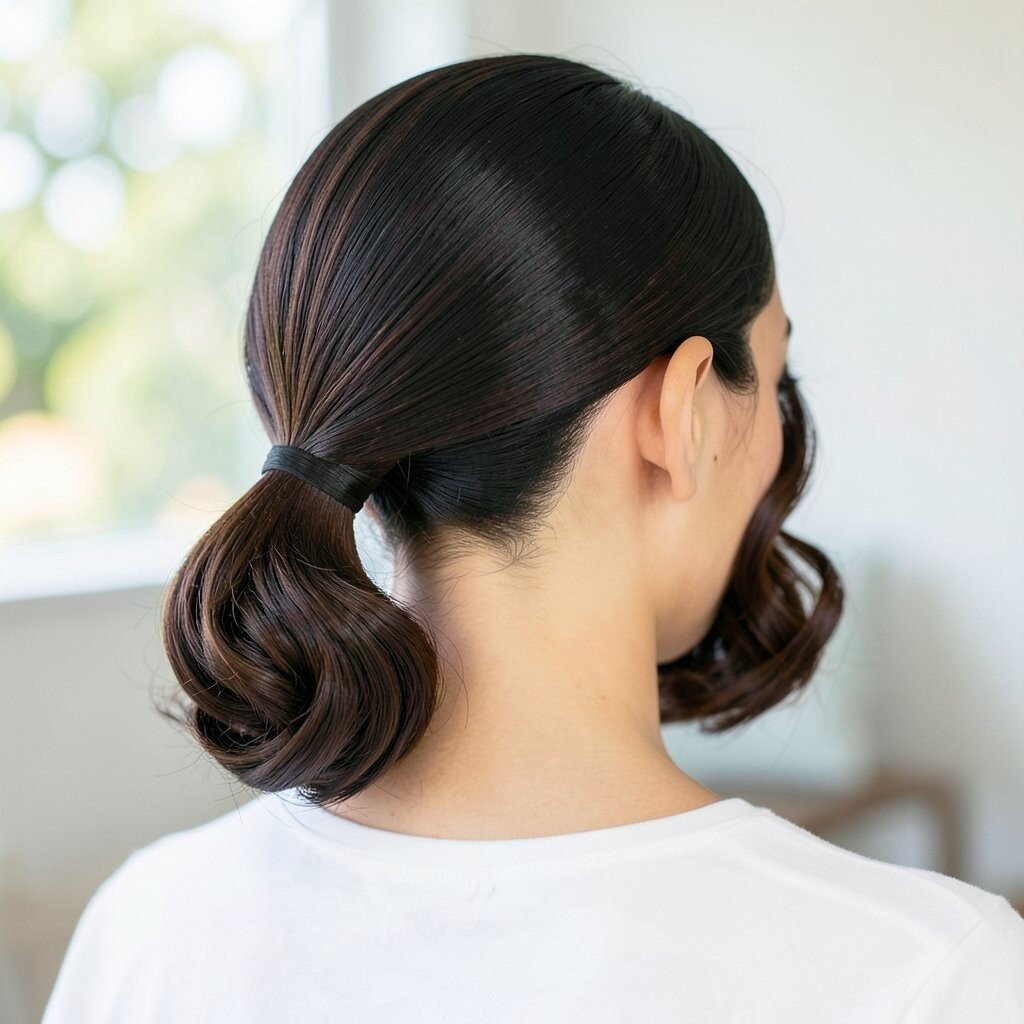
A low bun feels classic and neat, which is great for school photos. It also keeps your hair out of your face when the day gets busy.
Make a smooth low ponytail, twist it into a bun, and secure with pins. Curl the very ends first, then tuck them into the bun so the curls peek out like little waves. Use a shine serum or a drop of hair oil to make the bun look smooth, not flat.
This bun can feel unique by changing the curl style. Try tighter curls for a polished look, or go looser for a softer vibe. It’s also budget-friendly because you can do it with a basic brush, elastics, pins, and a small oil or serum.
6. Waterfall Braid With Light Waves
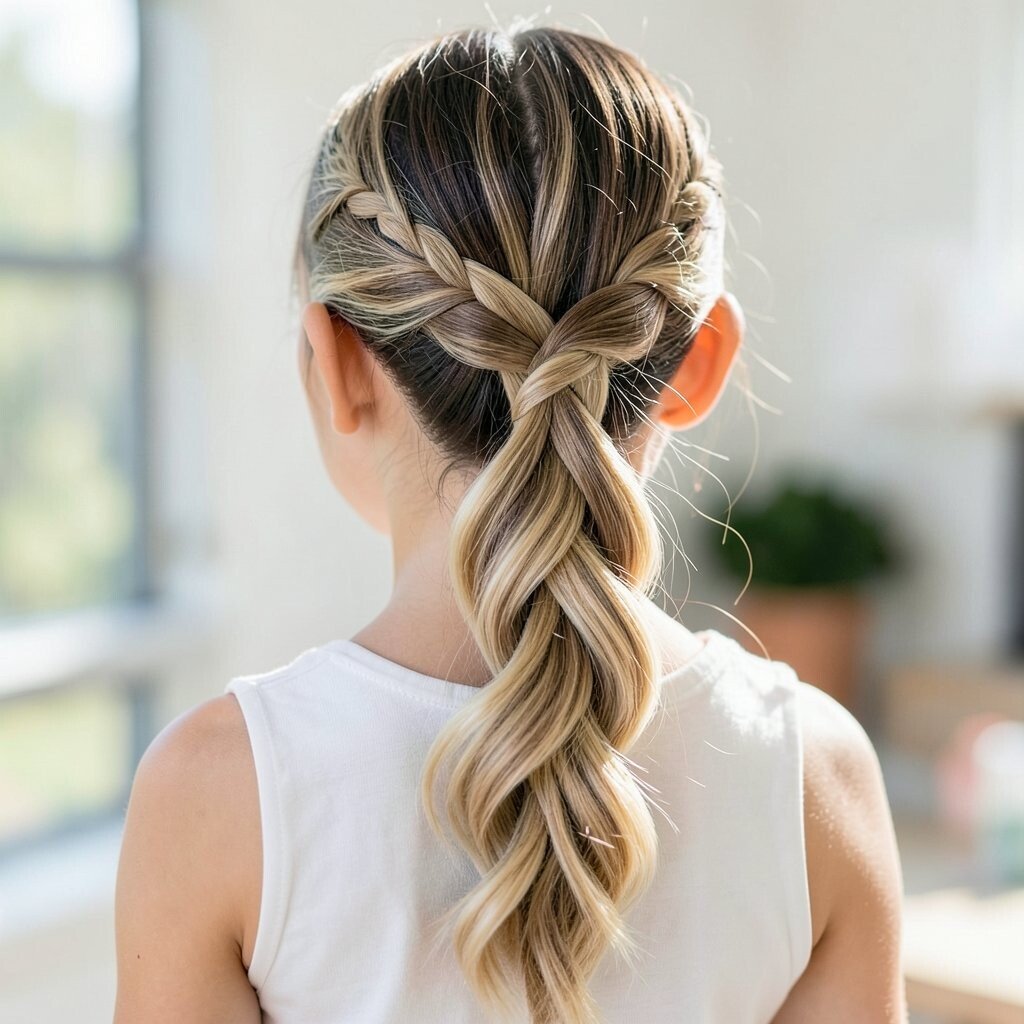
A waterfall braid looks fancy but still works for everyday school mornings. In pictures, the braided pattern creates tiny “falls” that look pretty in bright light.
Start with a side part, then braid by letting sections drop and picking up new hair from above. Keep the braid relaxed and use a little gel or cream on the flyaways so it stays smooth. After the braid, add loose waves to the remaining hair so the whole style feels balanced.
For personalization, you can braid closer to the front for a dramatic frame or start a bit lower for a gentle effect. If your hair is short, use smaller sections and pin the ends in place. A waterfall braid is unique because the dropped strands add movement without needing a lot of extra tools.
7. Two-Minute Twisted Side Clips
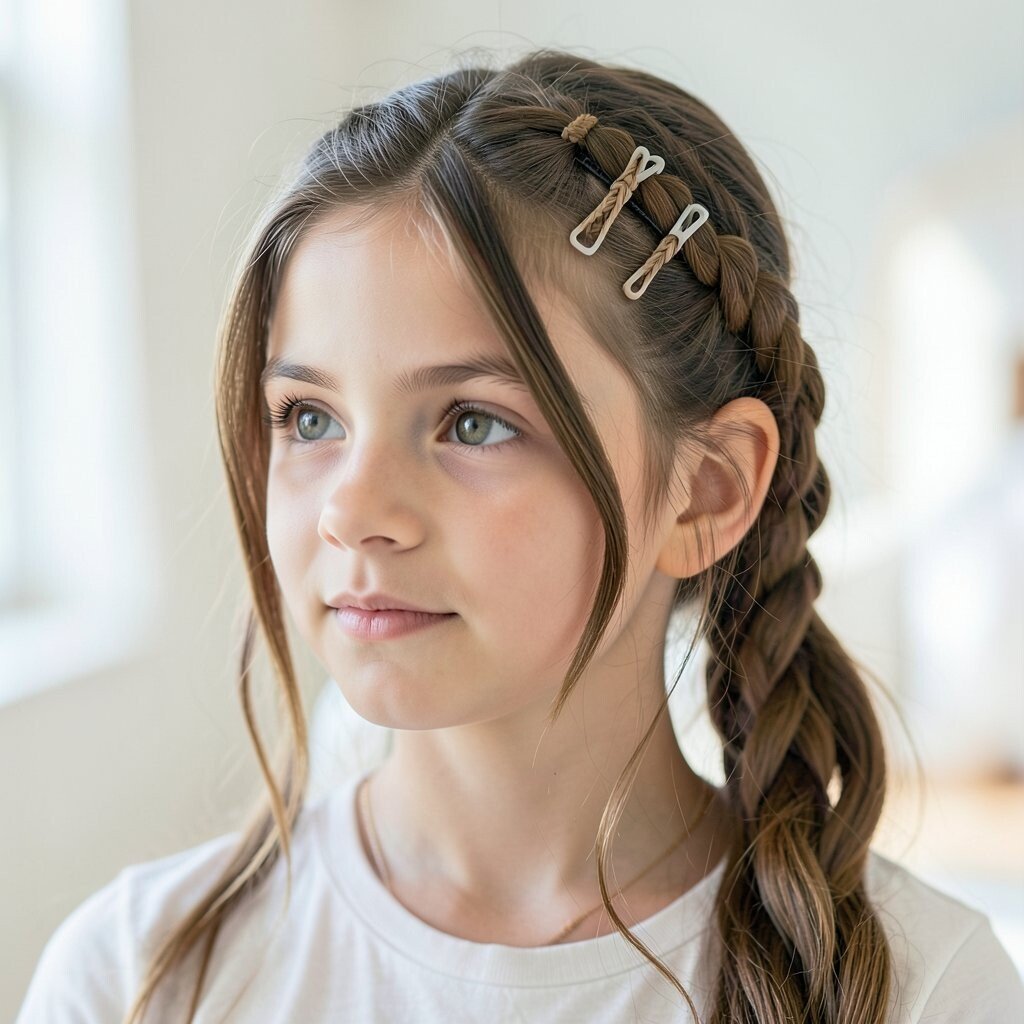
If mornings feel rushed, twisted side clips are your best friend. The look is fast, sweet, and still makes your hair look “done.”
Take two small sections from the front on each side, twist them toward the back, and pin them. Add one decorative clip for a cute focal point. For extra hold, lightly mist with hairspray after pinning.
This style works for straight hair, wavy hair, and even curly hair with minimal changes. Keep it personalized by choosing clips with your favorite colors or shapes. It’s also low cost since a couple of bobby pins and one clip can do the job.
In photos, the pinned twists keep your hair off your shoulders and make your face look extra bright.
8. High Ponytail With Mermaid Flip Ends
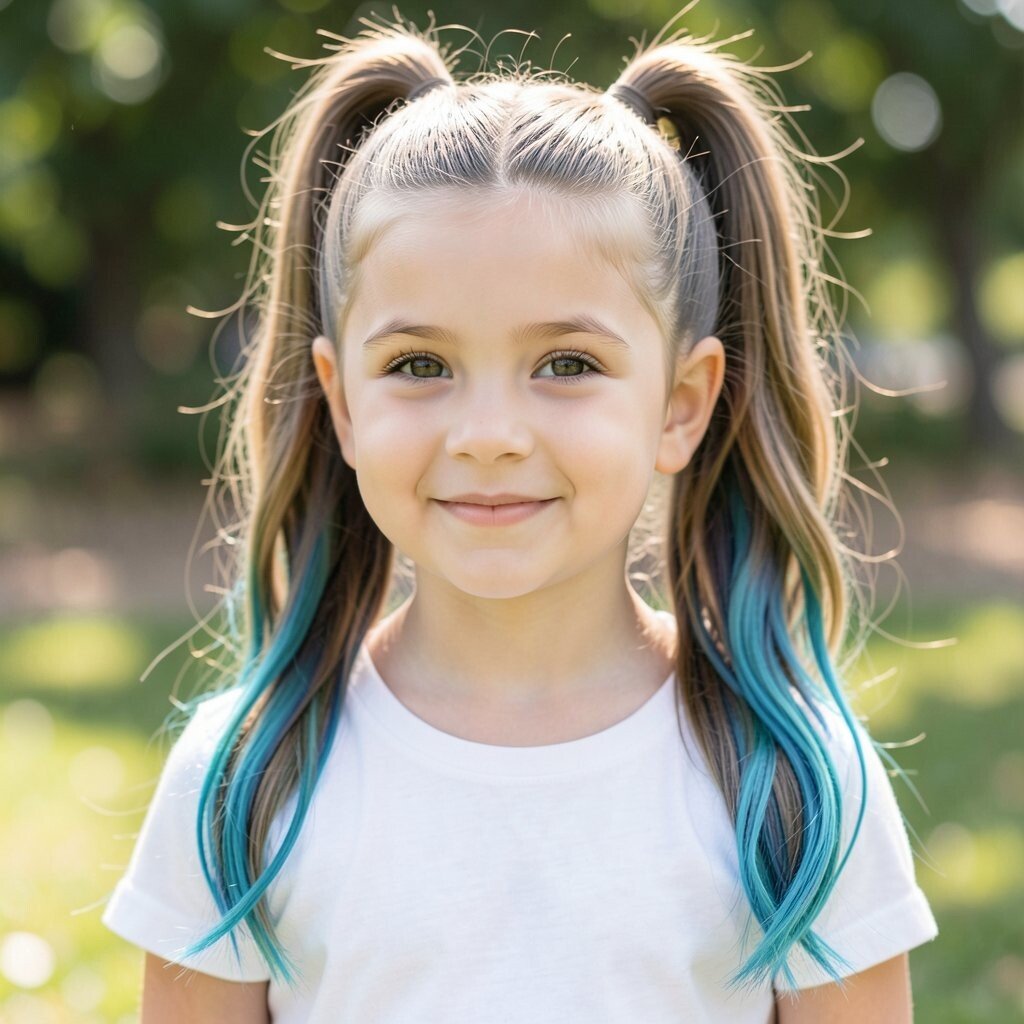
A high ponytail is energetic, and the mermaid flip makes it extra cute for pictures. The flip catches light and gives a fun, bouncy shape.
Brush your hair into a high ponytail and secure it tightly. Then curl only the ends or wrap them in a loose curl so they flip outward. Use a smoothing brush or a small amount of gel at the base so the ponytail looks sleek.
For uniqueness, add a thin braid around the ponytail base before you secure it. If your hair is fine, add a little teasing at the crown for lift. For cost, you’ll only need elastics, maybe a small gel, and whatever curling tool you already own.
9. Classic Side Part With Soft Roll Clips
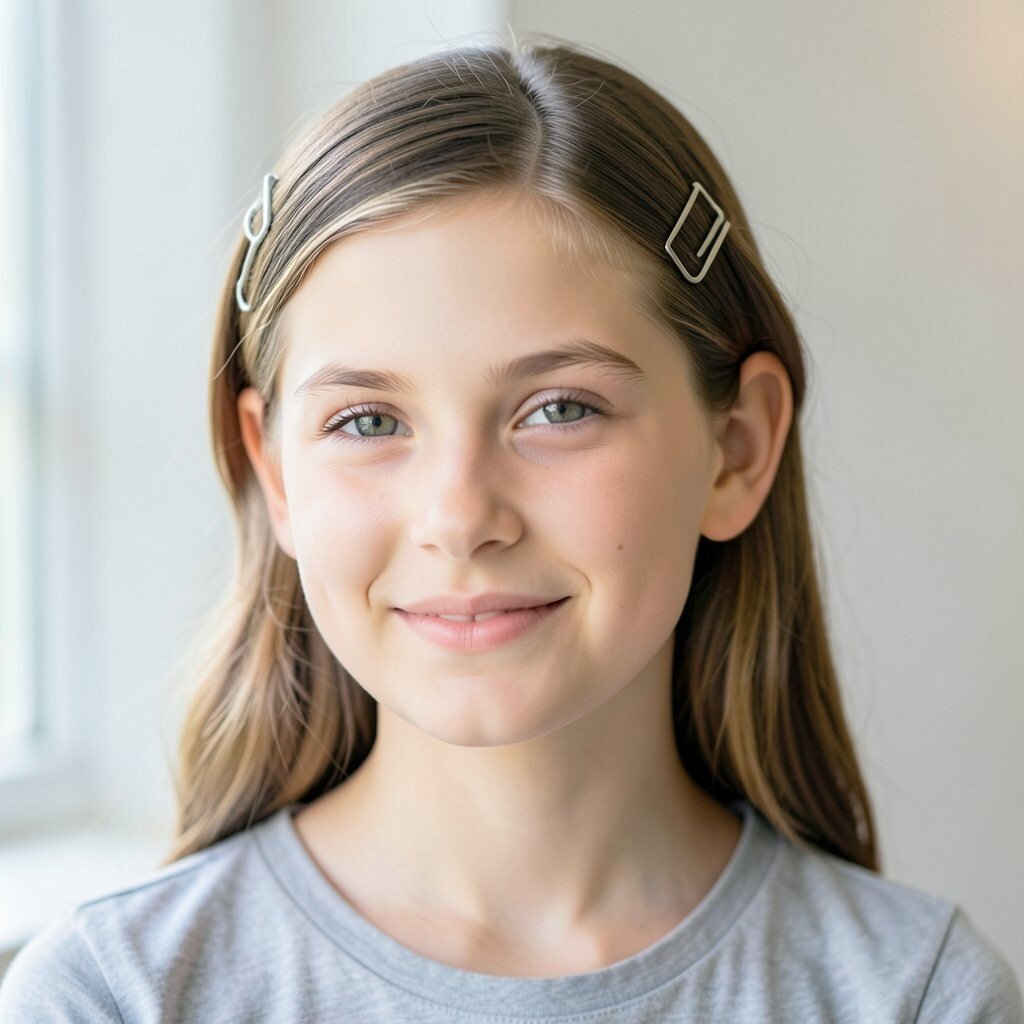
This style is polished without feeling stiff. A classic side part helps your hair sit neatly, and soft roll clips add a gentle, vintage touch.
Create a clean side part and tuck the front section slightly behind your ear. Roll a small strand and pin it so it sits flat but still looks curled. Repeat with another small clip on the other side if you want extra symmetry.
For personalization, choose clips that match your outfit colors, like pearl tones or bright accents. It’s also great for different hair textures because the key is pin placement, not the curl pattern. Keep a few extra pins handy in case one loosens during the day.
Under school lighting, the rolled sections make your hair look styled even if your curls aren’t super defined.
10. Half-Up Fishtail Ribbon Finish
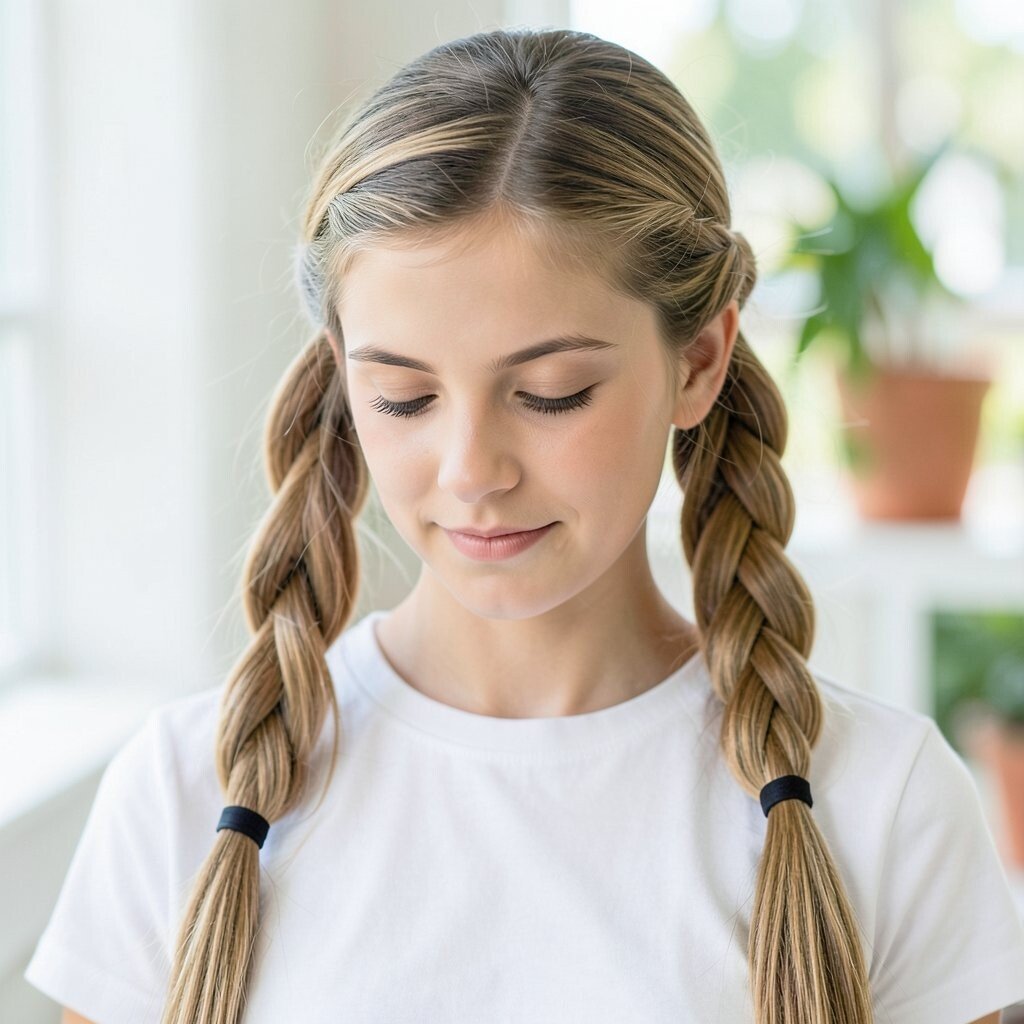
A half-up fishtail is a sweet balance of cute and classy. It creates a detailed braid pattern that shows up clearly in photos.
Gather the top half of your hair, then braid it into a fishtail using small sections. Tie the end with a ribbon, or use a ribbon scarf tied into a bow for extra charm. Let the rest of your hair fall naturally or add loose waves for a softer finish.
This look feels unique because the fishtail pattern adds interest even with simple styling. For practical tips, make the braid a little tighter at the start so it holds its shape. Keep the ribbon lightweight so it doesn’t tug too much on the scalp.
11. Puff Crown With Curly Top Bubbles
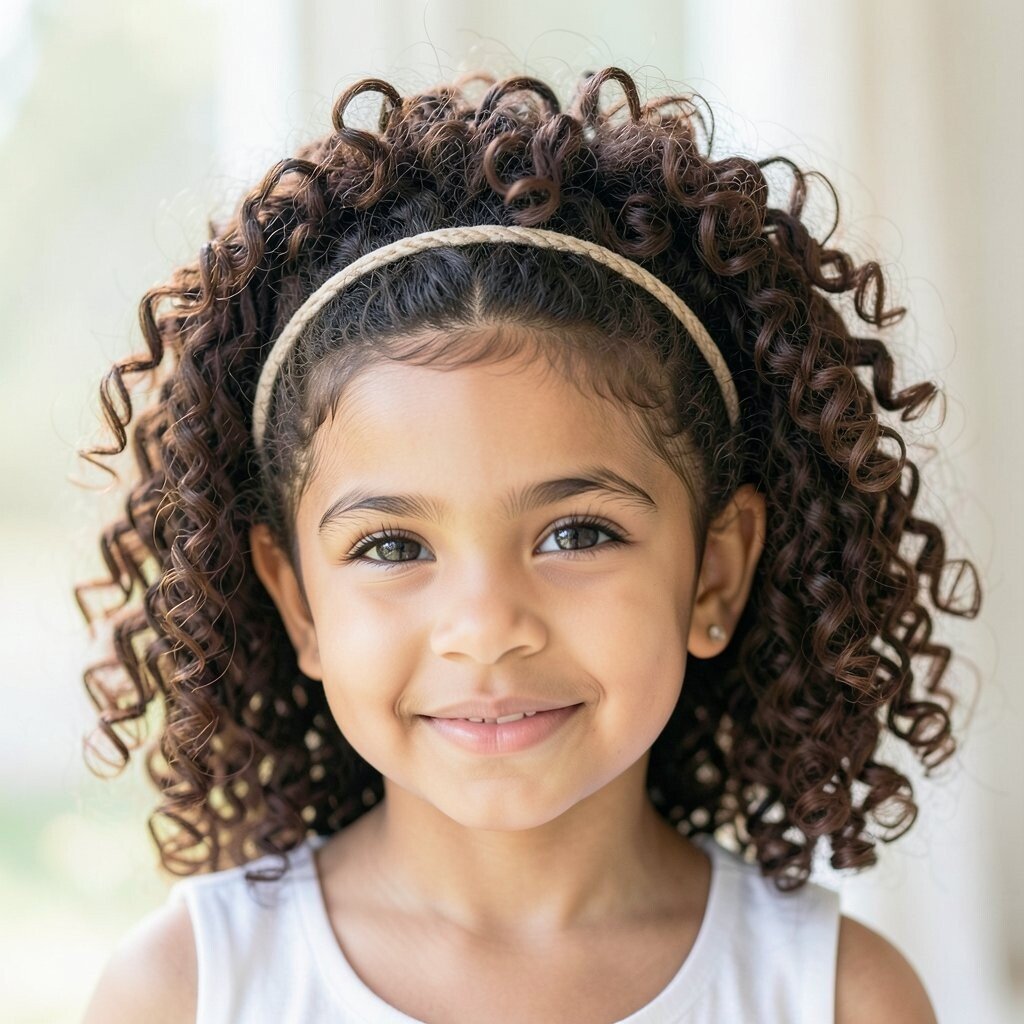
For curly hair, puffs can look adorable and photo-ready. This style highlights your texture instead of trying to smooth everything away.
Section hair into two or three high puffs, then secure with elastics that won’t snag. Fluff each puff gently so it looks round and full. If you want a tidy base, smooth the edges with a little curl cream or gel.
Personalize it with different puff sizes, like one large center puff and smaller side puffs. You can also add tiny beads or clip-on bows if your school allows them. For cost considerations, you’ll mainly need elastics, styling cream, and a couple of clips.
In pictures, puffs create a bright frame around your face and keep your curls looking bouncy.
12. Sleek Braided Headband With Ponytail
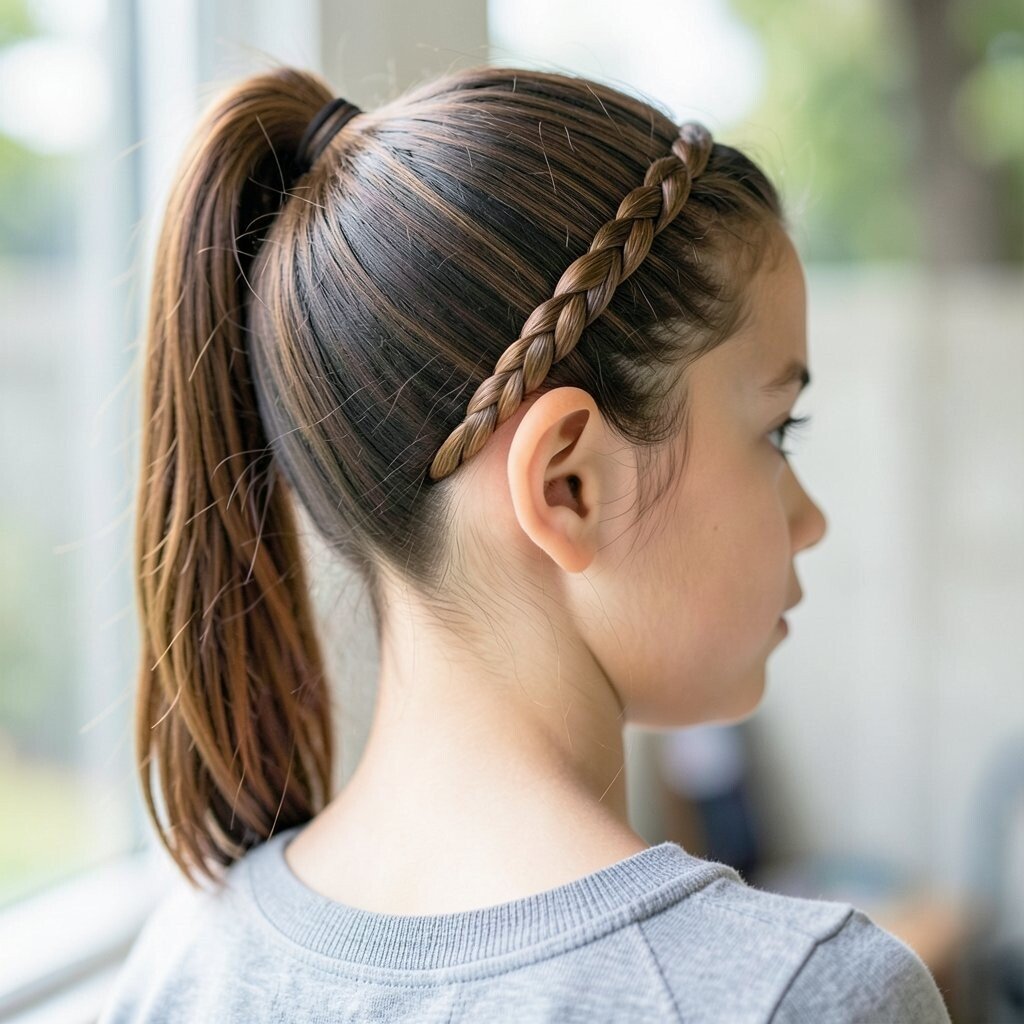
A braided headband gives a “styled” look while keeping your hair comfortable. It’s also a great option if you want your face to look clean and open in photos.
Create a small braid across the top like a headband, then secure it behind your ear. Leave the rest of your hair in a ponytail or half-up style for balance. Smooth the hair around the braid so it looks neat and intentional.
To make it unique, try a micro braid with three strands for a delicate look. If your hair is thicker, a wider braid will show better in photos. This style is usually affordable since it uses basic tools plus one elastic.
13. Ribbon Laced French Twist
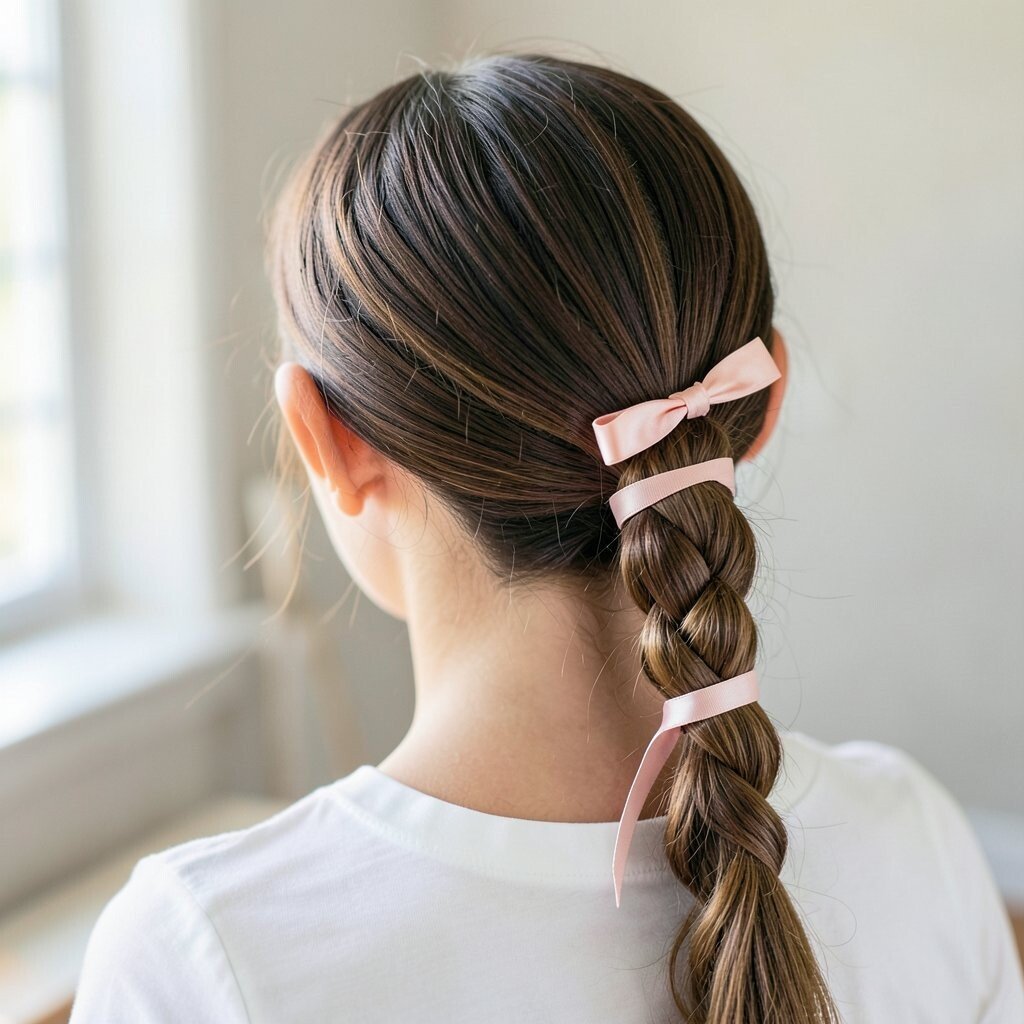
A French twist looks elegant, and adding a ribbon makes it feel extra cute. You’ll get a sleek shape that looks polished in front of the camera.
Pin your hair into a twist at the back of your head, keeping it smooth at the sides. Slide a ribbon through a hair clip or tie it around the twist for a soft accent. For hold, use bobby pins in a crisscross pattern so the twist stays firm.
This is a unique way to use a ribbon without needing complicated tools. Personalize it by matching ribbon colors to your outfit or choosing a patterned ribbon for fun. The cost can be low if you already have a ribbon at home, but it can also be upgraded with a fancy satin piece.
When the light hits, the twist looks tidy and the ribbon adds that “wow” detail.
14. Soft Rolled Bangs Effect With Blowout Volume
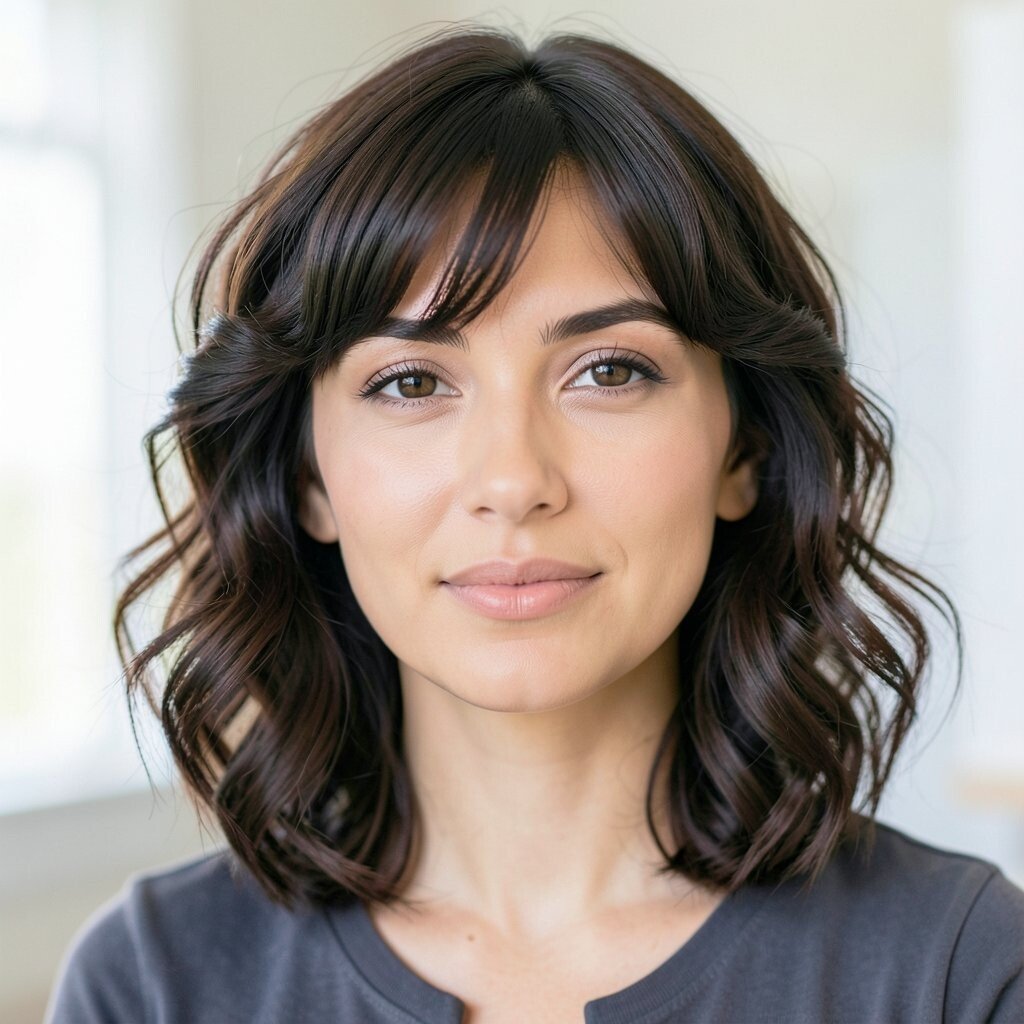
If you love volume, a rolled bangs effect can make your whole look feel fresh. The hair near your face looks smooth, lifted, and ready for photos.
Create gentle volume by blow-drying with a round brush or using velcro rollers. Roll the front pieces slightly inward using a brush and a little styling cream so it frames your eyes. Secure with a light mist or a few tiny pins if needed.
For personalization, adjust the roll to be subtle for everyday vibes or more dramatic for a statement look. If you have no bangs, you can mimic the shape with front sections. This style can be budget-friendly because it mainly uses a brush, a few clips, and your regular styling products.
15. Braided Crown Ponytail With Shine
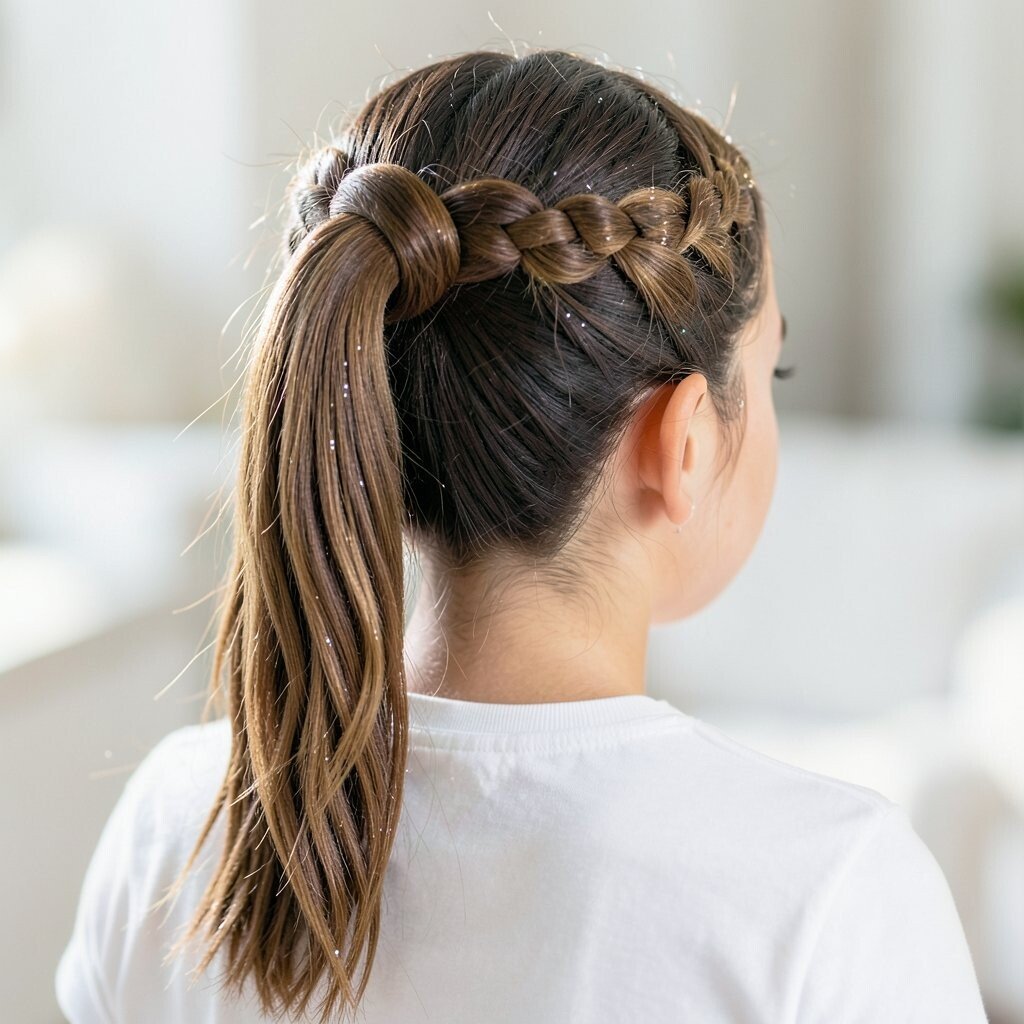
This look feels sporty, cute, and photo-perfect. You’ll see a crown braid on top and a ponytail underneath that adds height and movement.
Start with a crown braid that travels around the head, then secure it and connect it to a ponytail. Smooth the ponytail with a brush, then add shine serum to reduce frizz. Curl the ponytail slightly for extra bounce.
Make it unique by choosing a braid thickness that matches your hair density. Thinner braids look delicate, while thicker braids look bold. For practical tips, keep the braid tight near the scalp and loosen only the outer edge for volume.
Cost is usually low since the main supplies are elastics, pins, and a small amount of hair product for shine.
16. Side-Swept Twists Into a Low Knot
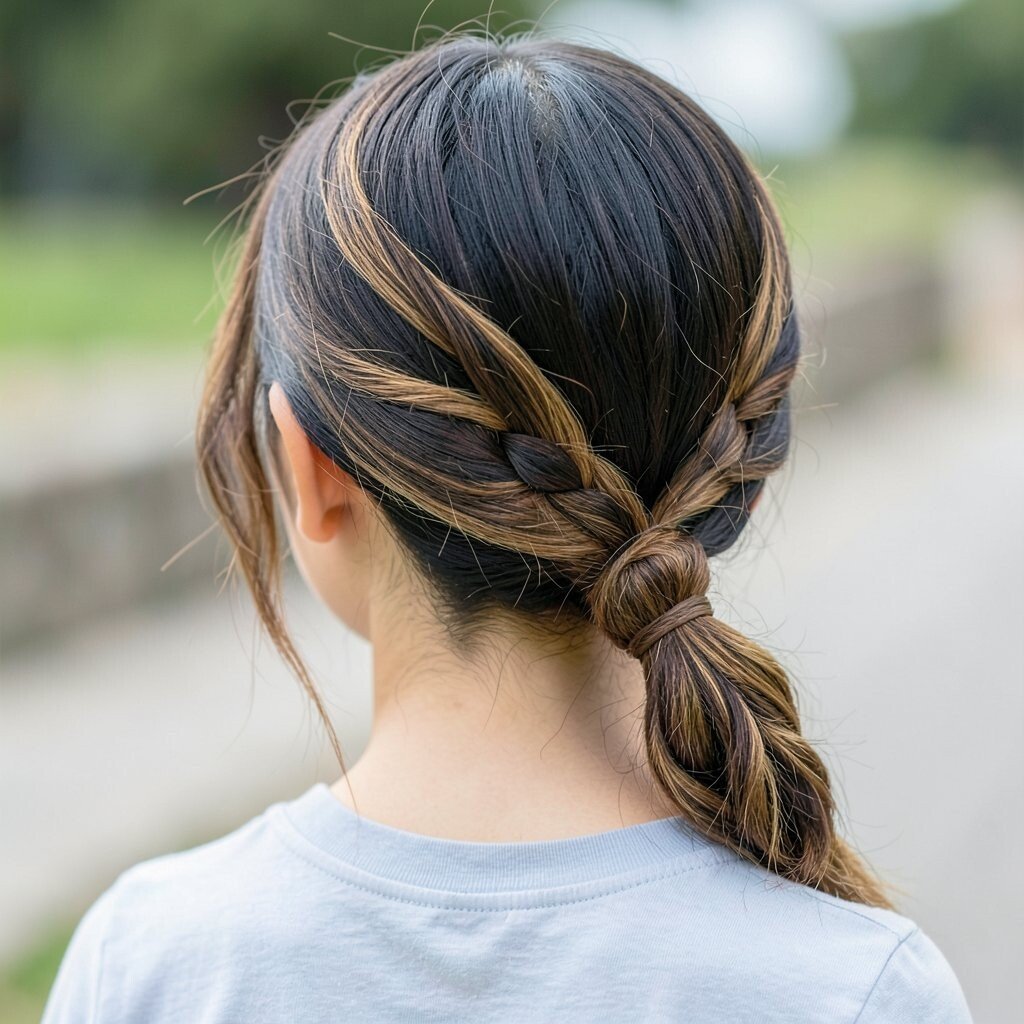
A side-swept style looks stylish and helps your hair fall nicely for photos. The low knot keeps things comfortable and prevents hair from hanging too close to your face.
Twist two sections from the front on one side, then pull them back and combine them into a low knot. Secure with bobby pins and a small elastic if needed. Smooth any bumps with a bit of gel or water so the photo looks clean.
This can be personalized by adding a thin braid inside the twist for a detailed look. If you have straight hair, use a curling iron on the ends before tying to make the knot look fuller. This style is also a great choice when you don’t want to spend a lot of time styling.
17. Halo Braid With Center Part Glow
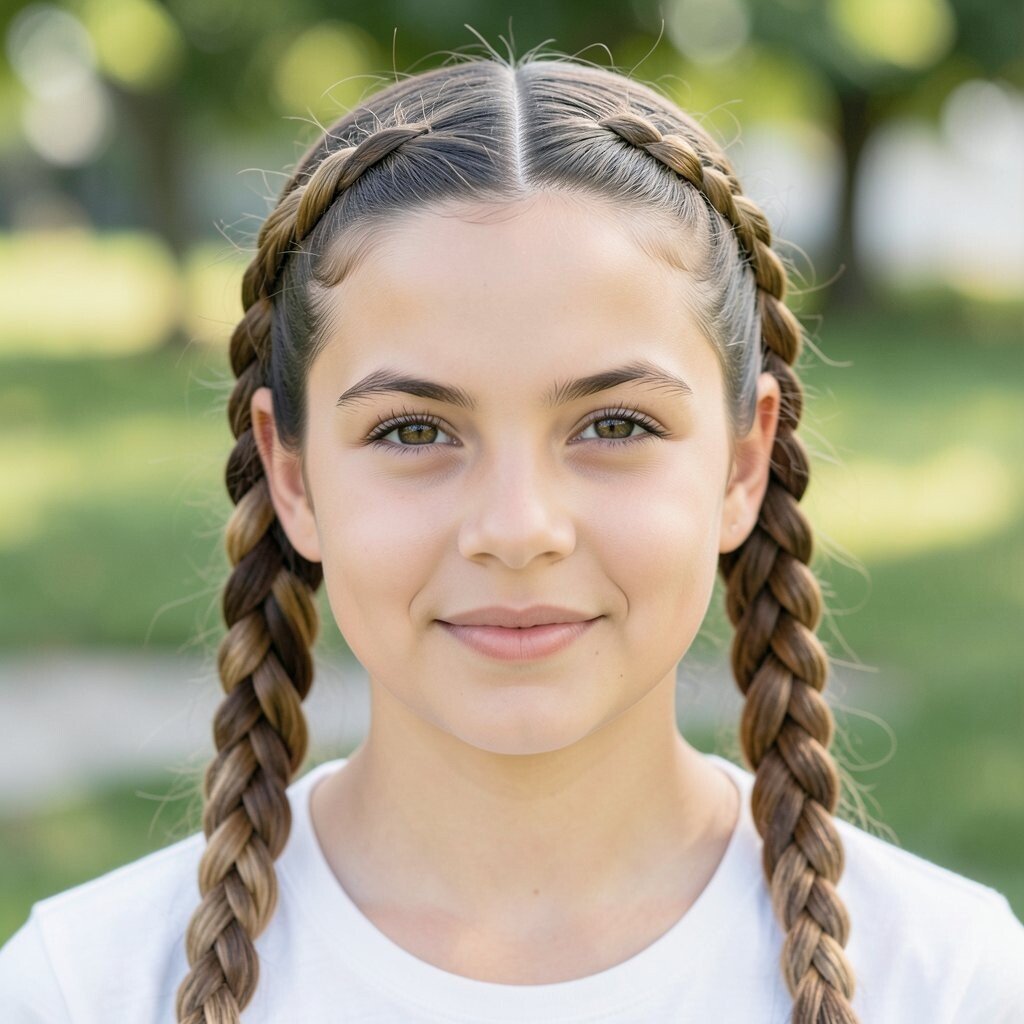
A halo braid is a magical look that sits evenly around your head. It makes your hair look neat and special, especially in a school portrait setting.
Part your hair in the center, then braid each side and wrap them around like a crown. Secure the ends behind your head with pins that match your hair color. Use a little hair spray to help flyaways behave.
For uniqueness, pull out a few wisps near the face so it feels soft, not too tight. This style works for many hair lengths because you can adjust pin placement to create the right loop size. When it comes to cost, you only need basic pins and elastics, plus whatever spray you already use.
In photos, the symmetrical shape draws attention to your eyes and makes your outfit stand out.
18. Sleek Top Knot With Micro Braids
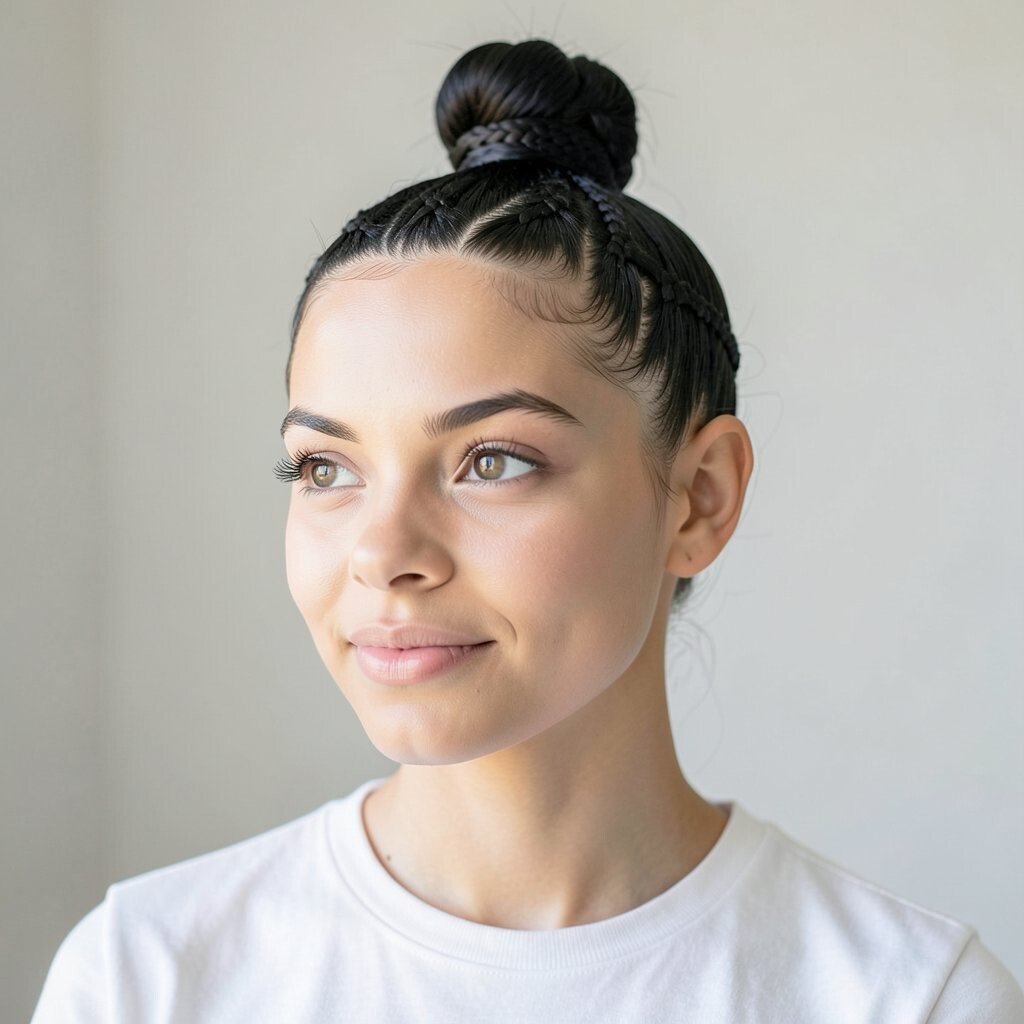
A top knot is quick and cute, and micro braids add a fun twist. This combo looks modern and stays comfortable throughout the day.
Gather your hair into a high or slightly angled top knot, then braid two or three tiny sections near the front. Wrap those micro braids around the base of the knot for a decorative finish. Smooth the top with gel or a light styling cream for a clean look.
Personalize it with different braid counts or by adding a small hair accessory at the knot base. If your hair is thin, backcomb a little at the roots so the top knot looks full. It’s generally low cost because elastics and pins do most of the work.
19. Curly Side Ponytail With Twisted Detail
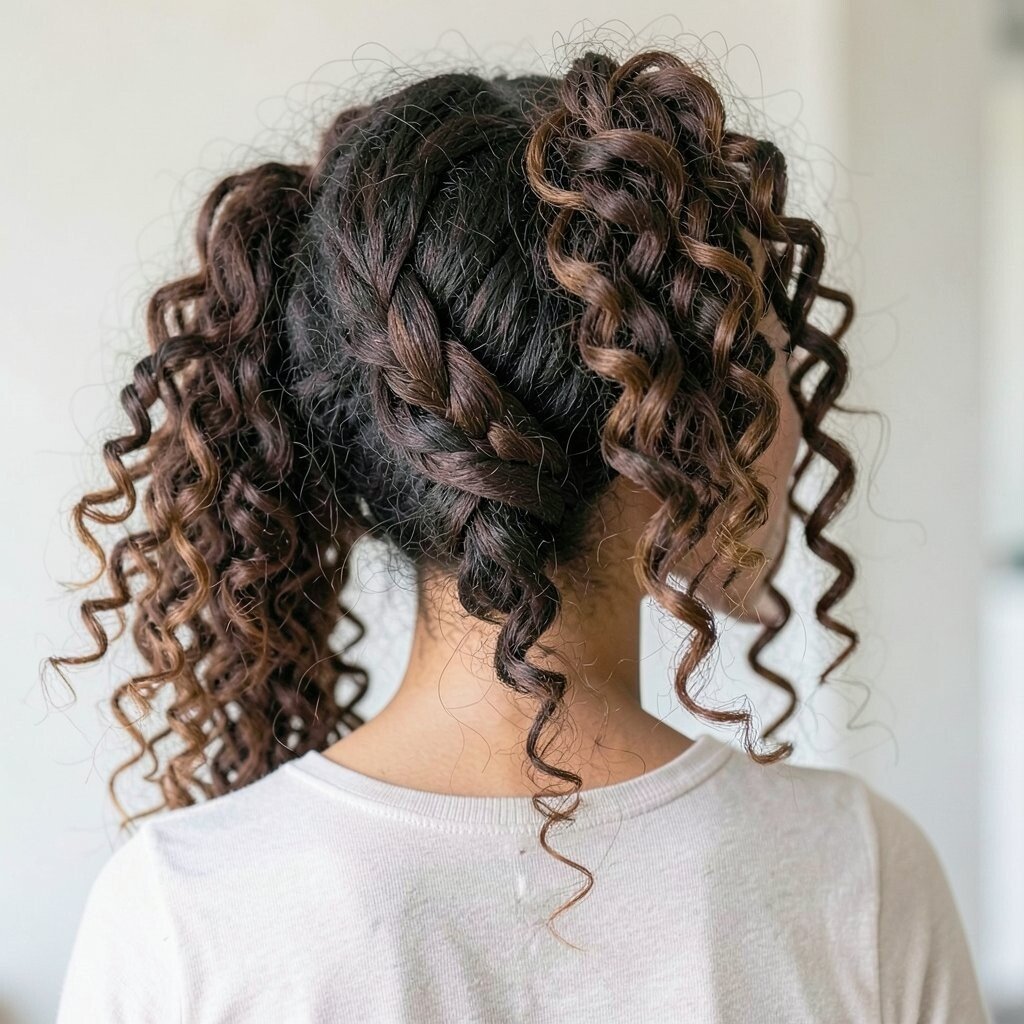
Curly side ponytails look sweet and picture-ready with minimal effort. The side placement adds interest, and your curls bring natural volume.
Gather your curls into a low side ponytail, keeping the front a little fuller. Before securing, take a small section from the side and twist it around the elastic so it looks like a decorative wrap. If your curls are loose, use a curl cream to help them bounce back into shape.
This style is unique because you can control the curl level, from soft ringlets to fuller texture. For practical tips, use a scrunching motion after twisting so your hair doesn’t look flattened. Cost considerations are easy since you’ll mostly need an elastic and a little product for curl hold.
In photos, the curls create a lively frame that looks great even if the wind moves your hair a bit.
20. Twisted Low Braid With Three-Strand Finish
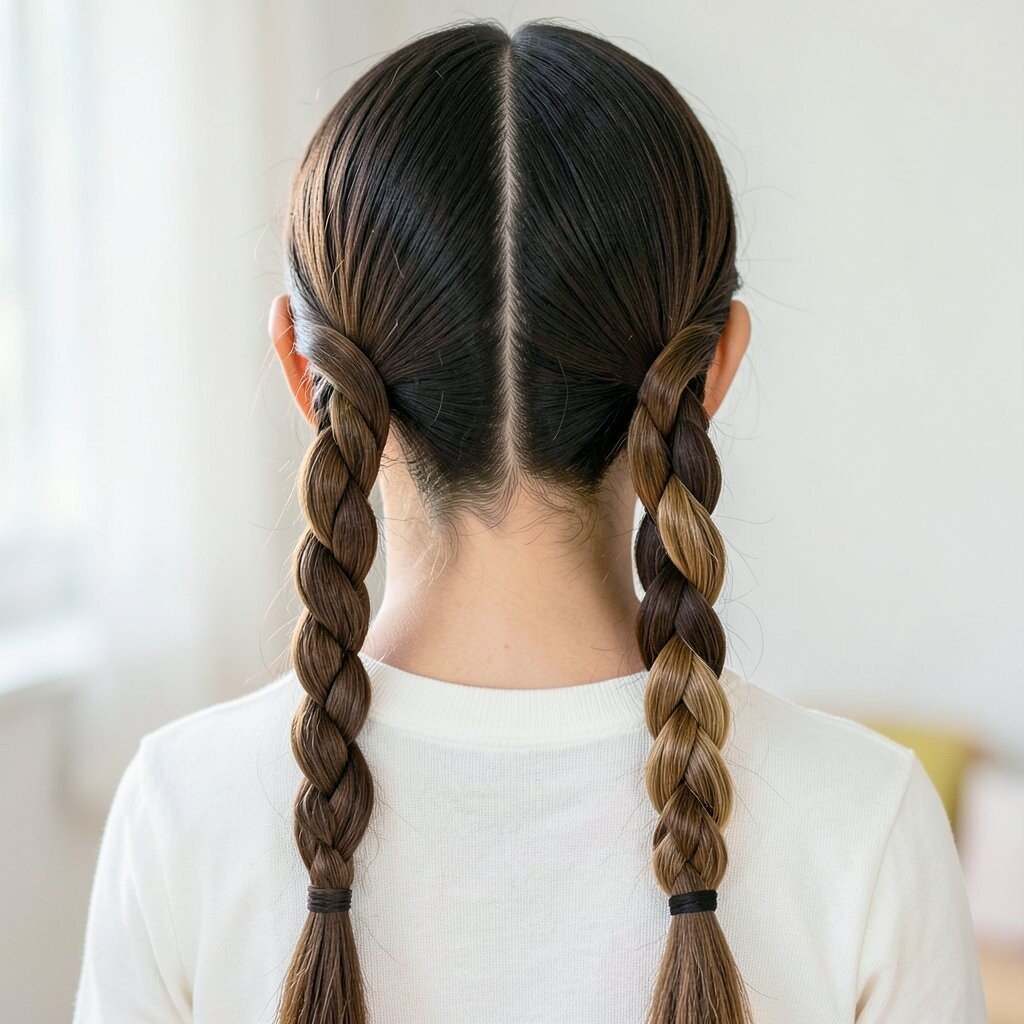
This final look feels creative and still stays tidy for school pictures. It combines twists for interest, then finishes in a braid that looks neat and camera-friendly.
Twist two sections at the front, pulling them toward the back, then combine them into a simple three-strand braid at the ends. Secure with an elastic and gently tug the braid for a fuller look. Add a small clip near the braid start if you want a cute sparkle.
To personalize it, choose a deeper side part for drama or a flatter part for a calmer vibe. If your hair is very short, try a mini version with pins to hold everything in place. For cost, this is one of the simplest options since it uses basic braid supplies and optional shine spray.
When you turn your head in a photo, the braid and twists catch the light and make the style look detailed without being hard.