Rogue hair ideas are for people who like their style with a little attitude. A few smart tweaks can make your everyday look feel brand-new.
1. The Feathered Side Shatter
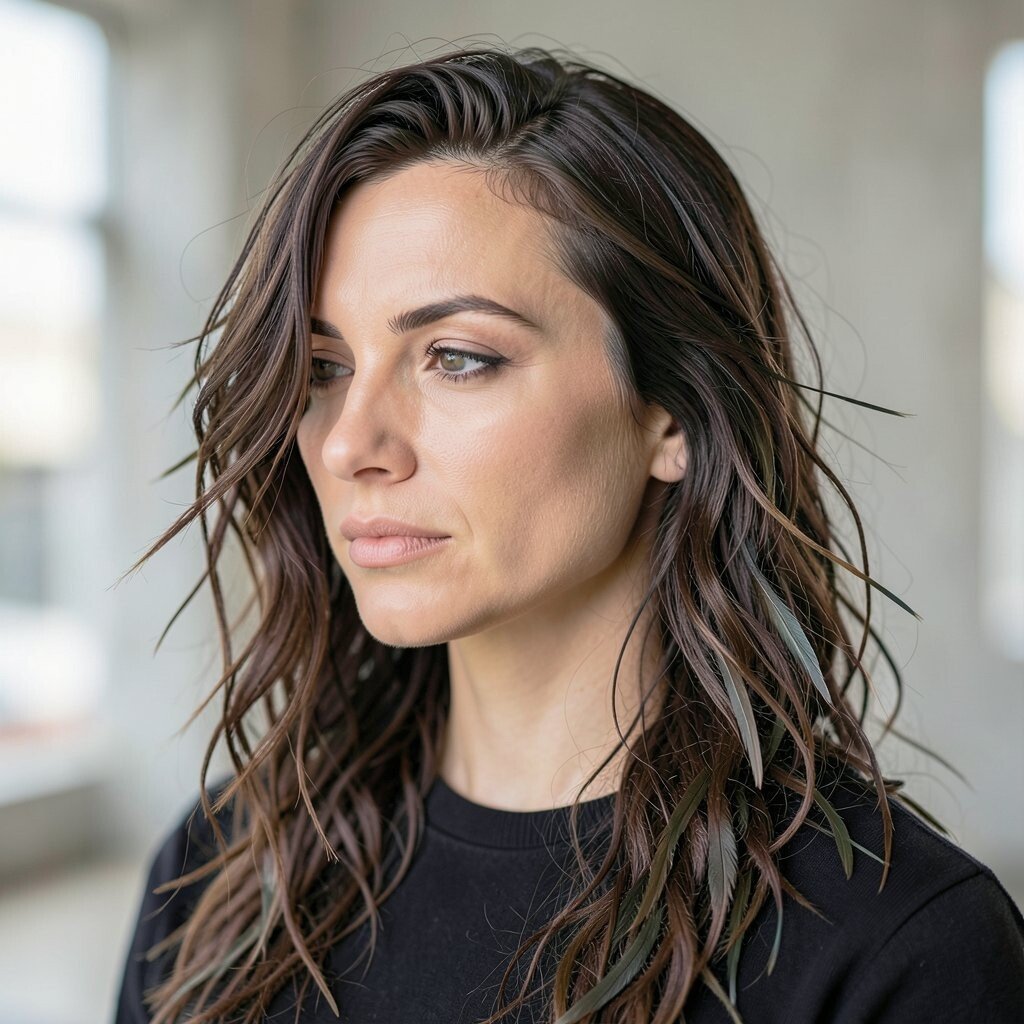
Imagine loose, feathery layers that break apart toward one side, like soft pieces of glass catching light. The movement looks airy and a bit rebellious, even when you’re just running out the door.
Start with a side part and ask for long feathered layers that thin slightly at the ends. After washing, mist with a light leave-in and blow-dry the top just enough to lift, then flip the dryer downward for that shatter effect. For a personalized finish, keep the shortest feathering closer to the cheekbone if you want a face-framing vibe, or push it further back if you want drama.
2. Micro Bangs With a Crooked Curl
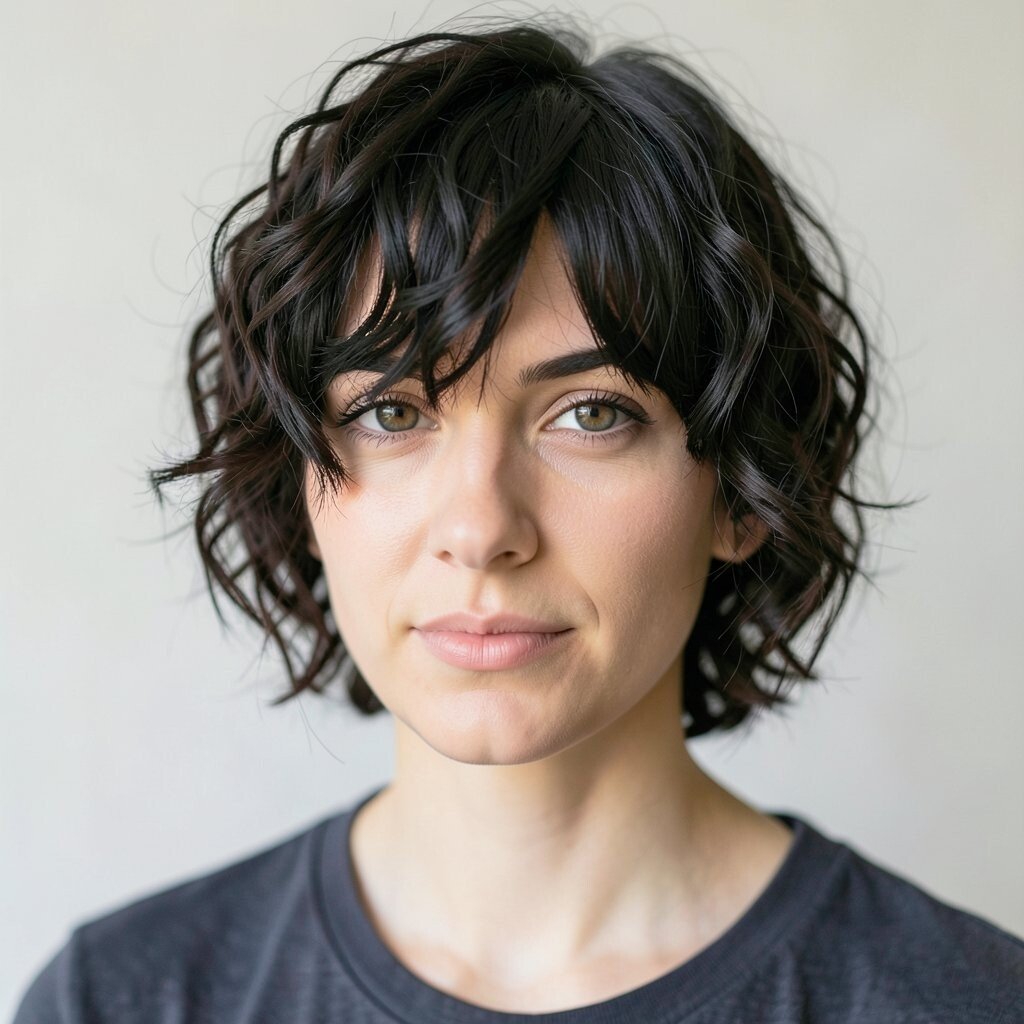
Picture tiny bangs that land above the eyebrows, but they don’t sit perfectly straight. One section curls inward while another falls softer, giving a playful, rogue charm.
When you style, use a small round brush and curl only a few strands so the rest stays lightly textured. A little hair wax on your fingertips helps you nudge the bangs into an uneven, natural pattern. This is great for current trends because micro bangs keep showing up in street style, and the curl detail makes the look feel personal instead of cookie-cutter.
For cost considerations, this cut usually needs more frequent trims than longer fringe, so plan quick refreshes every few weeks. If you want it low-maintenance, ask your stylist to shape the bangs with blended ends so they grow out more smoothly. Pair it with a simple ponytail or messy bun to show off that crooked curl.
3. Root Smoke Ombre
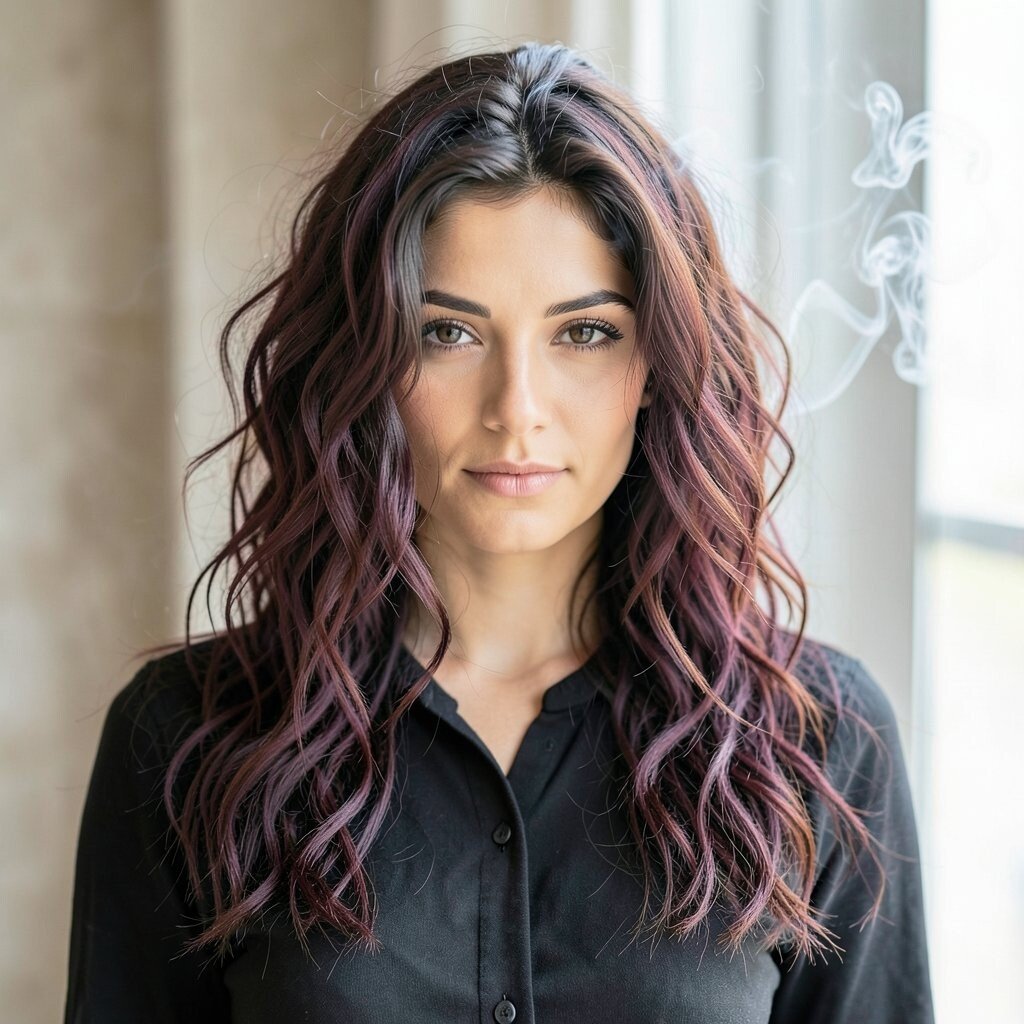
Think of darker roots that fade into lighter, smoky lengths, like fog rolling across a city street. The contrast feels modern and slightly mysterious without looking harsh.
This works especially well if you want dimension, because the fade makes hair look thicker and more dimensional. Ask for a root-smudge effect rather than a sharp line, and choose a tone that matches your natural undertone so it looks believable. When you style, use a heat protectant and add loose waves so the smoke blend shows up in motion.
To personalize, go for cool ash smoke if you love a crisp look, or choose warm caramel smoke for softer warmth. It’s a good option for people who want to try color but still want something that grows out more gracefully than a full highlight. Budget-wise, the first appointment can cost more, but maintenance is often easier with targeted glosses instead of frequent full dye jobs.
4. Razor Line Underlayer
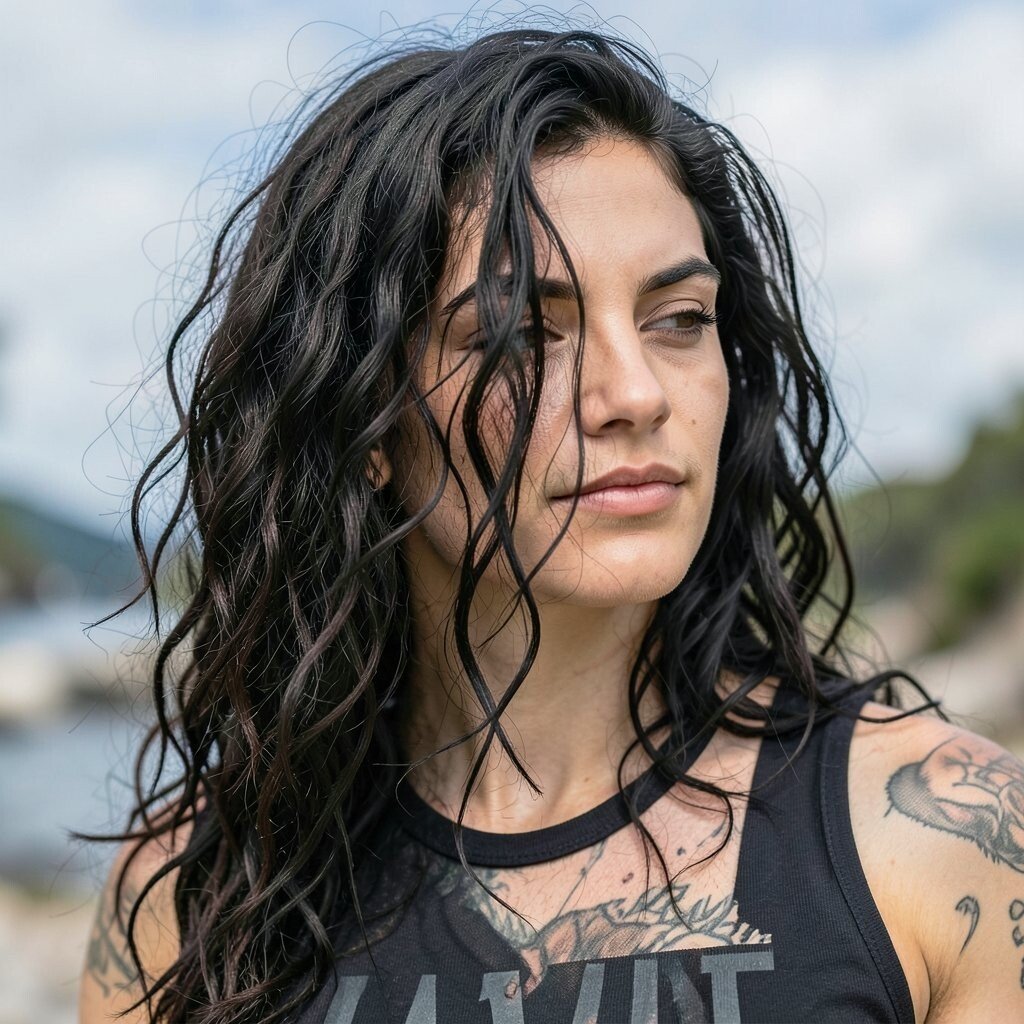
Visualize a thin, sharp line that hides under your hair, created by a neat razor cut that peeks out when you move. From the top it looks normal, but when you flip your hair, there’s a secret edge.
Ask your stylist for an underlayer with a precise thinning or shaved strip effect, keeping it connected so it blends back into your length. To style it, section your hair and tease the top slightly, then let the underlayer fall so it frames your movement. This rogue idea is unique because it’s subtle most of the time but still gives you that “what’s going on?” reaction.
5. Cloud Volume Curls
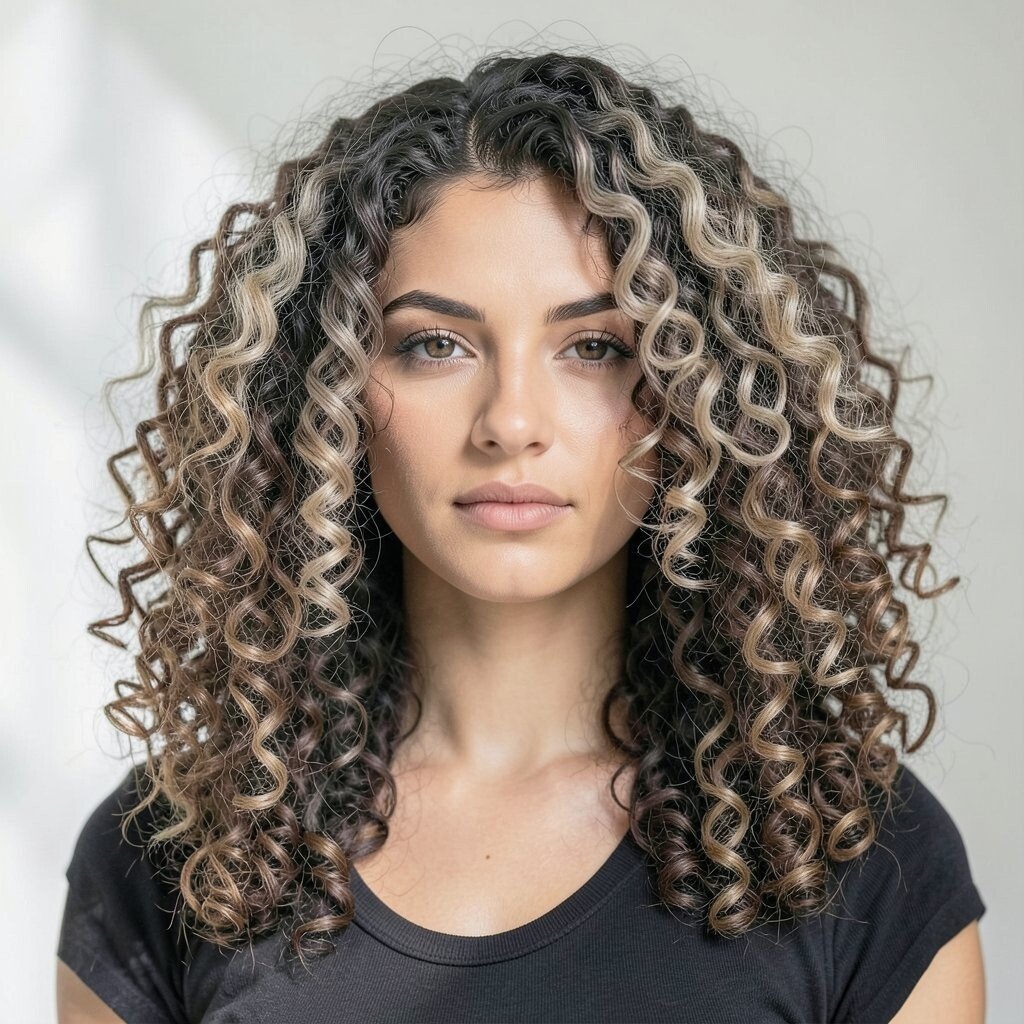
Picture curls that look bouncy and soft, like a fluffy cloud hovering around your head. They’re still defined, but the shape feels relaxed and a little chaotic in the best way.
Use a curl cream and scrunch upward to encourage lift, then diffuse gently until your curls look airy rather than crunchy. For personalization, choose a curl size based on your hair thickness, since finer hair usually needs smaller sections for stronger shape. If you’re into current trends, fluffy curls are still popular because they look good in photos and in real life.
Cost considerations are pretty friendly here because you can get a big change from styling products, not a pricey haircut. A refresh trim now and then keeps the ends healthy and helps the curls hold their bounce longer. Finish with a light mist so the volume stays touchable.
6. Asymmetry That Refuses to Sit Still
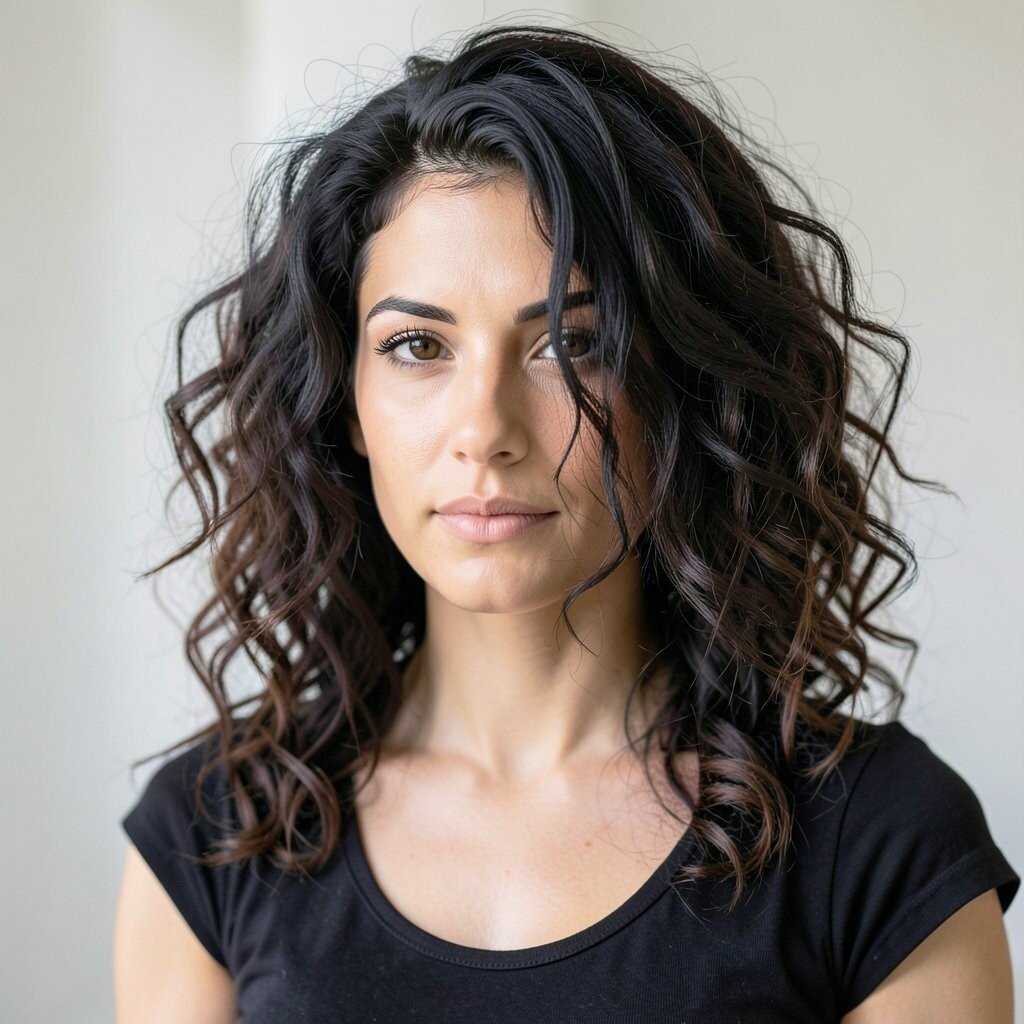
Imagine one side slightly longer than the other, but styled so it never hangs the same way twice. It creates a steady visual rhythm while still feeling playful and rogue.
Start with an asymmetrical cut at the jaw or collarbone, then keep the layers light so you don’t end up with a heavy “block” look. Use a flat iron for just the front pieces, then run your fingers through the ends to break the shine into texture. If you want extra personality, add a subtle bend in the longer side and tuck the shorter side behind your ear.
This is a great choice if you want something unique without needing major color. It tends to grow out more gracefully than you’d expect when the layers are blended well. Budget-wise, you may still need a trim to keep the balance, but it’s usually less demanding than high-maintenance fringe.
7. Deep Part Flip With Hidden Highlights

Picture a deep side part that sweeps dramatically across your scalp, with tiny highlights hidden underneath. When you flip your hair, the hidden color flashes like a secret accessory.
Ask for a deeper side part cut and light babylight placement in the inner layers so the highlight shows only when hair moves. During styling, blow-dry at the roots with a nozzle and direct the part so it locks in place. For personalization, choose highlights one to two shades lighter than your base so it looks natural but still catches light.
8. The Messy Crown Twist

Think of a crown twist where the top section gets gathered and twisted, but it’s not tight or perfect. The style gives “I woke up like this” energy with a bit of rebellion.
Use a texturizing spray, then grab the top front section and twist it loosely before pinning it in place. Leave a few wisps out near the temples for a soft, rogue look that feels current and effortless. This idea benefits fine hair because twisting at the top creates lift without needing heavy teasing.
For cost considerations, you can get results with a few affordable tools like bobby pins and a quality texturizer. Personalize it by using a different part, like zigzag or deep center, so the twist sits in an unexpected place. If your hair is thick, add a lighter hold gel so the twist stays in motion longer.
9. The Shaggy Fringe Sprint
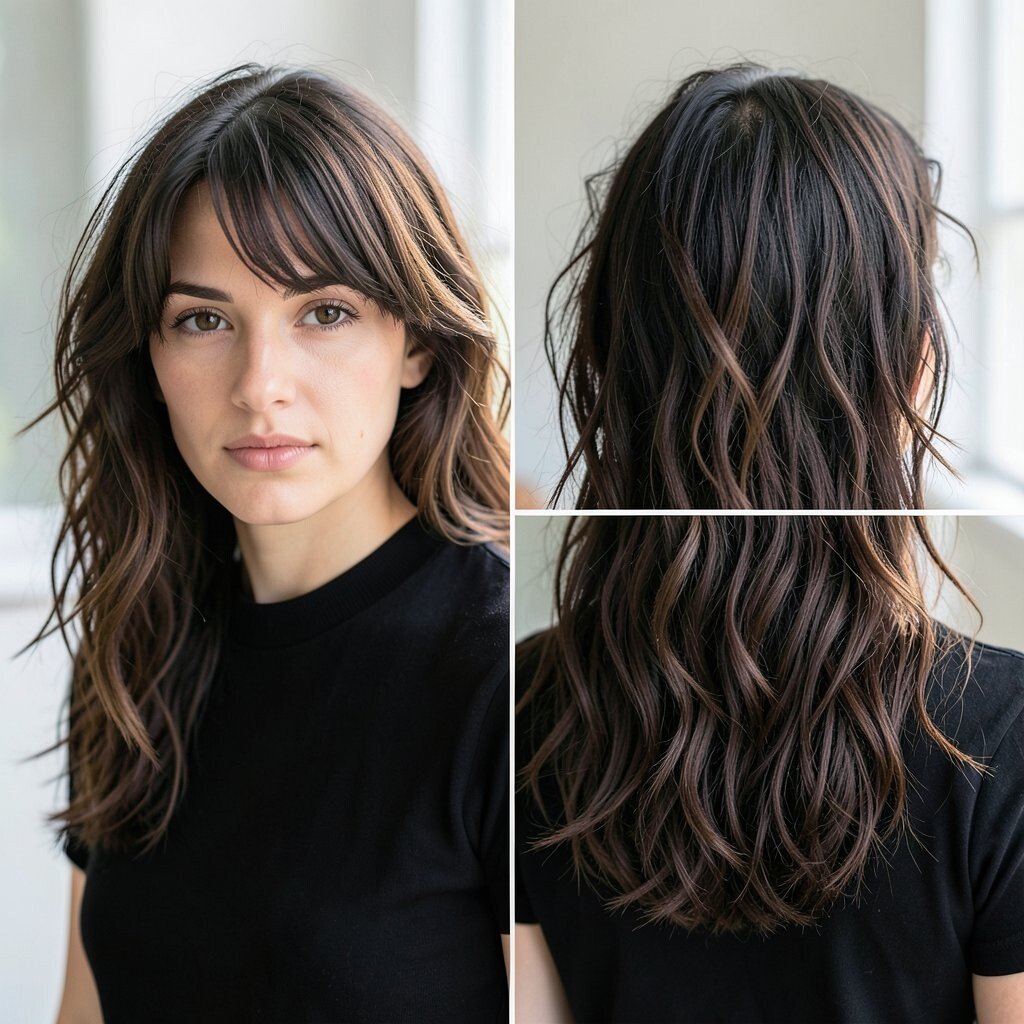
Picture fringe that’s not meant to lay down, but to bounce, split, and move with you. It looks like a shag you can wear with pride, and it frames your face in a bold way.
Ask for choppy layers around the front and a fringe that’s intentionally textured, not blunt. When you style, blow-dry with your fingers pulling upward, then use a small amount of matte paste to break up the fringe into pieces. This style is popular right now because shag textures keep trending, and fringe makes it feel extra fresh.
To personalize, shorten the fringe if you love a dramatic vibe, or lengthen it to blend into cheek layers for a softer look. Budget-wise, a matte product is usually less expensive than repeated color work, and it gives you a lot of styling control. Keep a tiny comb in your bag so you can reshape the fringe after a windy commute.
When the fringe grows, it can still look stylish because the whole look is built on movement. If you want it to stay rogue longer, trim only the very ends rather than cutting the whole fringe back.
10. Slick Bob With a Rebel Snap
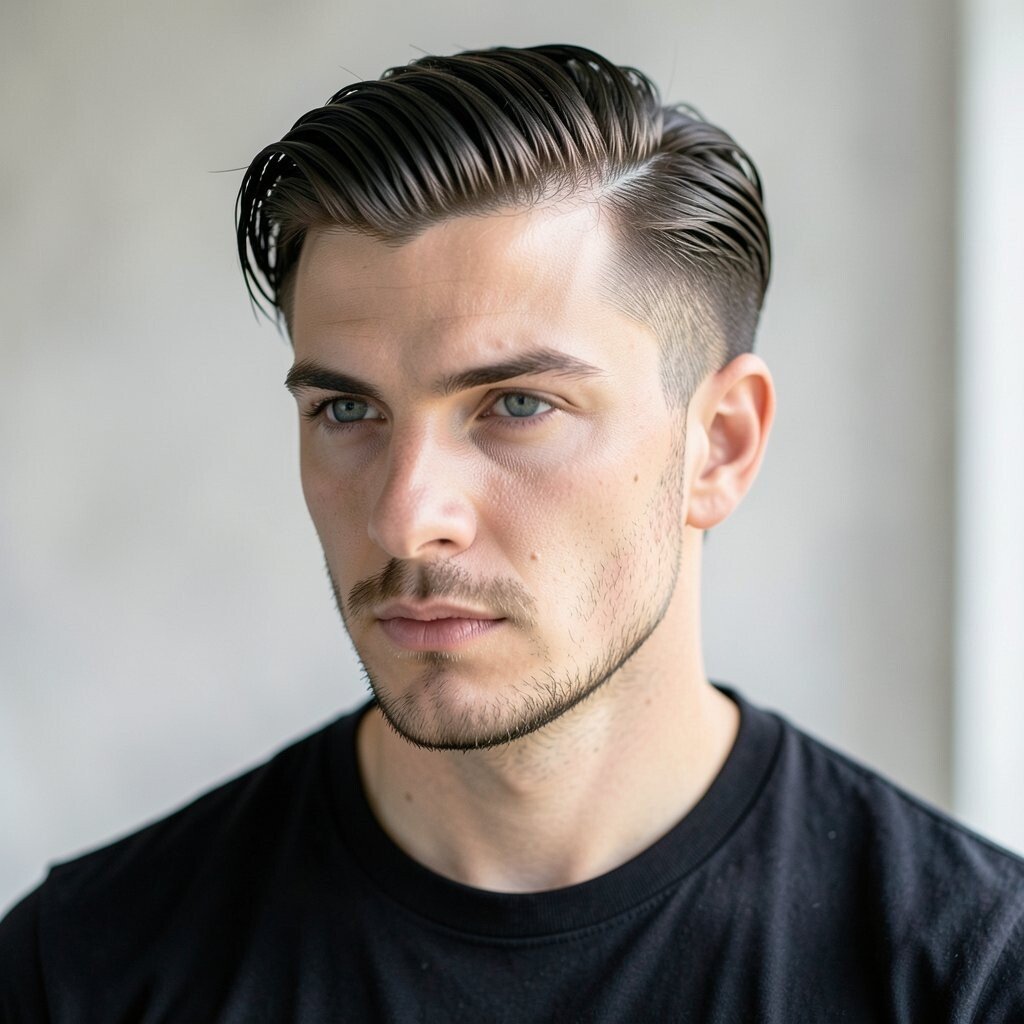
Imagine a sleek bob that looks polished, then interrupted by a small rebel snap in one section. The contrast between smooth and edgy makes the whole look feel like you chose it on purpose.
Start with a blunt or softly layered bob, then create one “snapped” piece using a flat iron to bend the ends outward. Finish with a lightweight shine serum on the rest of the hair so it stays sleek but doesn’t look greasy. For personalization, choose the snap direction based on your face shape, since outward bends can brighten the sides while inward bends add softness.
11. Halo Layer Lighting
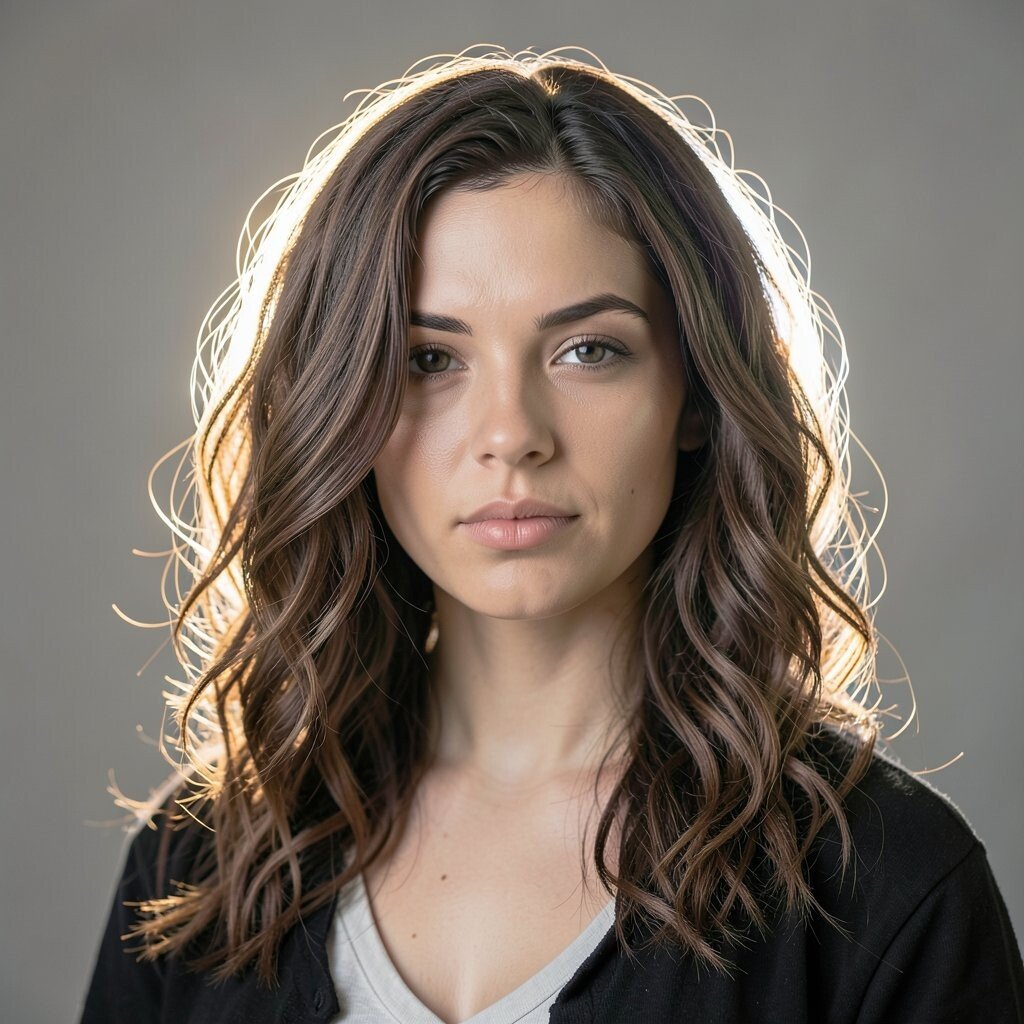
Picture a ring of lighter color around the head, like a halo that’s only visible when your hair sits just right. It’s subtle, bright, and a little mischievous without screaming for attention.
Ask your stylist for face-framing brightness plus slightly lighter top layers that create that halo effect. When you style, use a middle or slightly off-center part so the halo ring shows evenly. This idea benefits people who want color payoff but still want a look that feels wearable for school, work, and evenings out.
Personalize it by keeping the halo tone close to your natural shade if you prefer softer drama, or choose a brighter highlight if you want it to look bold in photos. Cost considerations can vary since placement-based color can take time, but gloss refreshes between major sessions help keep it looking fresh. It also pairs well with current trends in dimension, because layered lighting looks great on almost every hair texture.
12. Crown Braided Mess
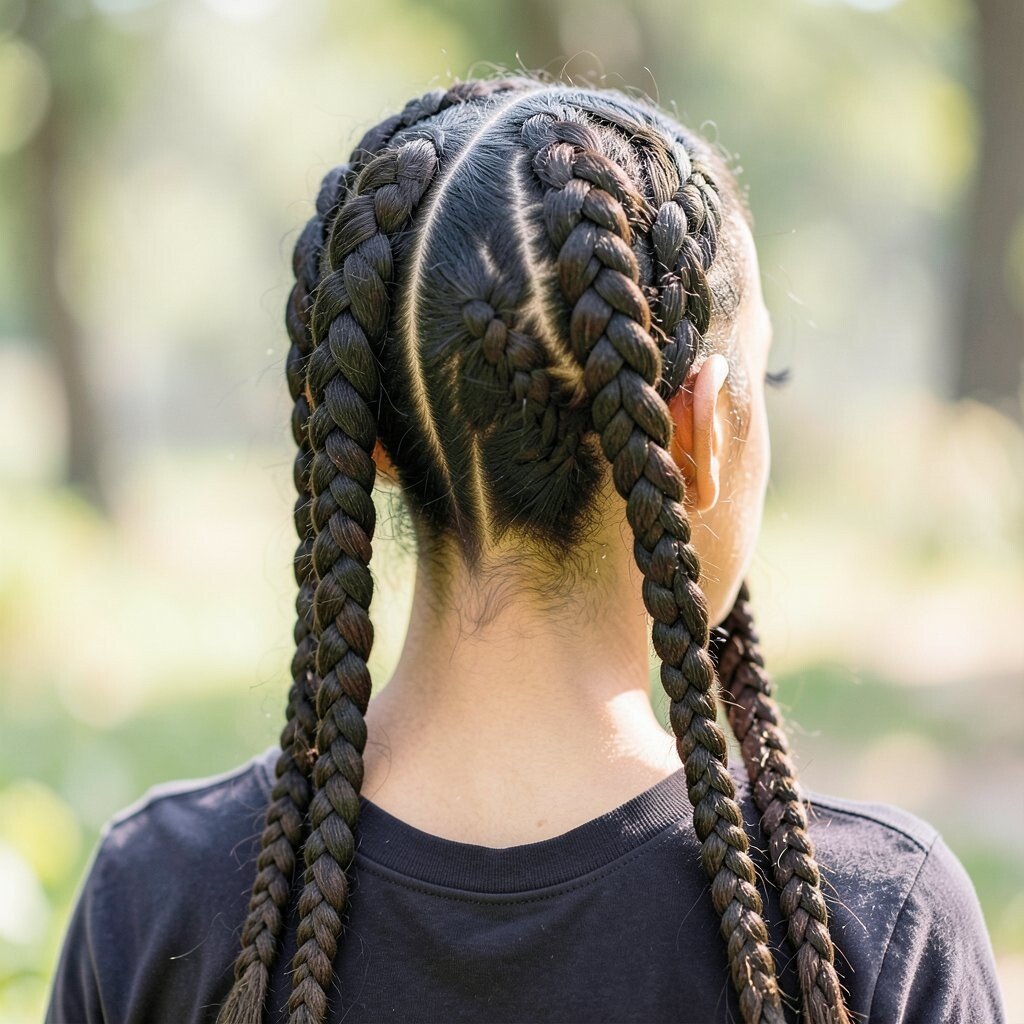
Think of two small braids at the top that start neat, then turn messy and airy as they trail back. It looks romantic for a second, then turns rogue the moment you shake it out.
Create the braids from the crown section, secure with small elastics, then tug gently to loosen for a fuller look. Leave the ends slightly undone and blend them into the rest of your hair with a quick shake. This style is unique because it combines “put together” structure with “I don’t care” texture.
For personalization, add a small ribbon clip or a single hair pin on one side to make the braids feel like an accessory. If you’re on a budget, you can skip fancy products and use dry shampoo to add grip before braiding. Keep the braid mess lasting by using a light hold spray only on the loose ends rather than saturating everything.
13. Color-Drip Tips Without Full Dye
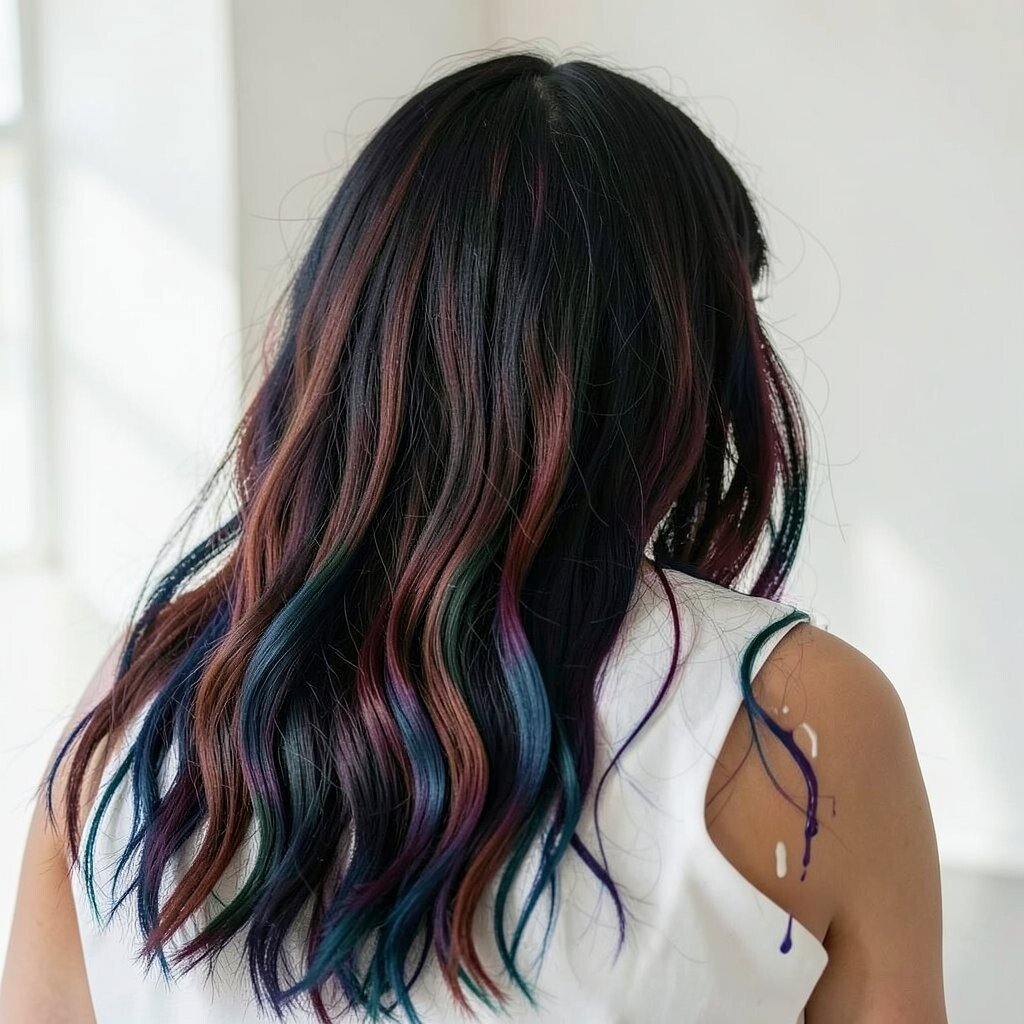
Picture a soft drip effect at the ends, where color melts downward like paint that decided to behave creatively. It’s eye-catching but still wearable, especially when the rest of your hair stays mostly your natural shade.
Choose a shade that flatters your vibe, like deep berry for a bold mood or subtle honey for a gentler rogue look. For best results, ask your stylist to keep the drip concentrated at the tips so it grows out with less awkwardness. Personalize it by picking thicker “drip” sections on one side if you want the asymmetry to match your face.
Cost considerations matter here because tip-only color can be cheaper than full highlights, but it depends on your hair length and starting color. Maintenance is usually easier than all-over dye, especially if you use color-safe shampoo and cool water. This idea also fits current trends toward playful placement and artful texture that shows up beautifully in natural light.
14. Semi-Permanent Root Lifting Texture
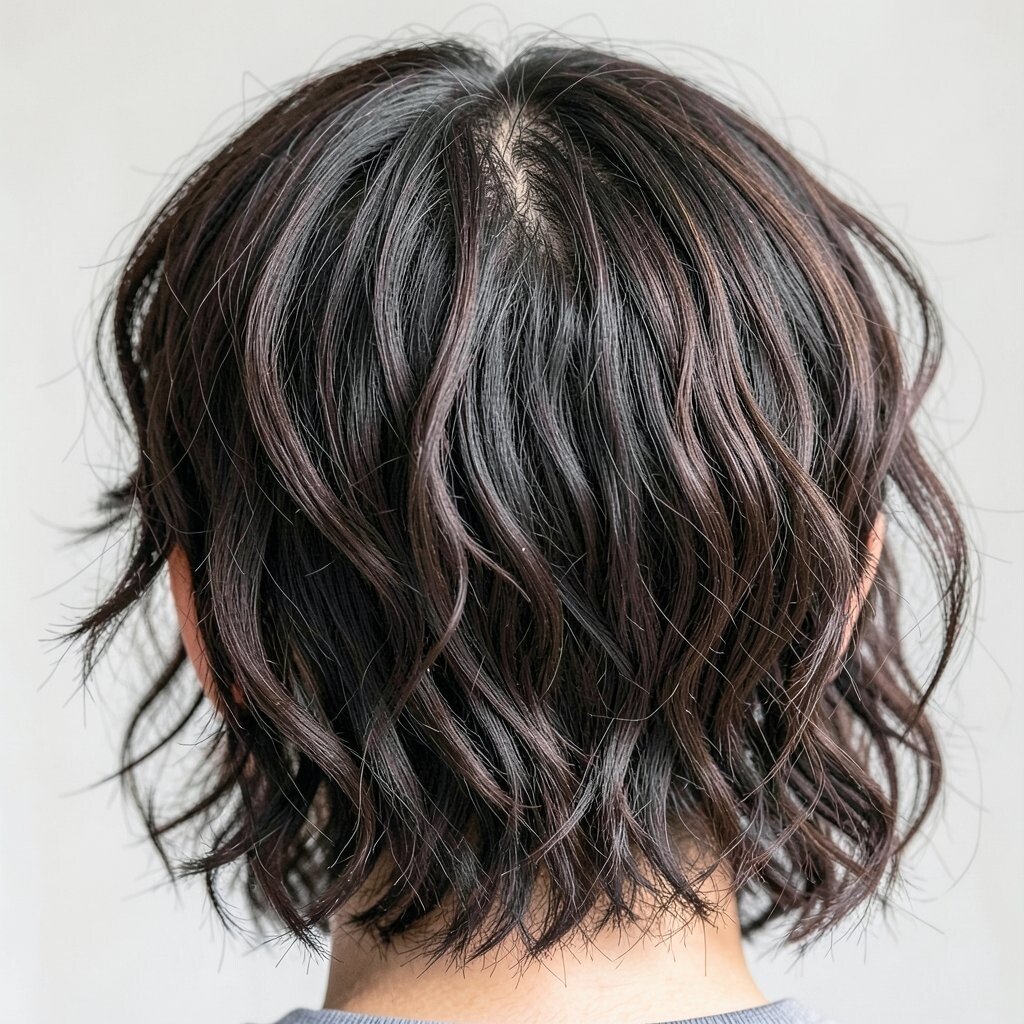
Imagine your roots looking slightly lighter or more dimensional, then paired with messy texture throughout. The result is that your hair looks like it has depth even when you keep the lengths simple.
Use a semi-permanent root lift product or consult your stylist for a root shadow effect that’s gentle on your hair. Apply carefully to the roots only, then add a tousled finish with a blow-dry and a texturizing spray. This helps your hair look thicker and benefits anyone who struggles with flatness at the top.
Personalize the look by matching the root shade to your natural undertone, which keeps it from looking too obvious. If you’re watching your budget, semi-permanent options can be a smart step compared to full color appointments. For current trends, root-shadow and softly messy texture are popular because they look natural and low stress while still being stylish.
15. The Unmatched Crown Clips
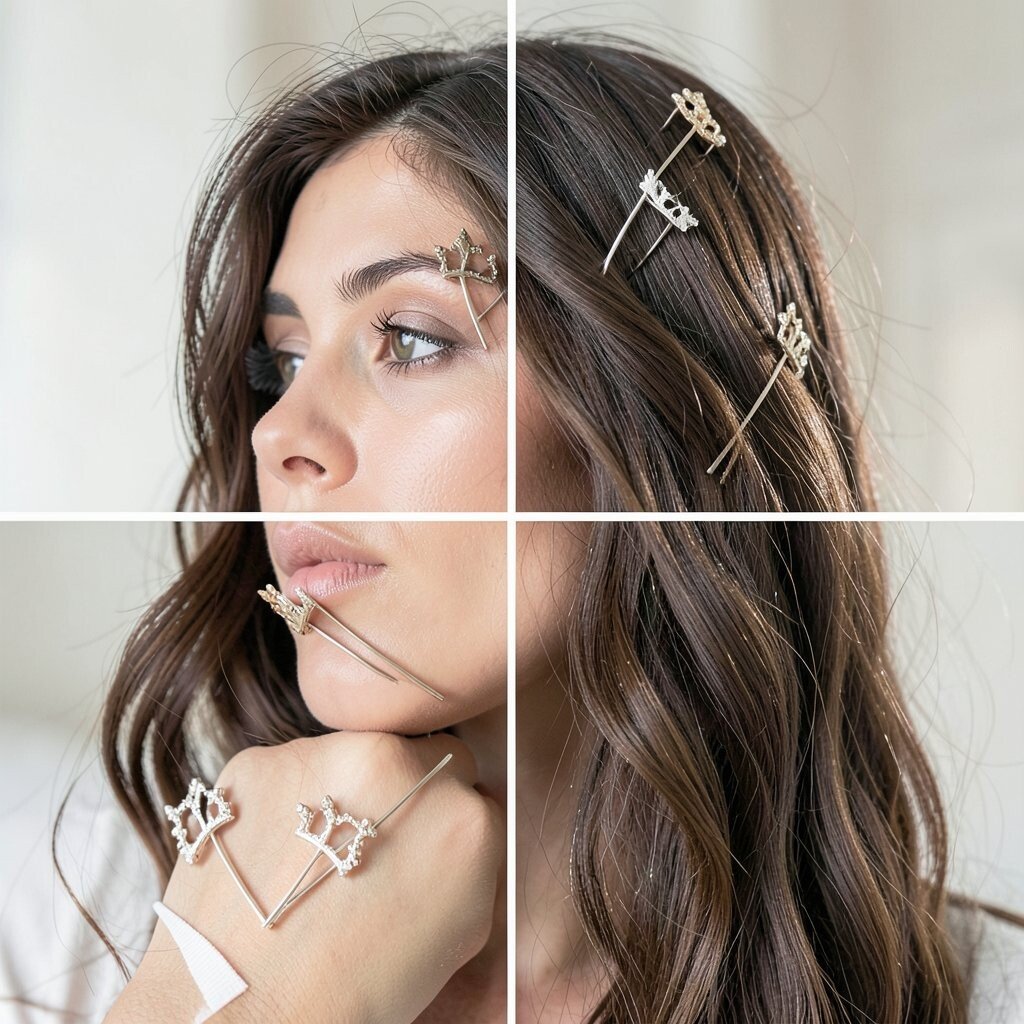
Picture a messy hairstyle where two different clips hold sections of hair in place, almost like mismatched accessories. One clip might be sleek, while the other is shiny or matte, and the difference becomes the statement.
Part your hair slightly, then pin small sections near the crown using contrasting clips. Keep a few strands loose to maintain that rogue vibe, and adjust the angle of each clip so it looks intentional rather than random. This style is unique because it turns hair styling into accessory styling, so you can switch looks fast without changing your cut.
For personalization, choose clip colors that match your outfit palette, or pick one bright contrast for fun. Cost considerations are easy here since clips are usually affordable and you can collect a few for different moods. Keep the look lasting by using a light styling mist so pins don’t slip after a busy day.
16. Reverse Sweep Volume With Weightless Ends
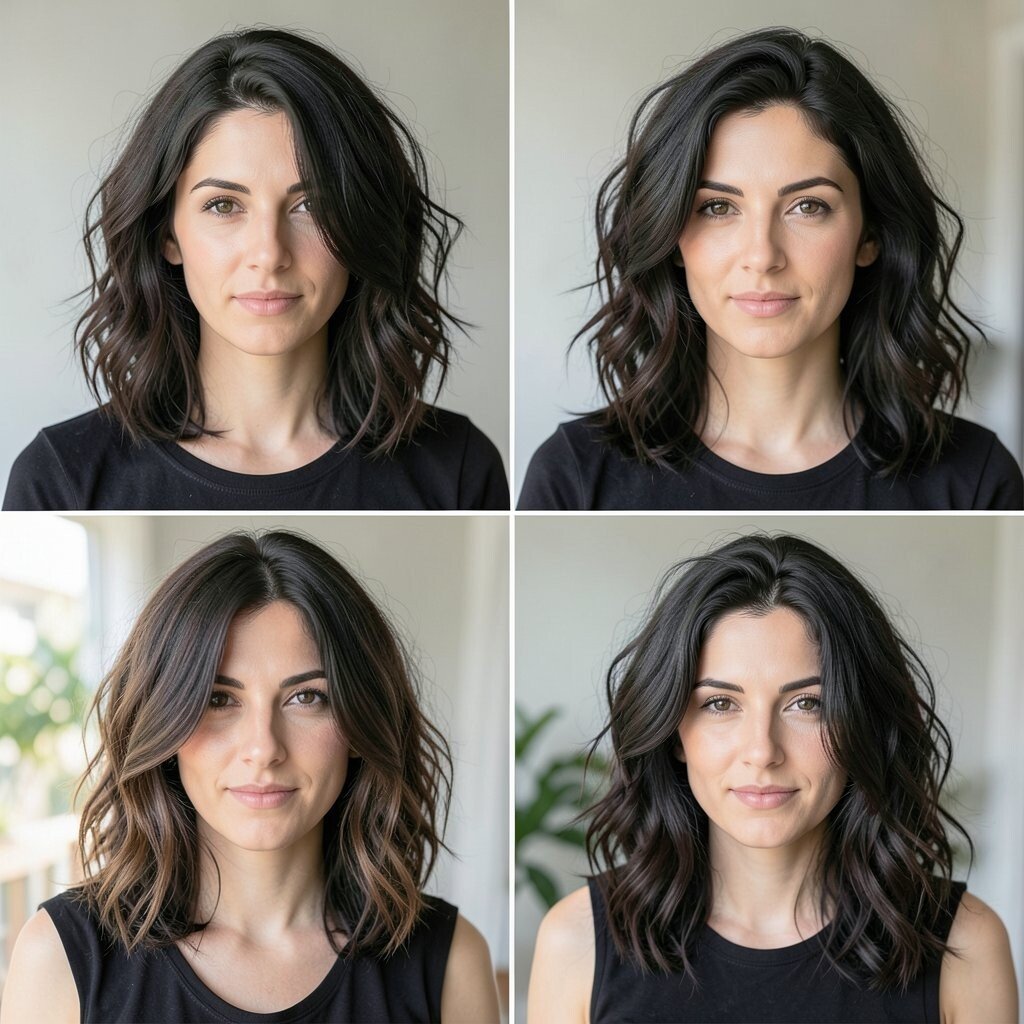
Imagine a reverse sweep where your hair lifts away from the face, then settles into weightless ends that move freely. It gives a bold silhouette without making your hair feel heavy or stuck.
To get it, blow-dry the top in the opposite direction of your usual part, then smooth the ends with a light touch of conditioner or leave-in. A round brush helps you create lift at the crown, while gentle finger-styling keeps the ends airy. Personalize it by choosing your sweep direction based on your face shape, since lifting can elongate or soften the look depending on where it starts.
This idea benefits people who want a cool new look but don’t want to commit to bangs or major color. Budget-wise, it mainly relies on a good blow-dry routine and a simple heat protectant. It also matches current trends toward volume at the crown and moveable, soft textures that photograph well and still feel comfortable in daily life.
If your hair is thick, use a small amount of smoothing product only at the ends so the top stays bouncy instead of flat.