The camera loves hair that looks effortless but intentional. These styles help you feel confident from the first click to the last.
1. Soft Side-Swept Waves With a Shine Band
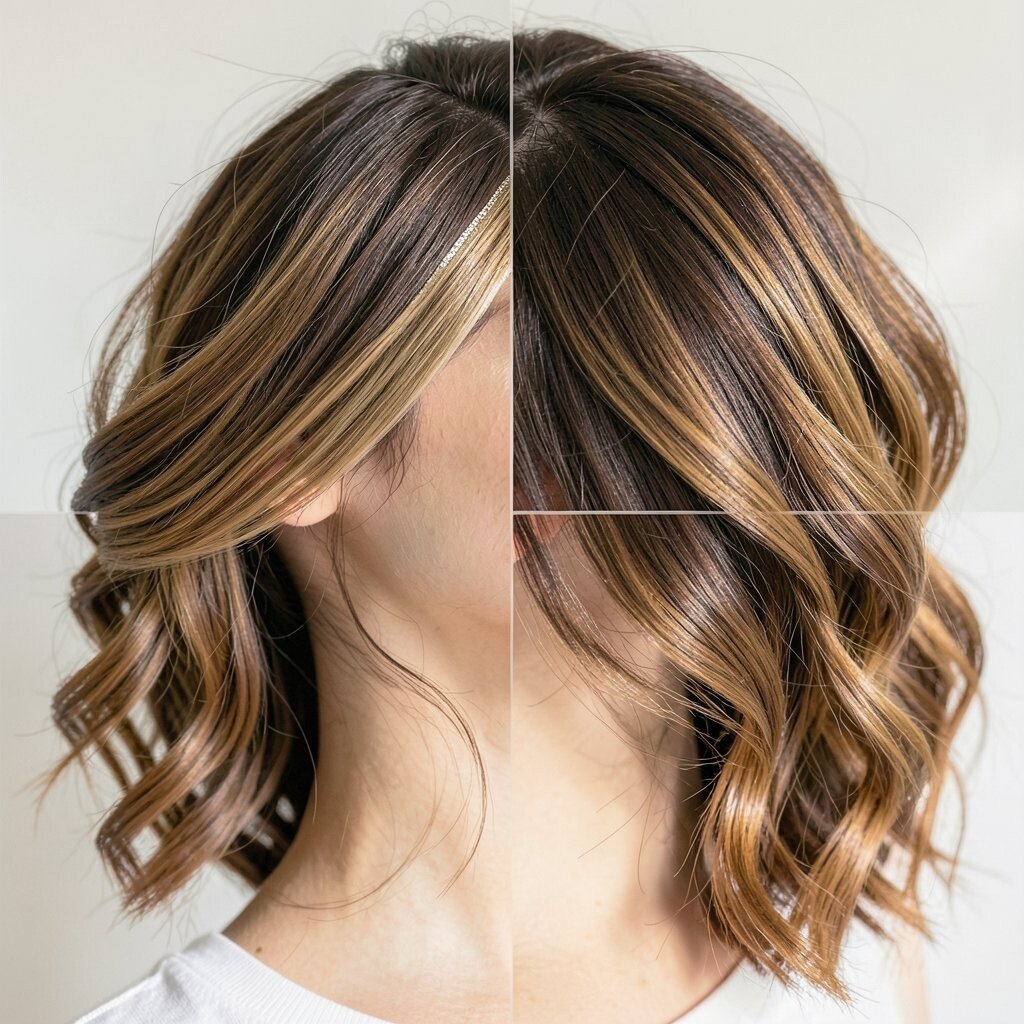
Imagine your hair falling in gentle arcs that catch the light every time you move. The waves look natural, and the side-swept angle keeps your face framed and bright.
Brush in a lightweight shine product, then sweep hair to one side and tuck it slightly behind the ear. Finish with a flexible-hold spray so the waves stay touchable, not stiff. To personalize, try a center part instead of a deep side part if you want a calmer look.
2. Braided Crown Ponytail for Instant Polished Energy
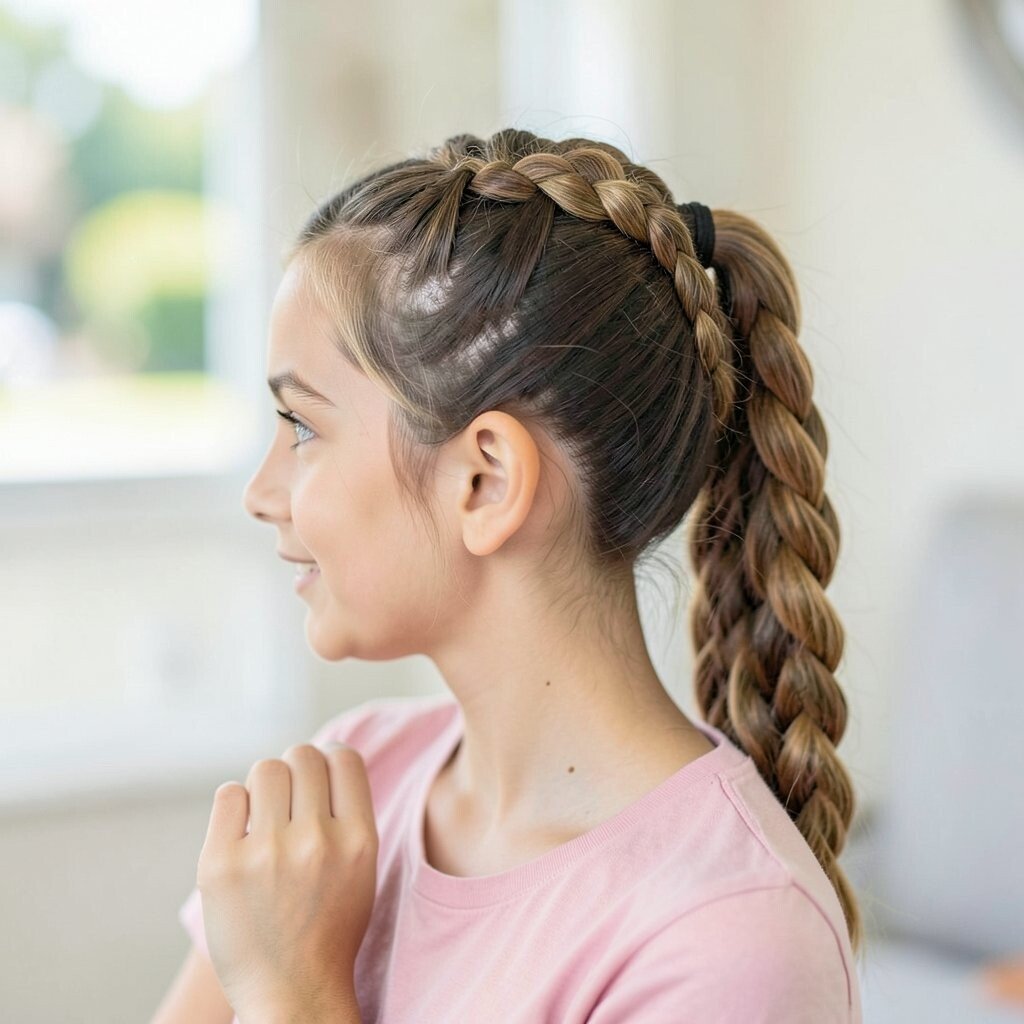
A braided crown ponytail looks like you put real thought into your hair, even when it takes less time than you think. The crown braid creates a neat frame, while the ponytail adds bounce and movement.
Part your hair, braid from one side across the top, and connect it to a ponytail at the back. Pull the braid snug but not tight, then gently loosen the braid for a fuller, trendy shape. For personalization, add small ribbon ties or choose a sleek ponytail base to match your outfit.
If you want a budget-friendly version, use an elastic you already have and wrap a small piece of hair around it to hide the band. If your hair is very fine, a tiny bit of root powder can add grip so the braid holds better all day.
3. Classic Middle-Part Blowout With Feathered Ends
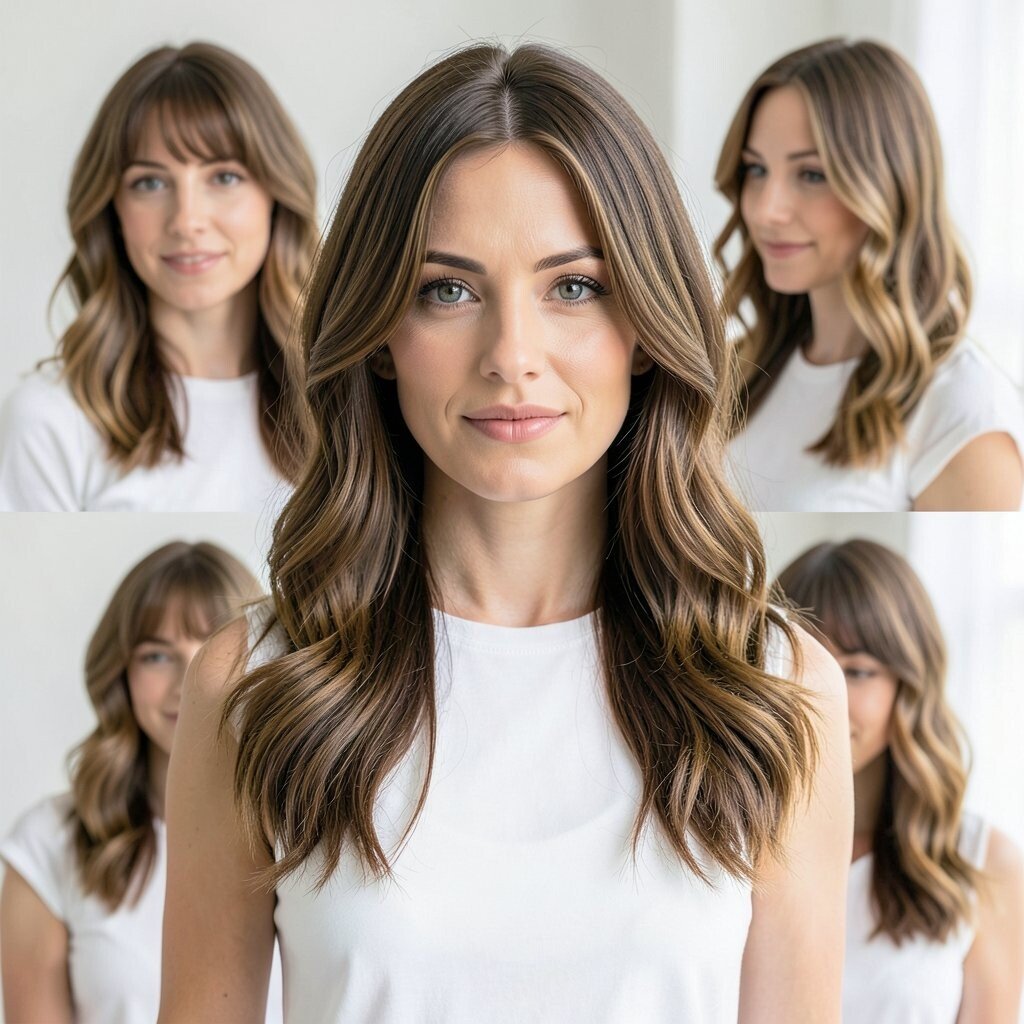
A middle-part blowout gives that clean, magazine look that reads “put together.” Feathered ends make your hair look light and lively instead of heavy.
Use a round brush to create volume at the roots, then soften the ends with quick, outward turns. A little heat protectant matters because smoothness looks best when hair stays healthy. If you prefer less styling, try a blow-dryer and brush combo just at the crown and let the ends settle naturally.
To personalize, add face-framing sections so the ends land near your cheekbones. For current vibe, keep the shine subtle and the volume airy rather than overly round.
When it comes to cost, a basic blow-dry brush and a simple heat protectant usually do more than a fancy styling product. If you have textured hair, use a smoothing serum on damp hair so the middle part looks crisp.
4. Twisted Half-Up Style With a Playful Twist Detail
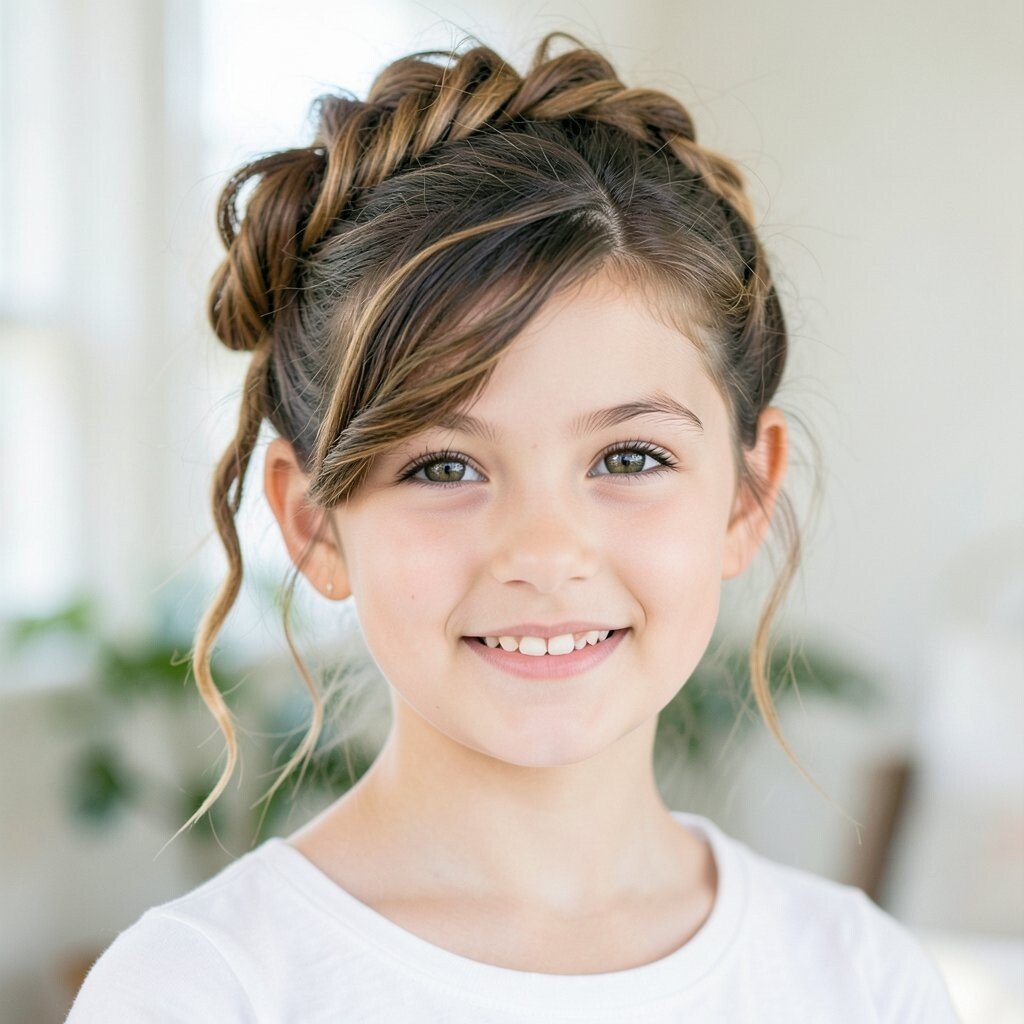
This half-up look feels fun and youthful while still looking neat for pictures. Two simple twists pull hair back from your face, so your features stay clear in every photo.
Start by sectioning the top front area, then twist each side toward the back and secure with a small clip or elastic. Add a bit of volume at the roots by gently lifting the crown before twisting. For personalization, wrap a thin strand around the elastic so it blends in and looks extra polished.
If your hair is straight, add a light wave spray to give the twists more texture. If your hair is curly, stretch a few sections slightly so the twists hold their shape all day.
It’s also a low-cost style since clips and elastics are easy to find, and you can reuse them for other looks.
5. High Sleek Bun With a Soft Face Frame
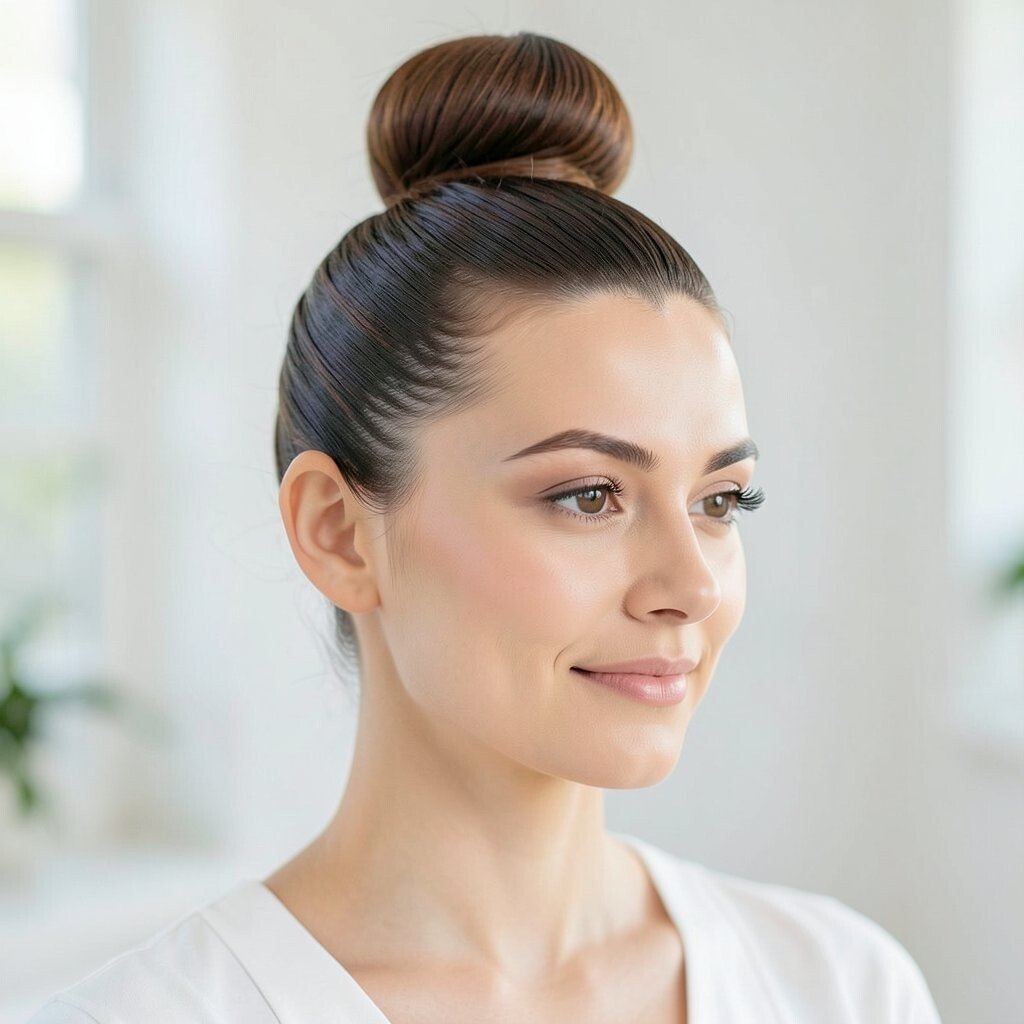
A high sleek bun is bold, clean, and camera-ready. The smooth top makes your hair look tidy, while a soft face frame keeps it from feeling too serious.
Brush hair back tightly, twist into a bun, and use pins to anchor it securely. Leave two gentle strands out near the front, then curl or wave them slightly so they frame your cheeks.
If flyaways happen, press them down with a tiny amount of gel on a damp toothbrush or styling brush. For personalization, choose a bun height that matches your comfort, since a mid-high bun can look just as stylish.
6. Low Braided Chignon for a Timeless, Elegant Feel
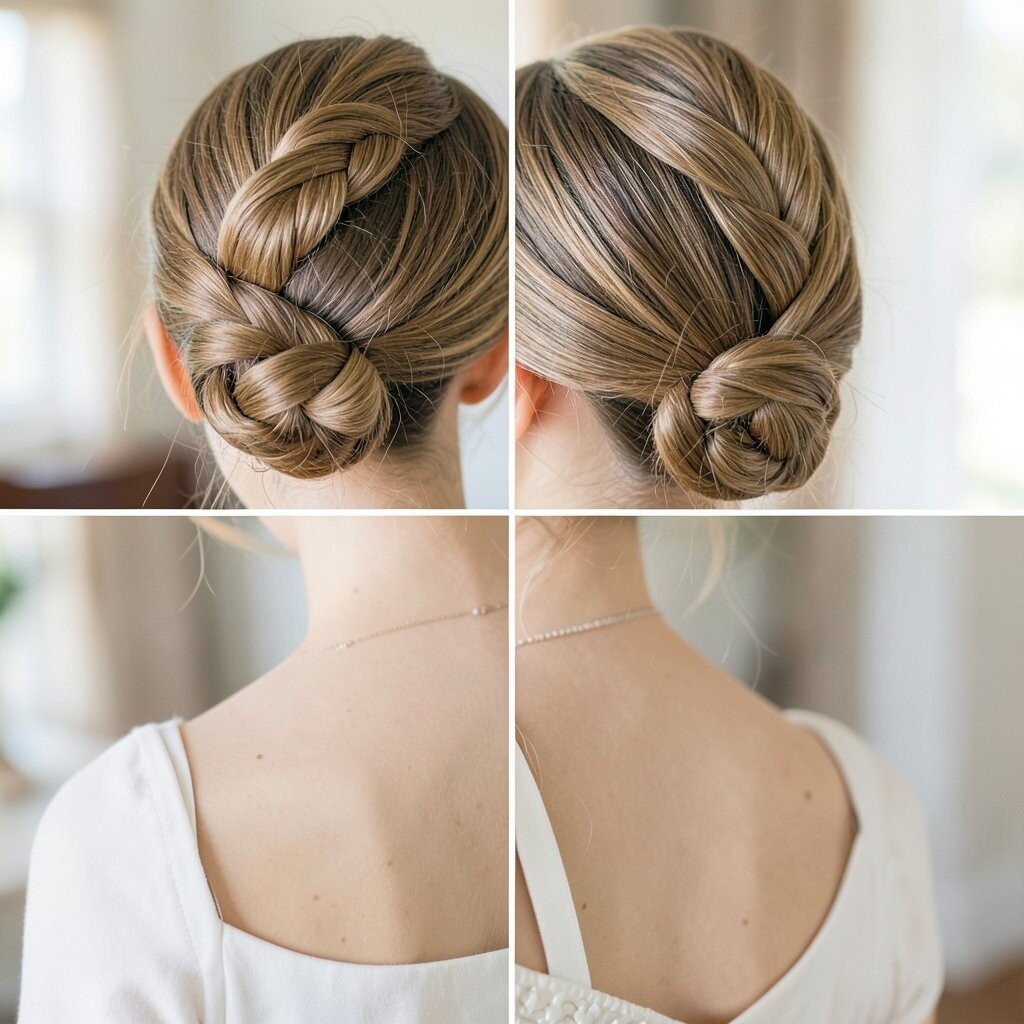
A low braided chignon looks elegant without looking overly complicated. The braid adds structure, and the low placement feels comfortable for long school days.
Create a braid, then coil it into a bun at the nape of your neck. Secure with bobby pins and keep the surface smooth with a light spritz of finishing spray. To personalize, decide whether you want the braid tight and tidy or slightly loosened for a softer look.
This style can save time because it doesn’t need perfect curls or complicated parts. In terms of cost, you can use basic pins and a simple elastic, and the look still feels high-end.
7. Bubble Braids With Space-Saver Elastics
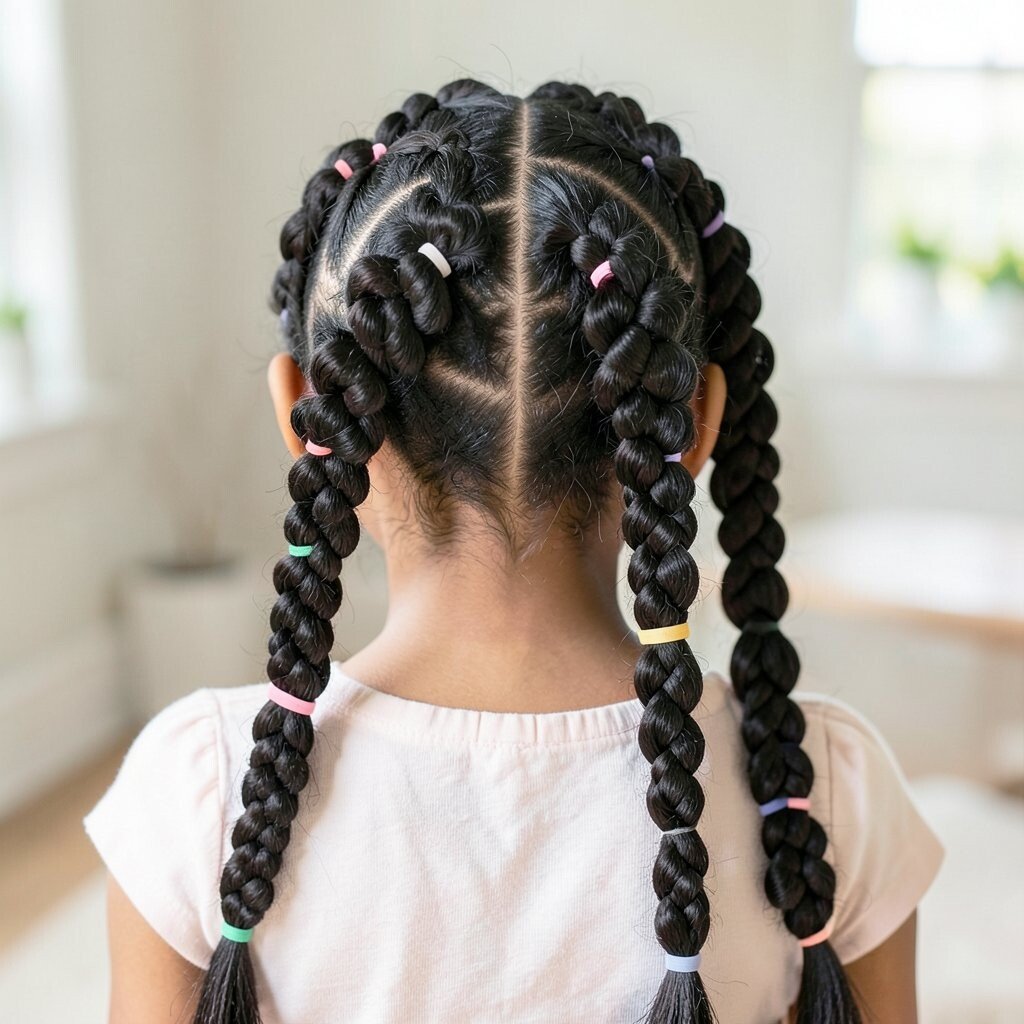
Bubble braids have a cute, bouncy look that pops in photos. The “bubble” effect makes your hair look fuller, even if it’s naturally fine.
Make a braid by securing small sections with elastics, spacing them evenly, and then gently puffing each segment. Keep your braid direction consistent so it looks neat from the front and sides. For personalization, use clear elastics for a natural look or color elastics to match your outfit.
If you want extra staying power, apply a light styling cream before you begin so the hair grips the elastics. This also helps cut down on frizz, which is a big deal for picture day lighting.
Budget-wise, elastics are inexpensive, and you can reuse them later if you store them carefully.
8. Half-Up Top Knot With a Clean Knot Line
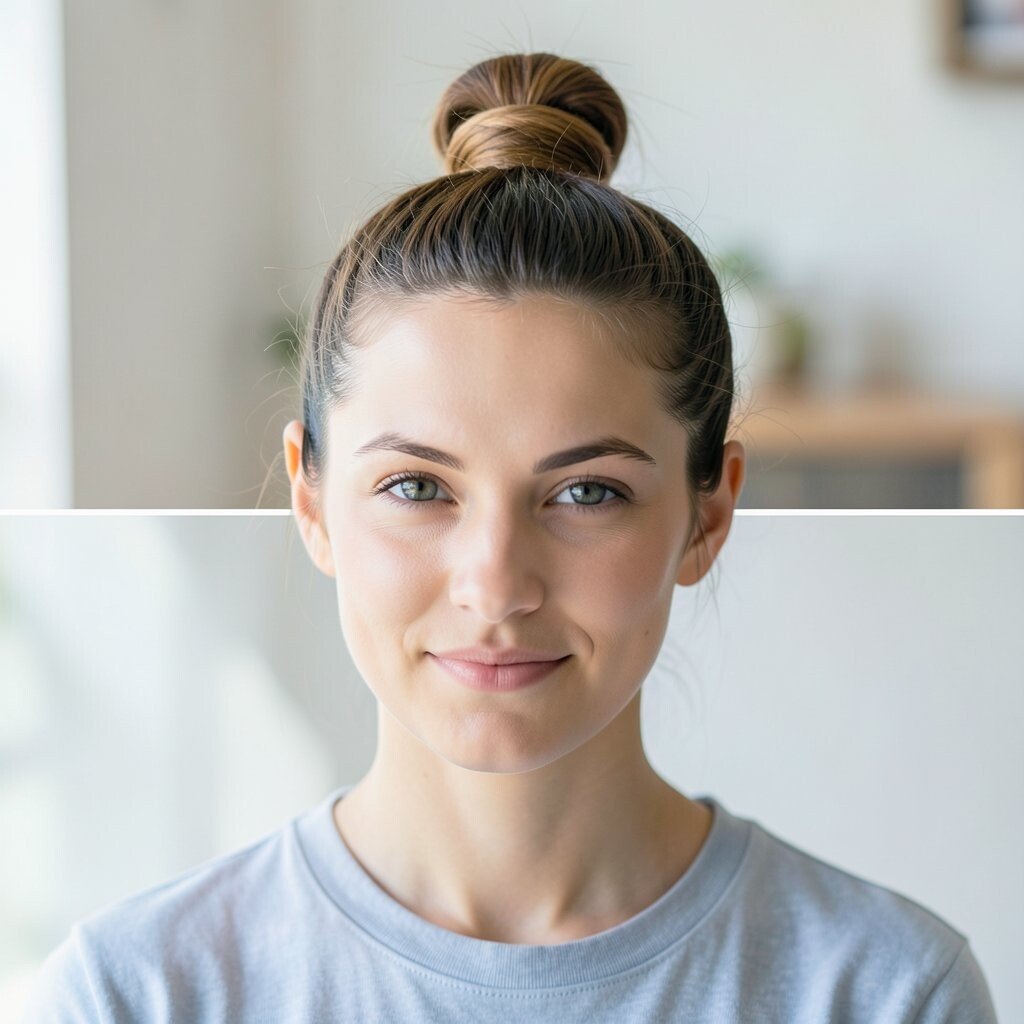
A half-up top knot is playful, stylish, and easy to do quickly. It keeps hair off your face while giving your head a fun shape that looks great in portraits.
Gather the top half, twist it into a small bun, and secure it with pins or an elastic. Smooth the remaining hair and choose a gentle wave or straight finish depending on your mood. To personalize, add a tiny bow clip near the knot or let a few wispy strands soften the edges.
This style is great for busy mornings because it doesn’t require precision styling across the whole head. For cost considerations, you can achieve the look with just elastics, pins, and a light shine product.
9. Twisted Rope Ponytail With Extra Volume
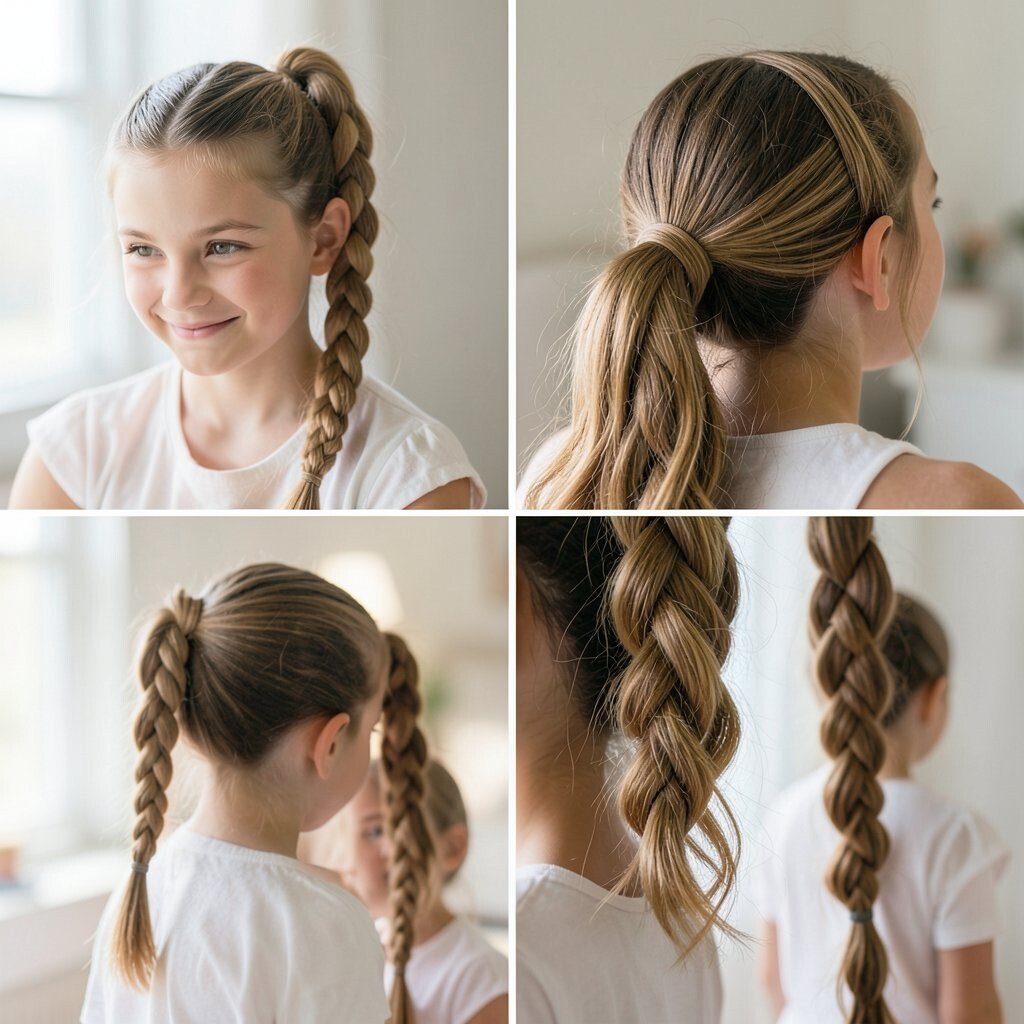
A rope ponytail looks like a braided style without needing a full braid. The twists create a textured pattern that feels modern and makes your ponytail stand out.
Section hair into two strands, then twist each strand, and twist them together as you move downward. Secure at the end with an elastic, and pull slightly at the twists to create volume. If your hair is thin, use a small amount of mousse at the roots before you start twisting.
For personalization, change the placement to side ponytail if you want a softer look. A tiny bit of hairspray on your fingertips can help the rope twists stay clean.
This is also a practical option because it holds up through movement, and it looks neat even if you touch your hair a few times.
10. Crown Braid With a Ribbon-Soft Finish
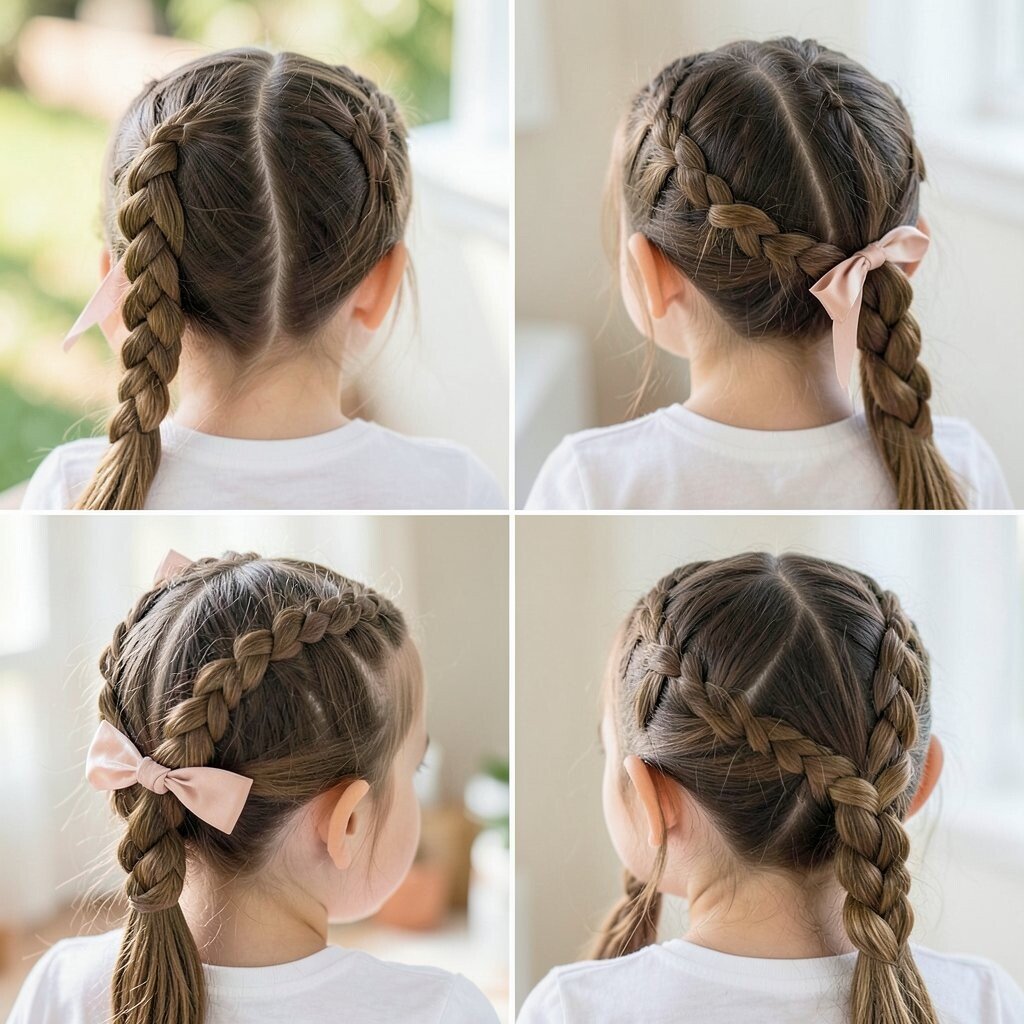
A crown braid turns your hair into a wraparound halo effect that looks lovely in every angle. It makes your head look framed, and it keeps hair secure so you can focus on your smile.
Start braiding from one side of your head across the top, then tuck the end neatly at the other side. Keep tension even so the braid looks smooth, and gently loosen it for that airy, current style. For personalization, choose a ribbon-like accessory or a decorative pin that matches your outfit colors.
If your hair is slippery, a little dry shampoo at the roots or a light styling spray can help the braid last longer. This style can be done with basic tools, so it stays budget-friendly while still feeling special.
11. Loose Curl Ribbon With Pin-Back Sides
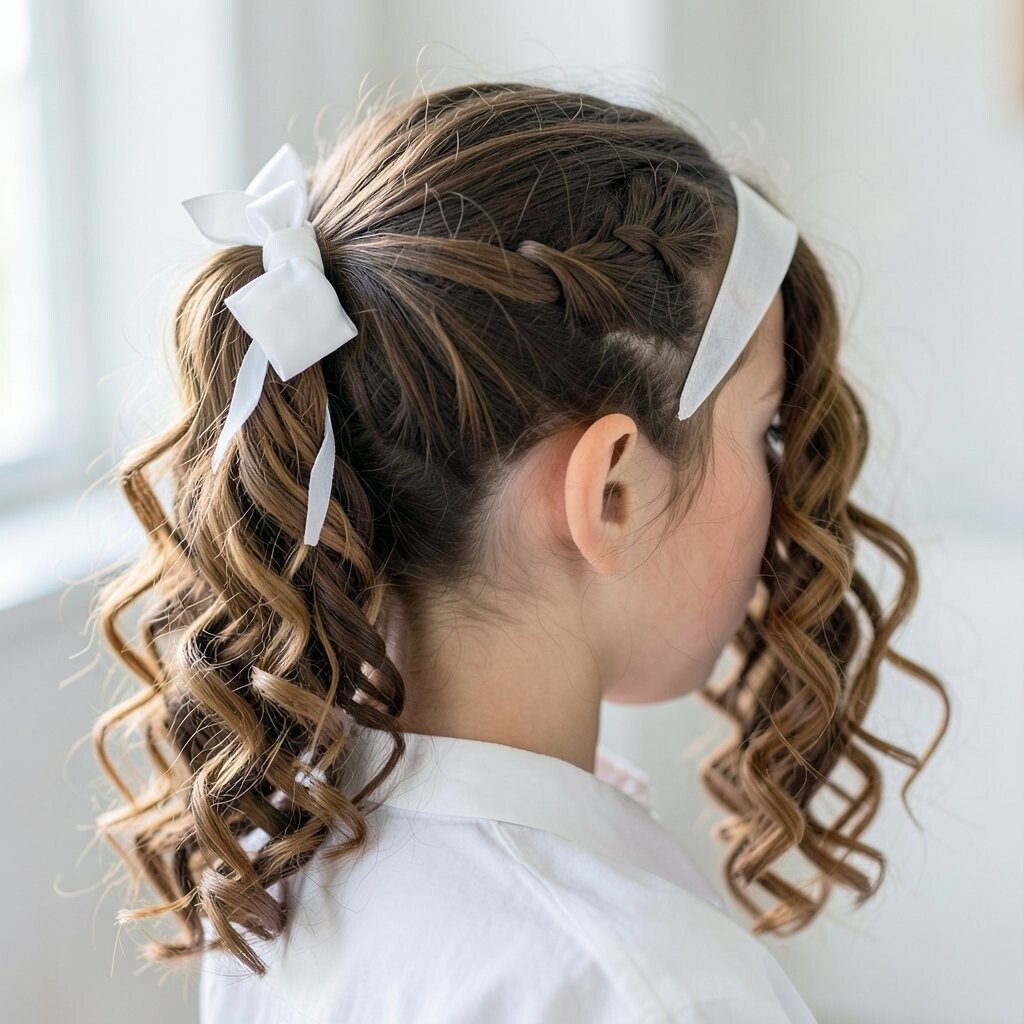
Loose curls plus pin-back sides create a sweet look that feels romantic but still school-friendly. The pinned sections keep your face open while your curls do the fun visual work.
Curl hair in loose waves, then pin back the front corners so your curls fall around your shoulders. Use a soft hold hairspray so the curls don’t collapse, and keep the pins hidden under the hair for a seamless look. To personalize, add a headband that sits just behind the pinned area or choose a clip shaped like a star or heart.
This hairstyle also helps with cost because you can use a curling iron you already own, and you don’t need expensive extensions. If heat isn’t your thing, use overnight braids or a no-heat setting method for a similar curl vibe.
12. Sleek Low Pony With Straight-Strand Shine
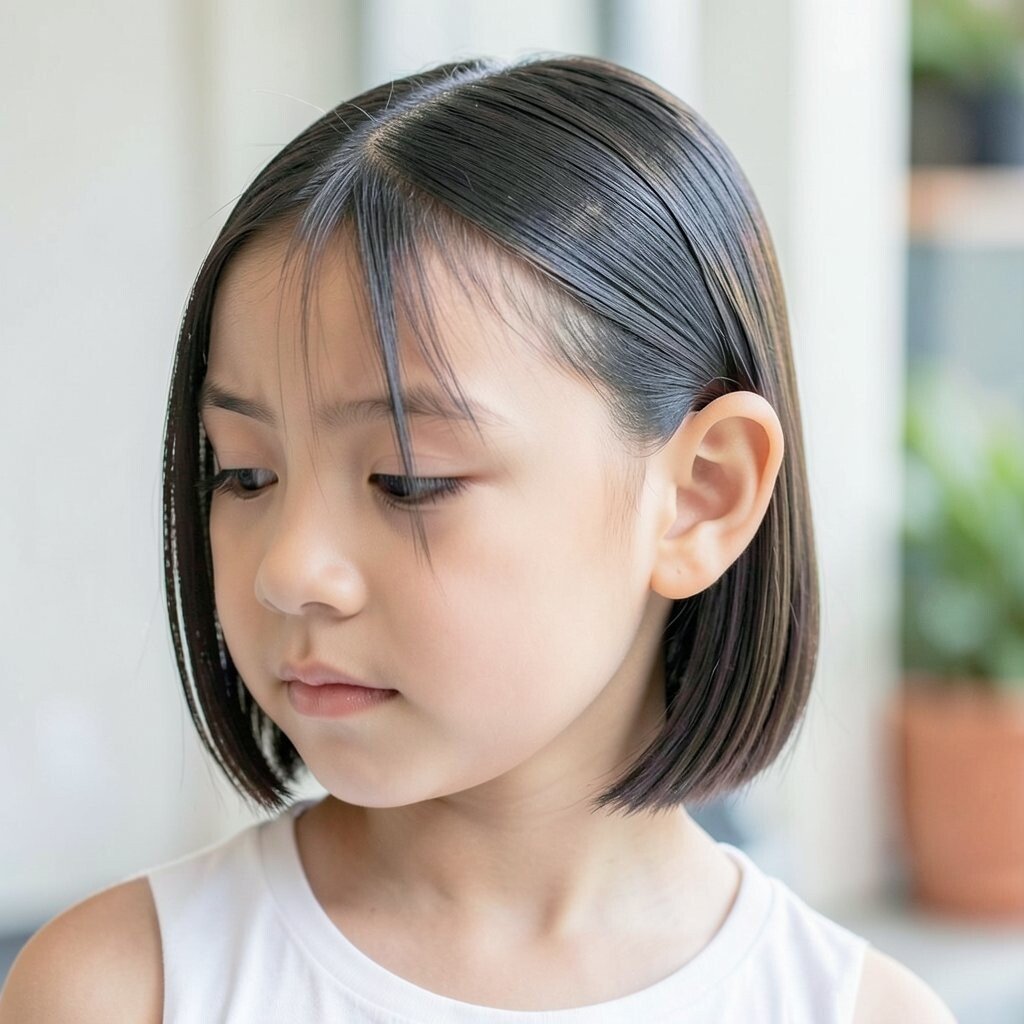
A sleek low ponytail looks classy, clean, and confident in photos. When the pony is smooth and low, your face stays the focus and your outfit looks even sharper.
Brush hair down carefully, secure into a low pony, and wrap a strand around the elastic so it looks polished. Run a flat iron lightly over the top layer if you want extra smoothness, then finish with a shine serum on the outer strands. For personalization, add a slight bend at the ends or keep everything straight for a crisp, modern look.
If your hair tends to puff, mist a little water on the top layer and smooth again to reduce flyaways. For cost, a good brush and a small bottle of shine product go a long way, and you can reuse the tools for other hairstyles.
Current trends favor natural shine and clean lines, so aim for sleek without making hair look wet or heavy.