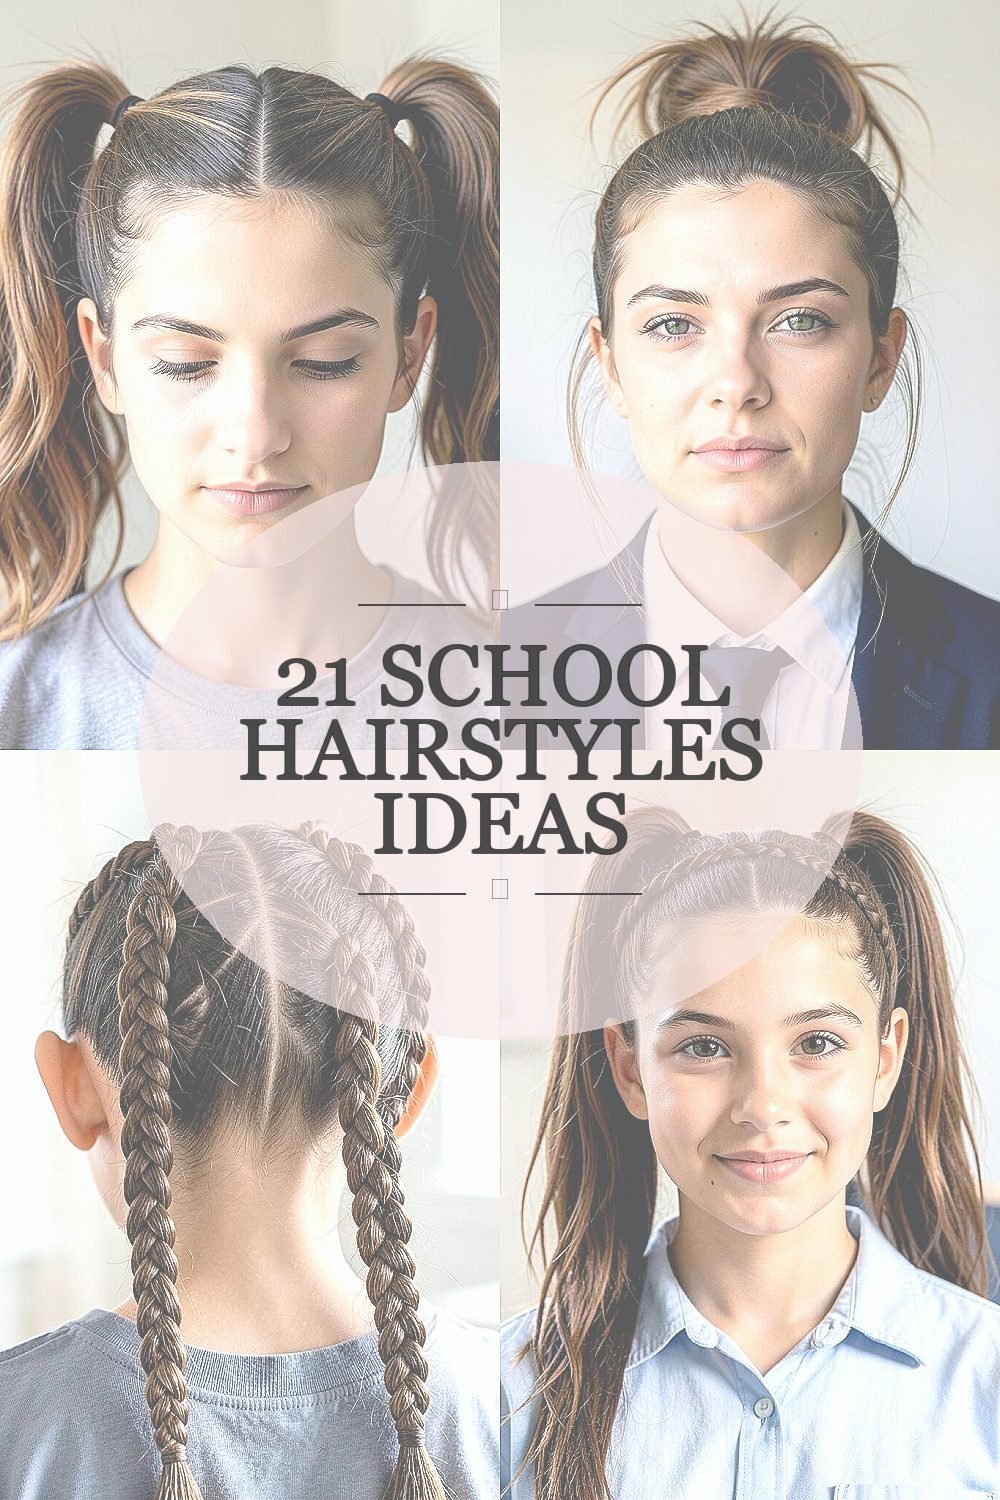
Your hair can look amazing before the first bell. Small changes can make your whole day feel more confident.
If you want styles that fit school life and still feel fun, the ideas below are built for real mornings.
1. The Bubble Ponytail With Soft Parting
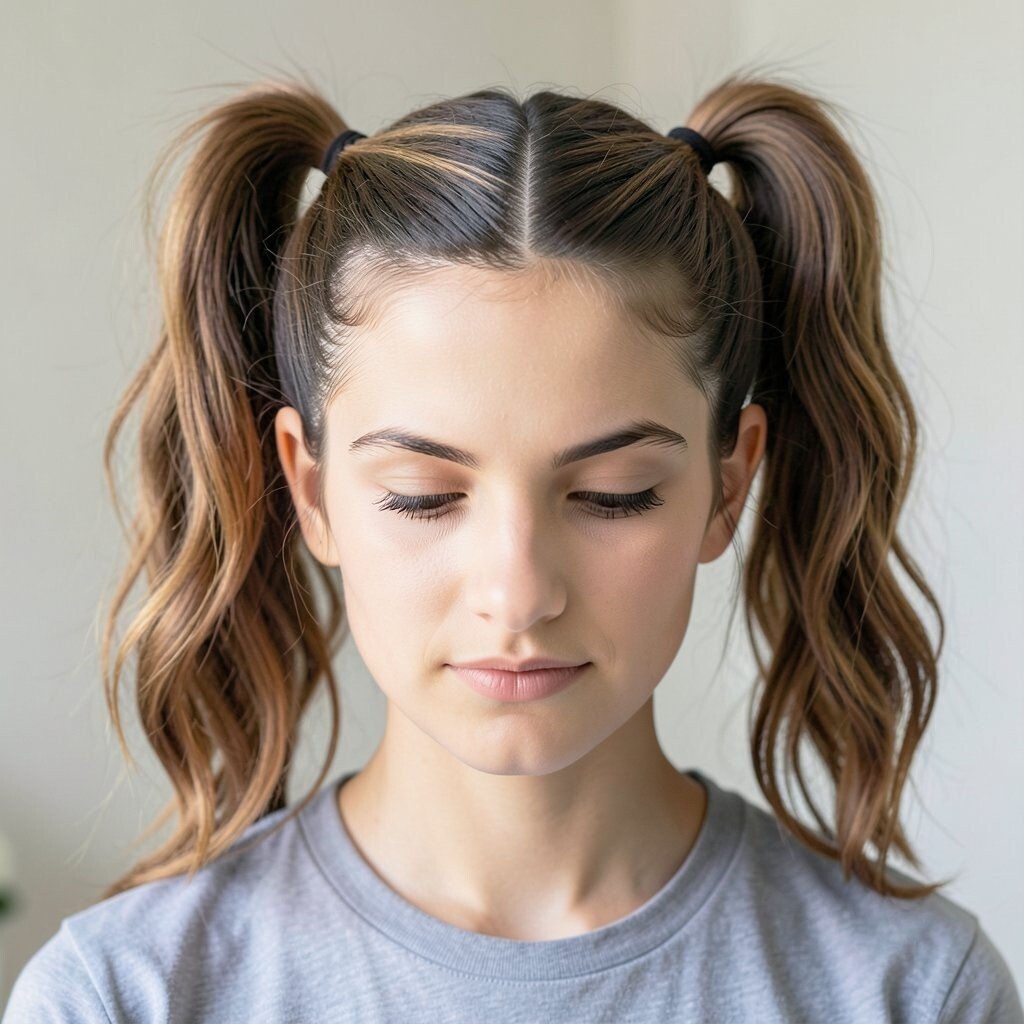
This style starts with a neat part and a ponytail placed where you like. Then you section the ponytail into small bubble-like rounds using clear elastics, so it looks playful and bouncy.
It keeps hair off your face during class and makes movement feel springy on the playground. For a clean finish, use a little water or smoothing cream on the top so the part stays crisp and tidy. If you want it to last all day, tighten the elastics evenly and keep the bubbles spaced with care.
2. Messy Top-Knot With Face-Framing Pieces
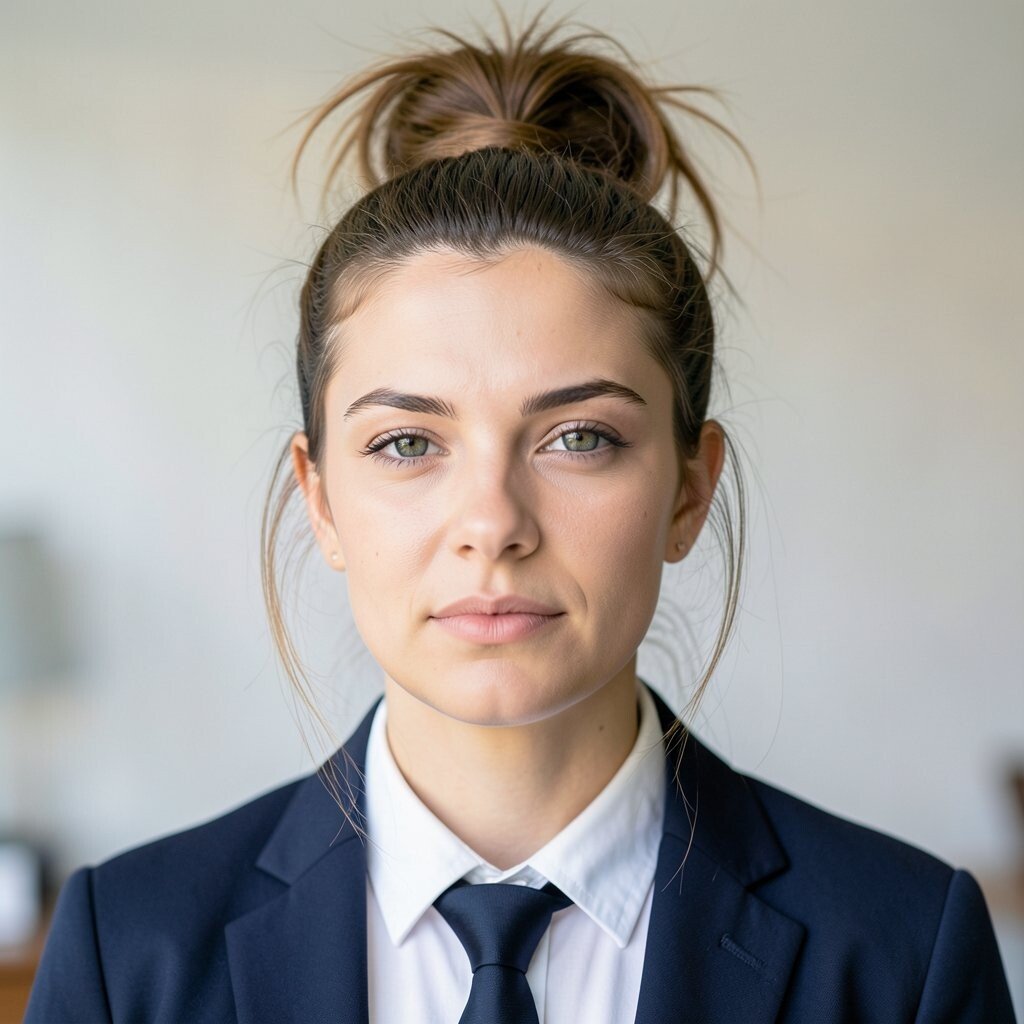
A messy top-knot looks effortless, but it still has structure. Twist your hair toward the crown, secure it, and pull a couple of strands forward near your cheeks for a soft frame.
This style is great when you want a “done” look without spending long in front of the mirror. Use a light grip spray or a tiny dab of gel to tame flyaways, then let the rest stay relaxed. It also helps your hair feel less tangled at the end of the day because the top is gathered and protected.
To personalize it, try a higher knot for extra volume or a slightly lower one for a calmer vibe. If your hair is thicker, tease the crown lightly before tying to make the top-knot fuller without needing extensions. For cost, you can stick to elastics and bobby pins you already own, and add a budget-friendly hair spray for hold.
3. Double Dutch Braids Into a Crown
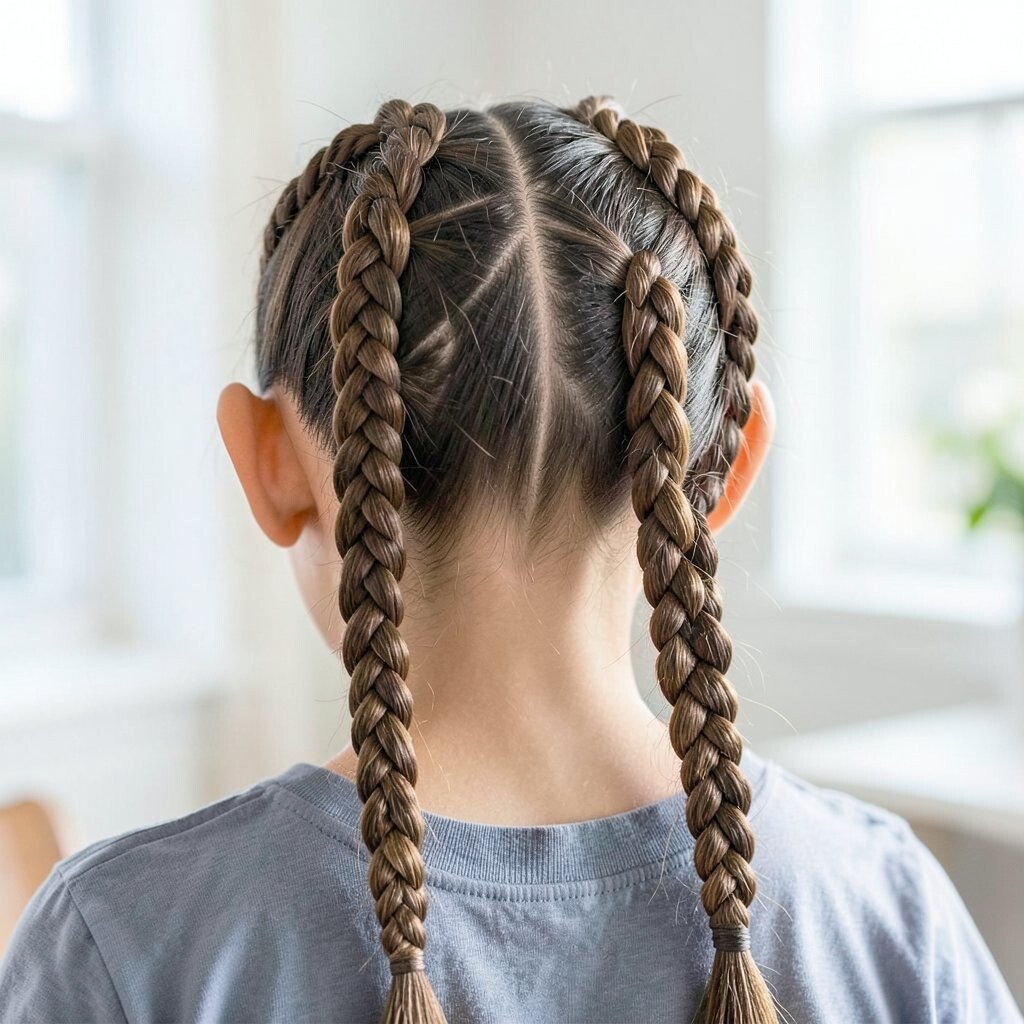
Double Dutch braids look sporty and confident, like you’re ready for anything. Start at the front, braid tight enough to hold, and let the braids meet at the back like a crown.
This style keeps your hair secure for long hours and reduces tangling. When you braid, keep your hands consistent so the braid stays even, then pin the ends neatly so nothing flops loose. If your hair slips easily, add a light mousse before you begin to help grip.
For uniqueness, choose where the braids start, such as slightly higher for a more dramatic crown. You can also add a small ribbon or a single charm pin near the meeting point for a personal touch. Current looks often favor clean parts, so take an extra second to create a smooth middle or side part.
4. High Ponytail With a Braided Headband
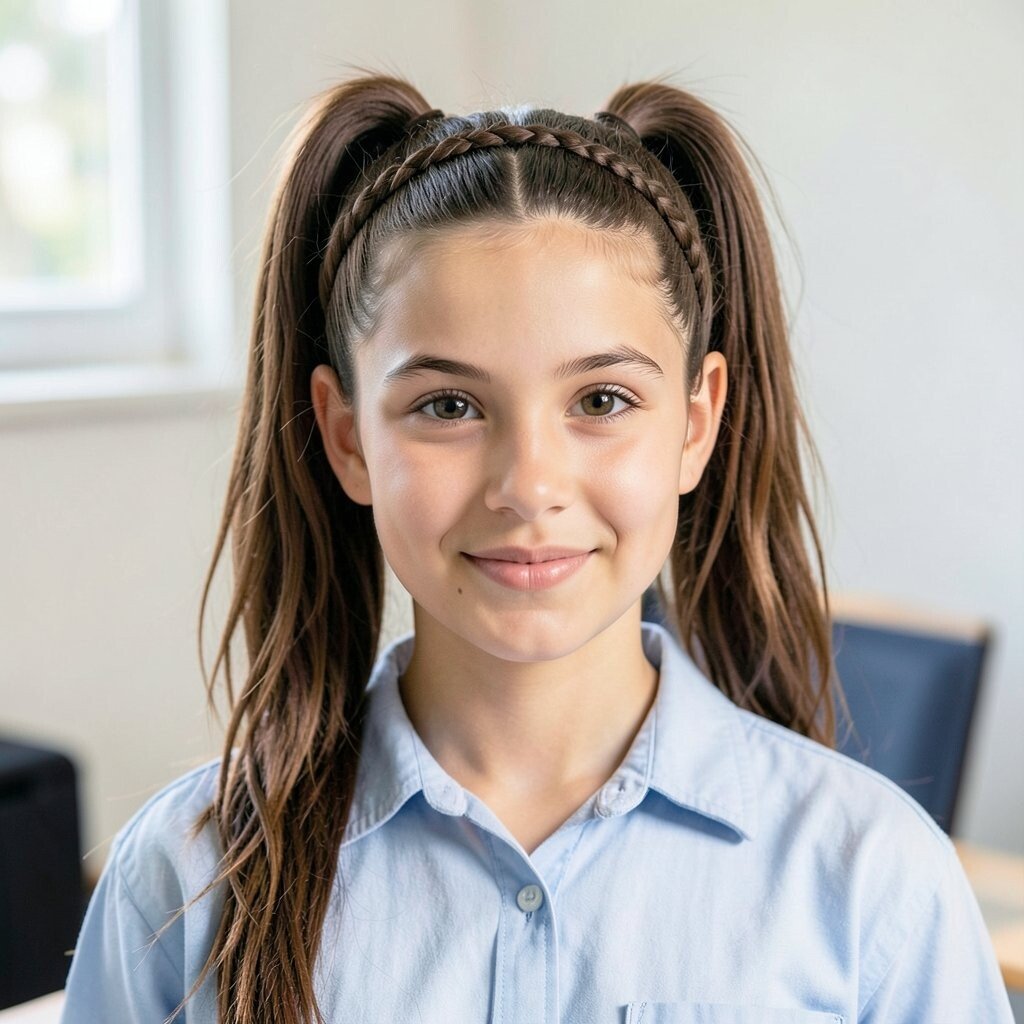
This look combines a classic ponytail with a braided band that makes it feel extra special. Create your ponytail at the height you like, then braid a thin section from one side across the top of your head.
It’s helpful for keeping bangs or shorter layers from poking you during reading time. Pull the braided band snug, secure it with bobby pins, and smooth any bumps around the ponytail. If you want it to last, use an elastic that matches your hair color and wrap a small strand around it to hide the tie.
5. Half-Up Twisted Ribbon Effect
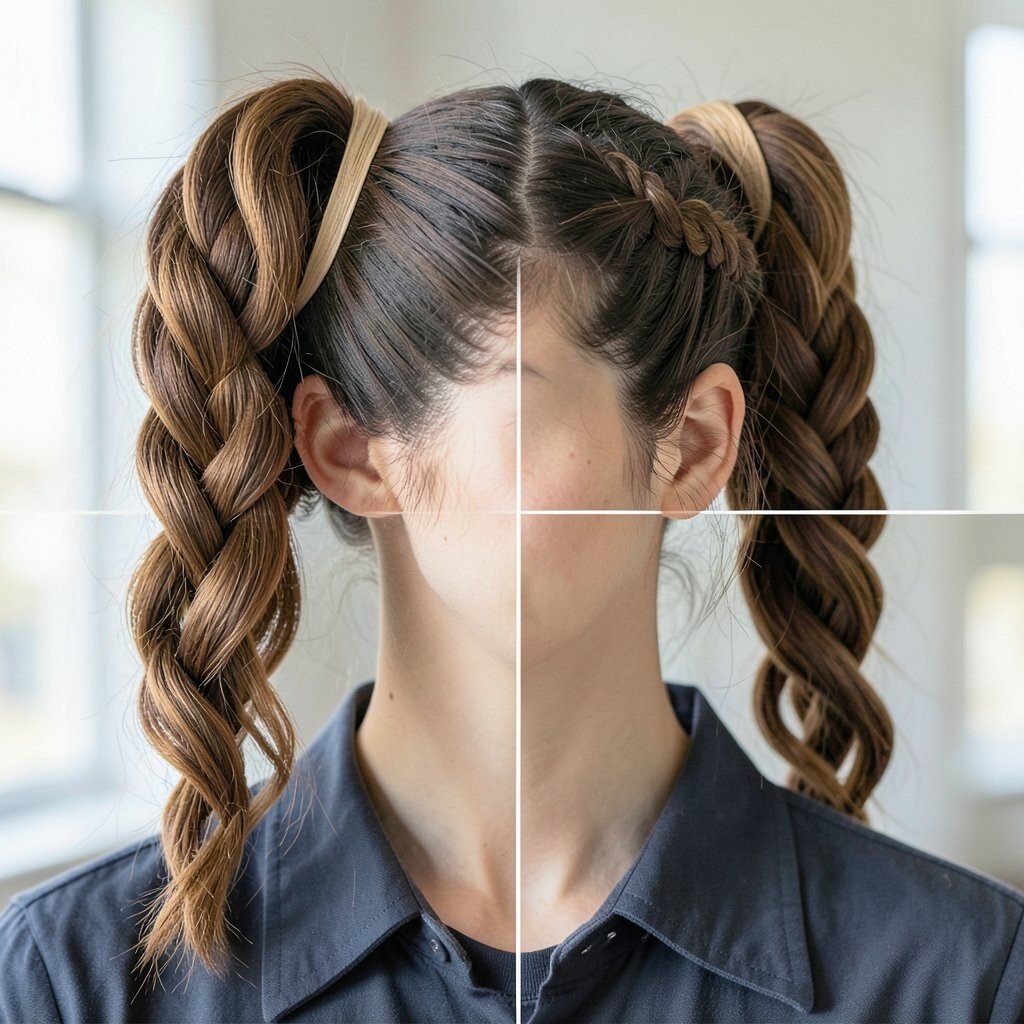
This style gives “pretty but quick” energy that works on busy mornings. Take two small sections from the front, twist them back, and secure them with an elastic, then gently tug the twists to look fuller.
It keeps hair away from your eyes while still letting the rest of your hair fall freely. For a ribbon-like look, wrap a thin scarf strip around the elastic or add a narrow ribbon and tie it lightly.
If you want personalization, match the ribbon color to your outfit or to your school spirit day. People love how it frames the face, especially if you add a tiny bit of shine spray to the top. It’s also budget-friendly since ribbons and small accessories are usually inexpensive and reusable.
6. Dutch Braid Over One Shoulder
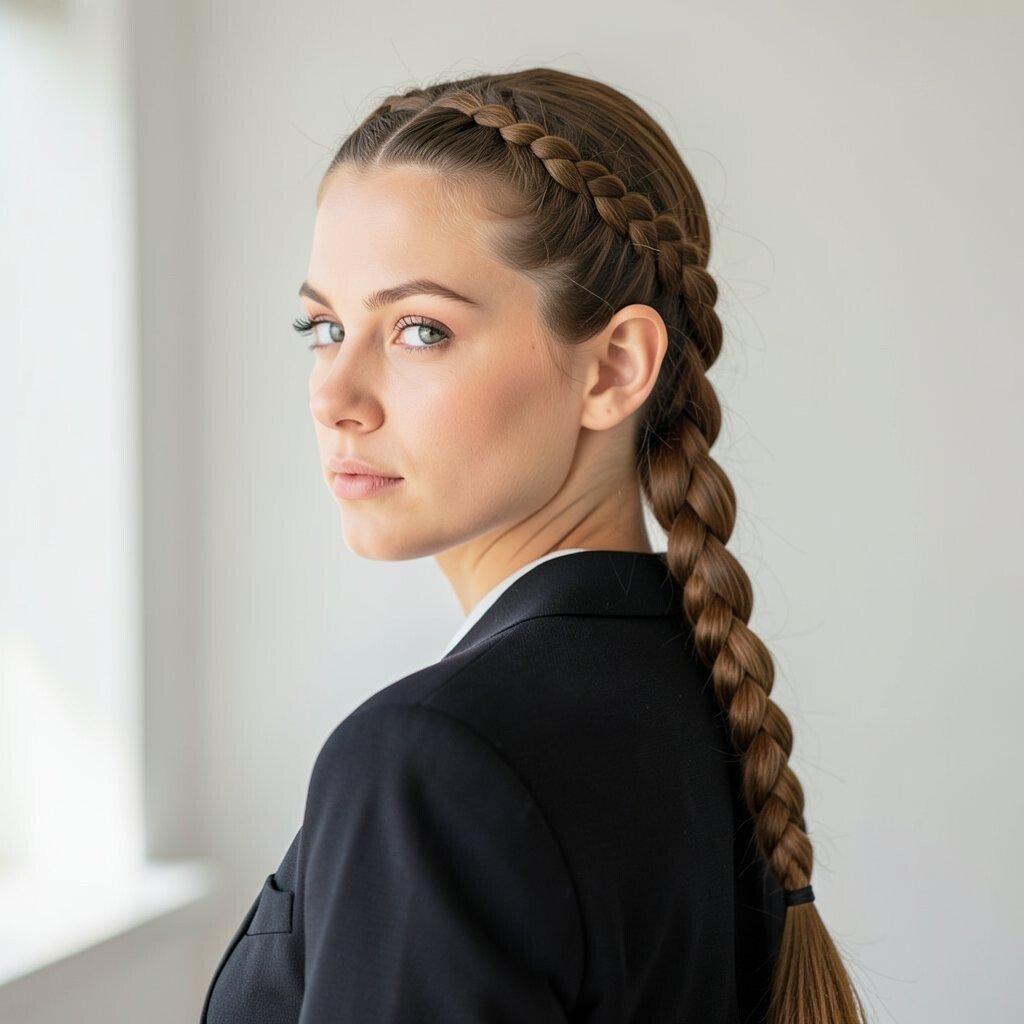
There’s something bold about a braid that sweeps to one side. Start a Dutch braid at the crown and braid all the way down, then gather it over your shoulder so it shows clearly.
This style is great for keeping hair controlled while still showing off length. To make it look polished, braid with even tension and tuck any short pieces under the braid as you go. A little hair gel on the top can help your scalp look smooth and neat.
For uniqueness, try a side part so the braid lands exactly where you want it. If your hair is fine, gently loosen the braid after you finish for a fuller, trendy texture. Cost stays low since you only need elastics and pins, and the rest is technique.
7. Sleek Side Chignon With Clips
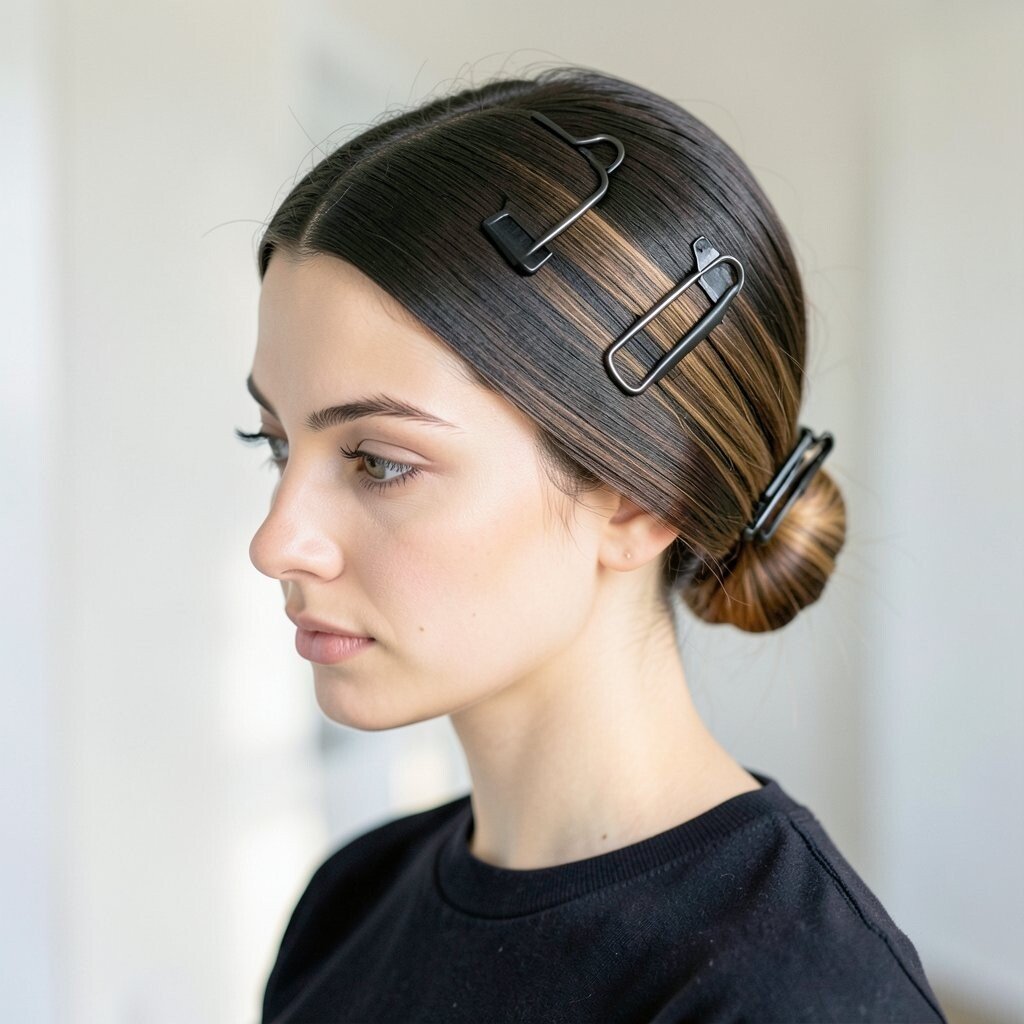
A chignon can look fancy without being hard, especially when you keep it sleek. Gather your hair into a side twist at the nape, wrap it into a low bun, and secure with pins.
This style is a win for interviews, performances, or just days when you want extra polish. Use a comb to smooth the surface before pinning, then add two decorative clips for a fun school-appropriate spark. If your hair is slippery, a light styling cream can help the bun hold its shape longer.
8. Waterfall Braid With Loose Ends
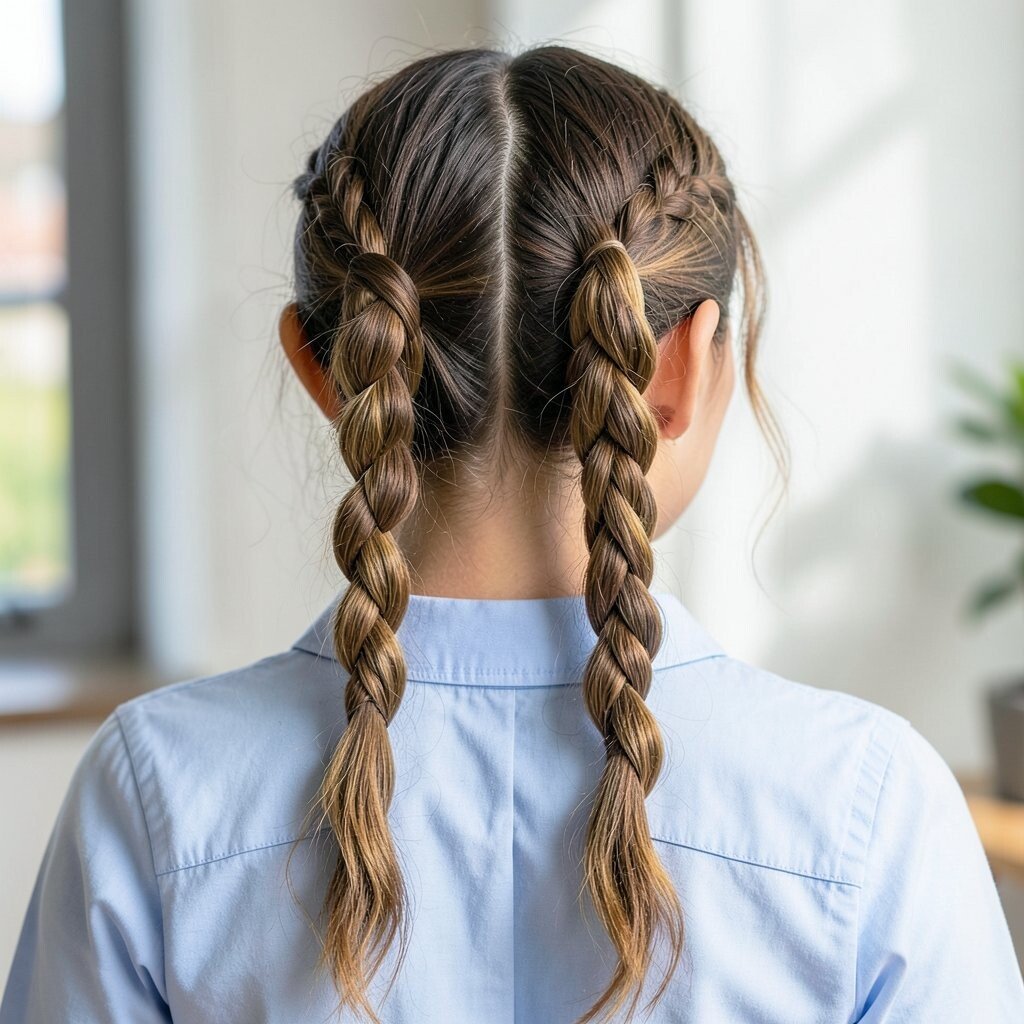
Waterfall braids look like strands are flowing down, even though they’re braided. Begin a regular braid pattern near the top, then drop one section to create that “waterfall” effect and replace it with new hair.
This hairstyle feels soft and pretty, and it’s perfect for days you don’t want anything too tight. It also works well with medium to long hair because the “dropped” pieces create movement. Keep the braid gentle and smooth, and finish with a light mist so it doesn’t frizz.
For personalization, decide how many “falls” you want by starting higher or lower. If you have bangs, blend them into the braid so everything connects neatly. Trends often favor airy braids, so avoid over-tightening and let the waves look natural.
9. Twisted Half-Up With Two Mini Buns
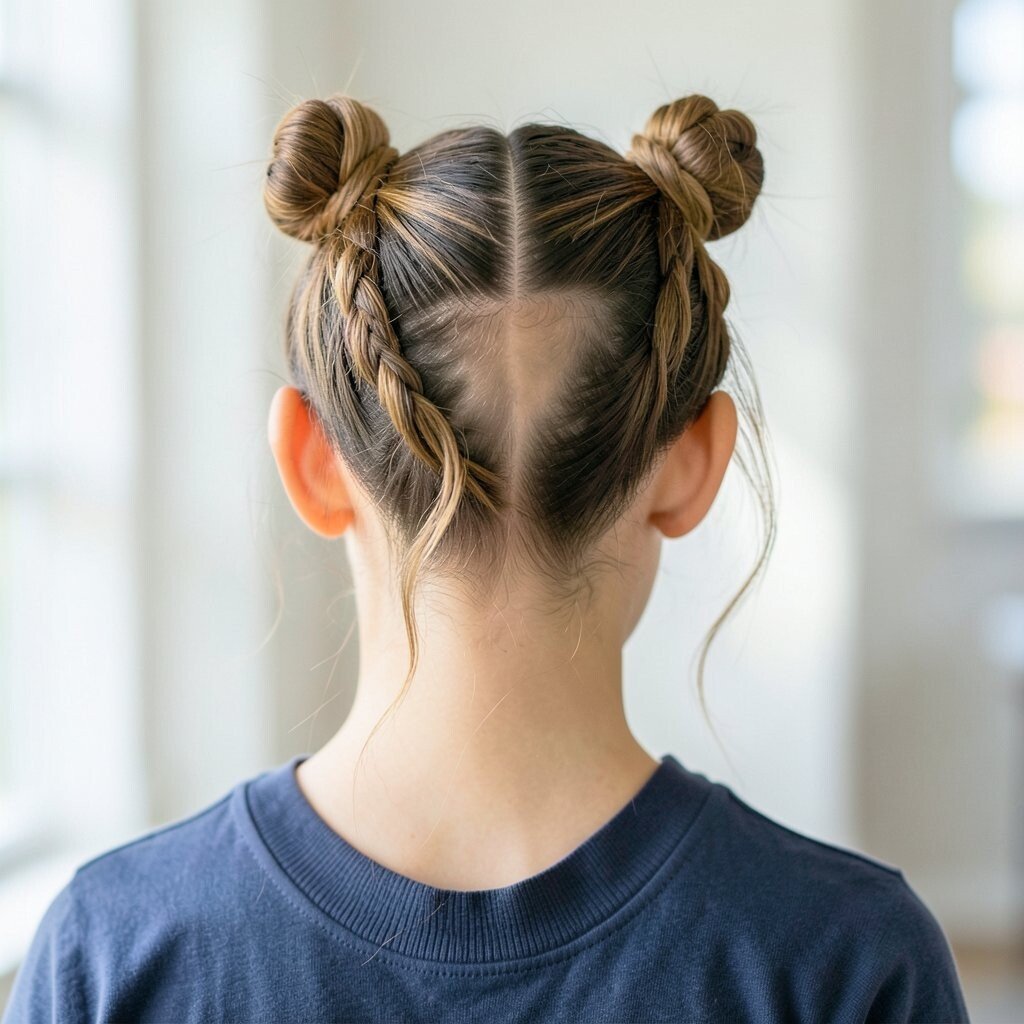
This style is playful and structured, like a cute version of a half-up look. Twist two sections from the front into small loops, then wrap them into mini buns near the top of your head.
It keeps hair out of your face while still letting your length move. Use bobby pins for stability and lightly tug the twists so the buns look rounded rather than flat. If you want extra hold, press each pin into the bun at an angle and secure the ends.
To personalize, add a small headband or choose a hair tie that matches your outfit. This also helps protect your hair, since the front pieces are pinned instead of pulled by a full ponytail. Cost is easy to manage because you only need common supplies like elastics, pins, and maybe one decorative clip.
You can make it feel current by keeping the buns slightly uneven for a natural, lived-in look. If your hair gets frizzy, use a tiny amount of anti-frizz serum on the front pieces before twisting.
10. Classic Three-Strand Braid With a High Start
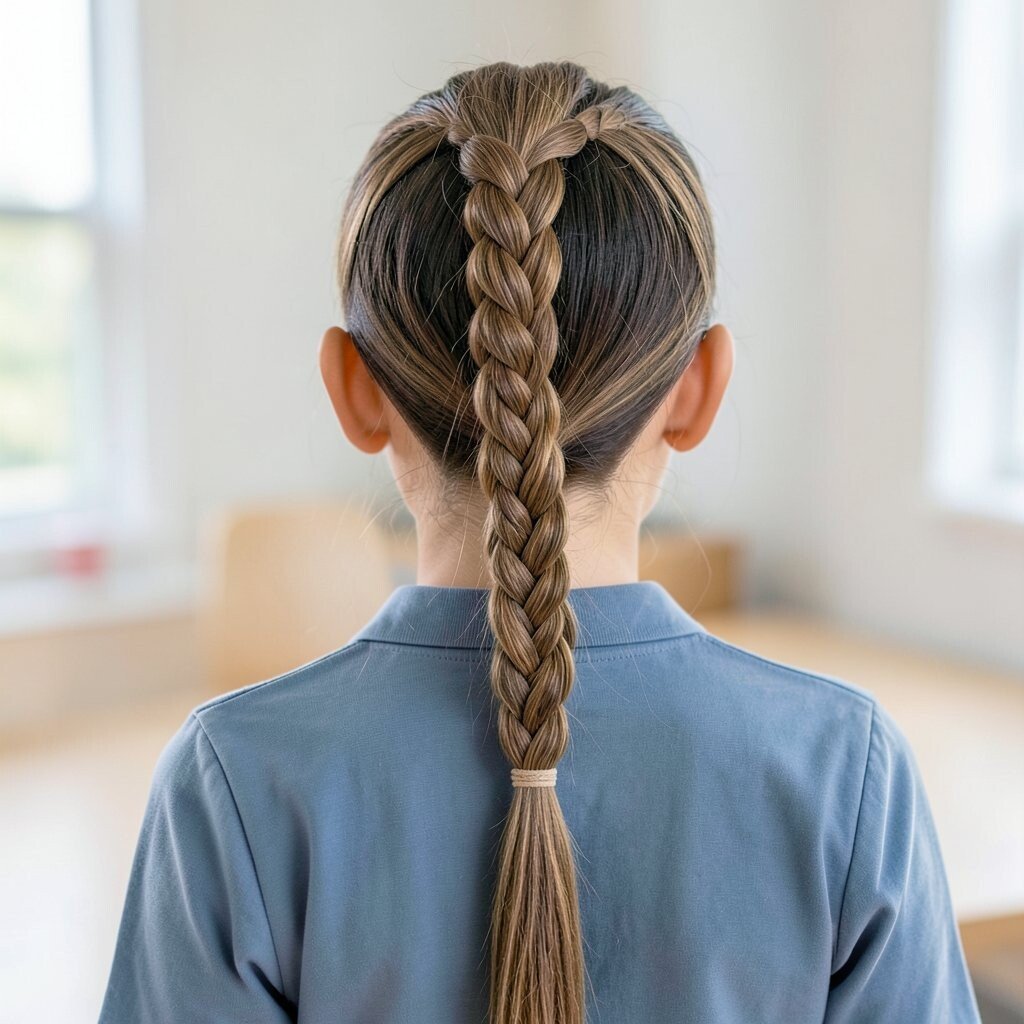
A classic braid is timeless, and starting higher makes it feel fresh. Begin at the top or slightly to the side, braid steadily, and keep each section the same size.
This style is great for school because it stays neat, helps reduce tangles, and keeps hair off your shoulders. For practical setup, detangle first and use a light leave-in conditioner so the braid goes smoothly. When you finish, secure with a strong elastic and add a quick tug to soften the braid slightly.
11. Pull-Through Ponytail With a Knotted Top
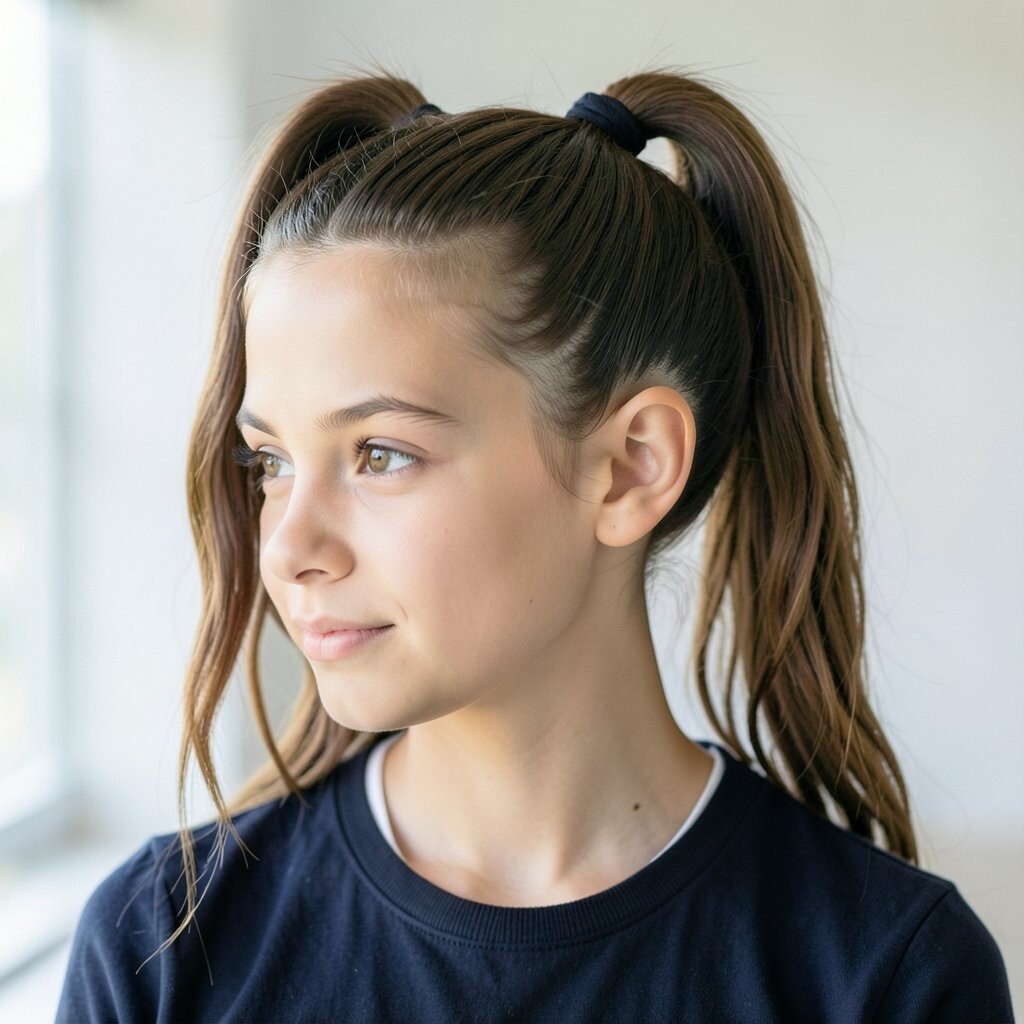
This look has a fun knot-like twist that makes a simple ponytail feel special. Tie a ponytail, then make a small gap above the elastic and flip the ponytail through the gap to create a pull-through effect.
It’s a nice option when you want something tidy but not too tight. For extra comfort, keep the elastic secure without yanking, and smooth the hair around the top with a comb. If your hair is thin, gently lift the ponytail and pull the loop sections to add volume.
To personalize, try placing the ponytail higher for a dramatic look or lower for a calm everyday vibe. Cost stays low since you can do it with elastics and a comb, and the “knot” effect comes from the method. Current trends lean toward sleek loops, so aim for clean sections rather than messy ones.
You can also add a small scarf wrap at the base if you like color, but keep it snug enough to last through the day.
12. Crown Braid Around the Back
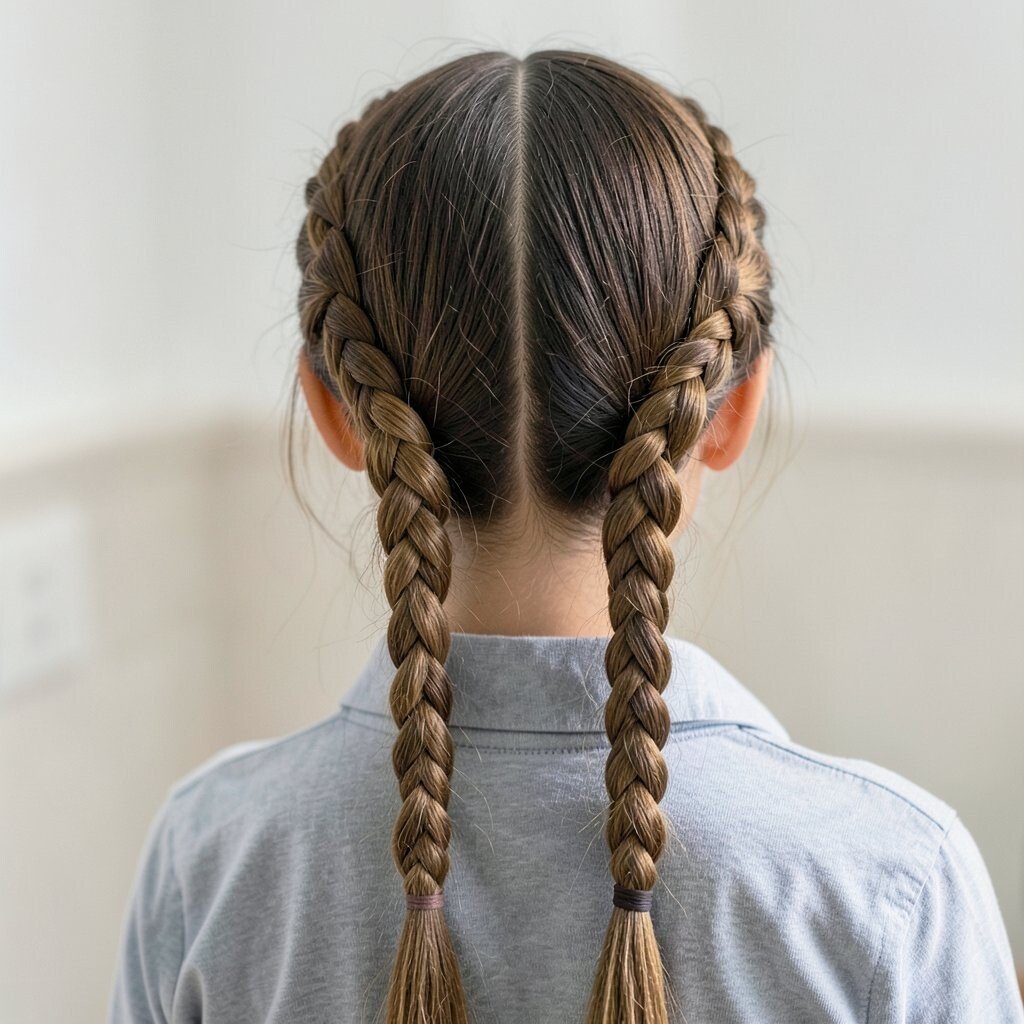
A crown braid looks beautiful and feels surprisingly practical. Start braiding at one side near your temple, continue around the back of your head, and secure at the other side.
This style helps keep hair controlled during movement, especially on busy days. It also hides flyaways because the braid acts like a barrier across the top layer. Use small pins at the end and tuck loose pieces under the braid for a smooth finish.
13. Low Ponytail With Braided Base Wrap
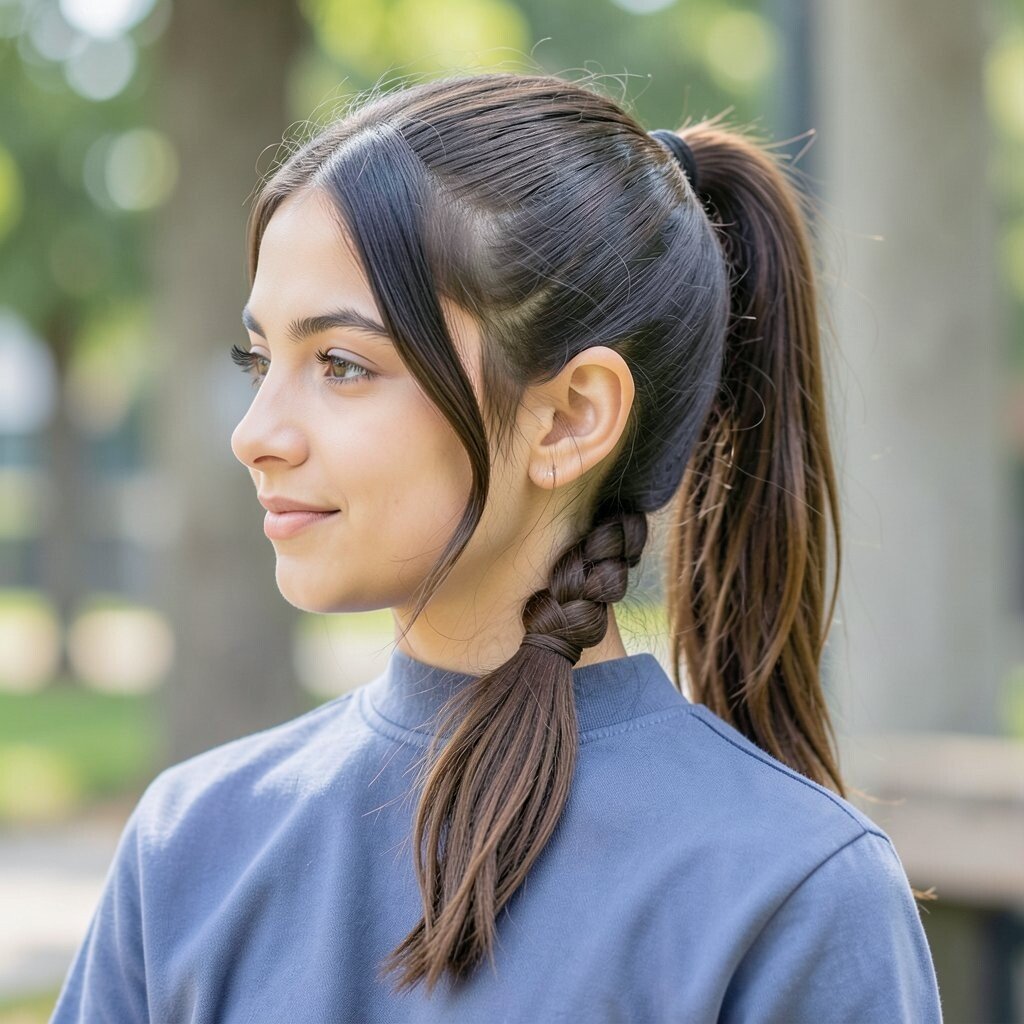
This idea keeps your ponytail looking neat by using a braid at the base. Make a low ponytail, then braid a small section from the ponytail or a nearby strand and wrap it around the elastic.
It’s helpful for school because it prevents the elastic from looking messy and adds a polished touch. If you braid tightly, the wrap will look smooth and professional, but you can loosen slightly for a softer look. For extra security, tuck the braid end under the base and pin it in place.
To personalize, use a different texture by braiding loosely or adding tiny twists to the wrap. Cost consideration is easy since you’re using simple hair tools, not expensive add-ons. This look also matches current styles that favor tidy details over loud accessories.
14. French Braid Ponytail Combo
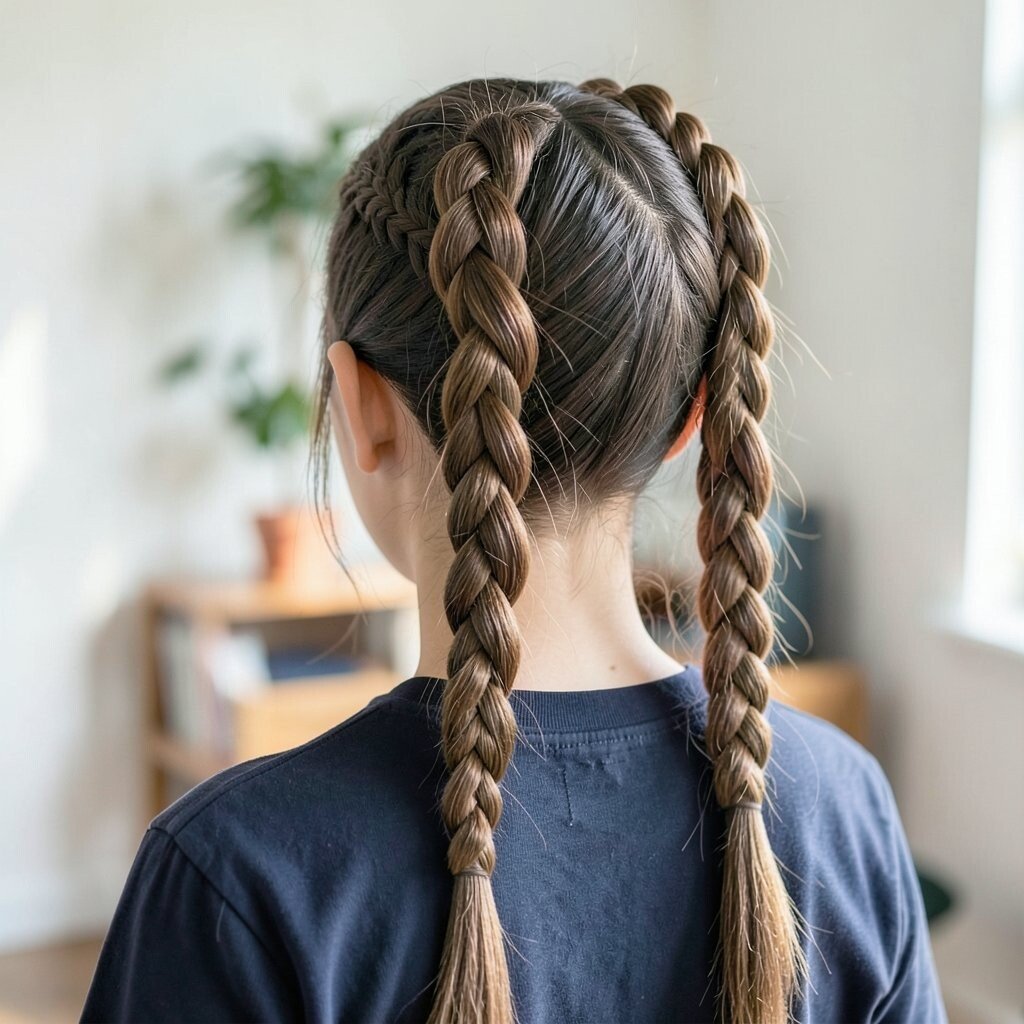
Combine a French braid with a ponytail for a sporty, organized vibe. Start French braiding from the top of your head, then keep braiding down until you reach the level where you want the ponytail.
This hairstyle gives you the benefits of a braid for security and the flexibility of a ponytail for comfort. Practical tip is to switch smoothly from braid to ponytail without leaving a messy step, so your hair lies flat. Use an elastic that matches your hair and gently press the base area with your fingers.
For uniqueness, try a diagonal French braid that starts from one temple and runs toward the back. If your hair is shorter, you can do a partial French braid into pigtails instead. This is a trendy look because it blends classic technique with a modern, athletic finish.
15. Zigzag Part With Two Straight Pigtails
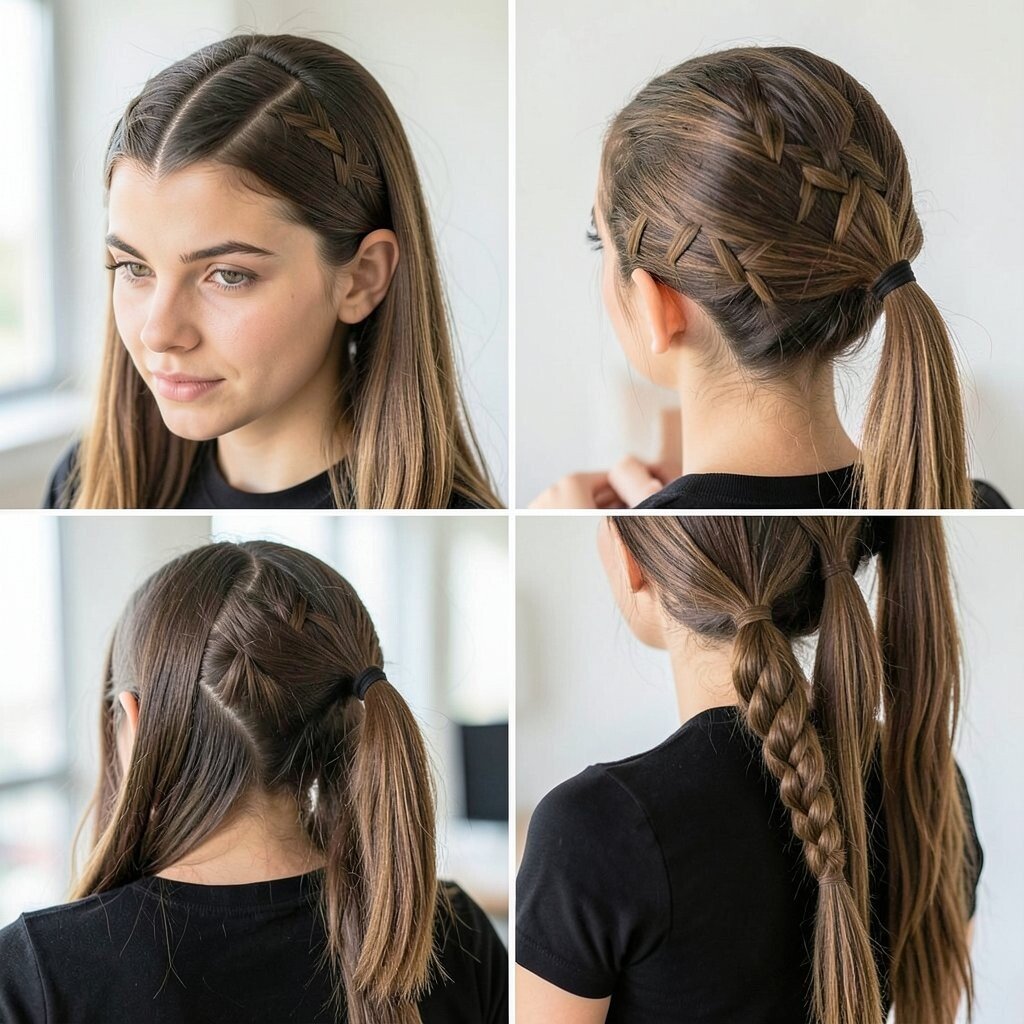
A zigzag part makes everyday pigtails look instantly interesting. Create a wavy part, then section into two pigtails and secure them with elastics at equal heights.
This style is great for keeping hair separated and easy to manage during the school day. To make the part stay sharp, use the tip of a comb and follow the same pattern on both sides. If you want extra neatness, smooth each section before tying and then wrap a small strand around the elastic.
16. Half-Up Claw Clip With Long Waves
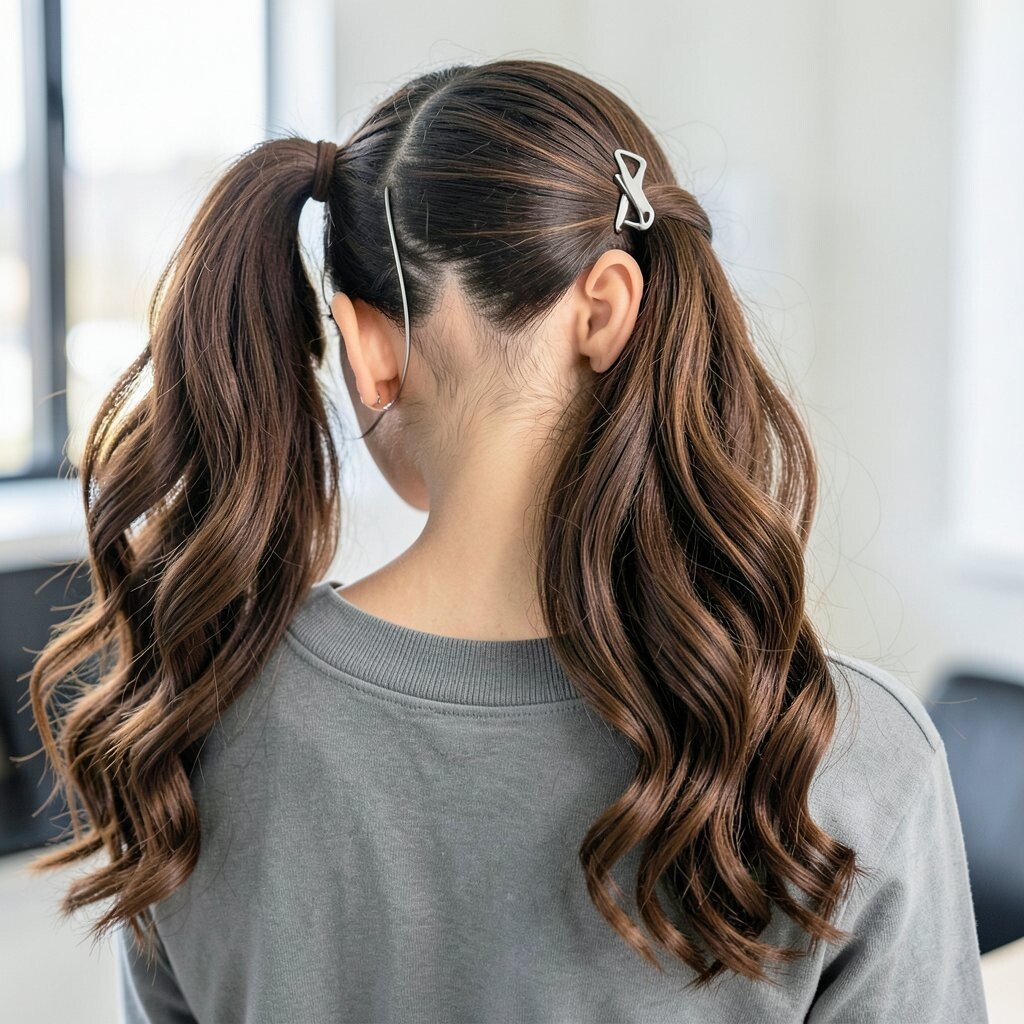
Sometimes the fastest hairstyle is the one that looks great even when you’re running late. Clip the top half of your hair with a claw clip, then let the rest fall in soft waves or straight strands.
This keeps hair off your face while still feeling comfortable and breathable. Choose a clip that’s wide enough to hold your hair without pulling, and place it slightly above your forehead so it looks natural. For practical care, avoid clipping too tight on the same spot daily to reduce breakage.
Personalize it by rotating the clip placement from center to side depending on your outfit. Budget-wise, claw clips are usually affordable and last a long time, so it’s a smart everyday investment. Current trends love effortless shine, so add a tiny amount of heat-free smoothing spray if your hair gets frizzy.
17. Side-Swept Pompadour Twist
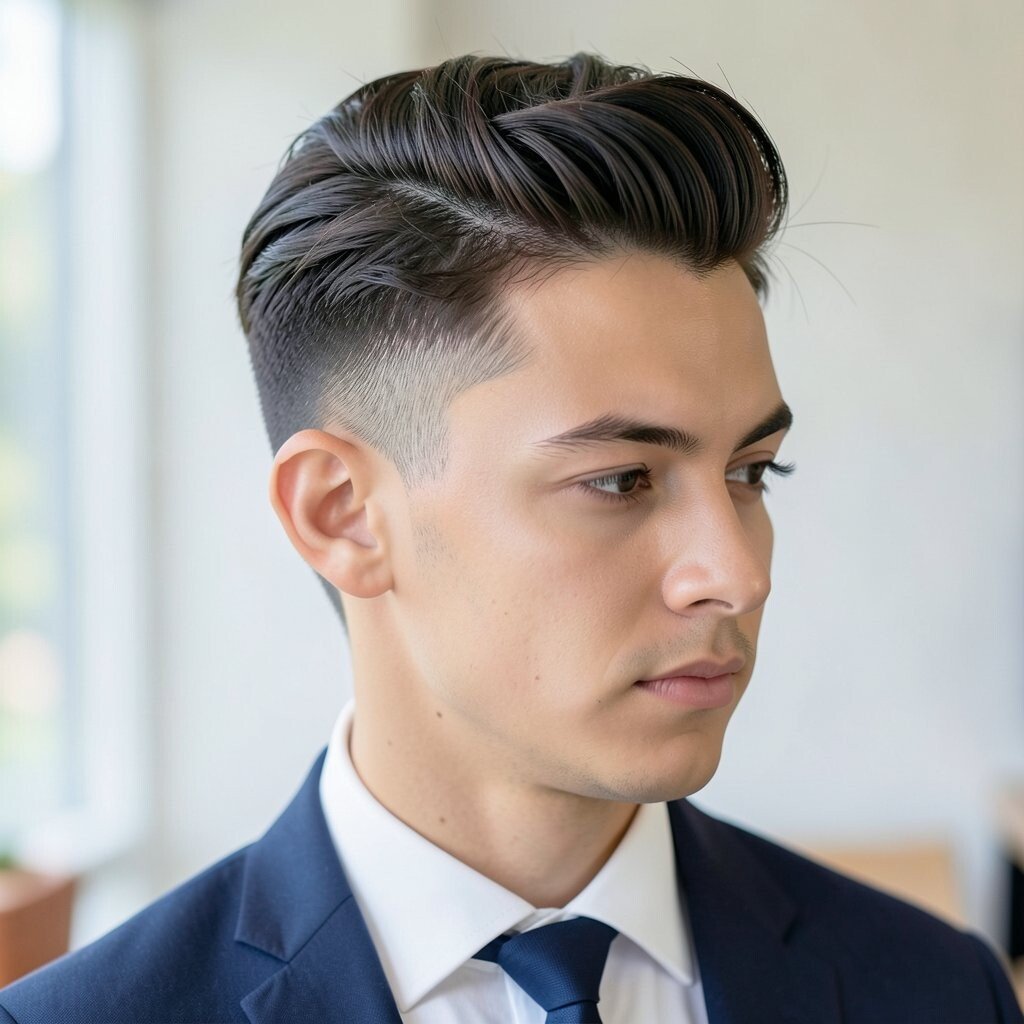
This style adds a little lift without making your hair feel heavy. Sweep a small front section to the side, twist it slightly, and pin it in place, letting the rest of your hair flow behind.
It’s a fun choice when you want your hair to look styled but still easy to maintain. Use bobby pins close to the scalp so the twist feels secure and doesn’t slide during the day. If you have bangs, tuck them into the twist for a clean, blended look.
For uniqueness, try a low twist near the temple for a soft vibe or a slightly higher one for more lift. Cost is minimal since you’re using pins and maybe a small brush to shape the front. This also matches current styles that favor playful volume and off-center styling.
18. Satin-Smooth Ponytail With Wrap and Shine
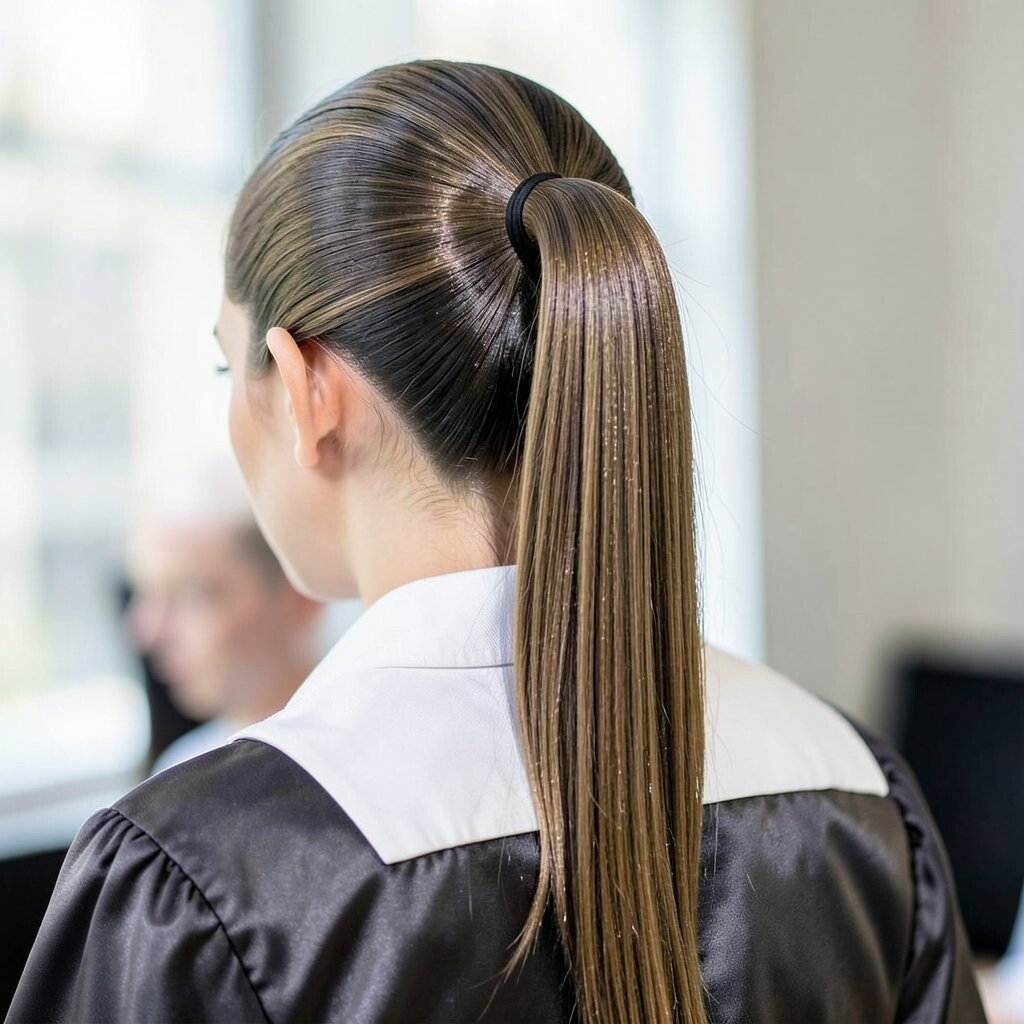
A smooth ponytail can look sleek and expensive, even if you keep it simple. Brush your hair back carefully, tie it in a ponytail, then wrap a small strand around the elastic and pin it down.
This hairstyle is excellent for school because it stays polished in photos and helps your hair look tidy all day. Practical tip is to apply a tiny amount of serum or leave-in conditioner before brushing so flyaways don’t ruin the look. If your hair tends to frizz in humidity, choose a light anti-humidity product and avoid soaking your hair with too much water.
For personalization, decide whether you want a high ponytail for drama or a mid ponytail for everyday comfort. Keep cost low by using a small bottle of styling product that you can reuse across multiple hairstyles. Sleek ponytails are always in style, and this version looks especially trendy with a glossy finish.
19. Rope Braid Bun With a Clean Edge
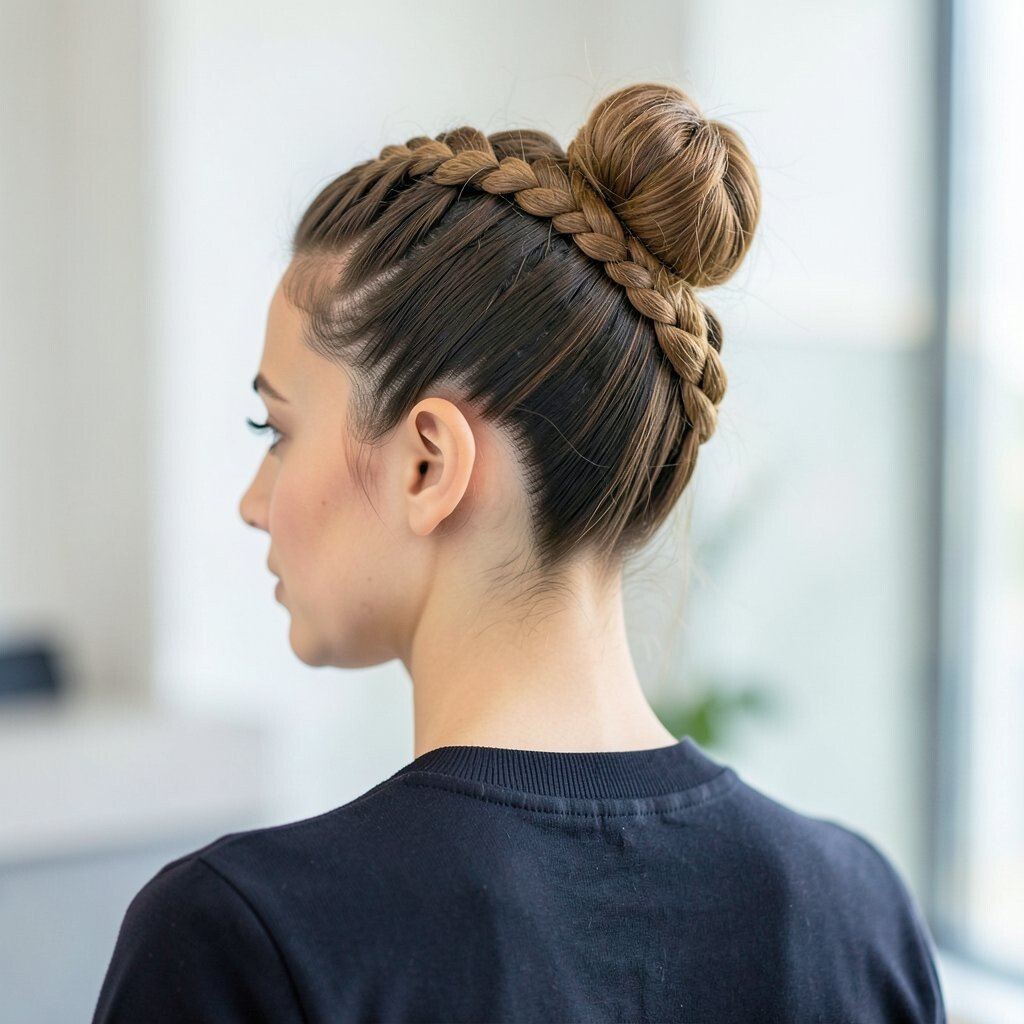
A rope braid bun is a creative way to make a low style look fancy. Make two sections of hair, twist each section in the same direction, then twist them together in the opposite direction to create the rope look, and wrap into a bun.
This is great for school because the bun keeps hair gathered while the rope braid adds texture and visual interest. For practical results, hold your twists firmly and keep tension even so the rope pattern shows clearly. Secure with pins and finish with a light hairspray to help it last through gym and recess.
Uniqueness comes from the rope texture, which looks different from regular braids. If you want a personalized touch, tuck a small clip at the side of the bun or add a tiny elastic at the braid end. Cost considerations are easy since rope braids use the hair you already have, plus standard elastics and pins.
20. Curly Puffballs With Elastic Rings
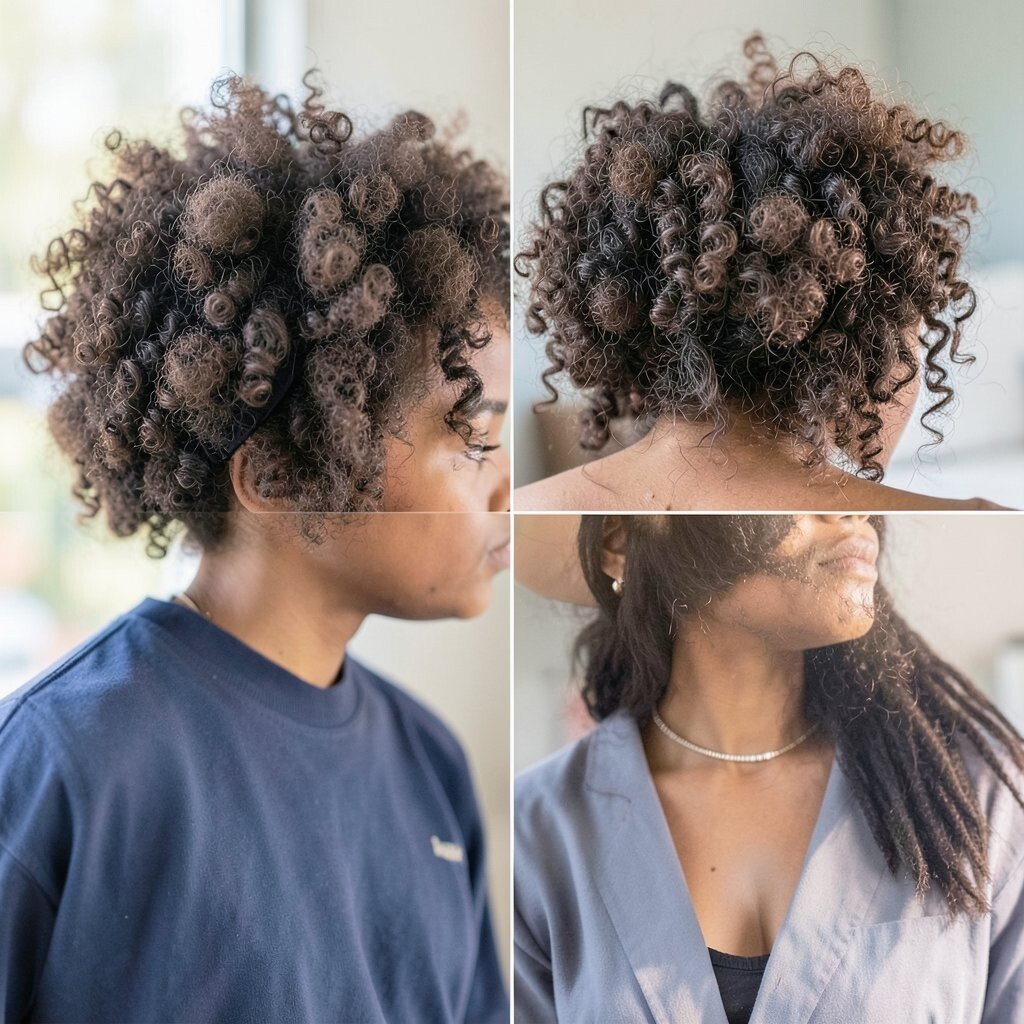
If you love curly or textured hair, puffballs are a playful and practical choice. Section your curls into small areas, tie each one into a puff, and use elastic rings to define the shapes.
This helps your curls stay bouncy and prevents big tangles during the day. Practical tip is to use a light curl cream or leave-in to keep each puff moisturized, then avoid brushing so you don’t lose the shape. If your hair shrinks in humidity, let the puffs settle for a minute before you adjust them.
For personalization, try different sizes of puffballs or place them in a pattern that matches your part. Cost is usually low because you can use hair products you already have for curls and only add elastics. Current trends often celebrate natural texture, and puffballs look especially modern when they’re defined and shiny.
21. Ribbon Braid With Color-Thread Accents
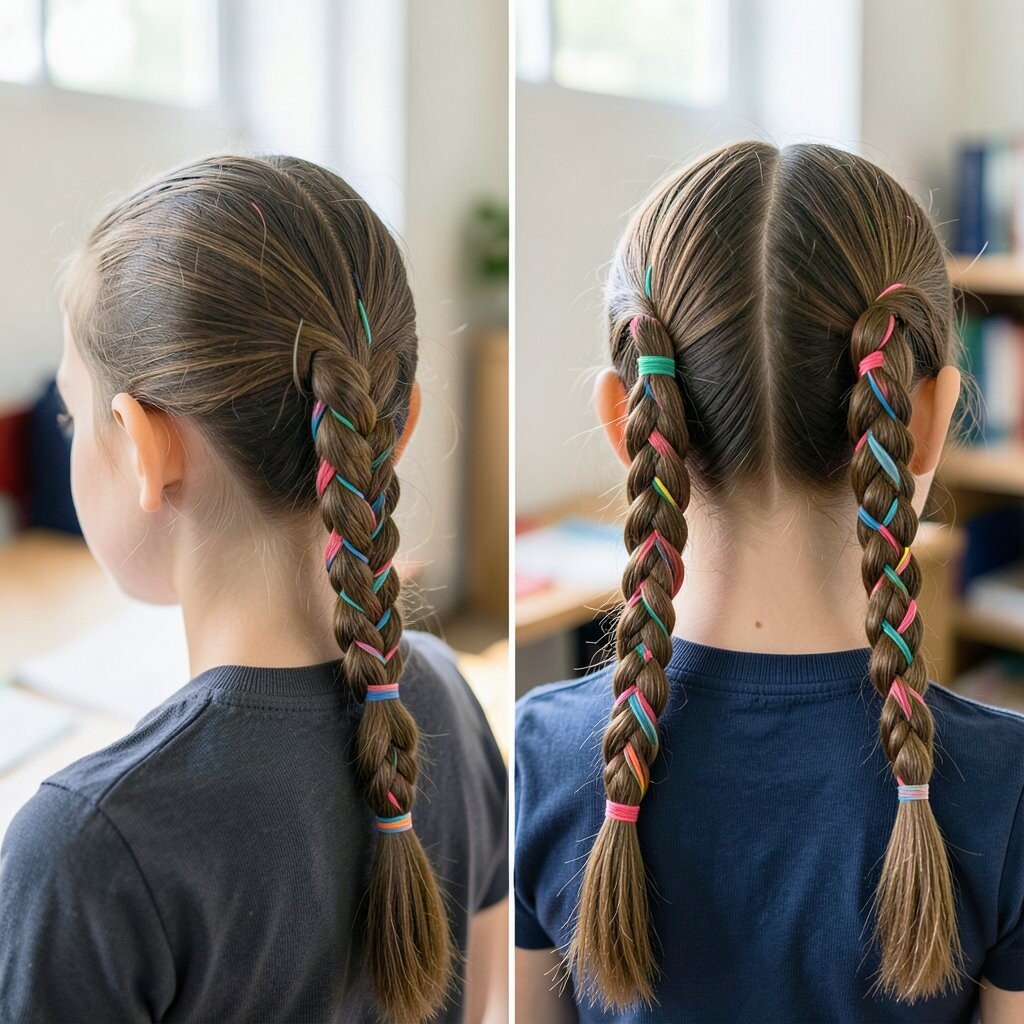
This hairstyle brings a fun pop without needing expensive hair extensions. Braid your hair normally, but weave in a thin ribbon or color thread as you go so the braid looks woven with streaks of color.
It’s a great way to show personality while keeping hair secure and away from your face. For practical tips, tie the ribbon ends tight near the braid start so they don’t slip, and choose a lightweight ribbon that won’t tangle too easily. When you finish, tuck the ribbon end neatly and secure it with an elastic or small knot.
To personalize, match colors to your school colors, a favorite character, or even your favorite hoodie shade. Cost considerations are friendly because ribbon and thread are usually cheap and can be reused for other styles. This look feels current when the accents look thin and even, so keep the ribbon width consistent across the braid.
If you want it to last, use a gentle hairspray over the braid and avoid tugging the ribbon after tying. With a little practice, this becomes one of those go-to hairstyles that always gets compliments.