Your ponytail can look effortless and still feel totally special. Small changes in placement, texture, and accessories can make a big difference fast.
1. The Classic High Pony With a Soft Wrap

Start by brushing your hair smooth and pulling it high at the crown. Then twist a small section from the ponytail around the elastic to hide it like a tidy little secret.
This style shows off your face and neck in the most flattering way. It also works for school mornings and late dinners because it holds shape without needing fancy tools.
2. The Low Pony With a Middle-Part Sleek Finish
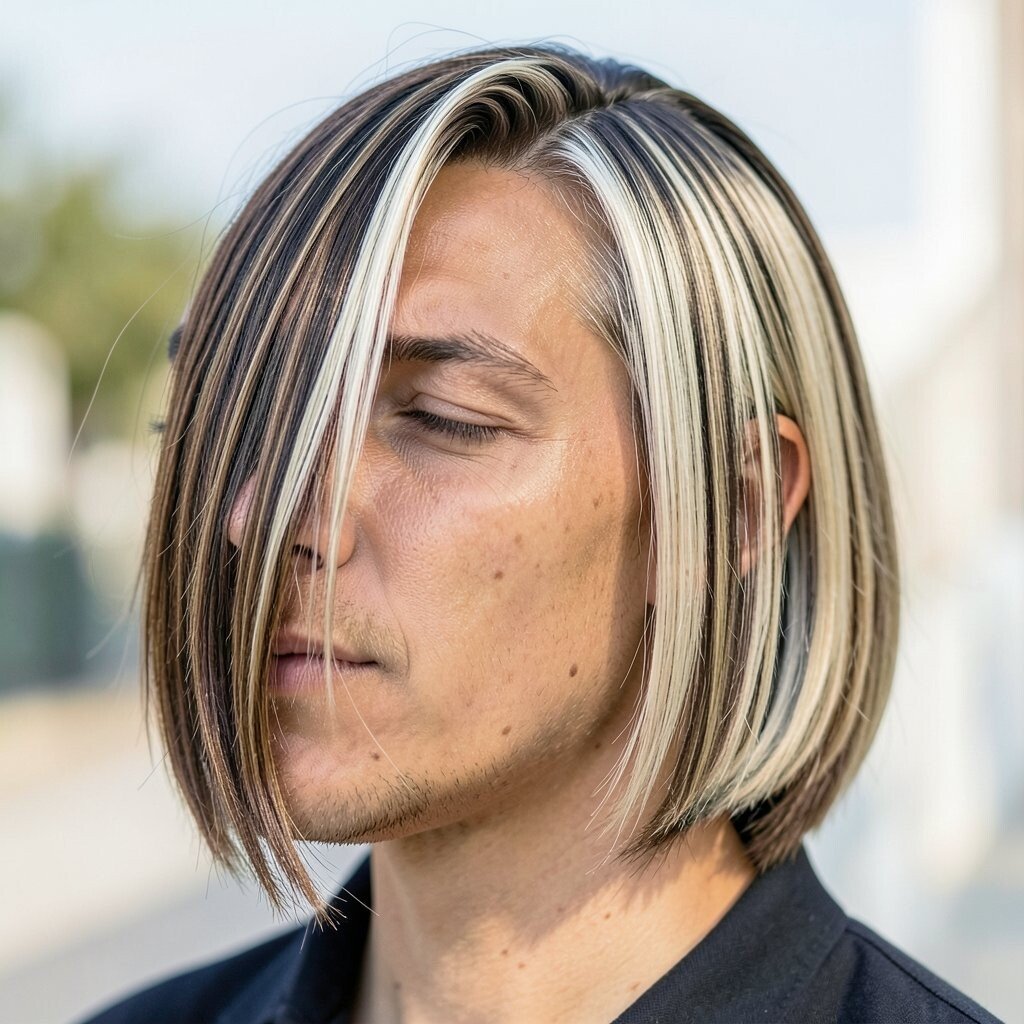
Part your hair in the center and gather it low at the nape. Keep the sides sleek by lightly misting with water or smoothing cream before you tie.
This look feels polished and modern, especially with a glossy finish. It also gives a clean line that makes your outfit look extra put together.
For personalization, tuck the ends slightly under at the last wrap or add a slim satin ribbon near the elastic. If you want a current vibe, try a softer, shinier surface that looks “just styled” even on busy days.
3. The Bubble Pony With Playful Elastic Rings
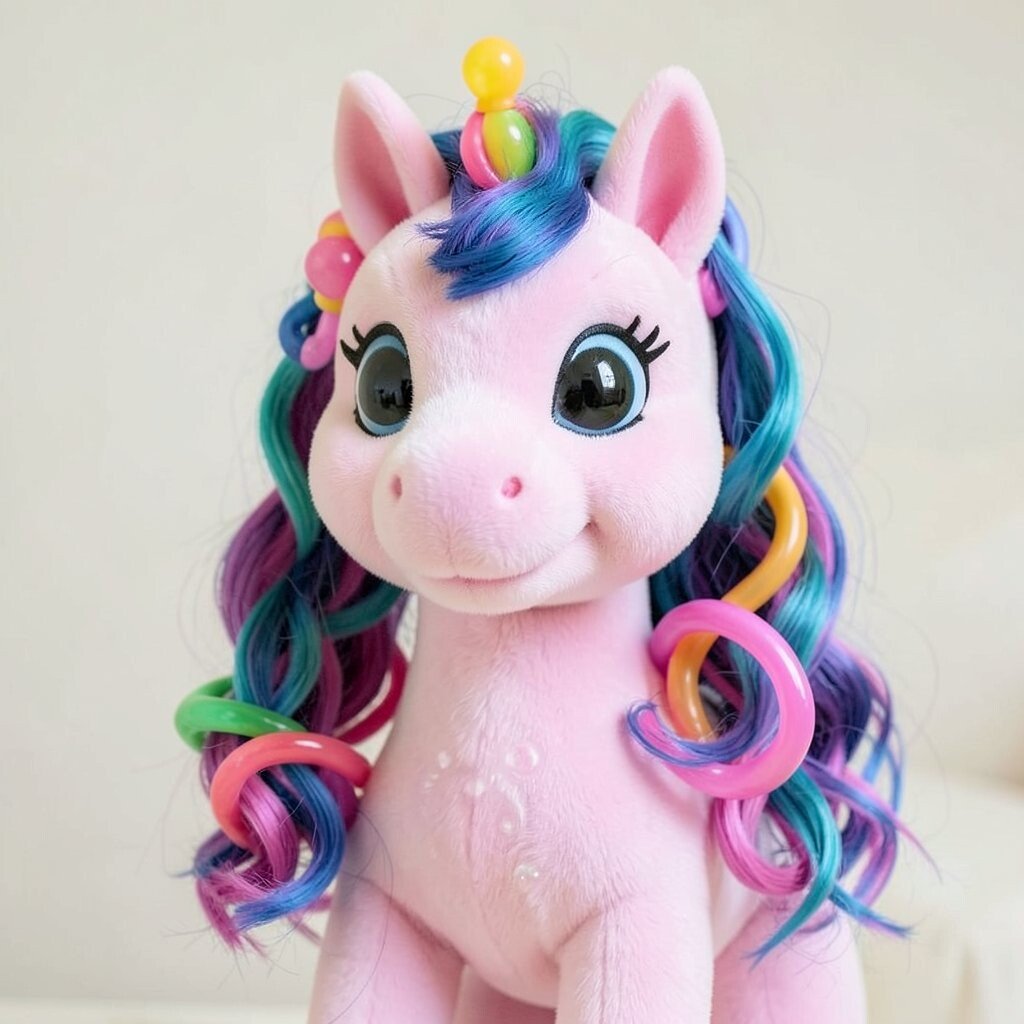
Gather your hair into a mid or high pony, then secure it with an elastic. After that, add small elastics down the length to create bubble-like sections.
Each bubble gives your pony a fun, bouncy look that stands out in photos. It’s also great for thick hair because the rings help distribute bulk evenly.
Use clear elastics for a subtle finish or choose colored ones to match your mood. For a practical touch, gently tug each bubble so they look rounded and intentional, not lumpy.
If your hair is fine, add a little texturizing spray first so the bubbles hold their shape longer. This style is usually low cost because most bubble ponies only need elastics and maybe a brush.
4. The Twisted Rope Pony With a Crown Accent
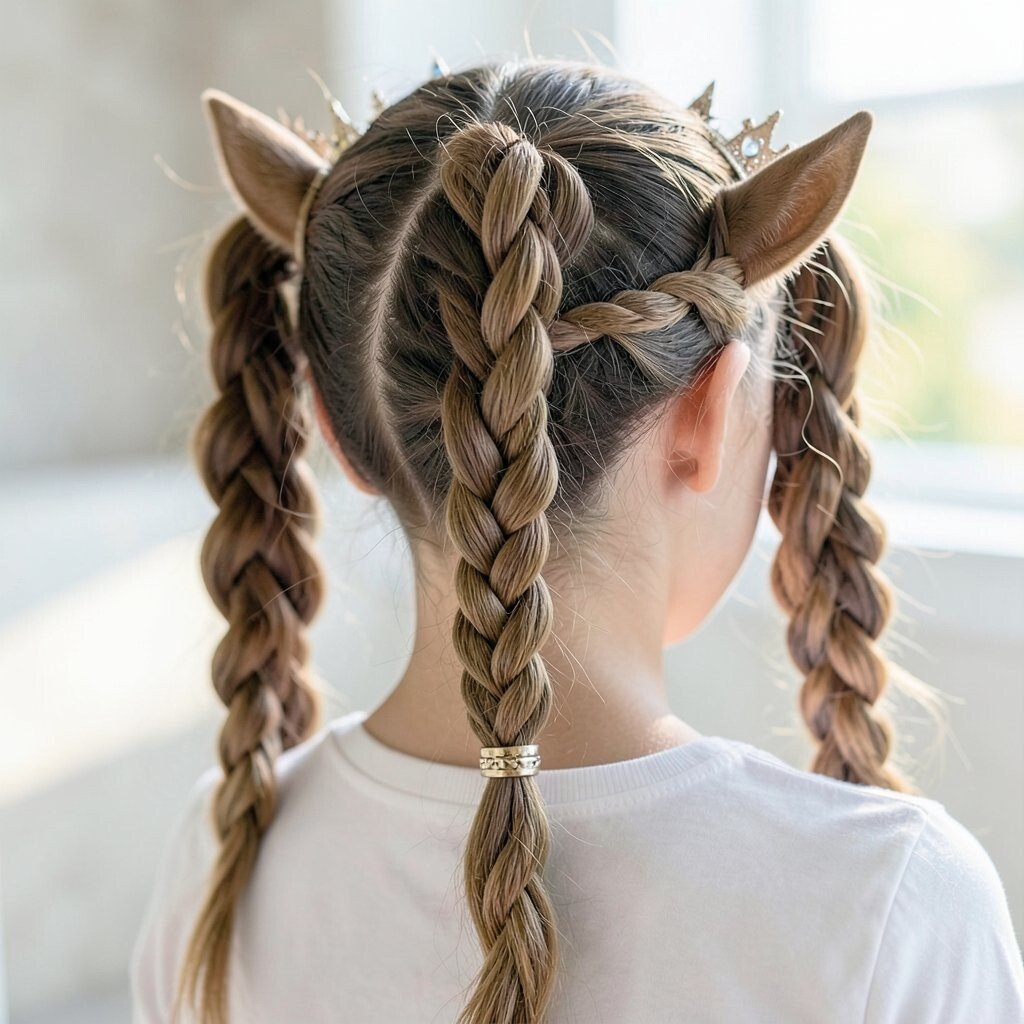
Divide the ponytail into two sections and twist each one tightly in the same direction. Then cross the twists over each other like a rope and secure the end.
This creates a “done” look without heavy volume. It also adds extra texture that makes your pony feel unique even with simple hair.
5. The Sleek Pony With a Hidden Crown Clip

Pull your pony tight at your desired height and smooth the top with a fine comb. Then slide a small claw clip or bobby-clip just under the top section so it stays hidden.
This tiny trick adds comfort and control, especially when you’re wearing a pony for hours. It’s a practical way to stop flyaways while keeping the pony sleek.
Try a personalization twist by using a clip in black, tortoise, or a metallic tone. If you’re following current trends, look for clean, minimal shine that feels runway-inspired but still wearable.
6. The Ponytail With Loose Face-Framing Pieces

Secure the pony and leave two soft strands around your face. Curl those pieces lightly or bend them with your fingers for an effortless frame.
This style balances a pulled-back pony with a softer, friendly vibe. It also flatters almost every face shape because the strands draw attention to your cheekbones.
To keep it practical, pin the strands lightly behind one ear if they bother you. For personalization, choose thicker face-framing pieces for a bold look or thinner pieces for a delicate finish.
7. The High Pony With a Half-Bun Top Knot

Create a regular high pony, but also gather a small section from the top into a mini bun. Secure the bun with a couple pins so it sits like a crown.
This combo looks playful and a little sporty, like you styled it with confidence. It’s unique because it adds dimension without needing braids.
For cost considerations, you only need a few bobby pins and an extra elastic. If your hair is slippery, apply a tiny amount of styling gel before tying so everything grips.
When you want a trendier feel, keep the bun slightly messy so it looks casual, not perfect. That slight texture is what makes it look modern and fresh.
8. The Side Pony With a Soft Volume Sweep

Gather your hair to one side, slightly above shoulder level, and secure with an elastic. Before tying, tease the roots lightly on top for a soft lift.
This hairstyle adds shape and can make your features look more defined. It’s also great if you want a change without fully committing to braids or complicated steps.
9. The Braided Pony Starting With a Simple Side Braid
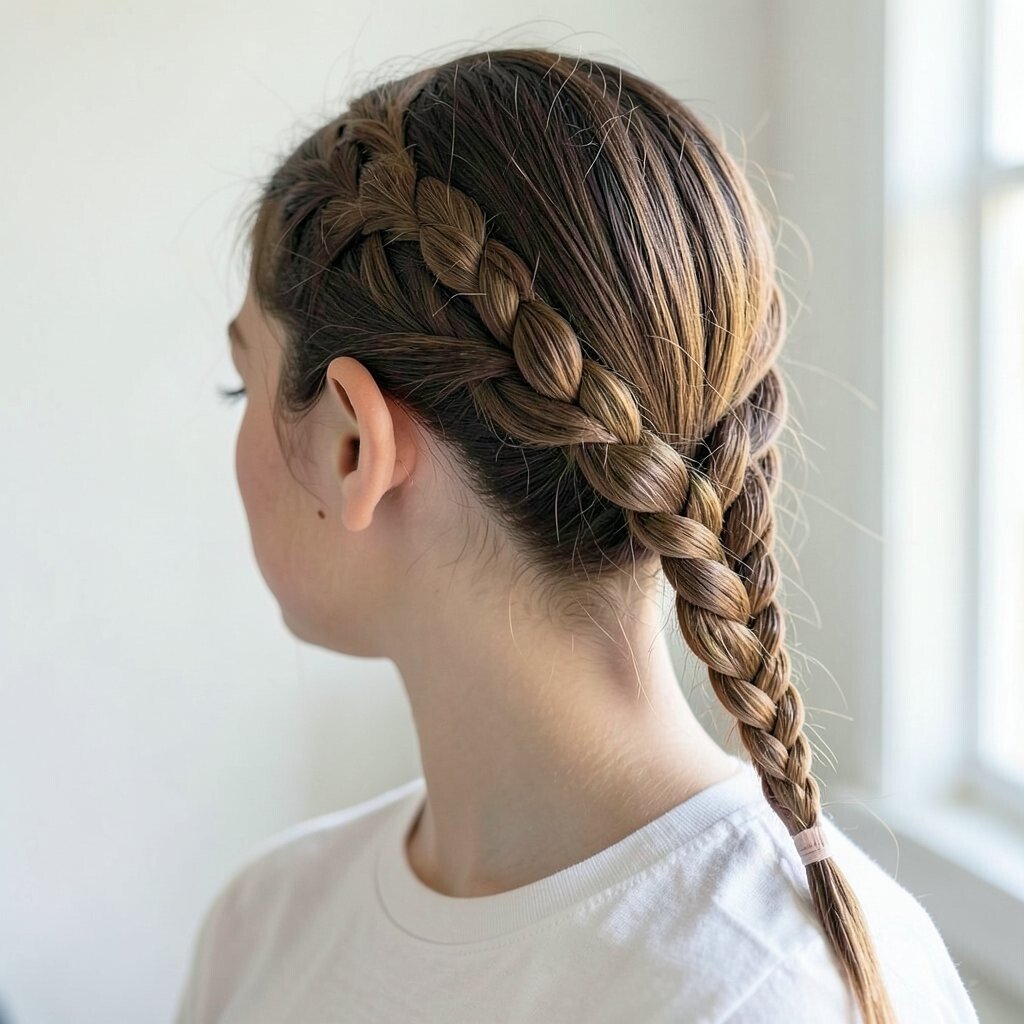
Make a side braid from part of your hair, then pull the braid into a ponytail. Secure everything so the braid wraps into the main hair bundle.
The braided section adds a clear visual detail that feels special even when your day is busy. It’s unique because it gives the pony extra movement and dimension from the start.
For practical tips, keep the braid tight near the start and slightly looser near the end so it blends smoothly. Personalize with a braid direction that matches your natural part or switch to a French braid for more drama.
Current trends often favor textured braids rather than super-sleek styles, so a light tousle looks great. This can be budget-friendly since the only “extra” item is a few elastics.
10. The Twisted Low Pony Tailored for Workdays
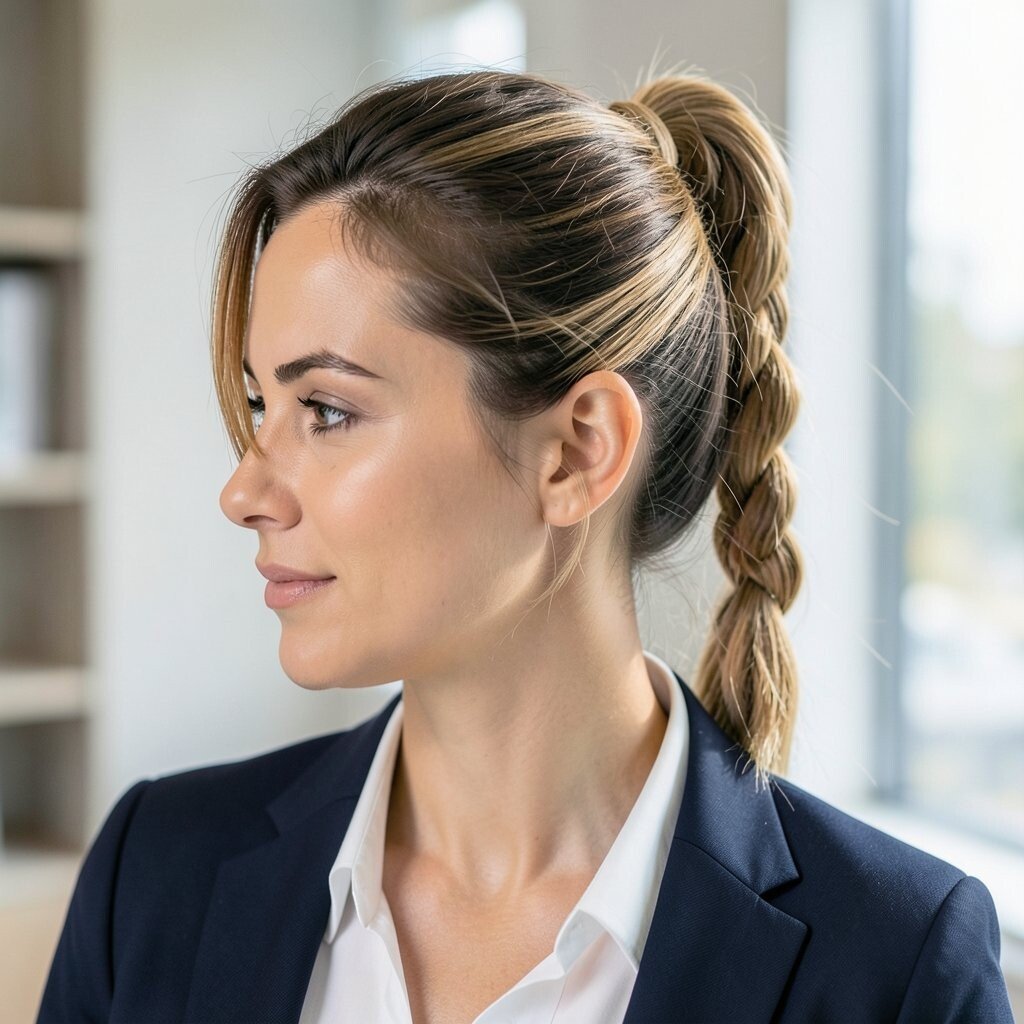
Pull your hair into a low pony and then twist the pony itself once or twice. Secure the twist with a small elastic, then gently stretch it to look fuller.
This gives a neat, office-friendly look while still feeling stylish. It also helps your pony feel lighter because the twist breaks up flatness.
To personalize, add a narrow scarf looped around the elastic for color without buying new hair tools. For cost considerations, you can reuse a scarf you already own and still get a fresh result.
11. The High Pony With a Feather-Light Backcomb Finish

Take the top section and lightly backcomb at the roots before tying your pony. Smooth the surface gently so it looks lifted but not messy.
This adds instant volume and makes thin hair look fuller. It’s a classic choice that never feels dated because it gives structure to your whole style.
Use a light hairspray only at the roots so the pony keeps movement. For personalization, braid the front or add a small hair accessory near the tie to match your outfit.
12. The Waterfall Pony With Cascading Strands
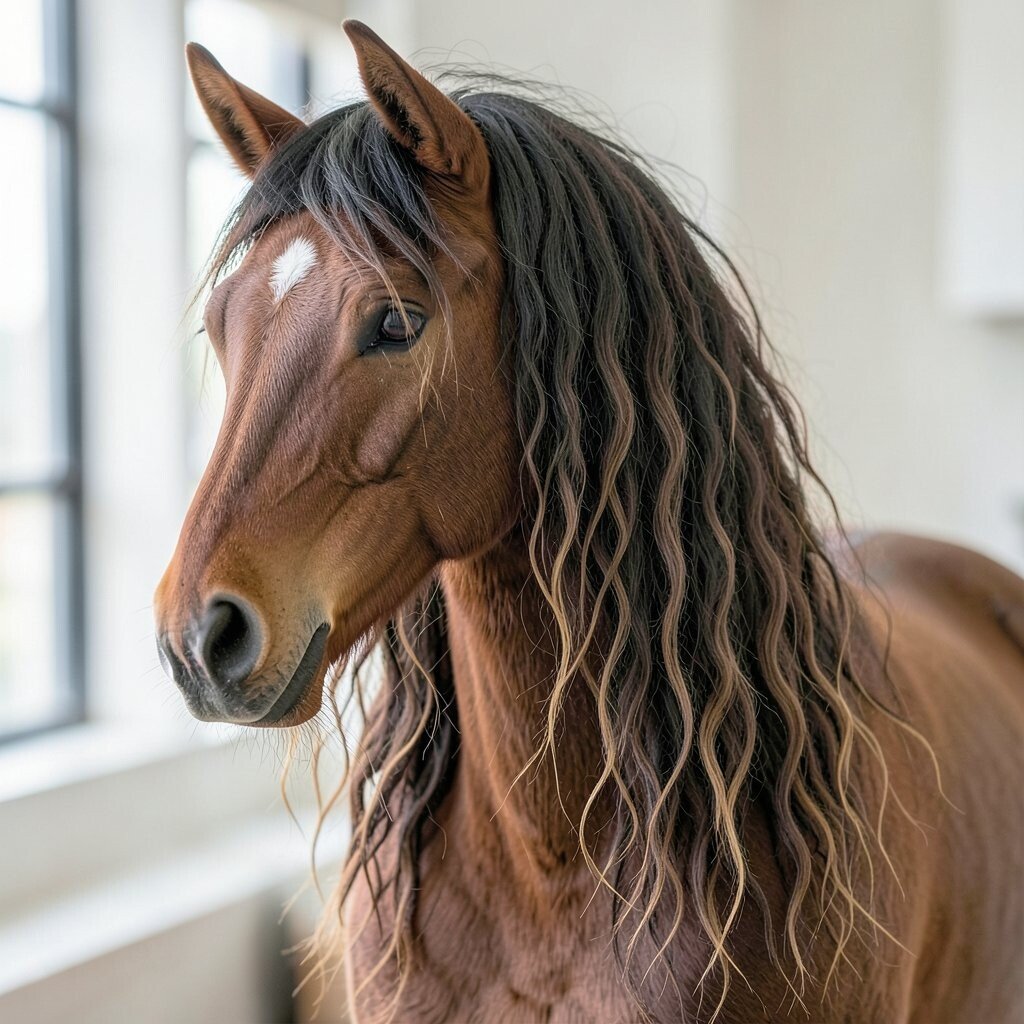
Start near the front and create a sectioned braid that feeds into your pony, letting some strands fall free. Gather the rest of the hair into a pony so the falling pieces look like little waterfalls.
This look feels romantic and detailed without being too heavy. It’s unique because the “cascade” effect adds softness around your face.
For practical tips, use bobby pins to secure the falling strands so they don’t end up in your eyes. Personalize by curling the free strands for a more polished finish or leaving them wavy for a casual vibe.
As for cost considerations, this is mostly technique, so you can do it with basic tools. Even with simple products, it can look like a salon-style pony tailored to you.
13. The Wrapped Pony With a Knotted Hair Scarf

Secure your pony and tie a small scarf around the elastic, then tie it like a tiny knot. Keep the scarf ends tucked or let them hang for a playful pop.
This gives a clear accessory moment without buying expensive add-ons. It also helps hide the elastic while protecting your hair from rubbing.
For personalization, choose colors that match your earrings or bag for an easy, coordinated look. Trends right now favor small, bold details, and a scarf knot fits that vibe perfectly.
If your hair is fine, use a slightly thicker scarf so the knot stays firm. Cost-wise, scarves are usually affordable and reusable, so you get many pony variations from one piece.
14. The Pony With a Braided Halo Around the Elastic

After tying your pony, wrap a thin braid around the base like a halo. Pin the braid to hold it in place while keeping the pony smooth and neat.
This style looks fancy in a way that feels surprisingly doable. It’s unique because the braid becomes the frame, not just an accent.
To keep it practical, use hair pins that match your hair color so they blend in. Personalize by making the halo braid tight for sleek elegance or slightly loose for a softer, boho effect.
If you’re following current trends, this “framed elastic” look is popular because it feels thoughtful and photo-ready. You can keep the cost low by using any braid you already know how to do.
15. The Slick Pony With a Dramatic Side Bang Curl

Pull your hair into a high pony and smooth it with gel or smoothing cream for a strong hold. Then style your bangs or front section into a curled swoop to one side.
This creates a bold contrast between sleek pony and lifted front texture. It’s beneficial because the slick look reduces flyaways while the bang curl adds personality.
16. The Pony With a Ribbon-Threaded Elastic Base
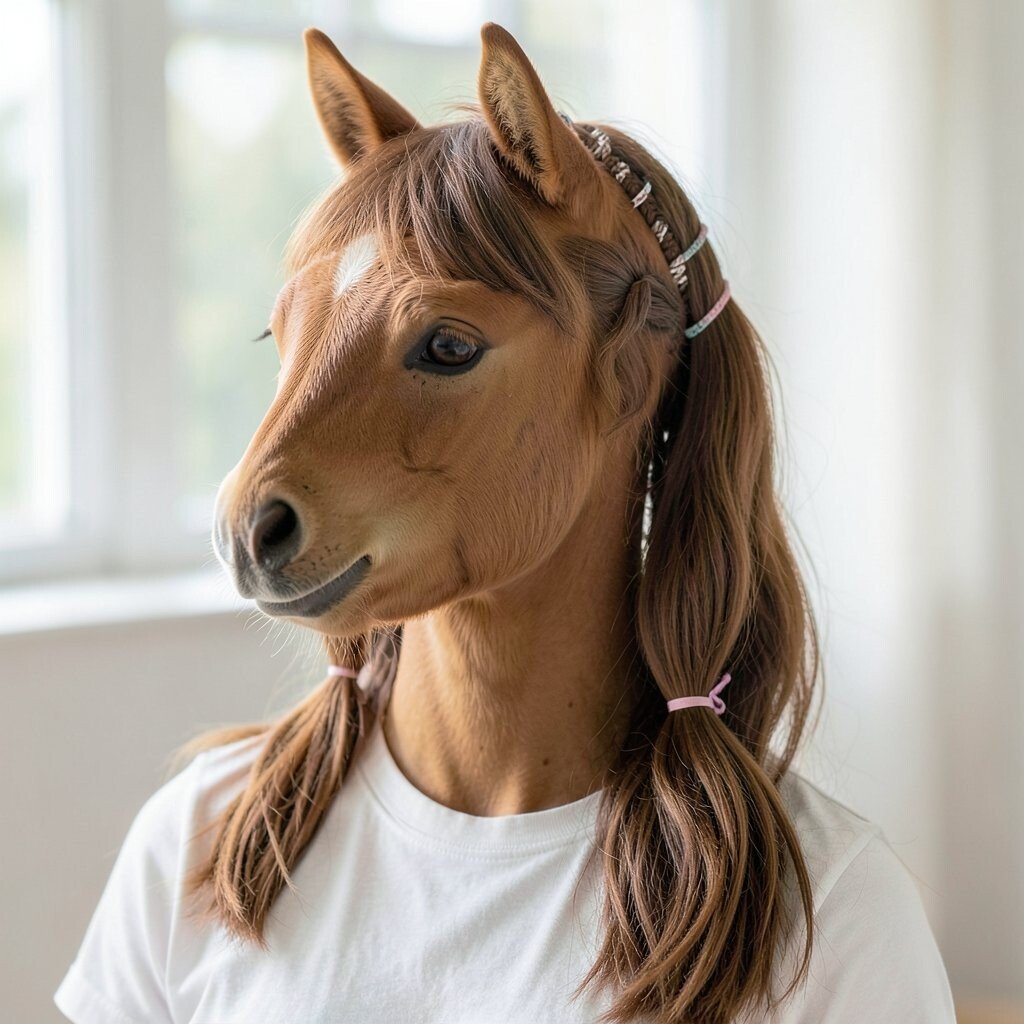
Secure your pony with an elastic, then thread a ribbon through the elastic area using a simple loop. Tie the ribbon in a bow or a clean wrap depending on the vibe you want.
This adds color and charm while keeping the pony practical for everyday life. It’s unique because the ribbon detail sits at the base, making the style feel intentional.
For personalization, pick a ribbon width that suits your hair thickness. Thicker ribbons stand out on thick hair, while thin ribbons look dainty on finer hair.
Cost considerations are easy here since ribbons are inexpensive and come in many colors. If you want a modern trend feel, choose matte ribbons rather than super shiny ones for a softer look.
17. The Pony With a Mini Dutch Braid Into the Tie
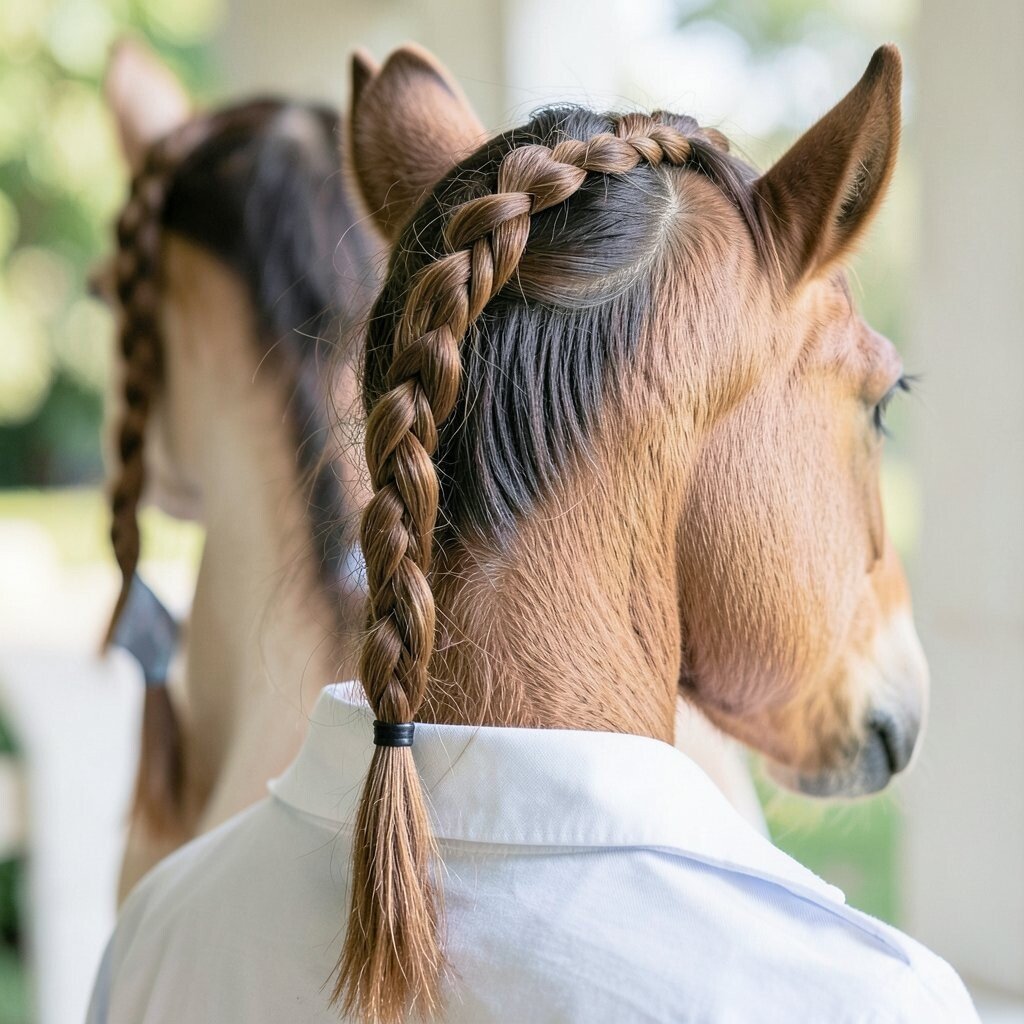
Create a small Dutch braid near the front that runs toward where you’ll tie your pony. Secure the rest of your hair into a pony and let the braid peek through.
This looks extra styled while still being fast enough for mornings. It’s beneficial because the braid adds grip and helps the front stay tidy.
Personalize by making the mini braid thicker for a bold statement or thinner for a subtle detail. Practical tip: keep the braid close to the scalp so it doesn’t slip out when you move.
18. The Pony With a Curtain Bang Softening Effect

Pull your pony back while leaving curtain bangs to fall naturally on both sides. Lightly curl the ends inward so the frame looks airy and flattering.
This hairstyle is friendly and romantic, especially with a medium or low pony. It also helps you hide a bit of uneven growth near the front while still looking put together.
To personalize, adjust the part line to match your outfit and mood. For cost considerations, you only need a brush and maybe a small curling tool, so it stays budget-friendly.
If you want a current trend touch, keep the bangs soft and not too uniform, because lived-in texture is in style.
19. The Textured Pony With a Top Knot Bun Clip
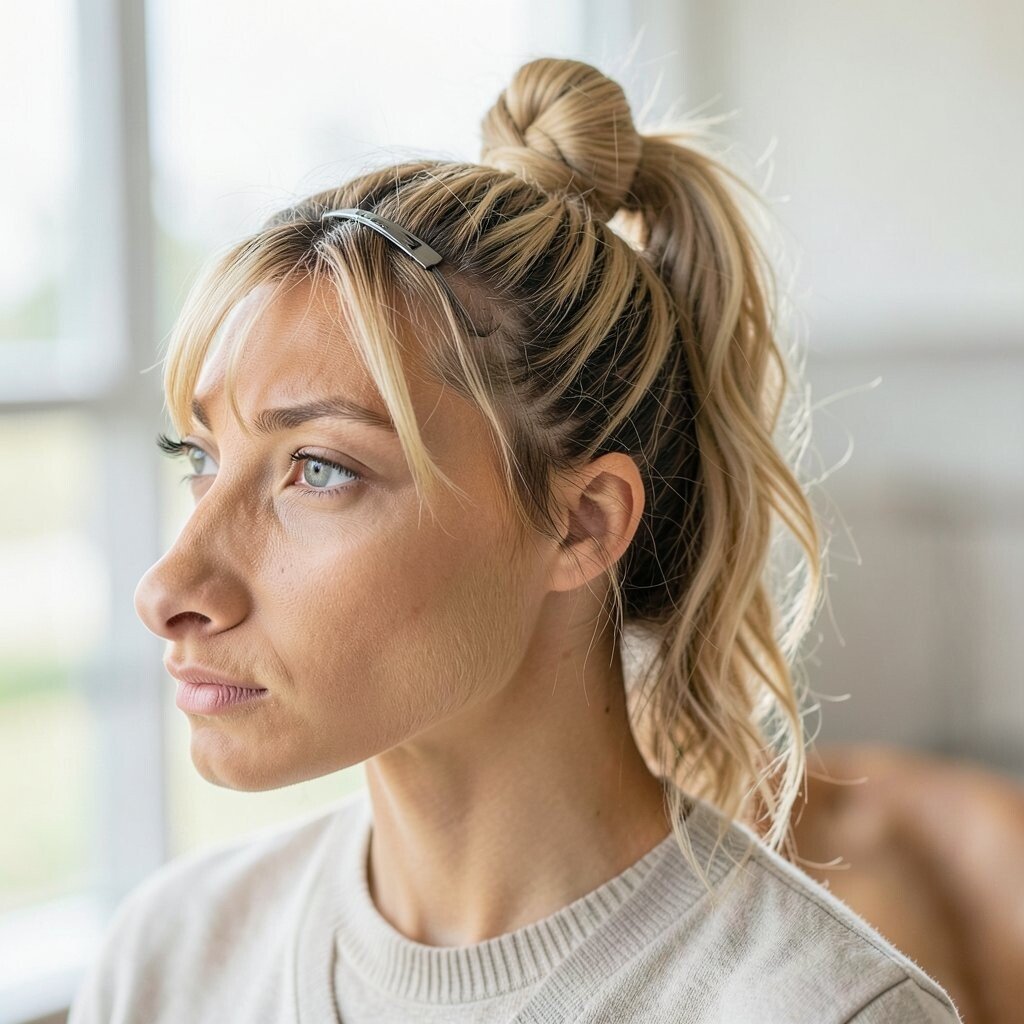
Tease the pony lightly and use a texturizing spray so it looks soft and airy. Then add a mini top knot bun clip by twisting a small section on top and pinning it.
This feels effortless, like you woke up with great hair. It’s unique because the texture makes the pony look thicker, even if your hair is fine.
20. The Pony With a Hidden Elastic Twist for Extra Hold

Secure your pony with an elastic, then twist the elastic area slightly by flipping the pony base through once or twice. This creates a hidden anchor that makes the pony feel tighter.
This is a practical hairstyle that helps your pony last longer during workouts or long days. It also reduces slipping, which is a common frustration for many people.
For personalization, add a small hair pin decoration near the base or wrap a thin strip of fabric around the twisted area. Cost considerations are simple because you mainly use what you already have: elastics, pins, and maybe a bit of styling spray.
If you want to match current trends, aim for a natural finish instead of ultra-slick. Light texture looks modern and also feels comfortable as the day goes on.