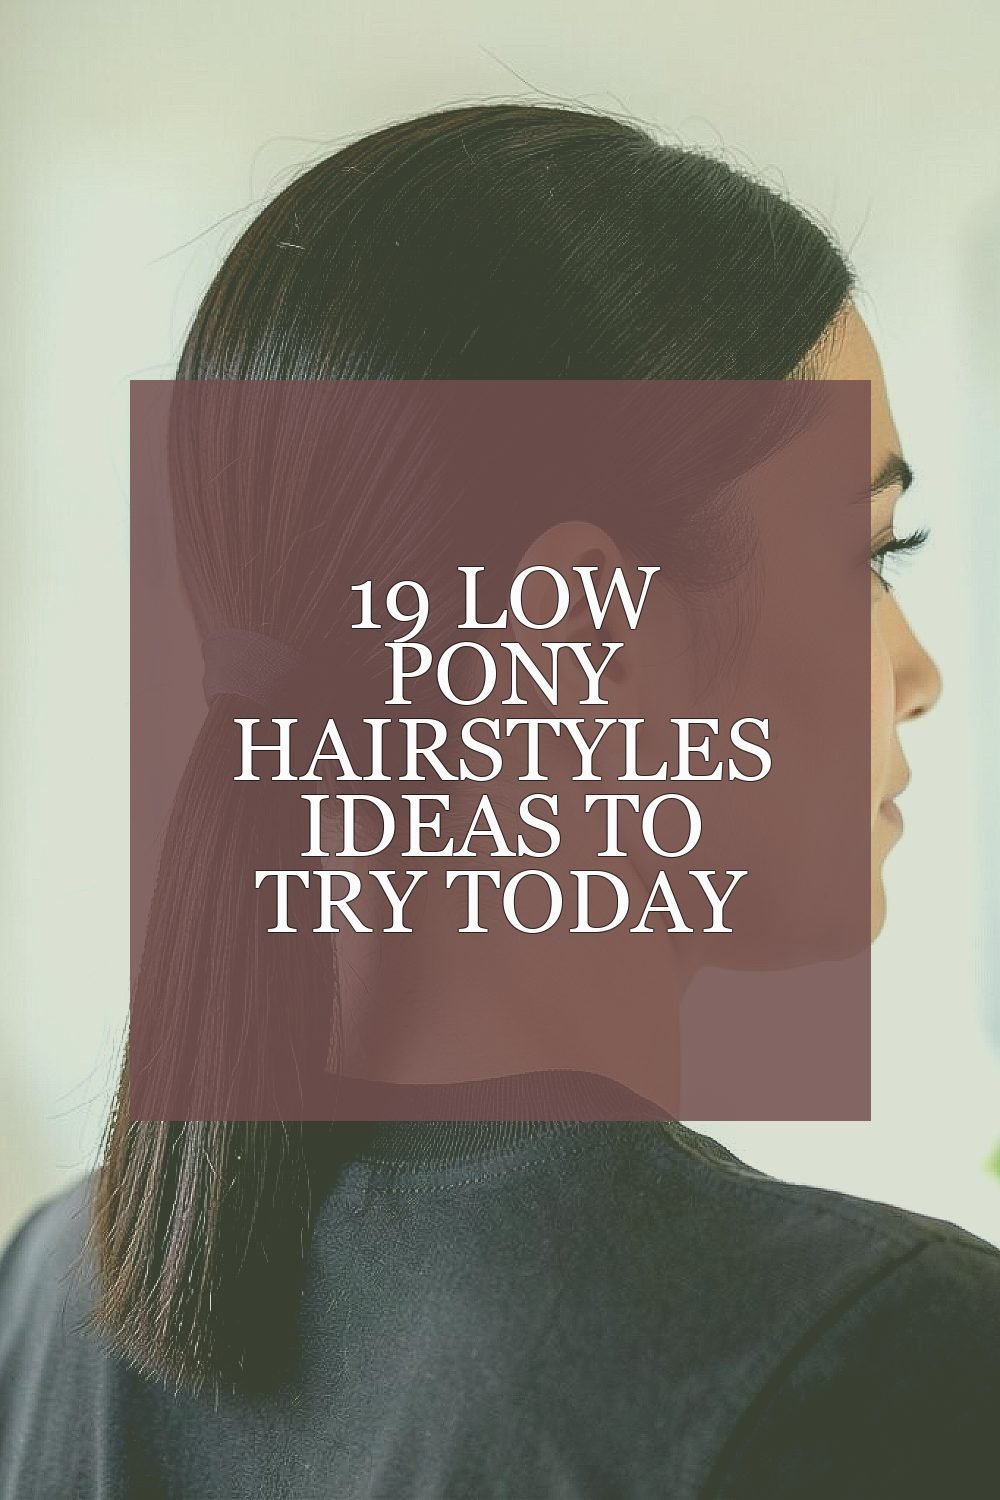
Your low pony can look sleek, playful, or downright dramatic without much effort. The trick is knowing which details make it feel like you.
Below are hairstyle ideas you can copy today, plus small tweaks that help each one look like your own.
1. Silky Low Pony With a Hidden Elastic Wrap
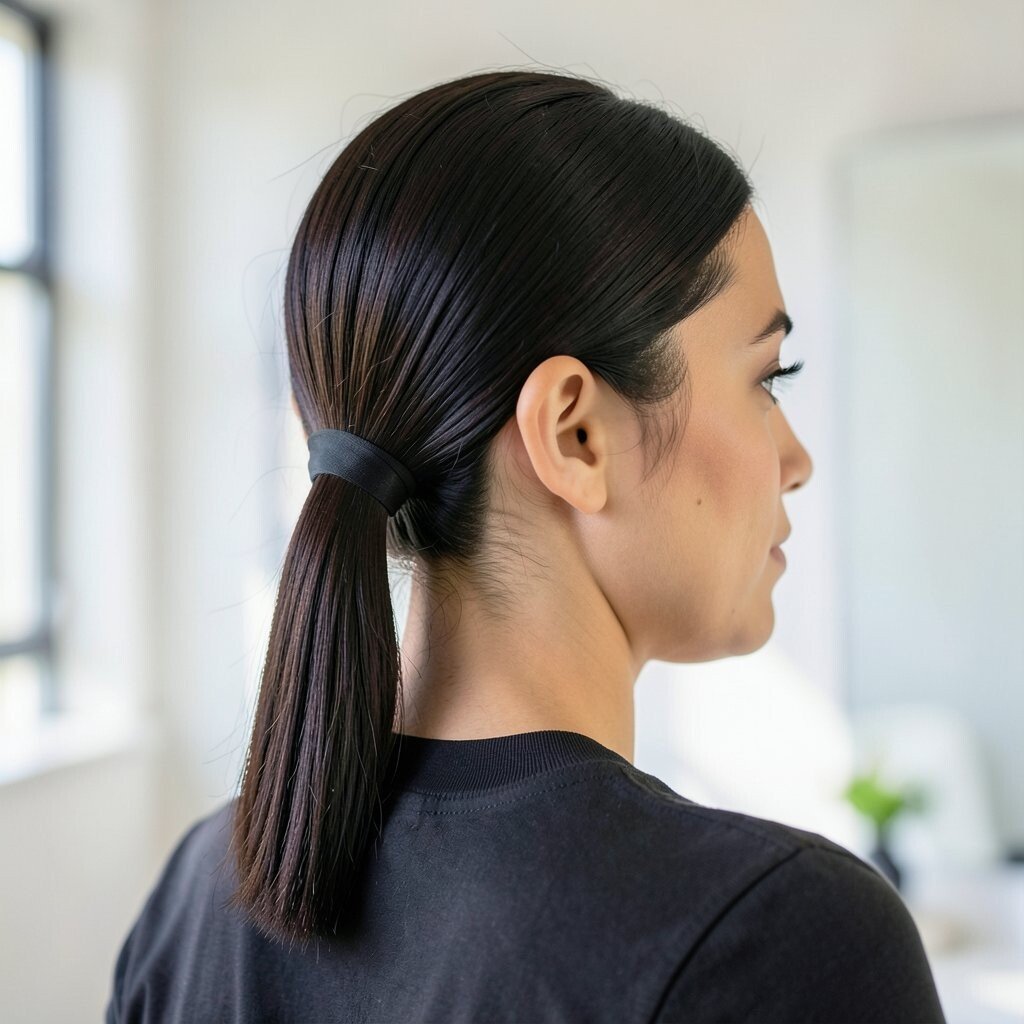
Start by brushing your hair until it looks smooth and shiny, then gather it at the nape of your neck. Wrap a small section of hair around the elastic so it disappears like magic.
This style looks polished from every angle, especially if you add a light shine spray. For extra slip, use a dab of leave-in conditioner before you pull it back. If your hair is fine, teasing the roots slightly at the crown helps the pony hold its shape longer.
2. Loose Low Pony With Face-Framing Threads
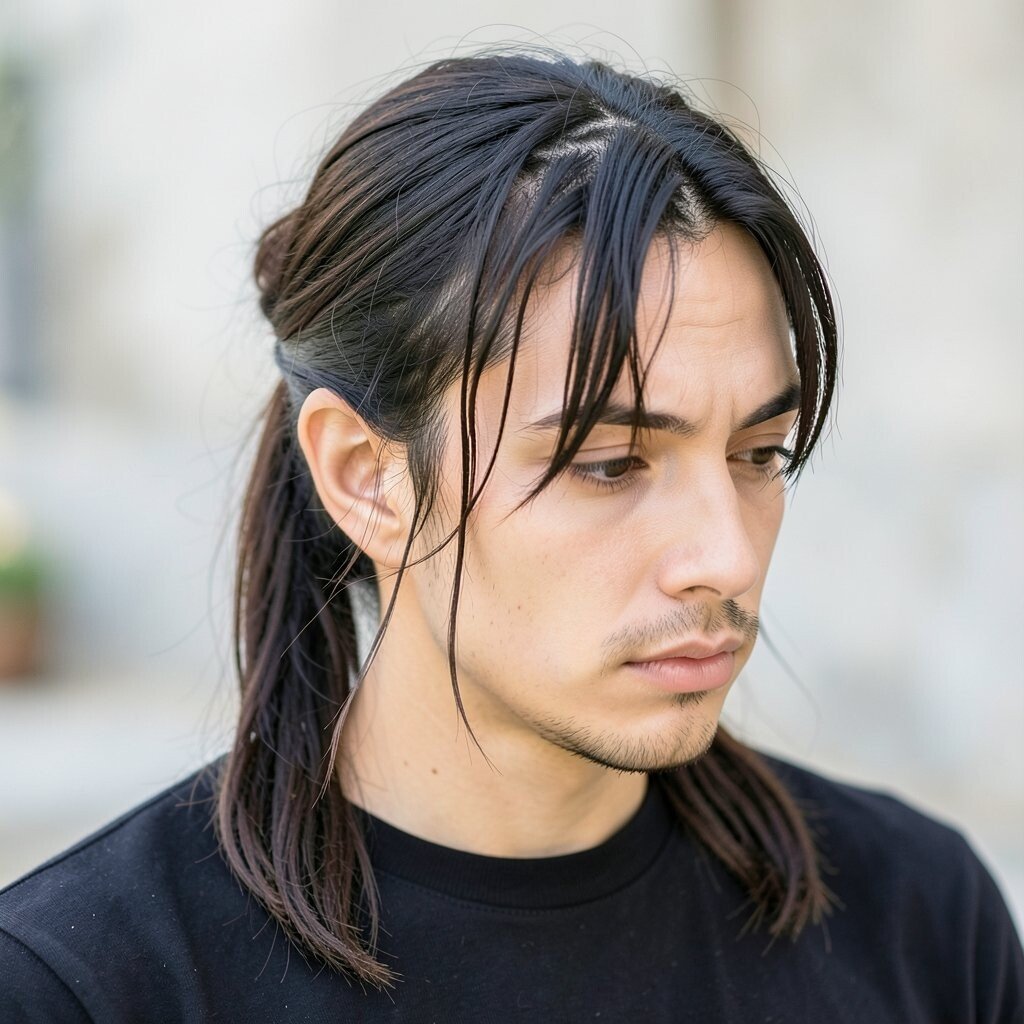
Gather your hair low, but keep the pony slightly loose so the ends feel airy. Pull two thin pieces from near your cheeks and let them fall forward like soft curtains.
This look is relaxed and wearable, and it flatters most face shapes. To make it last, mist a flexible hairspray over the pony and smooth down flyaways with a damp brush.
If you want it to feel more “you,” twist the face-framing threads before you pin them lightly behind your ear. This one is great for everyday errands, and it usually needs only a brush, elastic, and a couple of pins.
3. Low Pony With a Braided Crown Insert
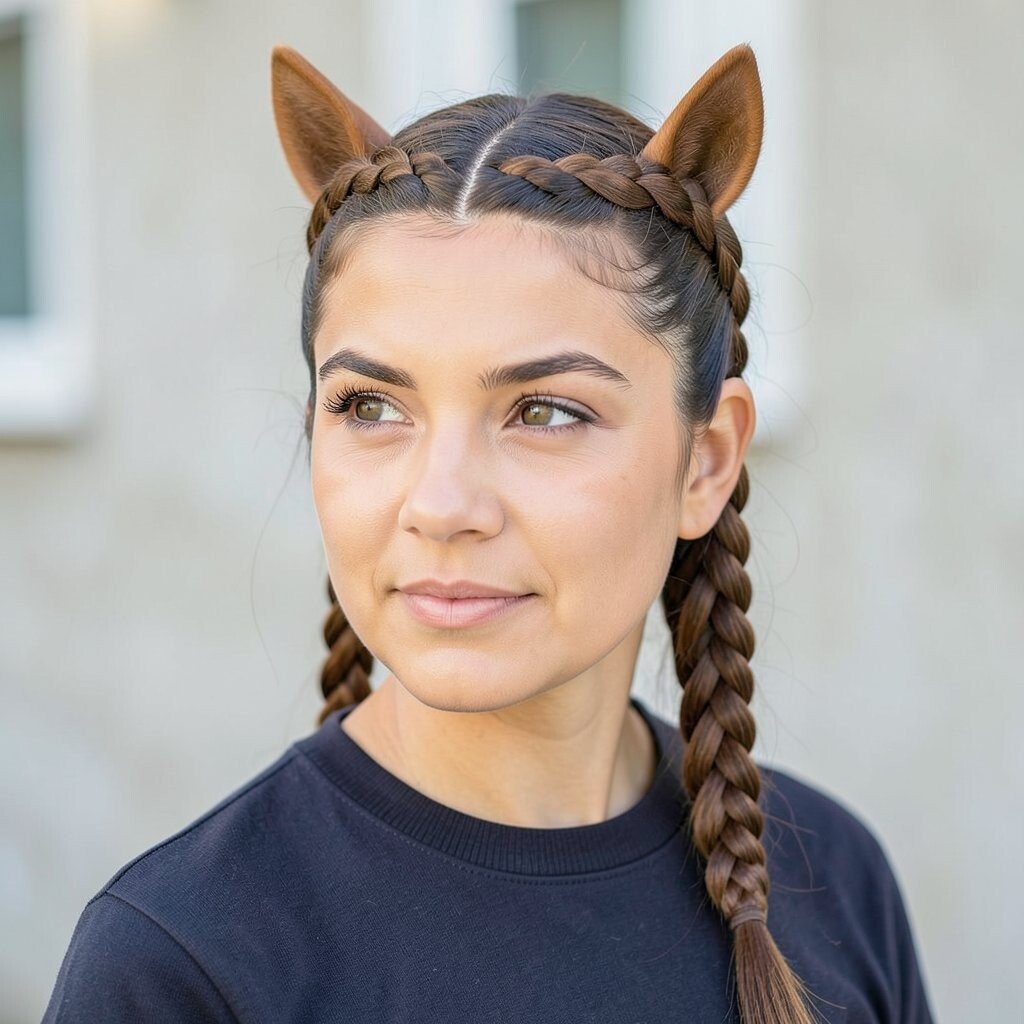
Part your hair where you normally like it, then take a small section from one side near the top. Braid it loosely and tuck the braid into the low pony so it sits like a tiny crown.
The braided detail adds texture without making your pony look heavy. It’s also a fun way to show off color, especially if you have highlights or subtle balayage. Use a few bobby pins to secure the braid, and keep the rest of the pony smooth for contrast.
For personalization, try a fishtail mini braid instead of a classic braid. This style feels unique, and you can make it work for both casual days and dinner plans with the same effort.
4. Sleek Low Pony With a Deep Side Part
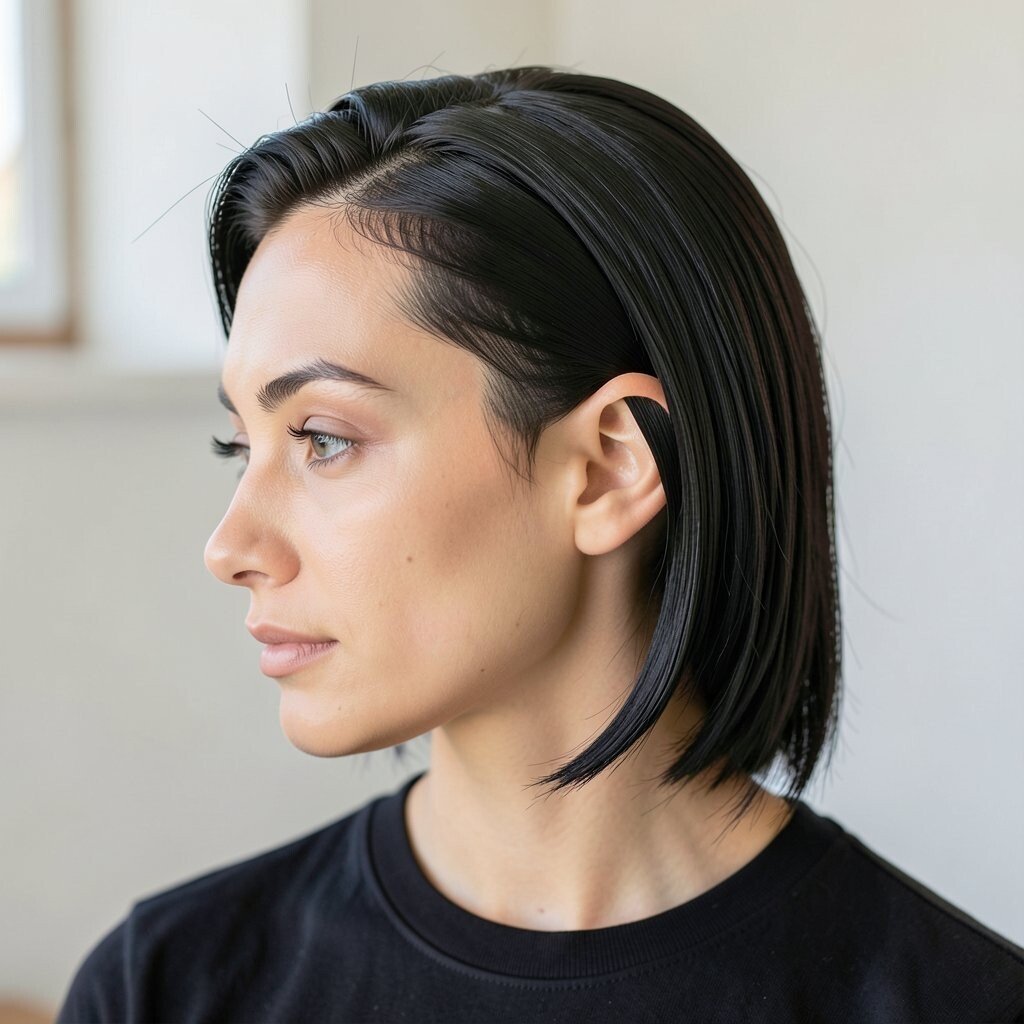
A deep side part instantly gives your pony more attitude, even when everything else stays simple. Brush your hair toward one side, then tie it low and keep the surface glossy.
This is a current classic because it looks clean, modern, and photo-ready. Add a tiny amount of gel on the top to prevent frizz and keep the line sharp. If your hair tends to slip out of elastics, use a thicker band or a second elastic for support.
5. Low Pony With a Rope-Braid Base
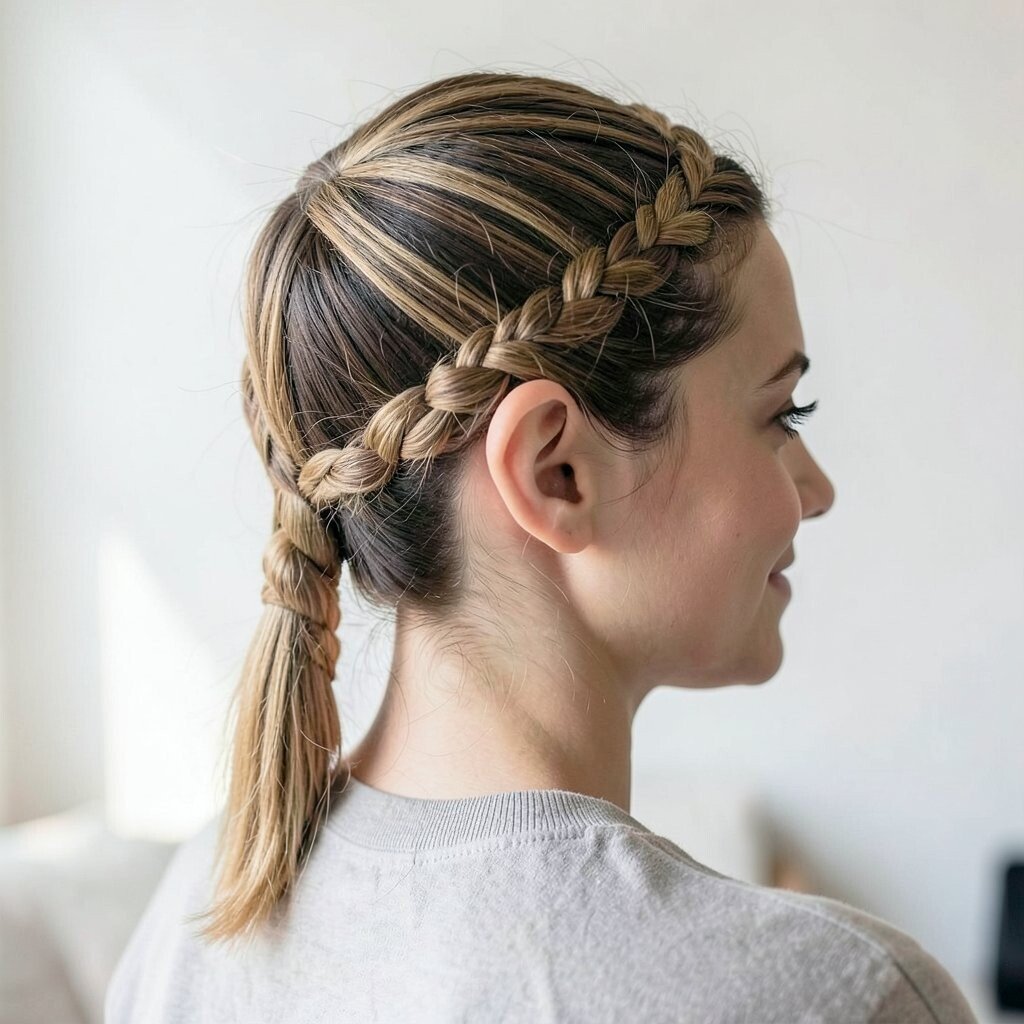
Split the pony into two sections, then twist each section tightly. Wrap the twisted halves around each other like a rope, then secure the end with a small elastic.
This braid style looks detailed even when it’s quick, and the rope twist gives a bold, sculpted texture. It’s especially flattering if you have long hair because the braid shows off the length as it spirals. For a softer look, tug gently on the braid to widen it after you finish.
If you want it to feel more playful, add a ribbon or a thin satin scarf woven near the base. The extra step costs almost nothing, but it makes the whole pony look styled on purpose.
6. Curled-Ends Low Pony With a Ribbon Clip
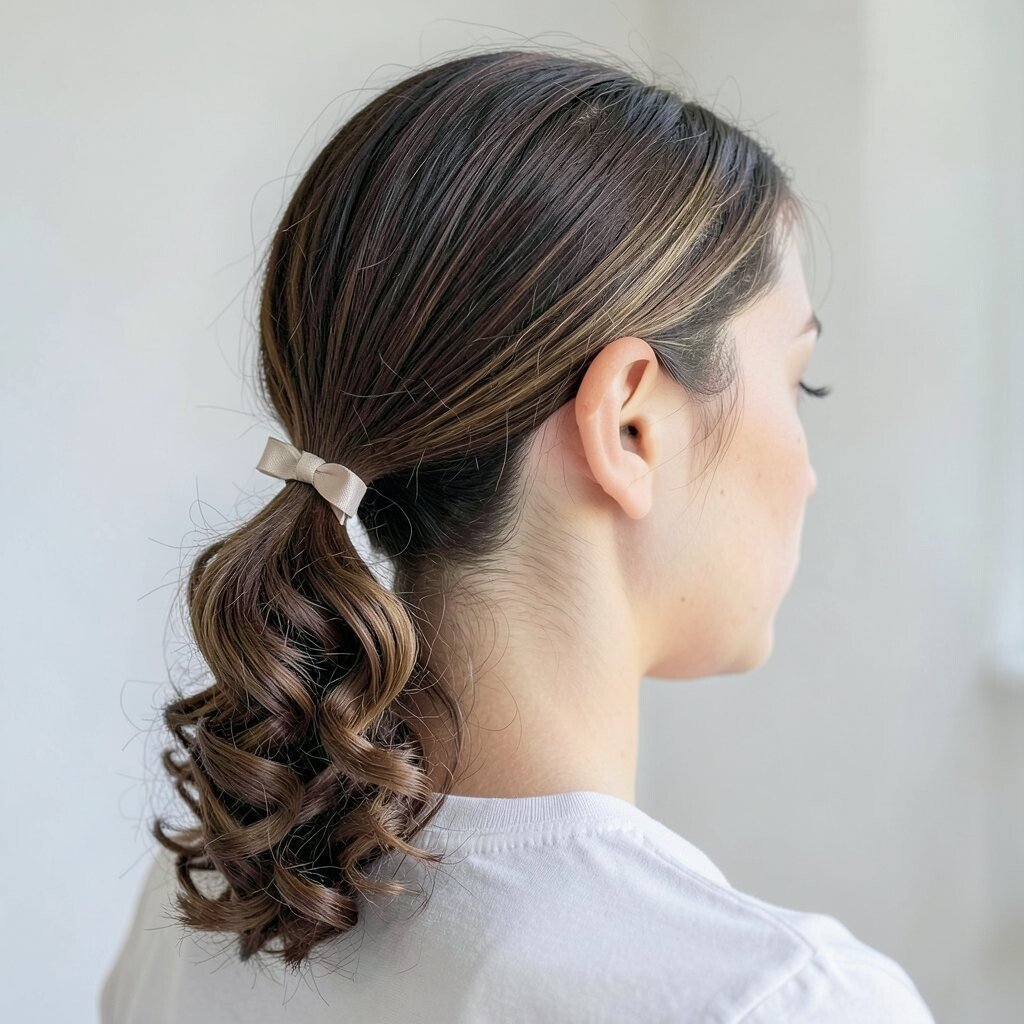
Tie your low pony, then curl the ends with a curling iron or hot rollers. Use your fingers to loosen the curls so they fall in soft waves instead of tight spirals.
Curled ends add movement and make the pony feel special without needing a lot of volume at the crown. A ribbon clip makes it look fancy, and it’s easy to find in drugstores or beauty supply shops. If you have naturally wavy hair, you can skip heat and just set a few curls with styling mousse.
7. Low Pony With Micro Braids Around the Elastics
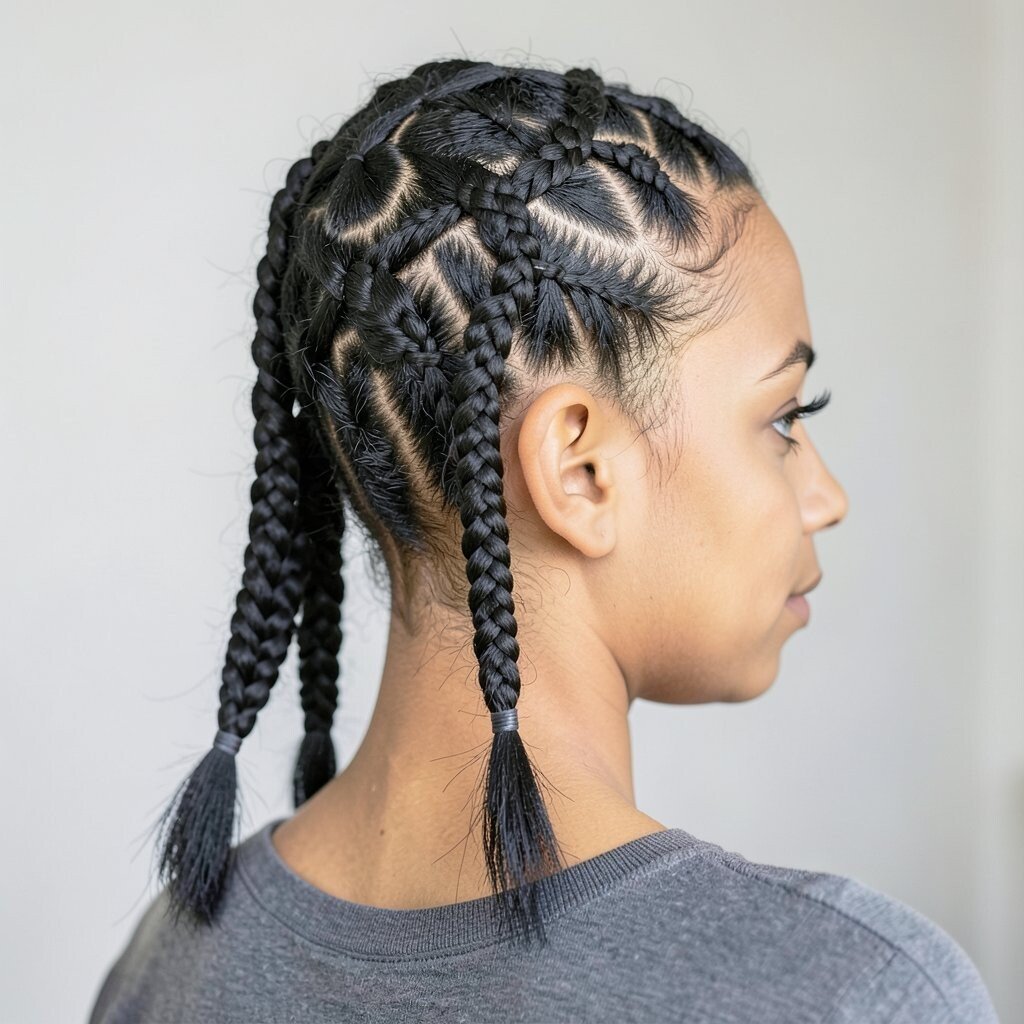
Create a low pony, then braid tiny sections from the sides and wrap them around the elastic. Keep the braids thin so they look delicate, like little stitches holding everything together.
This detail feels unique and gives your hairstyle a handcrafted look. It also helps hide the elastic completely, which is great if your hair is slippery or fine. Start with slightly damp hair and add a light styling cream so the micro braids stay neat for hours.
To personalize, choose a braid pattern that matches your mood, like zigzag parts for a bold look. Micro braids do take a bit of time, but they can last longer than many other styles, which saves effort later.
8. Half-Up Low Pony Hybrid With a Top Twist
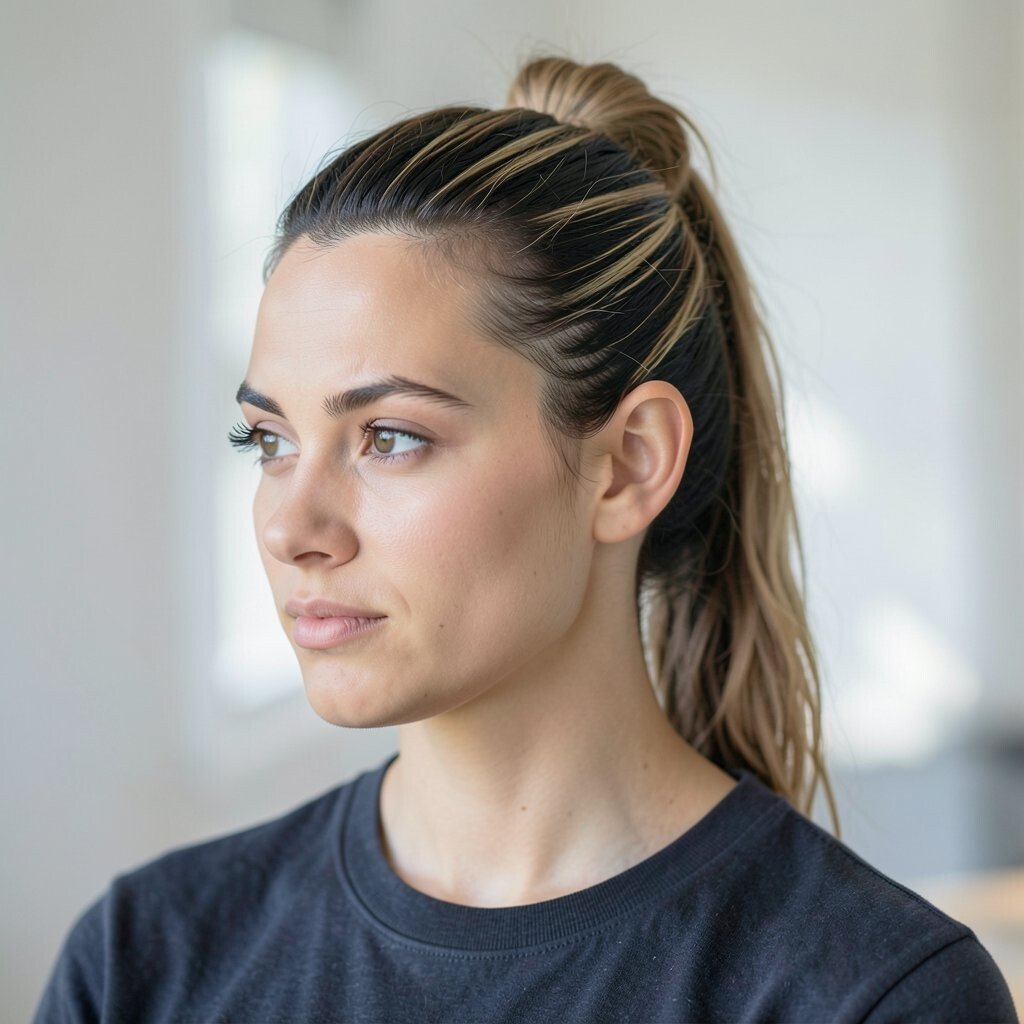
Lift a small top section from each side and twist it toward the back. Secure the twist, then pull the rest of your hair into a low pony so the base looks layered.
This hybrid style gives you the best of both worlds: a bit of volume up top and a sleek pony underneath. It’s perfect when you want something more interesting but still quick to do before you head out. Use a comb to smooth the twist area so it doesn’t look bulky.
For a trendier vibe, keep the twist tighter and the pony slightly polished. Add a small clip or decorative pin to the twist for a finishing touch that doesn’t cost much.
9. Low Pony With a Bubble Wrap Effect
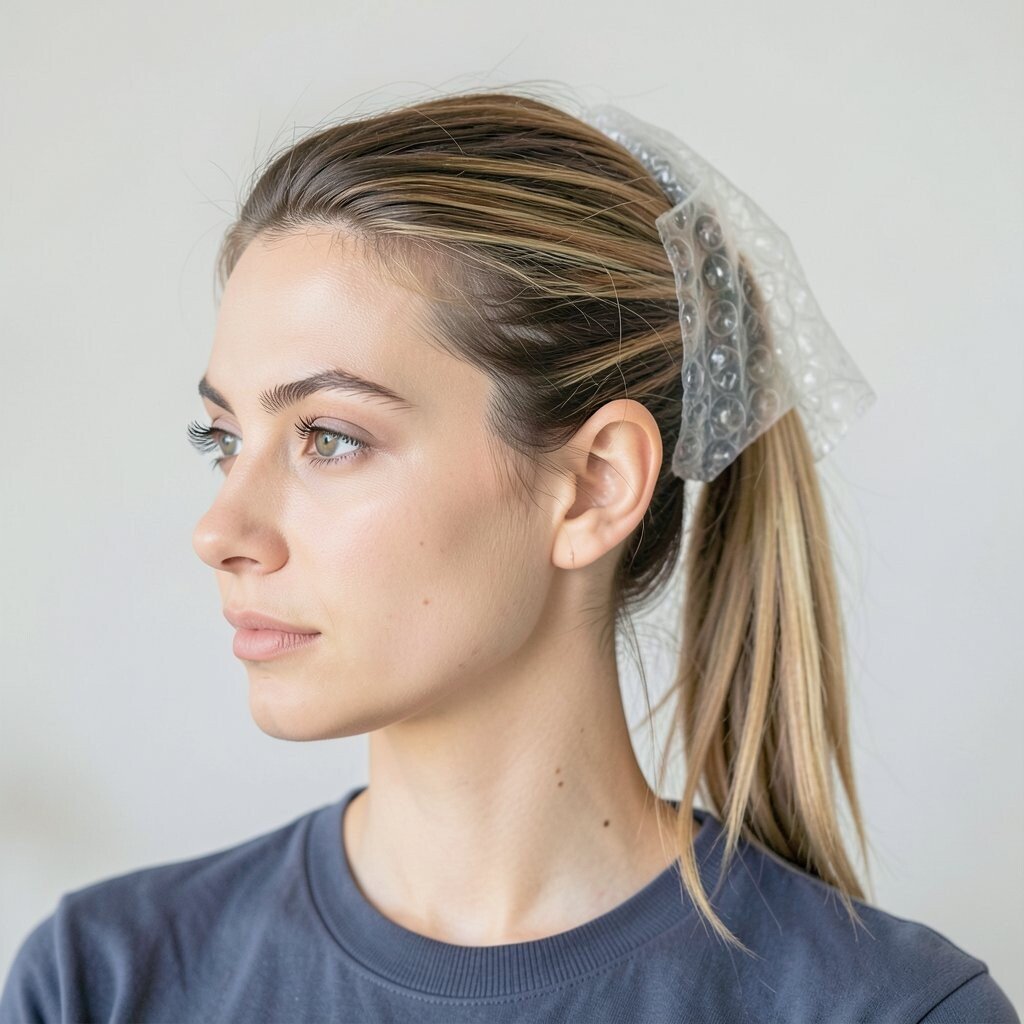
After tying your pony, add more elastics at regular intervals down the length. Each elastic makes a “bubble” that puffs the pony into playful sections.
This style is fun, eye-catching, and surprisingly easy once you get the rhythm. It works best on straight or slightly waved hair because the shape shows clearly. If you want it more elegant, use hair ties in a similar color and gently smooth the surface between bubbles.
To personalize, vary the spacing so some bubbles are close together and others are wider. It’s also budget-friendly, since you only need a handful of elastics and a light spray to tame flyaways.
As a practical trick, stretch the pony length slightly before adding the next elastic, so each bubble looks even.
10. Low Pony With a Hidden Crown Pin Curl
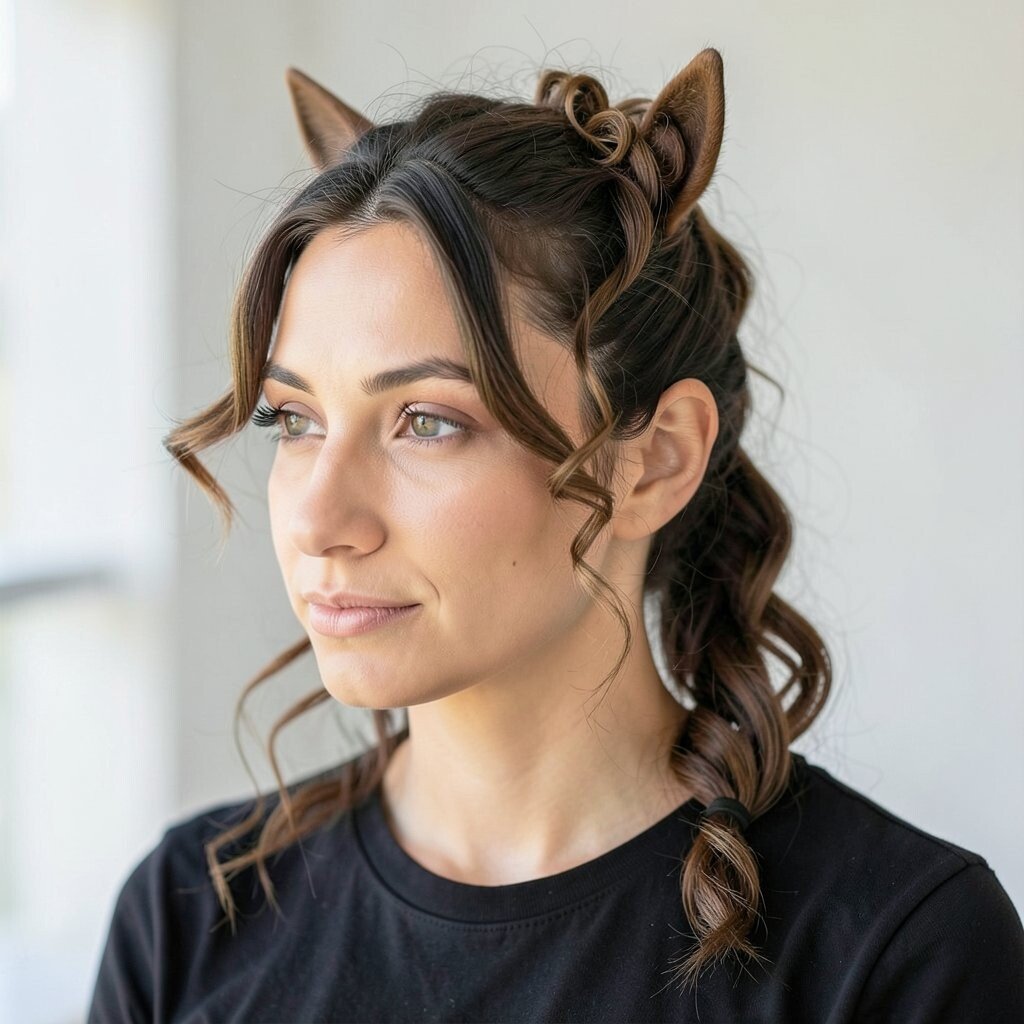
Gather your hair low, then create a small curl at the base by wrapping a strand around your finger and pinning it flat. Let the pony cover the pin so only the shape shows.
The subtle crown curl adds a designer feel without making the pony look complicated. It’s great for events because it catches light and makes your hairline look styled. Use a strong-hold pin and a tiny bit of hairspray so the curl stays put.
11. Low Pony With a Soft Dutch Braid Sweep
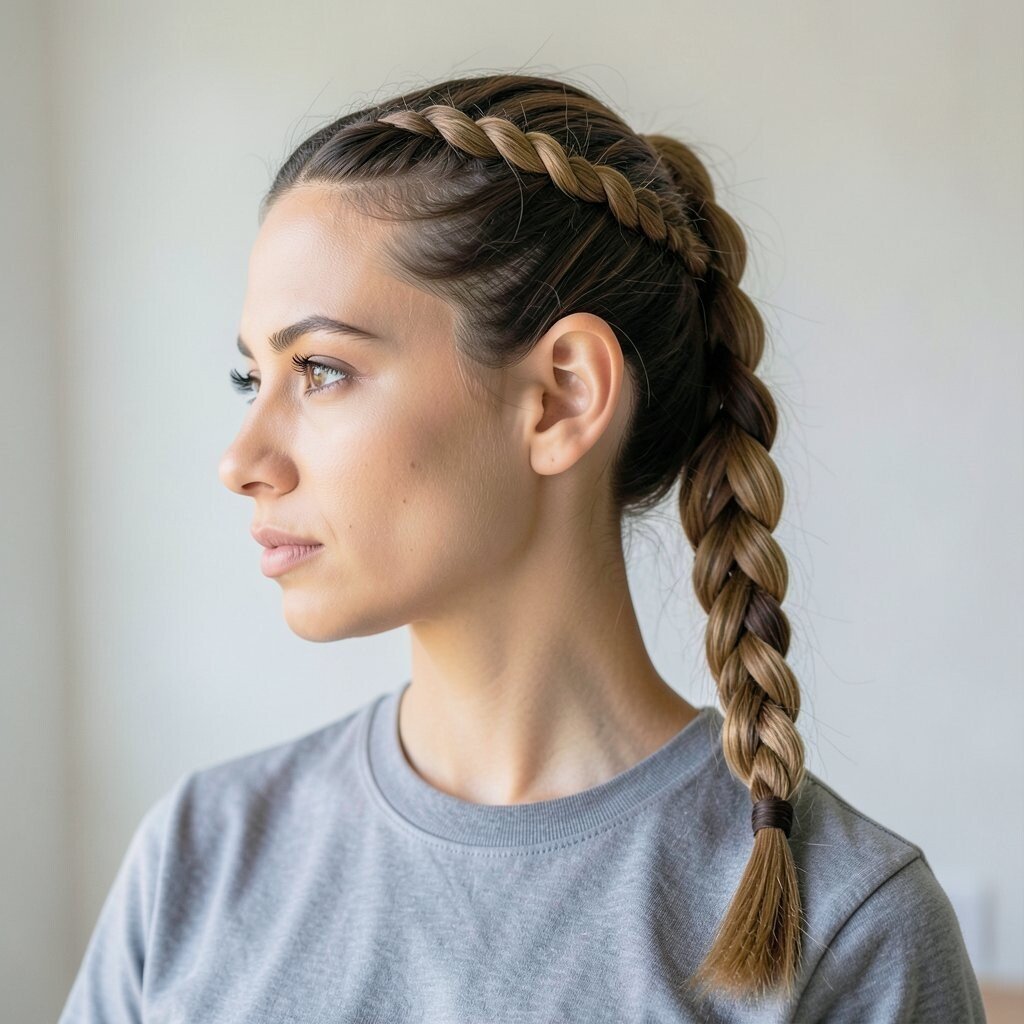
Instead of braiding all your hair, start a Dutch braid on one side and let it sweep into the low pony. Keep the braid loose so it blends into the pony naturally.
This look feels current because it mixes boho texture with a sleek finish. The braid adds dimension even on one-length hair, so it’s great if you want more visual interest without adding extensions. Tuck the braid tail so it doesn’t poke out, and secure with pins under the pony.
For personalization, try starting the Dutch braid closer to the crown or closer to your ear depending on how dramatic you want it. You can also add a small braid charm near the base for a unique detail.
12. High Shine Low Pony With a Center Part
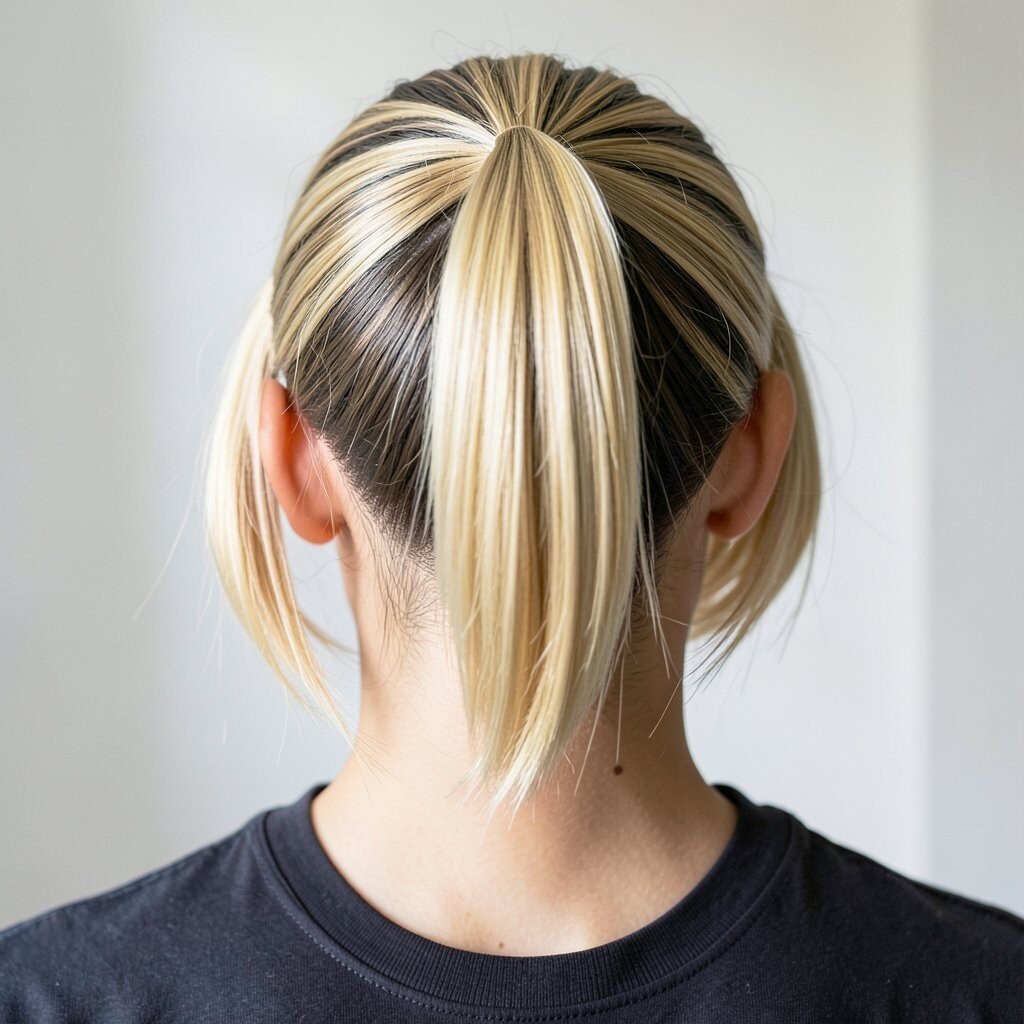
Brush hair straight back using a smoothing serum, then tie a low pony with a clean center part. Use a finishing spray that gives shine so the pony looks sleek and smooth.
This style reads modern and polished, and it pairs well with almost any outfit. If you have thick hair, section off the top first so you can tie neatly without lumps. For fine hair, use a volumizing mist before you brush back so the pony doesn’t look too flat.
13. Low Pony With a Twisted Side Wrap Tail
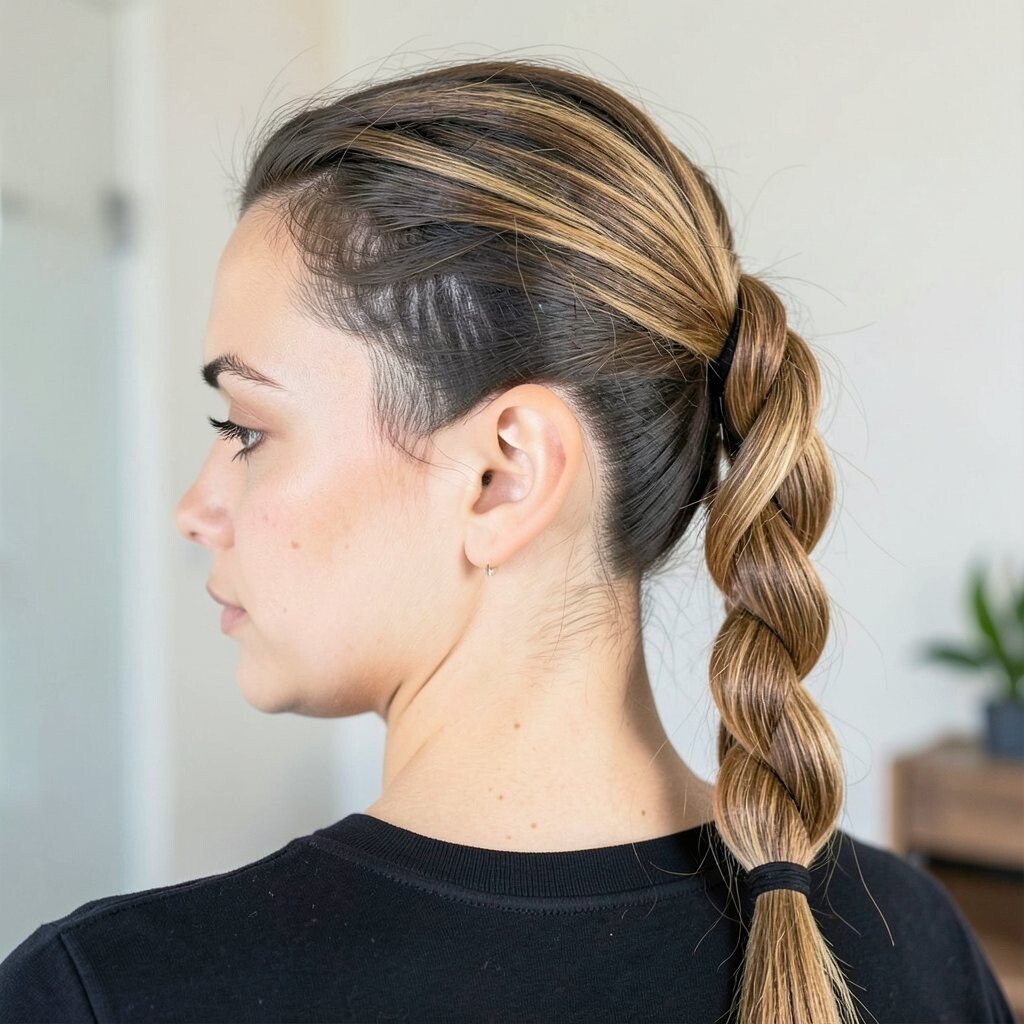
Tie your pony low, then twist the remaining length tightly before wrapping it around the elastic area. Pin the twisted tail so it forms a small coil right at the base.
This creates a neat frame and makes the pony feel custom. The twisted wrap also adds texture that looks great in daylight and in photos. If your hair is longer, the wrap becomes bigger and more dramatic, which is why this style works so well for many hair lengths.
To personalize, keep the wrap tight for a sleek look or loosen it slightly for a softer, romantic feel. A light mist of hairspray helps your pins stay secure.
14. Low Pony With a Wrapped Bang-Style Front
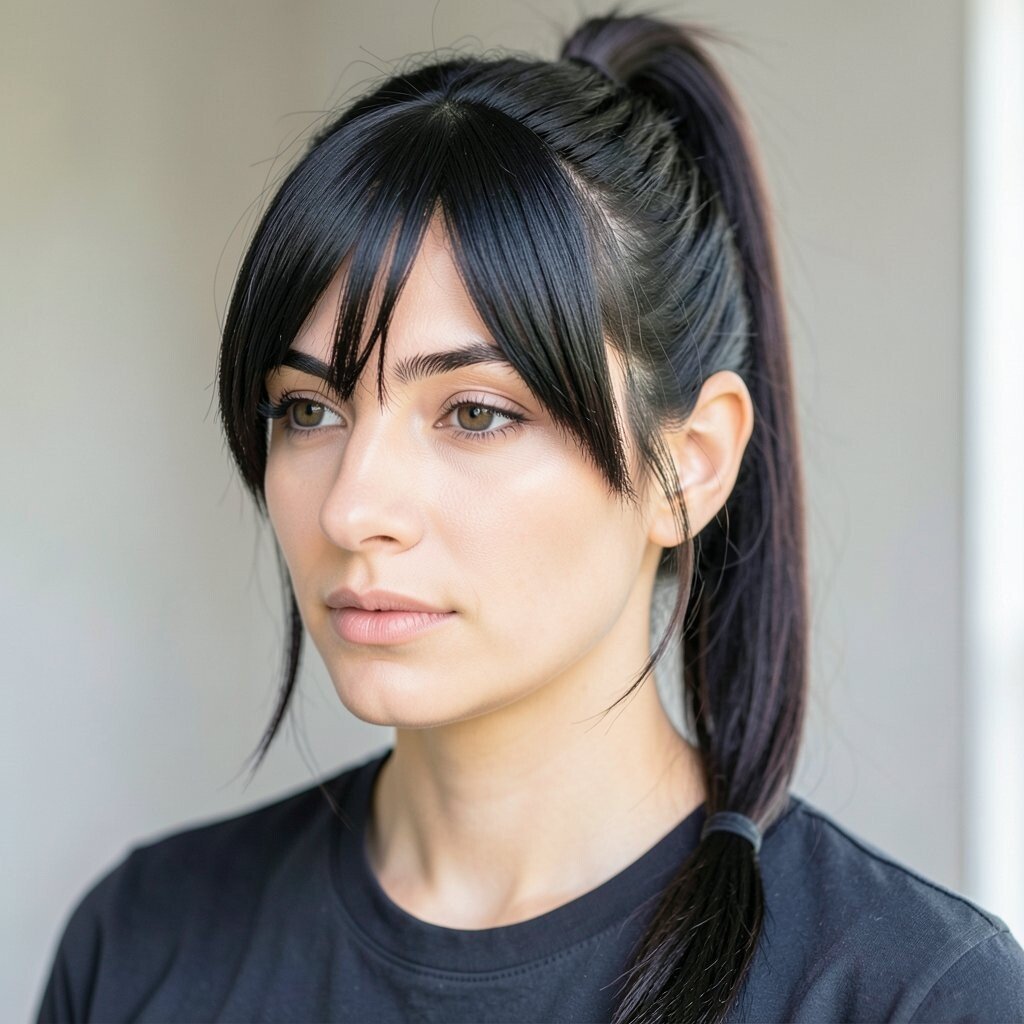
If you have shorter layers or bangs, gather the pony low and shape the front pieces so they look like a wrapped bang. Tuck one side under, then tuck the other side so they sit neatly at the hairline.
This is a smart way to style face areas without needing a full updo. It helps you look put together on days when your bangs won’t cooperate. Use a small amount of styling cream on the front so the pieces lie flatter.
For personalization, curl the front slightly or leave it straight depending on your mood. This style costs almost nothing and only needs bobby pins, which most people already have.
15. Low Pony With a Half-Up Crisscross Elastic Pattern
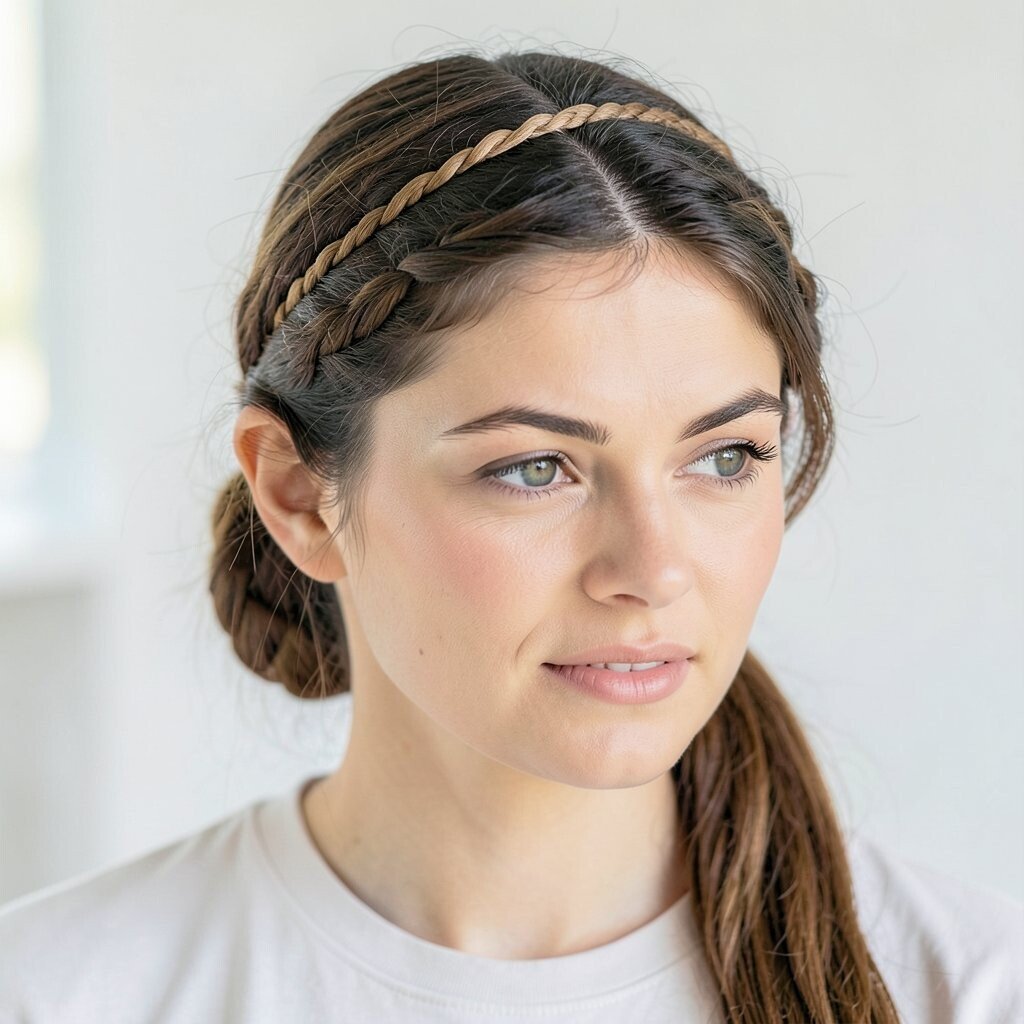
Create a low pony, then take two small sections from above it and cross them before securing. Repeat once more so the area above the elastic looks like a crisscross lattice.
This gives extra structure at the top, and it makes your pony look more complex than it is. It’s also great if you want to keep your hair off your neck without sacrificing style. Use small elastics that match your hair color so the pattern looks intentional and clean.
To personalize, choose a crisscross pattern that follows your part line for a sharper look. If you want it softer, pull the crisscross slightly loose so it has a gentle, airy feel.
16. Low Pony With Feather-Light Layers and a Soft Scrunch Finish
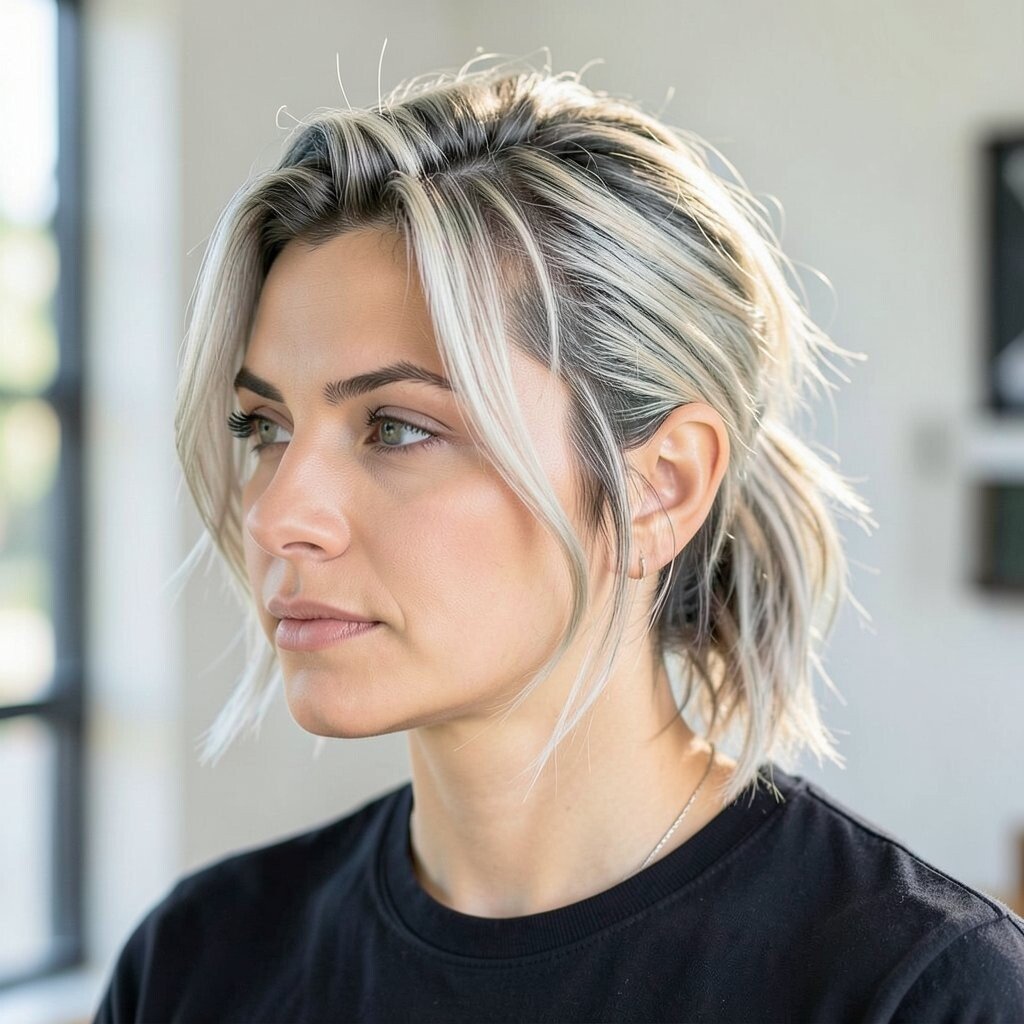
Tie a low pony, then add softness by scrunching the ends with a little mousse or curl cream. Let the texture look natural, like your hair is already styled from within.
This idea feels trendy because natural texture is everywhere in beauty right now. It’s perfect for wavy hair, curly hair, and even straight hair that needs a little personality. If you prefer a cleaner look, lightly smooth the pony surface first, then scrunch only the lower half.
Personalize by adjusting the scrunch level, keeping it light for an effortless vibe or more defined for a bouncier look. The cost is usually low since curl cream and mousse are common staples.
For best hold, don’t overbrush once you add texture products, and let the hair dry fully before you move on.
17. Low Pony With a Side Swept Wraparound Bunlet
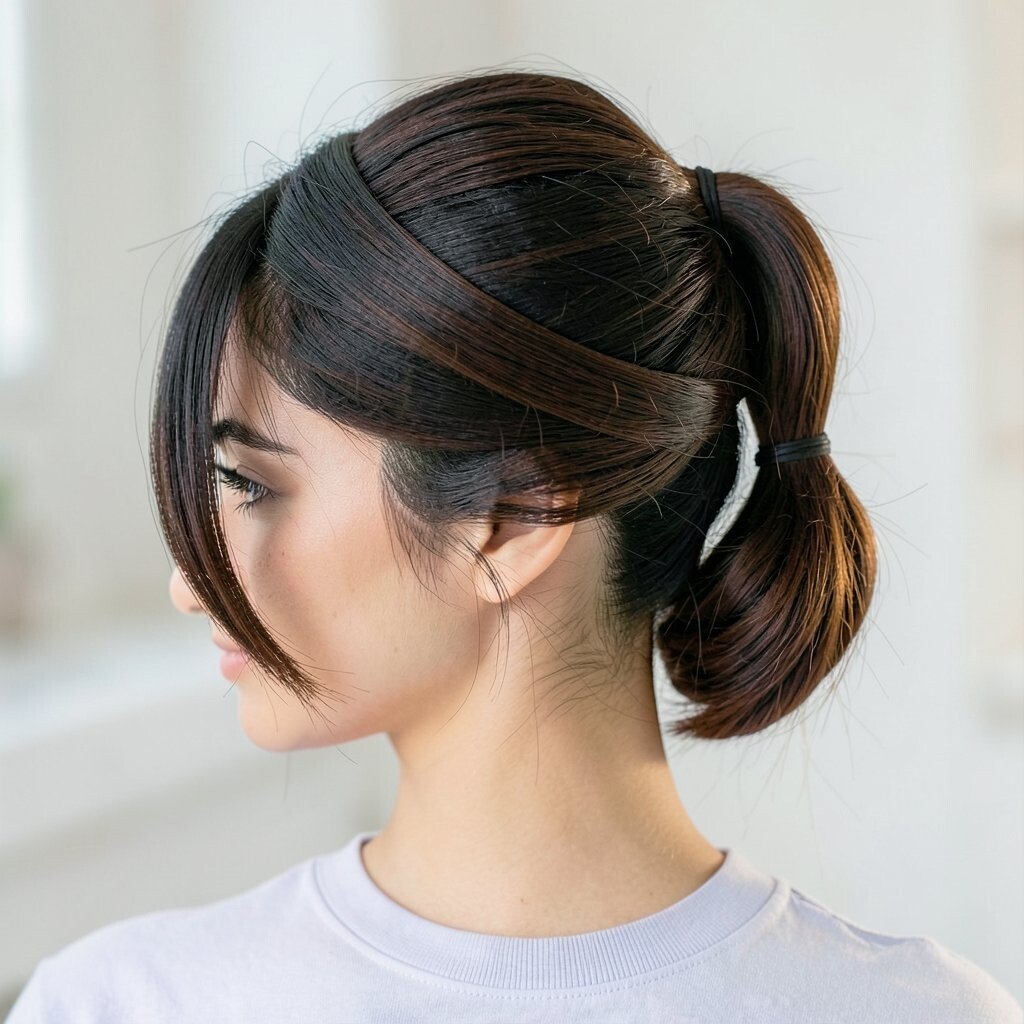
Tie the pony low, then twist the pony length into a small bun on one side at the base. Secure with pins and let a small strand wrap around to hide the pin spots.
This style gives you a “bun and pony” vibe without the heavy feeling of a full updo. It looks unique and works especially well for thick hair because the bunlet has shape. Keep the bunlet slightly off-center for a more modern look.
18. Low Pony With a Satin Scarf Tie
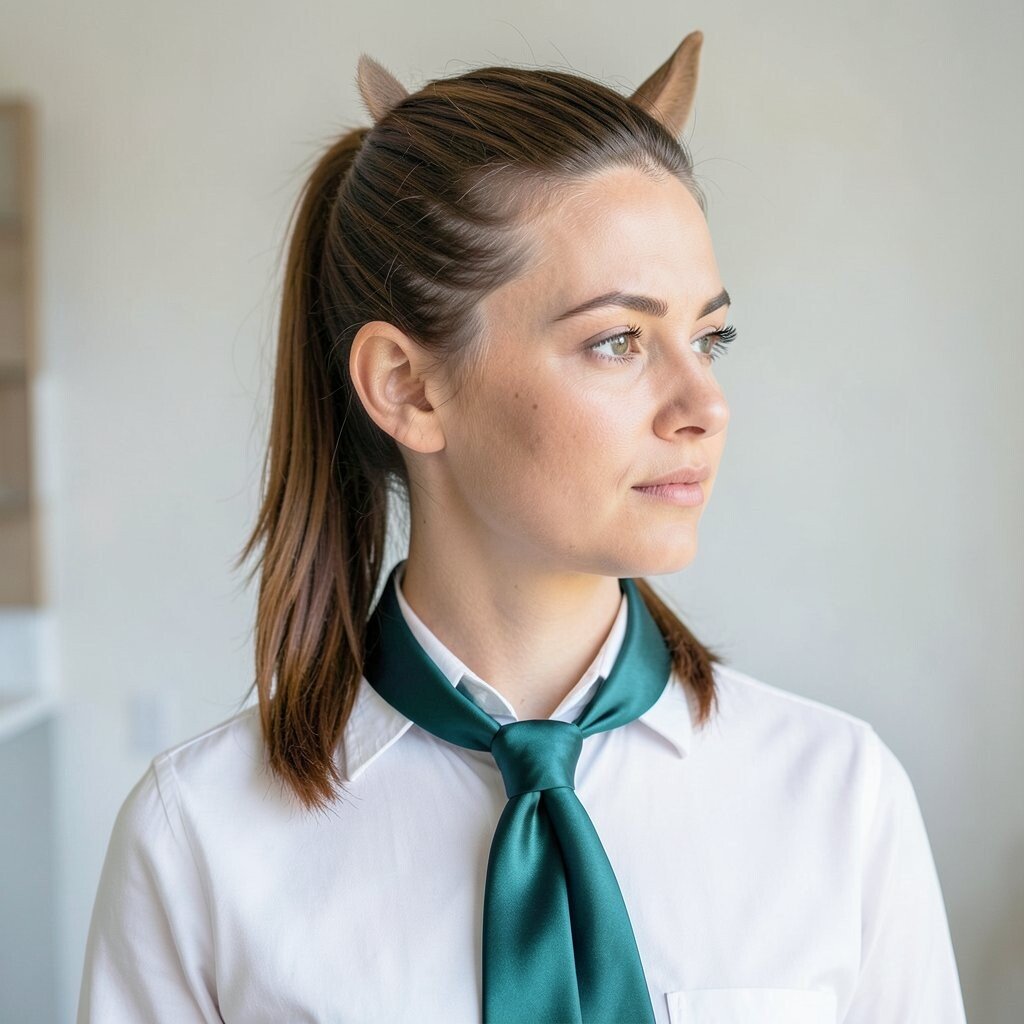
After tying your low pony, wrap a satin scarf around the base and tie it in a bow or knot. Let the scarf end hang slightly so it moves with your hair.
Satin adds a glossy finish and makes your pony feel styled instantly. This is a budget-friendly way to get color without dyeing your hair, and it’s easy to switch patterns when you want a new mood. Choose a scarf that matches your outfit or contrasts for extra pop.
For personalization, braid the scarf ends into a small section of hair or tuck them under the elastic area. The scarf also protects hair a little from friction, which is helpful if your pony tends to tug.
19. Low Pony With a Ladder Braid Accent
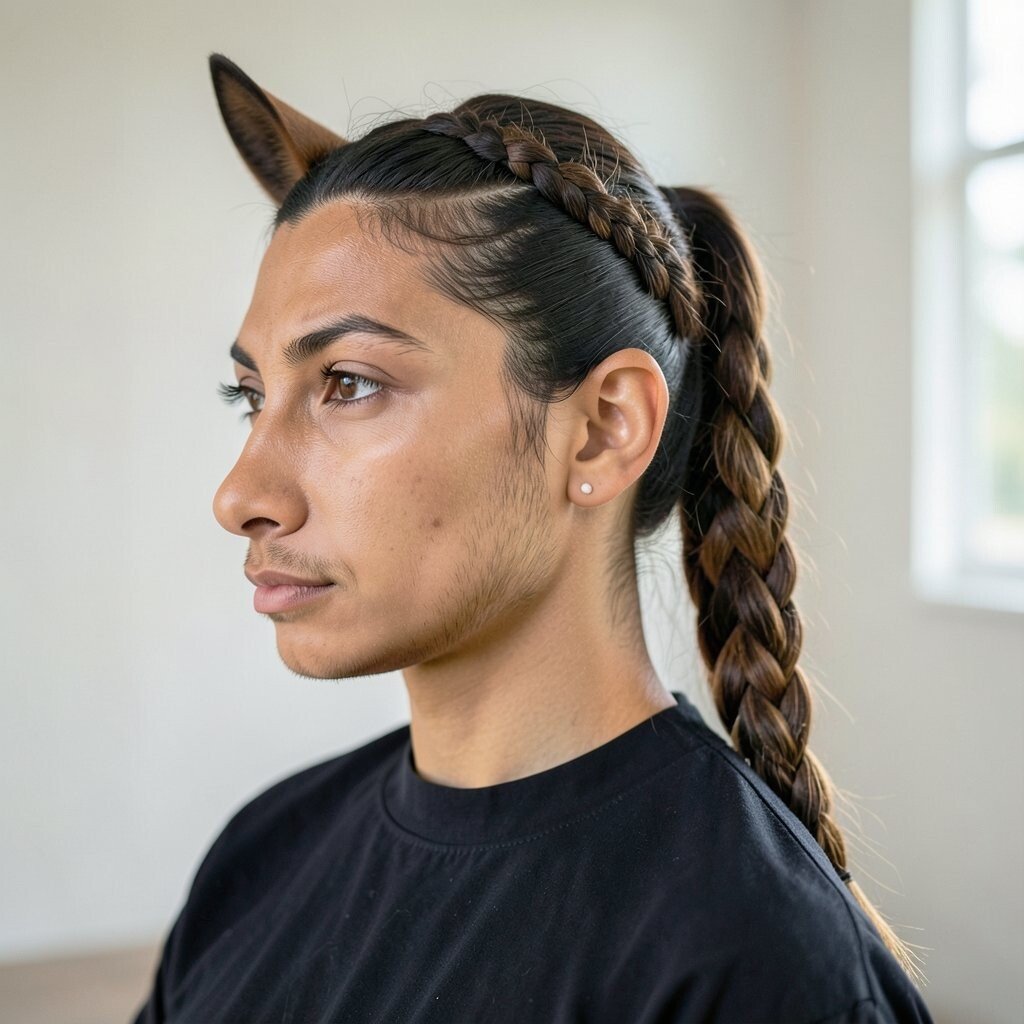
Make a low pony, then take a thin strip from one side to create a ladder-style braid that looks like rungs. Secure the braid with a tiny elastic and tuck it so it sits on top of the pony.
This accent looks intricate while still being practical for everyday wear. It’s unique because the braid structure shows clearly, even if you don’t have very long hair. Keep the braid pieces evenly sized so it looks neat, and lightly tug to make it pop.
To personalize, match the accent braid to your part or place it slightly behind your ear for a subtle highlight. If you’re running short on time, you can do a simplified version with fewer “rungs” and still get the same stylish feel.
For hold, smooth the pony with a bit of anti-frizz serum, then pin the braid accent securely so it doesn’t slip when you move.