The room feels brighter when your students see something made with care. Simple garlands can bring color, order, and joy without draining your supplies.
With a few crafty choices and smart reuse, you can hang decor that feels special and stays practical all term.
1. Rainbow Tassel Garland From Scrap Fabric
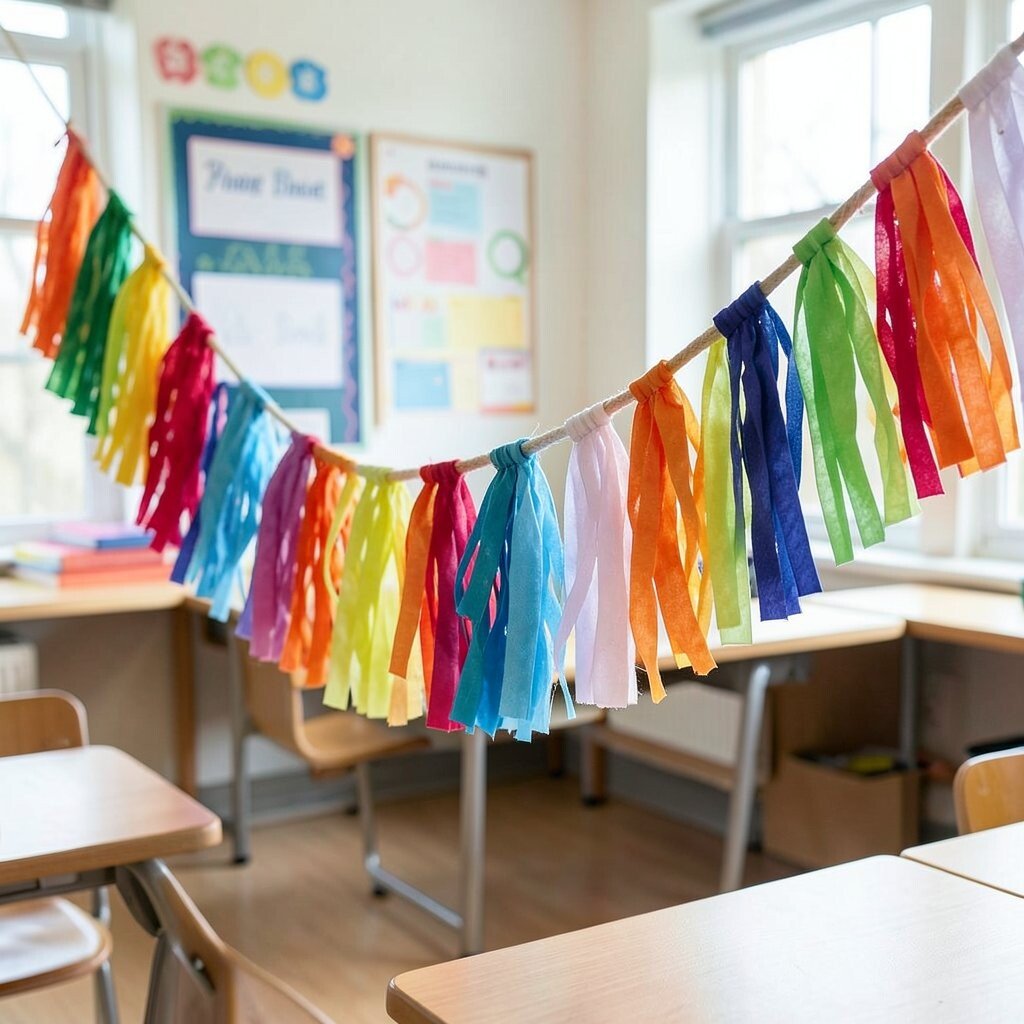
Cut strips from old T-shirts, spare fabric, or clothing donations and tie them to a simple string line. The result looks like a soft rainbow that sways gently every time someone walks by.
Choose a color mix that matches your class theme, like bright primaries for energy or calm pastels for reading time. It helps kids notice learning corners because the garland frames wall space and keeps attention up where you want it. Use a sturdy twine or fishing line so it won’t sag, and trim strips to the same length for a neat finish. If you can, pre-wash fabric so colors don’t bleed and your garland stays classroom-ready.
2. Paper Chain “Kindness Links” That Actually Teaches
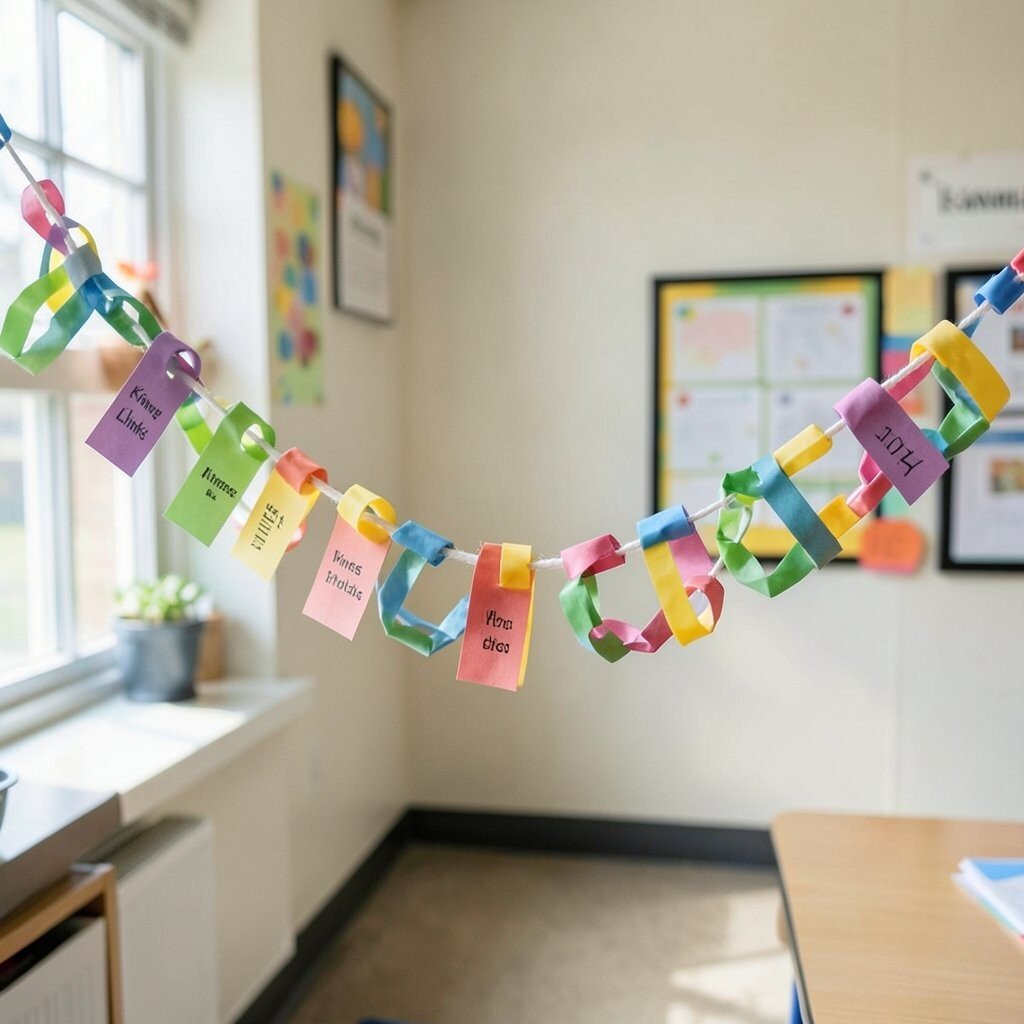
Fold colorful paper into links and connect them into long chains. Hang them along a bulletin board and the chain becomes a moving reminder of daily choices.
Every link can include a short message drawn by students, like “thank you” or “good job,” so the garland grows with the class. Because it uses scrap paper, it stays budget-friendly, and the act of making it creates ownership. Write big, easy letters so the messages are readable from across the room. Keep a small station nearby where students can add one link when they show a kindness goal.
For a current look, mix matte paper with shiny paper accents so the chain catches light during group work. If your space gets busy, try shorter sections rather than one huge loop, which keeps it from tangling. Add string to the top edge of the board to guide placement and make hanging quick during resets.
3. Upcycled Book Page Garland With Cozy Vintage Charm
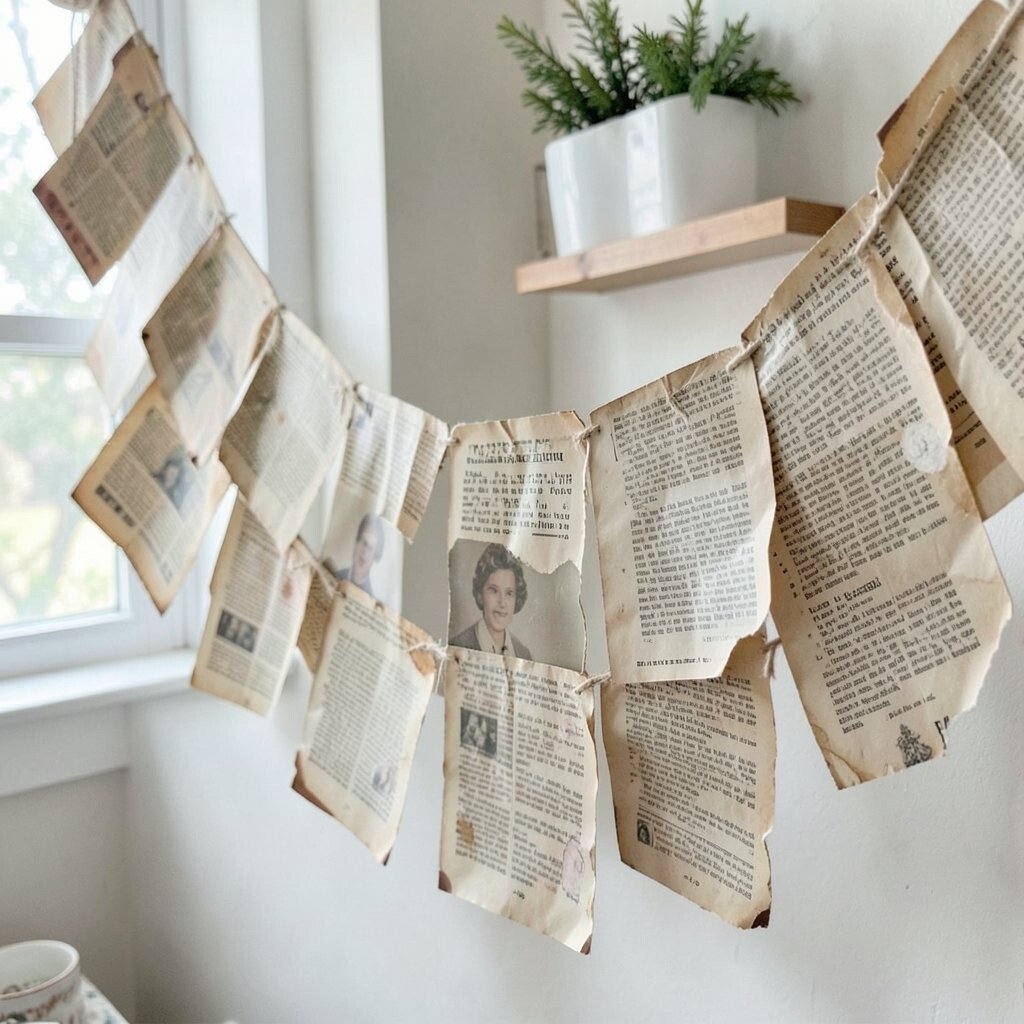
Rip or cut pages from old books and curl them into little cones or loops, then string them together. The garland looks warm and textured, like a storybook drifting along the wall.
Use pages in faded tones for a gentle vibe, and choose one highlight color for the ends, like deep blue or burgundy. This is great for classroom libraries because it supports reading themes without needing new materials. For sturdiness, seal curled edges with a tiny dab of glue where the paper overlaps. Tie the garland to a wire or thick cord so the curled pieces don’t flatten over time.
To personalize, let students pick a favorite page to tear from a donated book and write their initials on the back before assembly. You can also add small tabs that show mini facts, like “favorite character” or “my reading goal.” If you’re worried about mess, use a low-glue approach and keep assembly at a table with covered surfaces.
For budget planning, hunt for discarded magazines, outdated dictionaries, or yard-sale books that are already falling apart. This trend of mixed print decor keeps classrooms feeling grown-up while still handmade.
4. Pom-Pom Garland With Store-Bought Yarn Saves Time
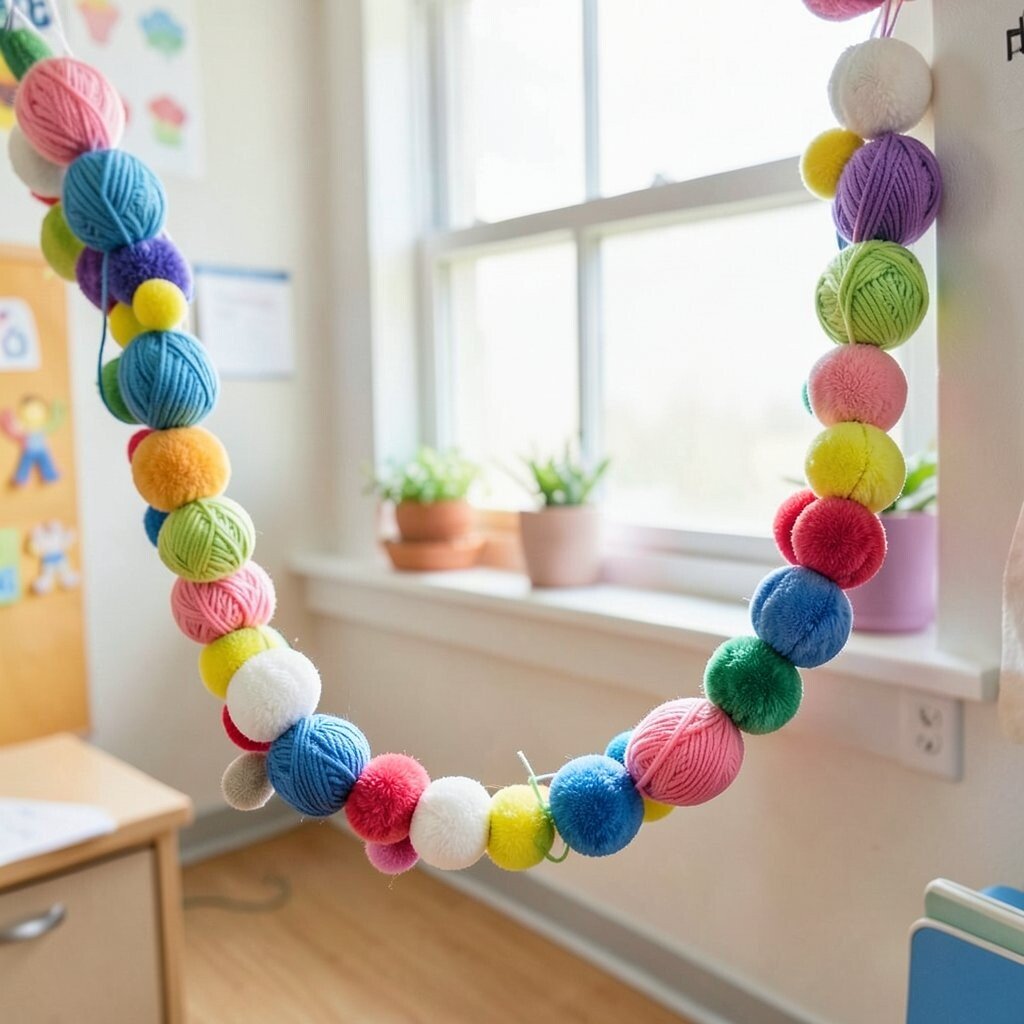
Buy a few balls of yarn and wrap them into pom-poms using a simple cardboard frame or a fork method. The garland looks fluffy and playful, like a soft party that hangs neatly along the top border.
Pick a color set that matches your classroom, then alternate sizes so the pattern feels intentional. It benefits students because bright decor helps mark zones, like where supplies live or where morning meeting happens. Keep the process manageable by forming pom-poms in batches after school, then string them in one sitting. Use a thick needle or a crochet hook to thread knots through the pom centers.
5. Mini Flag Garland For Seasonal Announcements
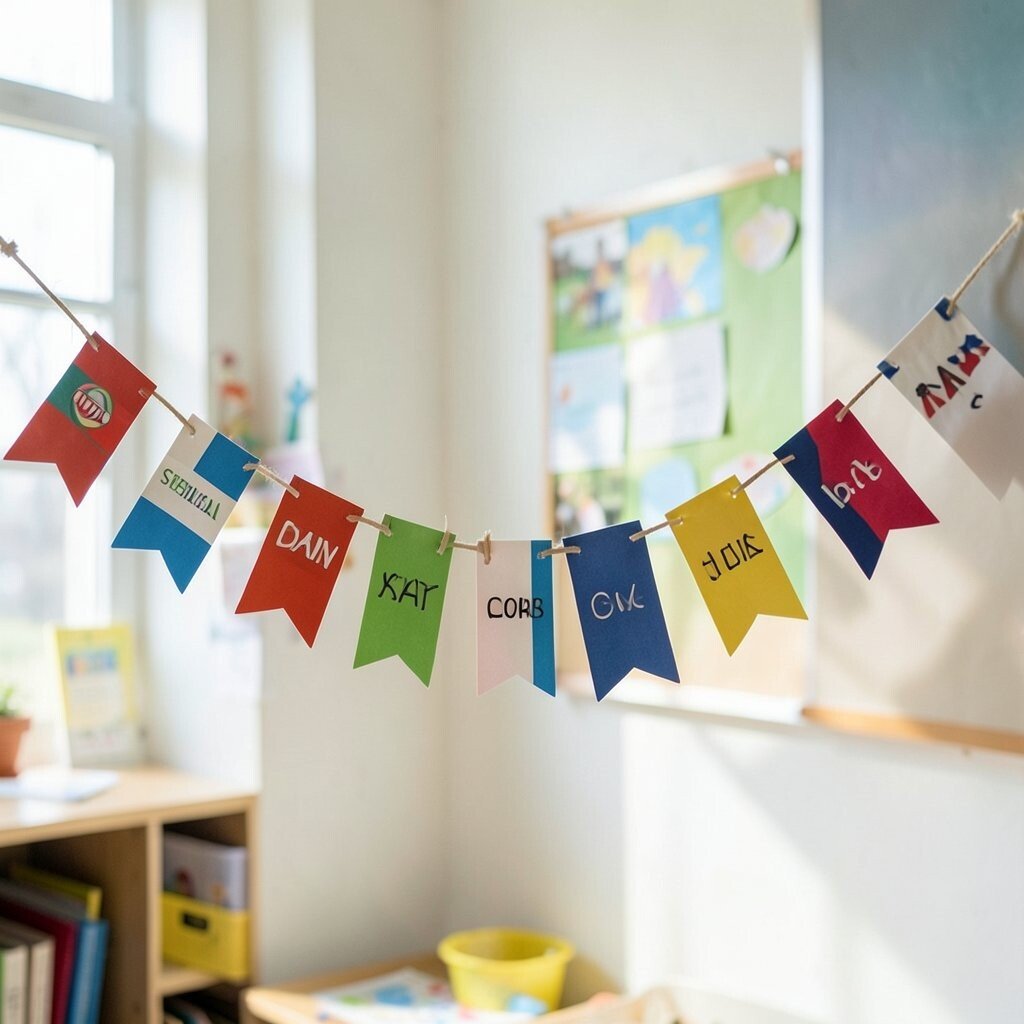
Cut triangle flags from craft foam, felt scraps, or even sturdy paper and punch holes for string. When you line them up, the classroom instantly looks like it has a “special event” vibe.
Write simple seasonal messages on each flag, such as “welcome,” “winter break,” or “project time,” using bold marker. This adds a clear purpose to the garland, which can help students understand what is coming next. For personalization, have students design one flag each with their name or an image related to the month’s theme. If you want a more current look, use a limited palette and add one metallic color for sparkle.
To keep costs low, use free foam offcuts from craft stores or old shipping packages as templates for paper. Laminate the writing with clear tape so it lasts longer and you can swap messages. Store flags flat in a folder so they stay crisp between seasons.
6. Clothespin Photo Garland With Student Work Rotation
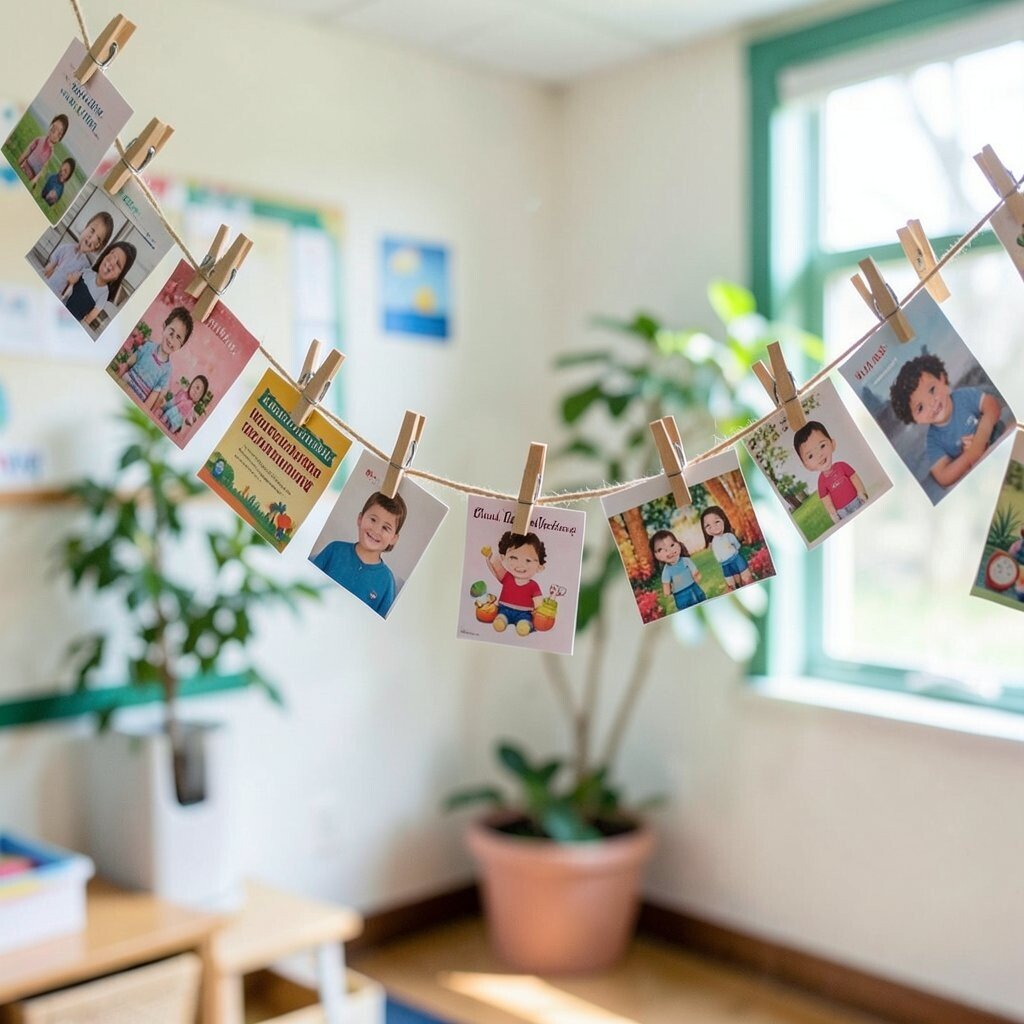
Hang a string across a wall and clip up student drawings, photos, or short writing pieces with clothespins. The garland turns into a living gallery that updates without new materials.
Use colored clothespins for a fun look, and vary sizes so the display feels playful rather than strict. Students benefit because they get regular recognition, and it motivates them to revise and improve. For uniqueness, add tiny shapes behind each photo, like small stars or circles cut from leftover paper. Keep spacing consistent so the line looks tidy and students can quickly find what’s displayed.
Cost stays friendly because clothespins and twine are inexpensive, and the “decor” is made from your own classroom work. Try rotating pieces weekly instead of monthly, which matches current trends toward frequent, short feedback moments. If the wall gets sun, use UV-resistant tape and choose frames that won’t warp.
7. Washi Tape Letter Banner That Teaches Spelling
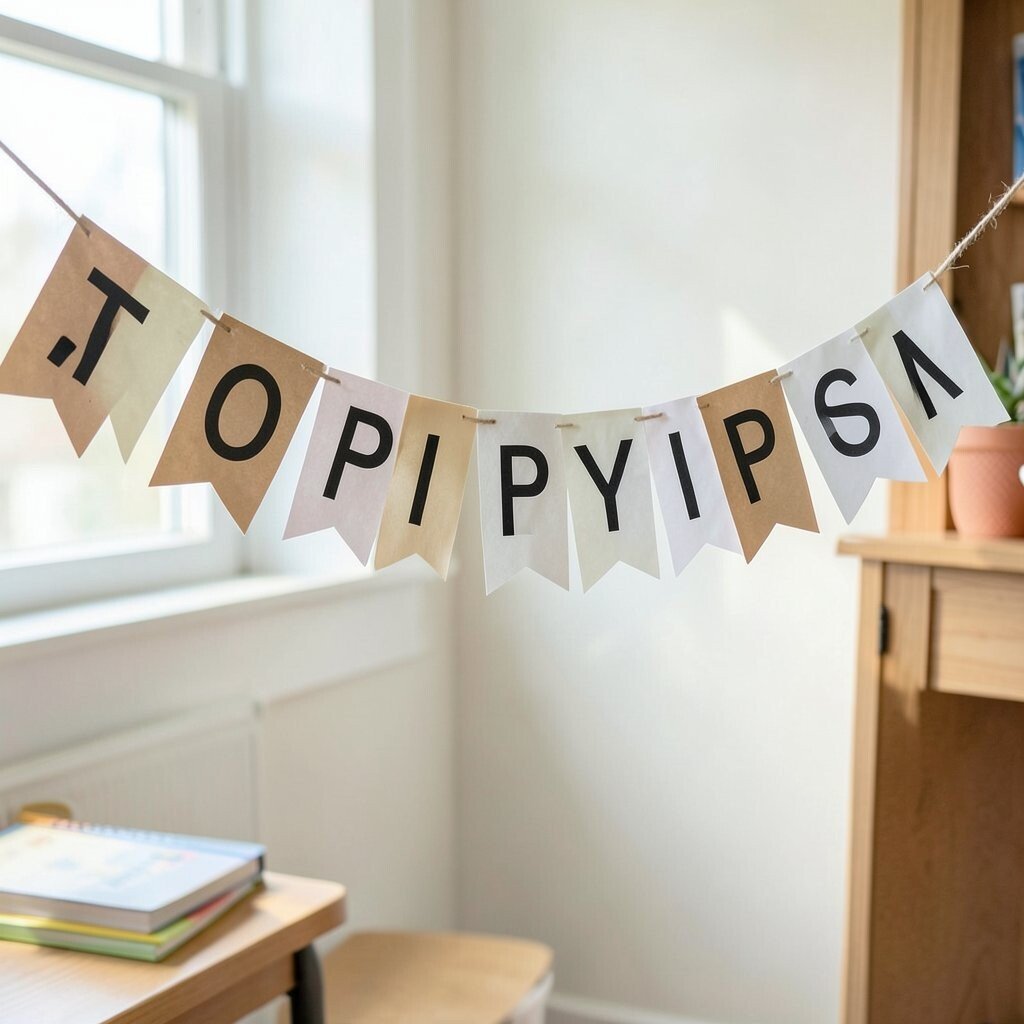
Write letters on paper, then cover them with stripes of washi tape to create bright patterns. Cut them out and string them along a line so your word practice becomes decoration.
Choose letters from the week’s spelling list and arrange them into short classroom words, like “team” or “read.” This helps benefits show up naturally because students see language repeatedly while they move around the room. Personalize by letting each student decorate one letter using tape they choose from a shared bin. Use a hole punch and keep letter spacing equal so the banner stays neat.
For cost considerations, washi tape can be pricey, so try using small scraps collected from past projects. A few rolls go far when layered in thin strips. This style is popular right now because it looks clean, modern, and “fresh” without being expensive.
8. Toilet Paper Roll Confetti Garland For Bright Borders
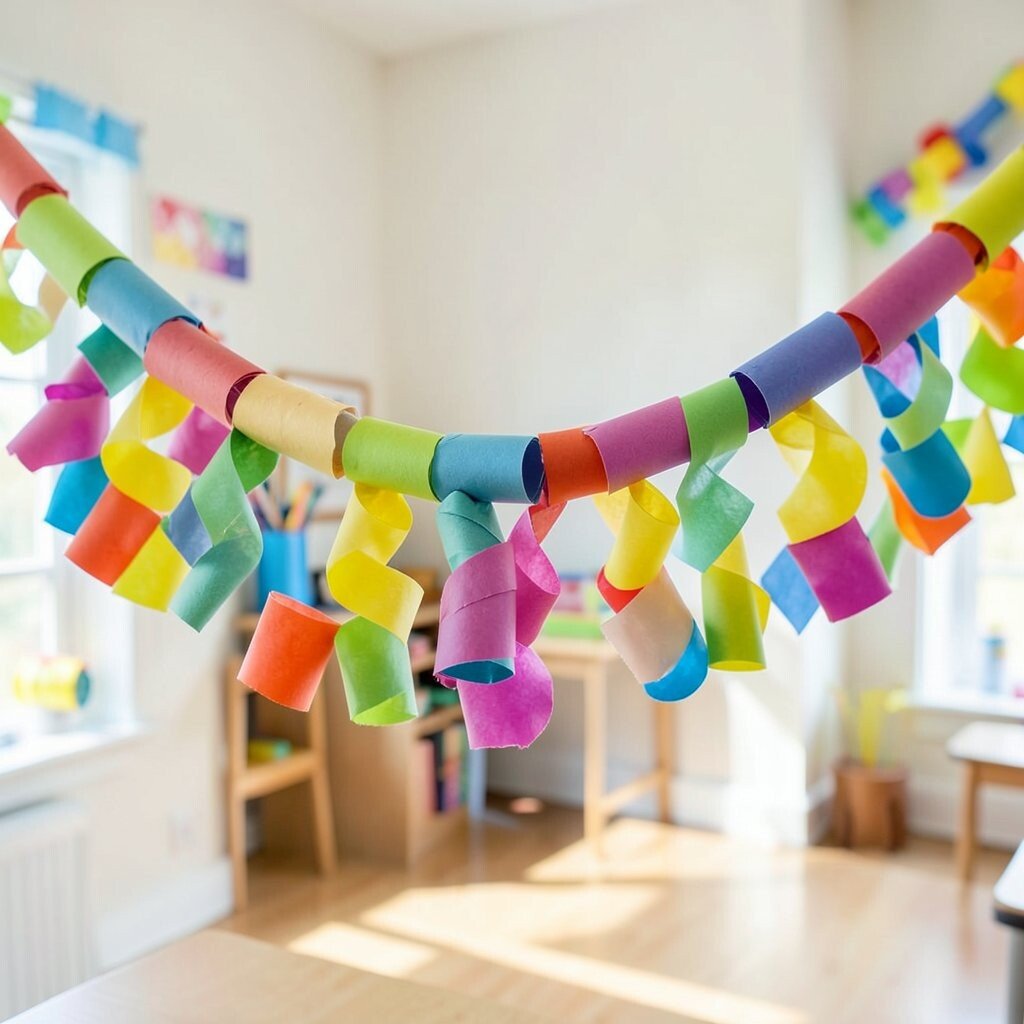
Cut cardboard tubes into small rings and paint them with washable poster paint. String the rings onto a yarn line so they look like tiny confetti circles along your wall edge.
Paint in bold colors and leave some rings unpainted for a natural contrast that looks textured. It benefits the classroom because the garland creates a clear border that helps organize bulletin boards and reading nooks. To personalize, stamp initials or small icons on a few rings, like hearts for kindness or lightning bolts for science. For practical tips, let rings dry fully, then thread with a needle carefully to avoid snagging paint.
9. Safer String Garland Using Reusable Paper Lids
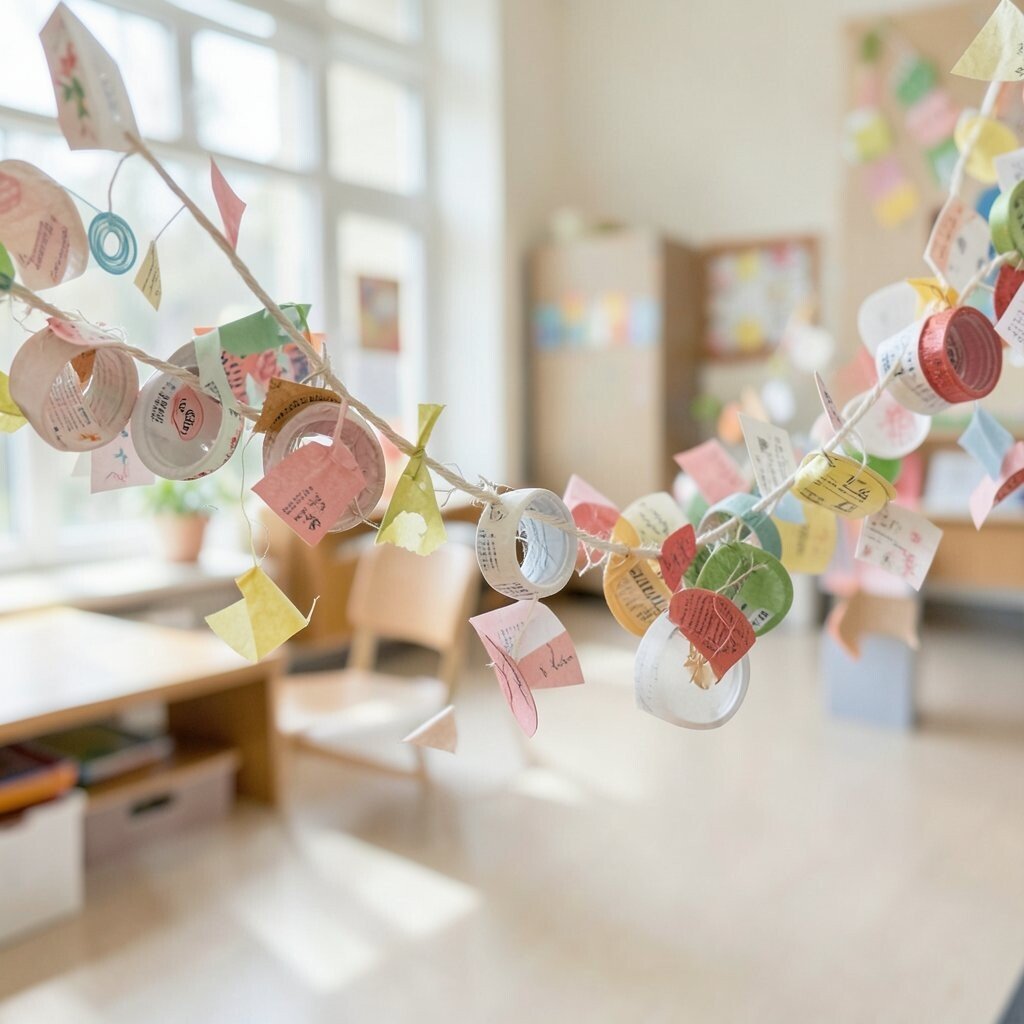
Repurpose rigid paper lids or thin cardboard circles by punching holes and threading them onto cord. The garland looks like a row of lightweight discs that bounce with movement.
Choose a theme like “days of the week” or “habit steps” and write one idea per disc. This supports routines because the decorations remind students of what to do during transitions. Personalize by letting students color one disc each, then arrange them in order so the class sees a pattern. For uniqueness, add small texture by brushing paint lightly in one spot so each disc catches light differently.
To keep costs low, save lids from arts supply containers, cereal-size boxes, or reusable storage packs. Use a strong cord or zip ties to secure the line so it won’t stretch later. If you need a fast update, swap the cord with new discs instead of making a whole new garland.
10. Hand-Painted Coffee Filter Swirl Garland
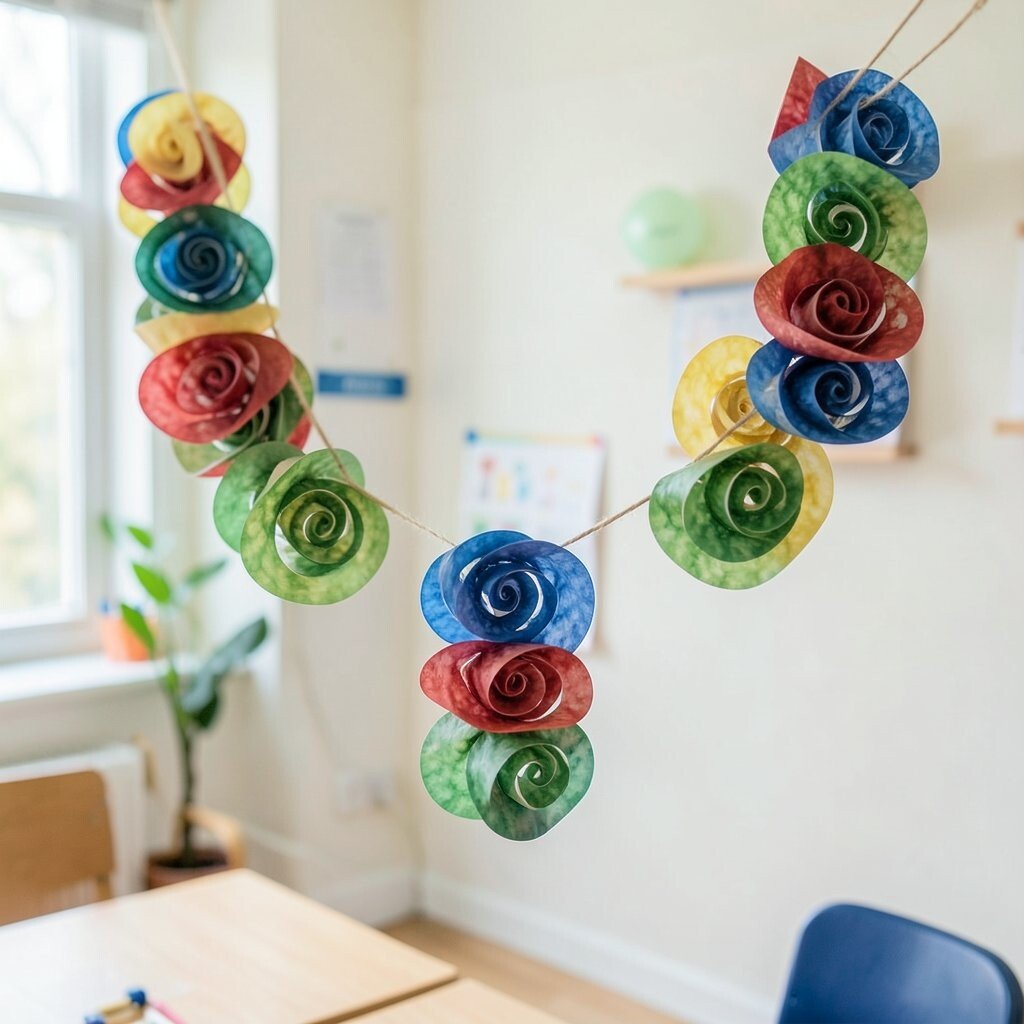
Stack coffee filters, pinch the center, and dye or paint the edges with water-based markers or sponge paint. When you hang them, the swirl garland looks soft and airy, like colorful clouds.
This is a practical classroom option because filters are thin, light, and easy to hang without heavy hardware. It benefits students by making the room feel calm and welcoming, especially in reading or counseling spaces. For personalization, let each student pick a color family and draw a few tiny dots before you assemble the swirls. Once dried, you can string them closely for a full look or spread them out for a delicate border.
Consider cost savings by using filters from your kitchen, paper towels shops, or thrifted home goods. A current trend is using gentle gradients and watercolor textures, and coffee filters deliver that effect easily. Keep a small spray bottle to help colors blend and reduce cracking.
11. Origami or Simple Folded “Rain Drops” For Weather Charts
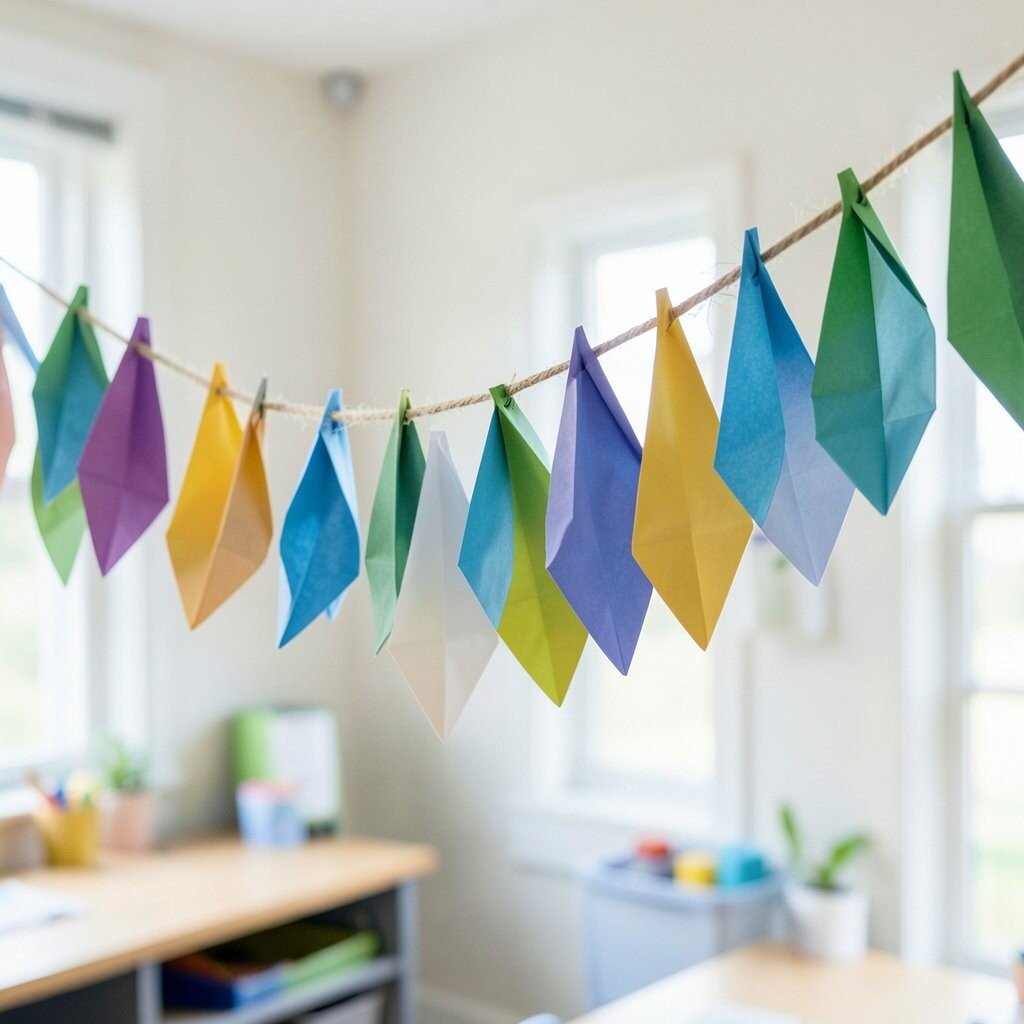
Fold small colored paper into water-drop shapes and attach them in rows along a string. The garland makes a visual weather story that connects directly to daily learning.
Write a short symbol on each drop, like sun, cloud, or rain, and hang them near your weather board. This benefits lessons because students can point to the garland while you discuss patterns and vocabulary. For personalization, add a drop for each student’s favorite weather, or let groups choose the colors they use. Keep the shapes consistent by using a paper template, which saves time and keeps the line looking crisp.
To manage costs, print small templates on scrap printer paper or use wrapping paper ends. The uniqueness comes from the 3D fold, which looks more “designed” than flat cutouts. When you store it, fold gently so creases stay sharp and rehang quickly next time.
12. Yarn-Wrapped Branch Garland From Yard Twigs
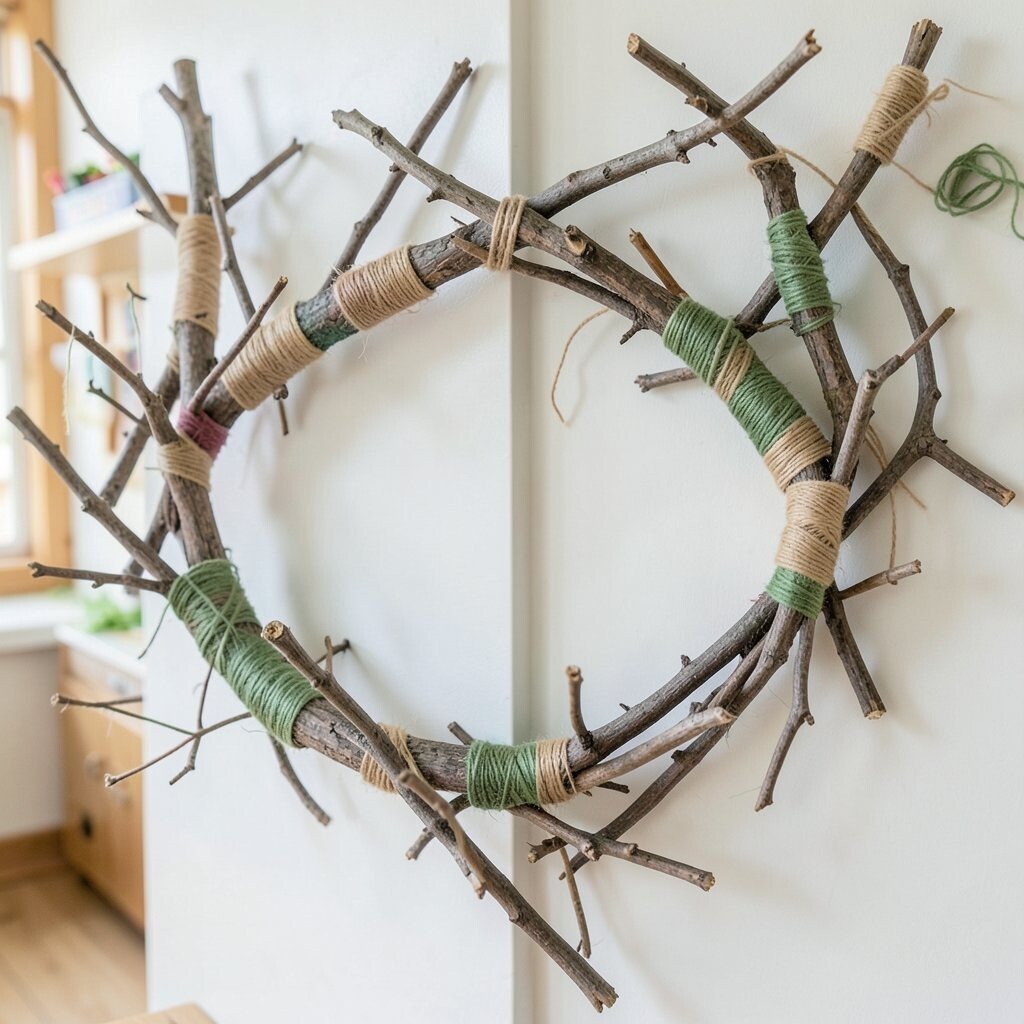
Find a few small twigs outdoors and wrap them with leftover yarn in stripes or spirals. Hang the twigs with twine so the garland looks like a cozy woodland branch display.
It’s unique because the natural shape makes each piece one-of-a-kind, even if you use the same colors. Students benefit because it brings nature-themed calm into the room without needing expensive plants. Personalize by attaching little paper leaves labeled with classroom goals, like “listen,” “learn,” and “grow.” For practical tips, seal outdoor twigs with a clear coat spray so they stay clean, then let them dry fully before hanging.
13. Lined-Up Envelope Pocket Garland For Supply Stations
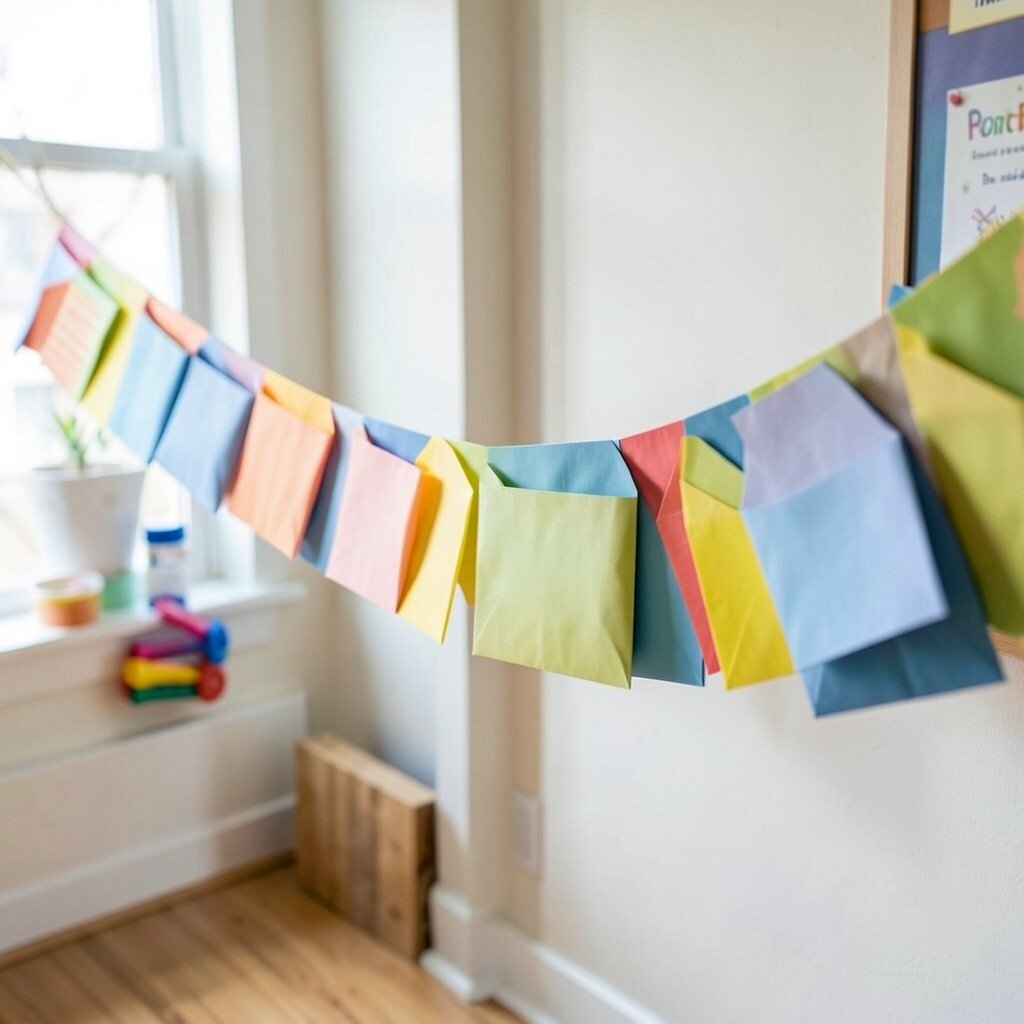
Glue or tape small envelopes or paper pockets along a string so each one holds an item. The garland can act like a mini organizer for pencils, erasers, or weekly homework check-ins.
Visually, it creates neat rows and reduces clutter because supplies have a clear home. The benefits are real since students can grab and return items without asking every time. For personalization, decorate each envelope with a symbol and student-friendly label, like a star for “finished work.” Use craft paper for the envelopes so you can personalize colors easily and keep the look cohesive.
Cost considerations are strong here because you can reuse old envelopes and packaging, then only buy string or labels if you’re out. This style matches current classroom trends toward functional decor that also supports routines. Make sure pockets are reinforced with tape so they don’t tear when used daily.
14. Tissue Paper “Burst” Garland For Celebration Corners
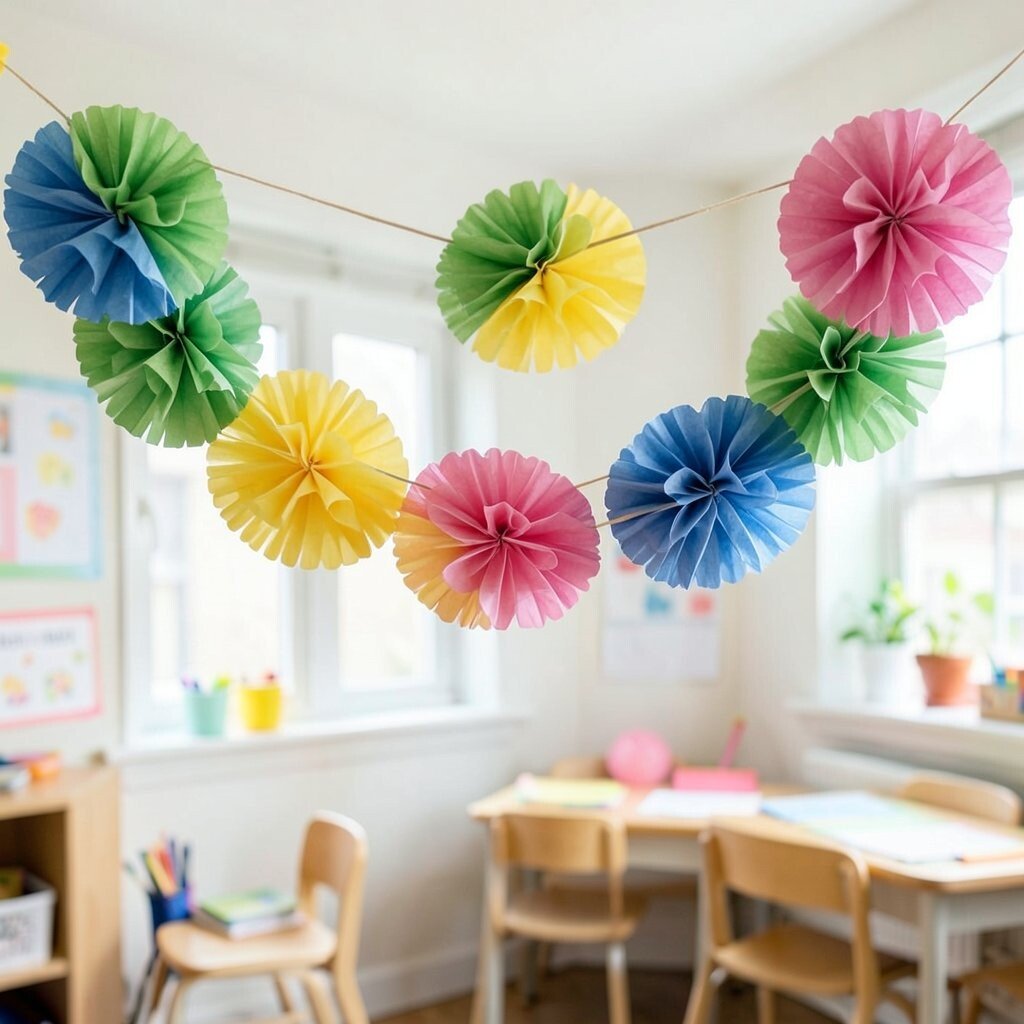
Cut tissue paper squares, layer them, and pinch the center to create small burst flowers or pom shapes. Thread them along string so your wall corner becomes a bright celebration spot.
Choose colors that match school spirit days or your current unit, then cluster bursts around a bulletin board for maximum impact. It benefits students by signaling when it’s time for something special, like a science fair, book event, or class achievement. For uniqueness, add one burst made from patterned tissue so the whole line has a surprise detail. Use a needle-free method if you can by tying thread around each burst tightly before hanging.
Keep costs low by using leftover tissue from party packs or buying single sheets on sale. This trend stays popular because burst textures look high-end, even when made from simple materials. Store bursts in a box with tissue between layers so they don’t crush.
15. Felt and Button Garland That Adds Texture During Lessons
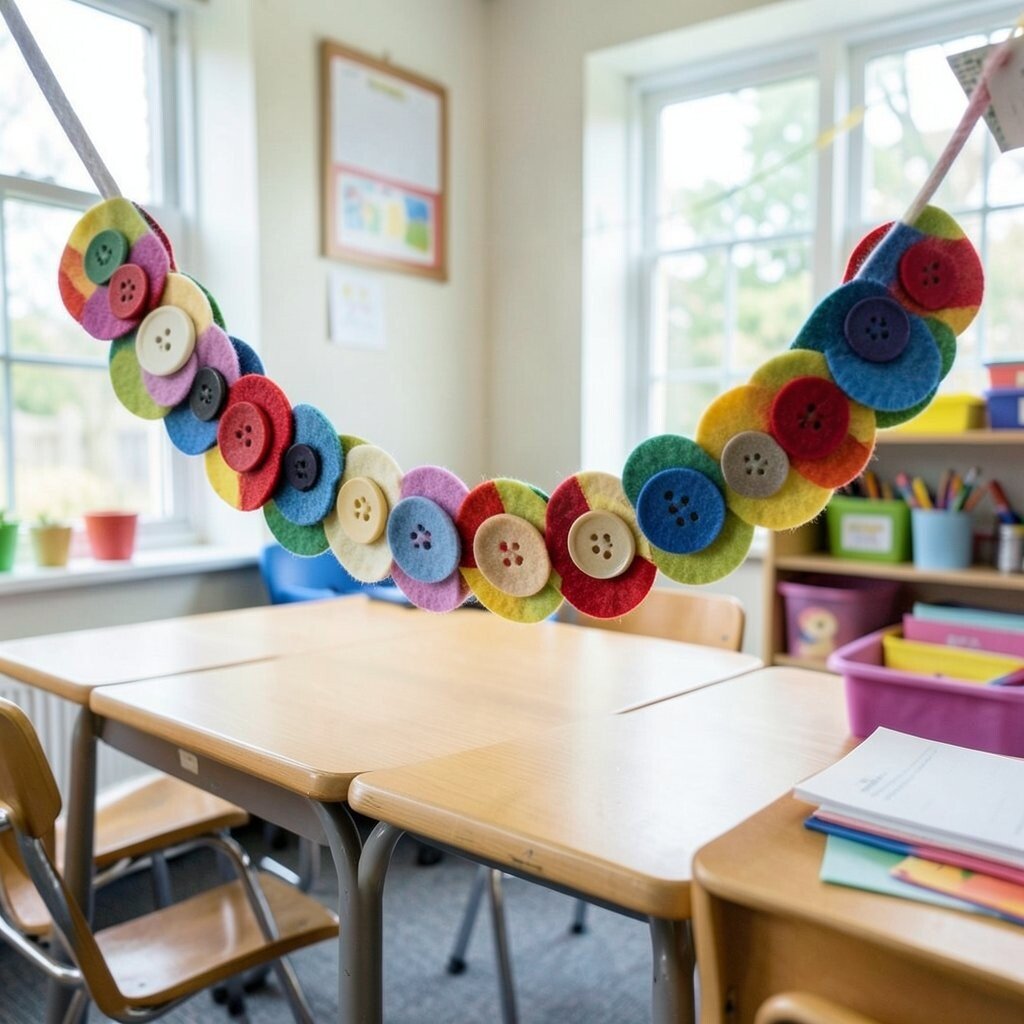
Cut felt rectangles, then stitch or glue buttons and small felt shapes onto each piece. String the finished squares along cord so the garland looks like a tactile quilt line across your room.
Students benefit because the texture makes the wall visually interesting, and tactile details can support attention during mini-lessons. Personalize by using icons that match learning, like letters on some squares or simple math shapes on others. For practical tips, glue lightly first and stitch if you want it to last through heavy classroom handling. Keep colors limited so the garland feels calm instead of chaotic, especially in busy rooms.
Cost considerations are easier when you shop thrift stores for buttons and use felt scraps from craft bins. This uniqueness comes from the handmade touch, which students love and notice right away. For safety, keep sharp tools away and place completed garlands high or behind protected areas.
16. Recycled Cardboard “Achievement” Loop Garland
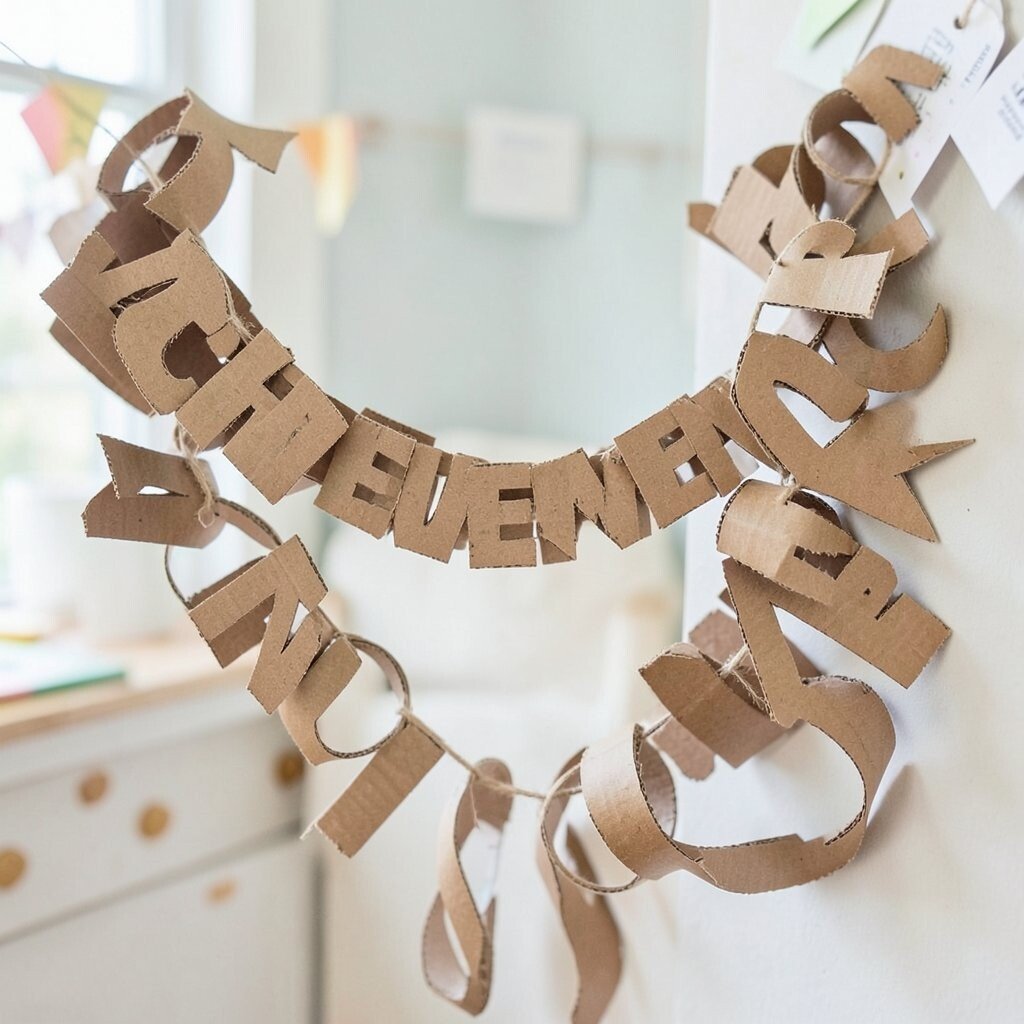
Cut cardboard into long loops, paint them, and add small labels for achievements like reading minutes or teamwork points. Hang the loops like a chain so achievements look visible, fun, and real.
Use a simple paint pattern, such as alternating colors, so the garland feels consistent even when new loops are added. It benefits students by making progress tangible and encouraging them to keep trying. Personalize by letting student groups choose which award icon goes on their loop, like a book, a heart, or a trophy. For practical tips, punch holes carefully and reinforce with tape or glue so the cardboard doesn’t tear.
For cost considerations, cardboard is almost free when you save shipping boxes and cereal trays. This trend of “purpose decor” is popular because it serves motivation, not just decoration. If you’re switching themes often, store loops unpainted and repaint only what’s needed each quarter.