Your cork board can look tired today and stylish tomorrow. The trick is picking a layout that fits how you live.
Small changes add up fast, especially when you design for everyday use and not just for decoration.
1. Classroom-Style Grid That Stops the Chaos
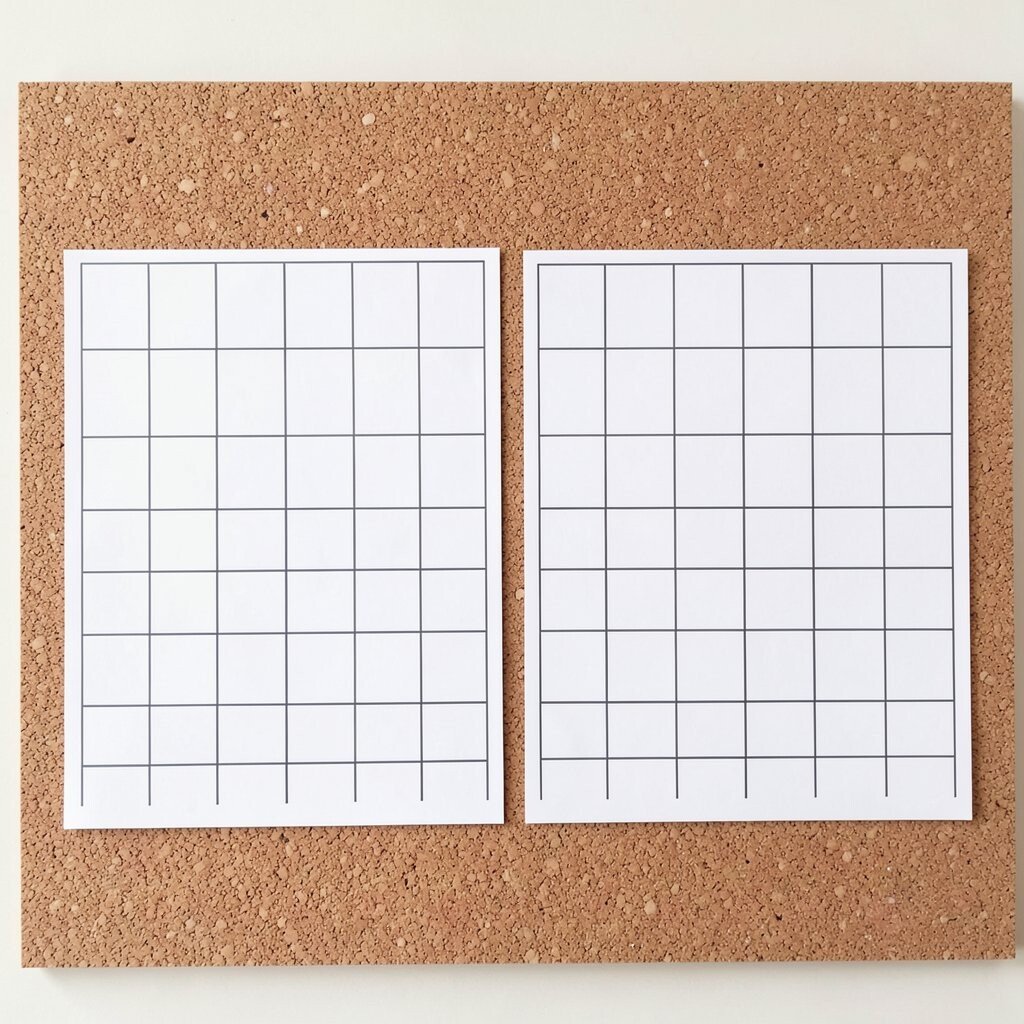
Before, the board is usually crowded with overlapping notes and flyers that never get found. After, it becomes a clean grid with clear zones for weekly plans, reminders, and mail.
You can picture a calm wall where each paper has a place, and your eyes know exactly where to look. Use a simple measuring tape and light pencil lines on the cork so you can place items evenly. Add small colored pushpins for each category so the system stays easy even on busy days.
2. Blended Color Theme With Soft Ribbons
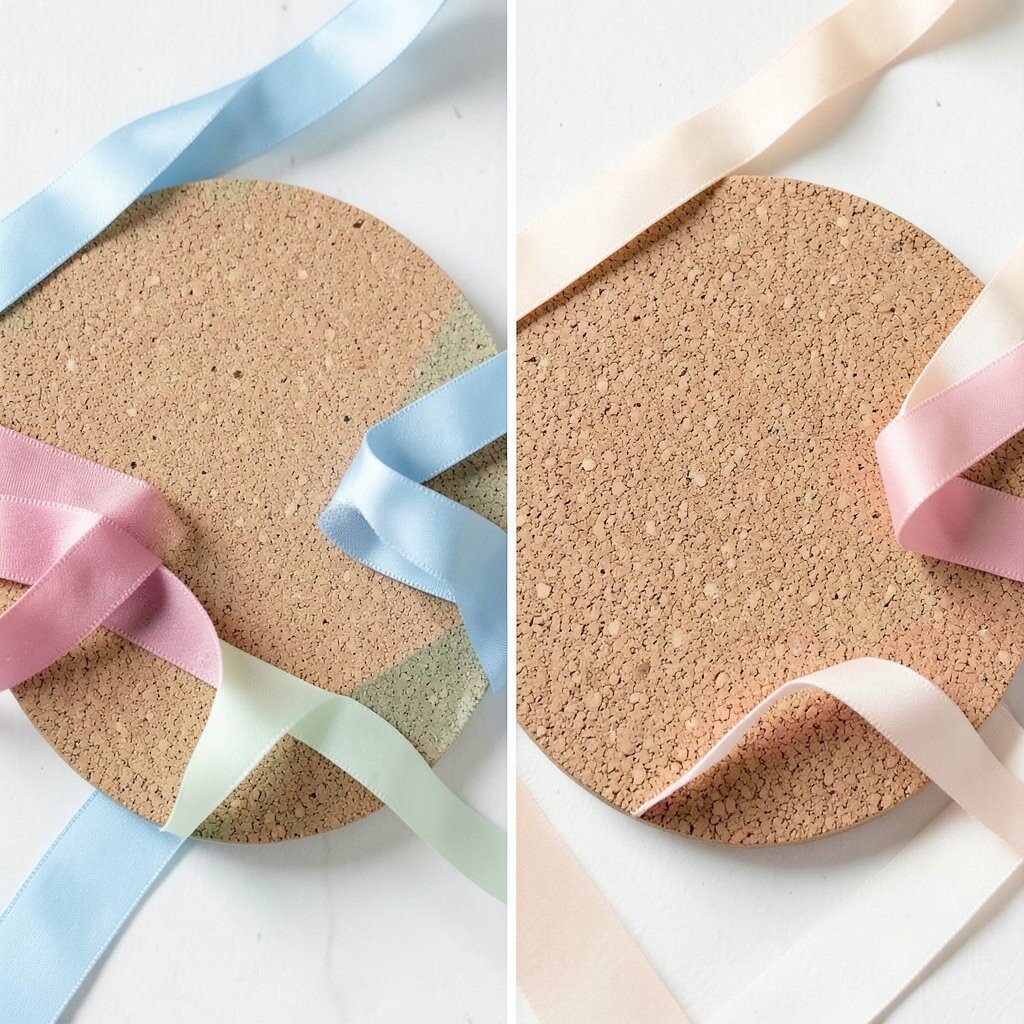
Before, pushpins poke out everywhere, and the board feels busy and random. After, a gentle color story shows up with ribbon strips holding photos and cards in neat rows.
Pick one main color and one accent color, like sage and cream, to make the board feel cohesive. Ribbons also protect paper edges, so things look tidy longer.
You can weave a thin ribbon across the cork to make a “path” for mini photo cards. Pair it with matching washi tape along the border for a polished finish. Choose lightweight materials to keep the whole board from looking cluttered or heavy.
3. Gallery Wall Look Using Layered Frames
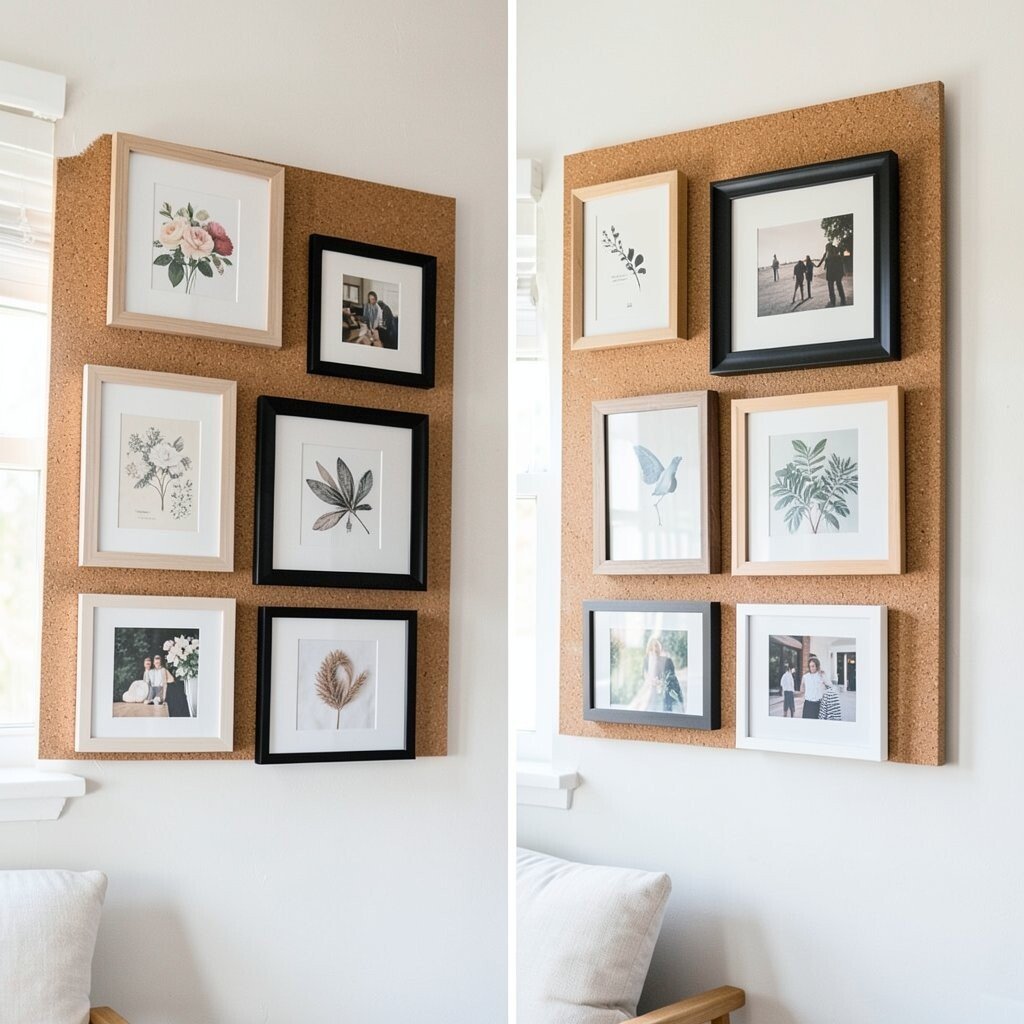
Before, your cork board is just a background for notes and ticket stubs. After, it looks like a mini gallery because you add thin frames over the cork while still using pushpins inside the frames.
Think of how pictures in a hallway feel intentional, even when they rotate often. Use inexpensive photo frames and screw in hooks or add backing strips so you can pin things without damaging them. Keep a mix of frame sizes so the board feels collected, not matched-too-perfect.
This approach is unique because the cork still does the hard work while the frames make it look like art. Try placing postcards along one edge and family photos across the center for a warm vibe. If you want cost control, use frames you already have and paint them to match.
4. Minimalist One-Spot Focus With a Rotating Center
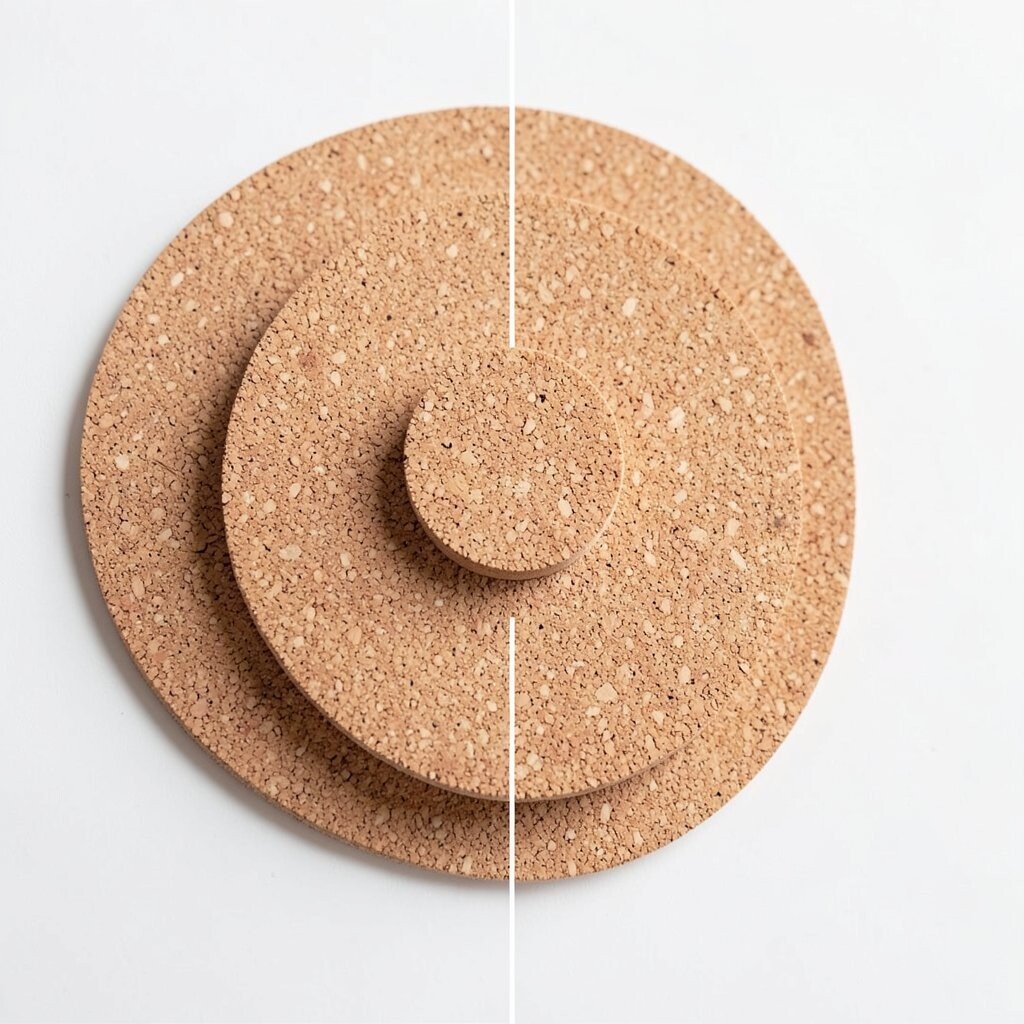
Before, your cork board tries to hold everything and ends up feeling stressful to look at. After, you pick one “hero” spot in the middle for the most important thing of the moment.
Surround that center with a few supporting elements so the board stays calm. Use one larger card holder or a clear sleeve to display a weekly goal, menu plan, or current project page. When the season changes, swap the center item and keep the rest simple.
5. String Line Organizer for Quotes and Quick Wins
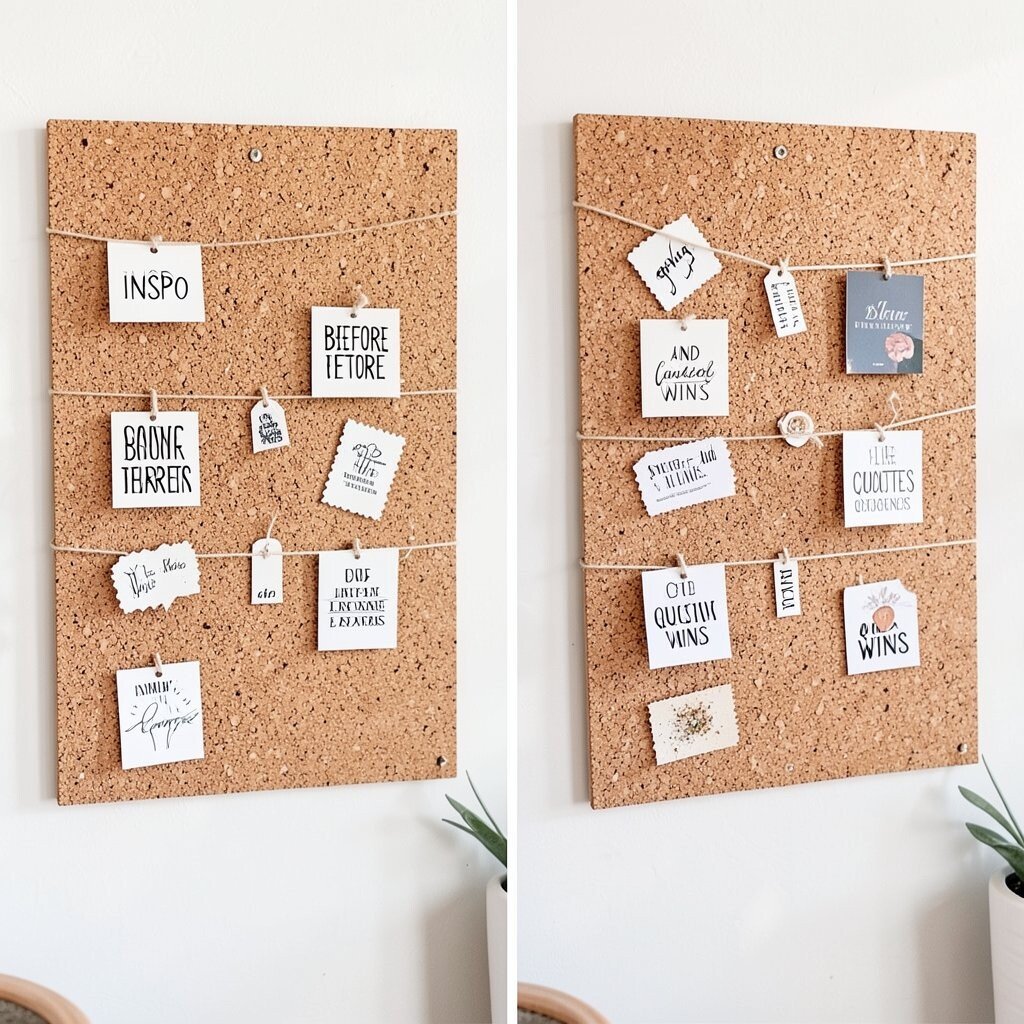
Before, you rely on paper stacks on top of the cork, which makes the board hard to update. After, a vertical or diagonal string line turns the board into a quick, visual organizer for short notes and reminders.
Imagine a light web of cord that holds small clothespins, each one carrying a message that’s easy to read. Use strong twine or thin cotton cord and attach it with small nails or adhesive anchors made for walls. Write small, friendly messages so each clip becomes a “tiny nudge” you actually want to see.
This style feels personal because your board becomes a living place for quotes, plans, and even doodles. For a current look, pair the string with neutral-toned cards and a few black-and-white photos. If you’re watching the budget, use thrifted frames or plain index cards and print at home.
6. Before-And-After Pages With a Scrapbook Border
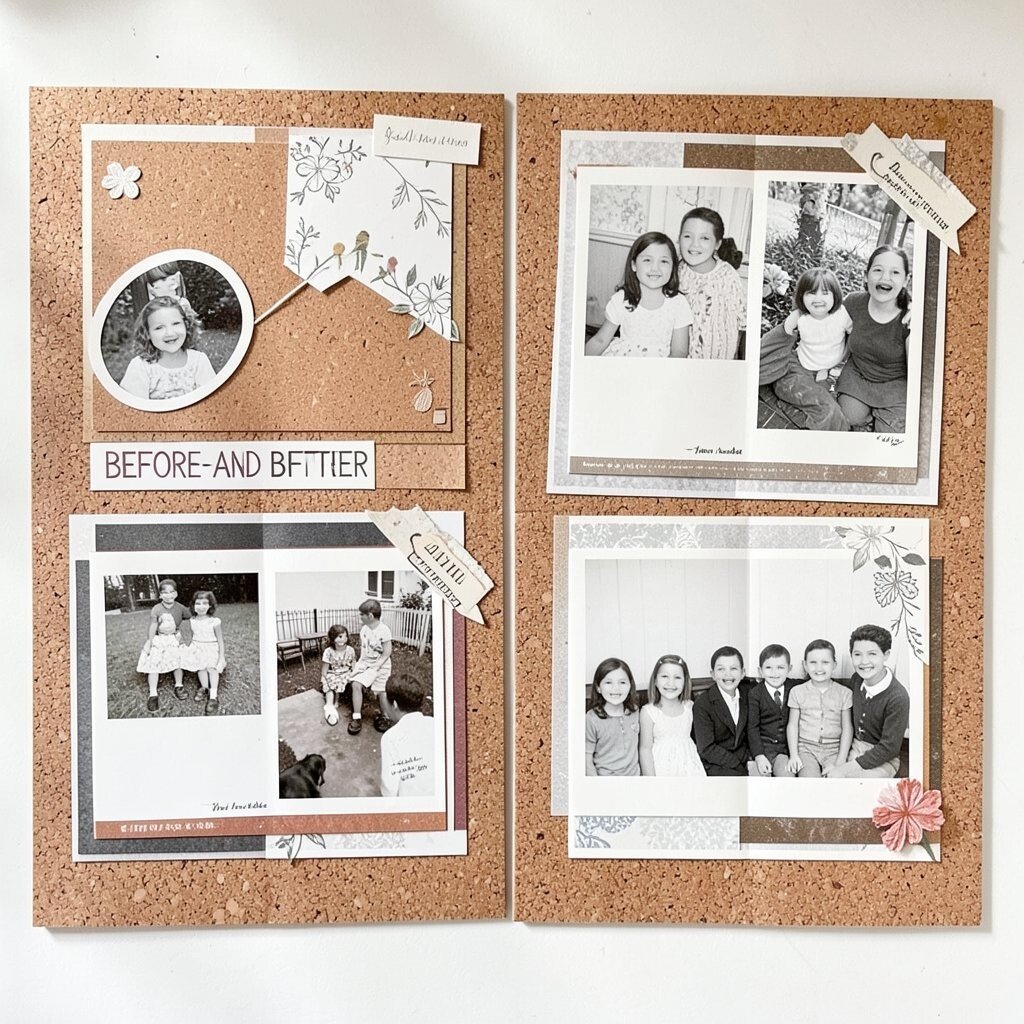
Before, the board holds announcements but doesn’t show any progress. After, it tells a story with side-by-side “before” and “after” pages using a scrapbook border made from patterned paper strips.
Pick events you care about, like home projects, fitness goals, or learning progress, then pin progress photos in pairs. When you keep them near each other, the board feels motivating instead of just informative. Use a clear label maker or neat handwriting on small tags so viewers can follow the timeline.
7. Sticky-Note Friendly Layout With a Dedicated Swap Shelf
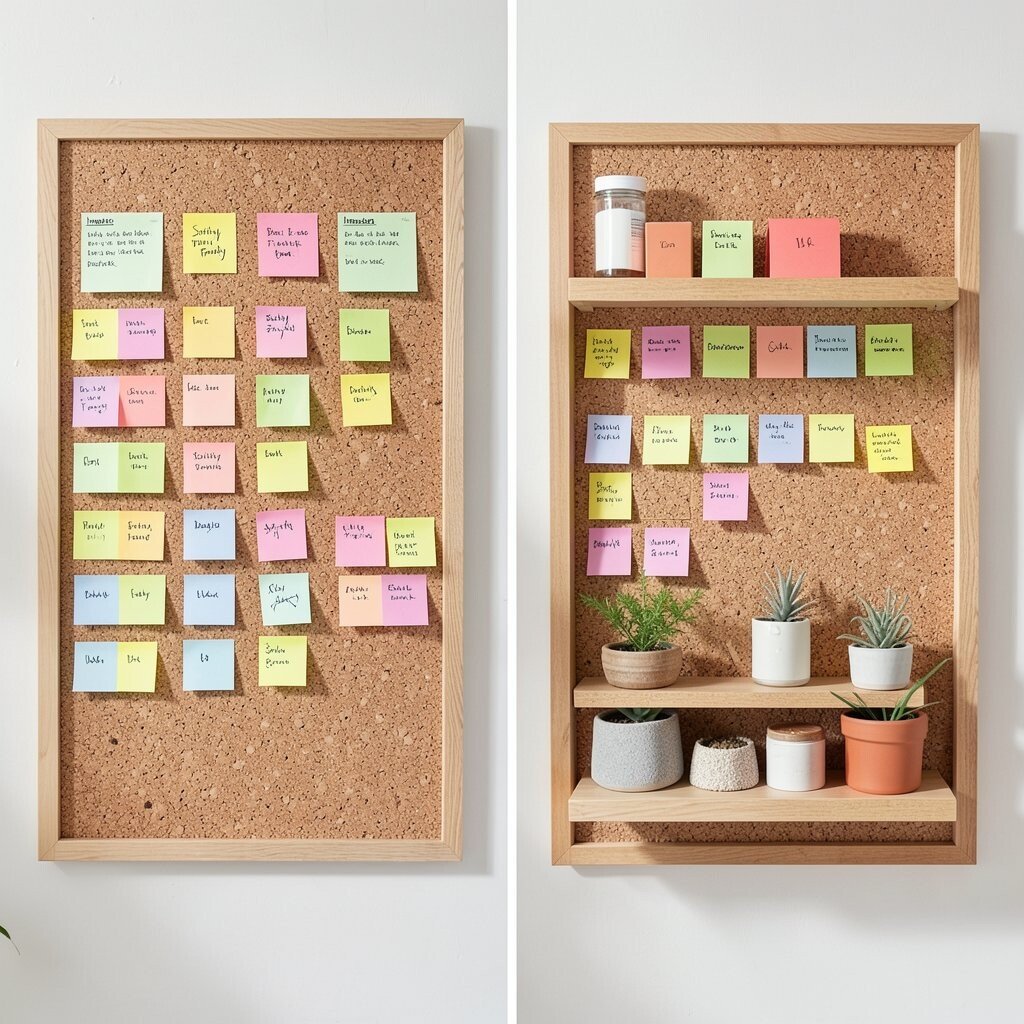
Before, sticky notes end up on desks because the board is too crowded to add more. After, you create a dedicated area where sticky notes can be placed and swapped without pulling other papers down.
This layout is super practical for daily planning because you can move a note in seconds. Add a small ledge shelf at the bottom or a thin acrylic strip to catch paper corners. Choose a strip of cork or felt to buffer sticky edges so they don’t leave residue.
Your personalization is easy here since you can pick colors that match your mood or your schedule. Use smaller sticky notes for quick tasks and larger ones for weekly goals. Keep the rest of the board mainly for photos and “evergreen” info so it doesn’t get messy.
8. Pinwheel Corner Collage for Festive Energy
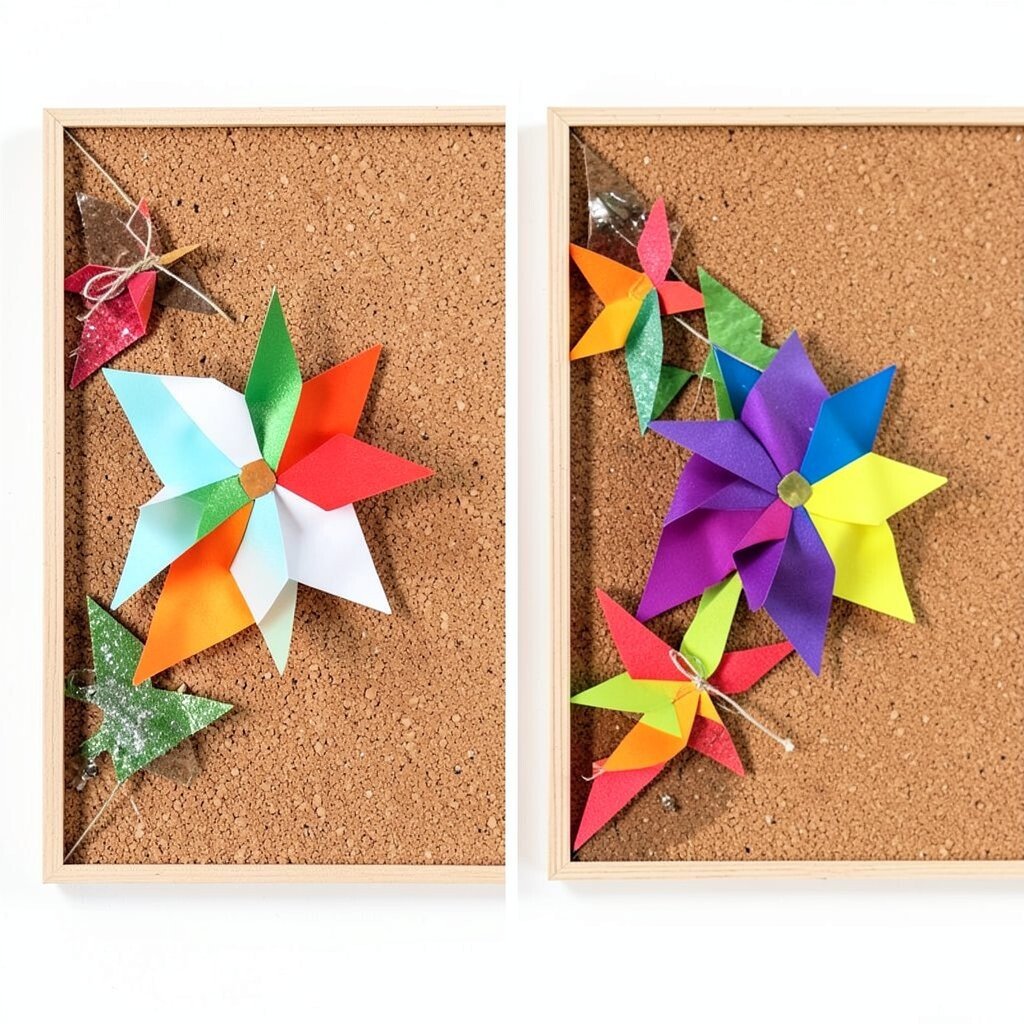
Before, the top corners look empty or just hold random cards. After, you turn one corner into a pinwheel collage using cut paper shapes pinned in layers.
To picture it, imagine little triangles, circles, or torn-paper pieces that spin the eye around the board. Choose two to three paper textures so it feels artsy but not chaotic. Seal the look with a light coat of clear matte spray on the paper you can spray, then pin the rest normally.
9. Color-Blocked Sections for Home, Work, and Life
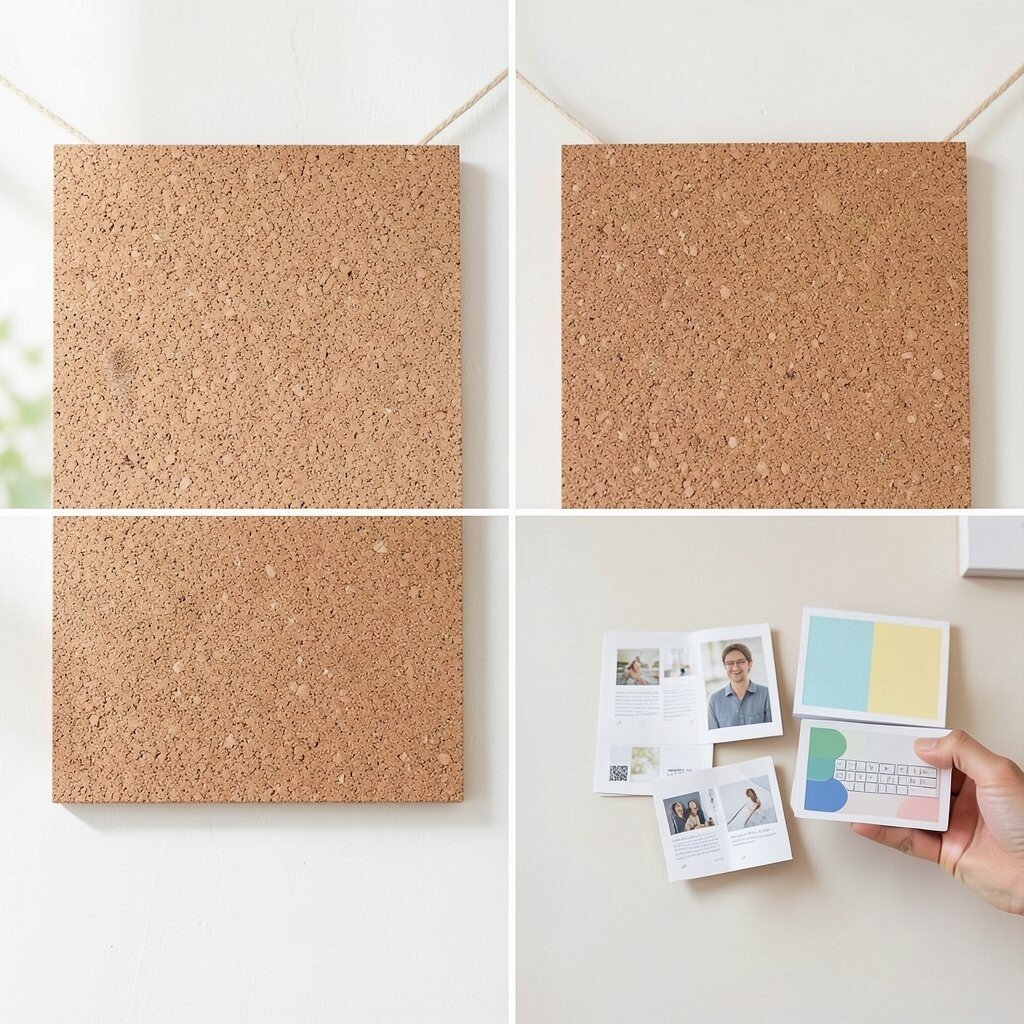
Before, your board has no “map,” so you waste time searching for things. After, you create color-blocked sections so home tasks, work reminders, and life updates are easy to spot.
Use bold paper cutouts or vinyl shapes to frame each zone right on top of the cork. The visual benefit is huge because you stop blending everything together in your head. Keep each section focused with a maximum of a few categories and rotate items as they change.
This idea is unique because the board feels like a mini dashboard, not a cork wall. For cost considerations, you can use leftover wrapping paper or scrap fabric instead of buying special organizers. Add small numbered icons drawn on cardstock to help you scan quickly at a glance.
10. Clear Pocket Strip for Receipts, Tickets, and Paper Trails
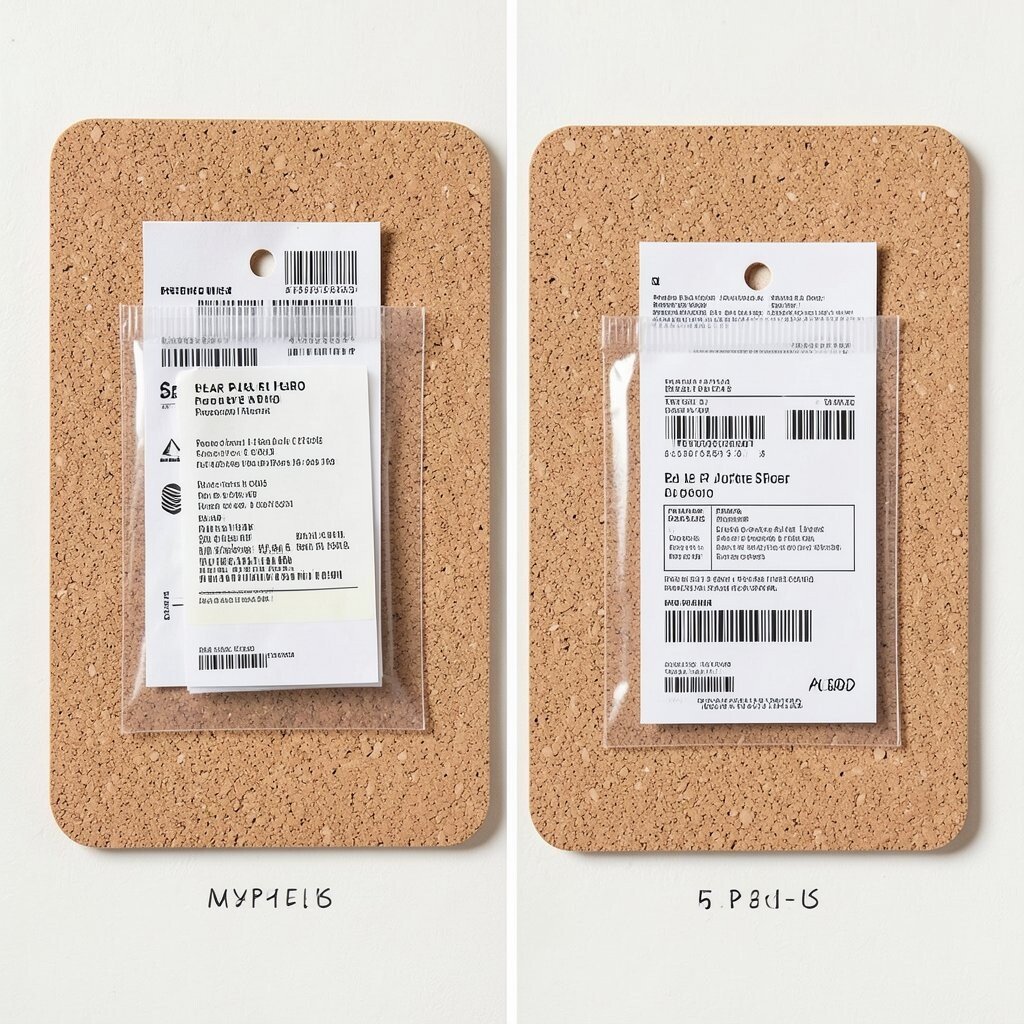
Before, loose receipts and takeout menus get lost or crumpled. After, a clear pocket strip keeps paper trails visible and neat without constant re-pinning.
You’ll love the clean look because the pockets make everything feel organized even when the papers are messy in real life. Attach the pockets along one side so your main board stays uncluttered. Choose pocket sizes that match common items like concert tickets, insurance forms, and school notices.
11. Seasonal Theme Switch With a Calendar Spine
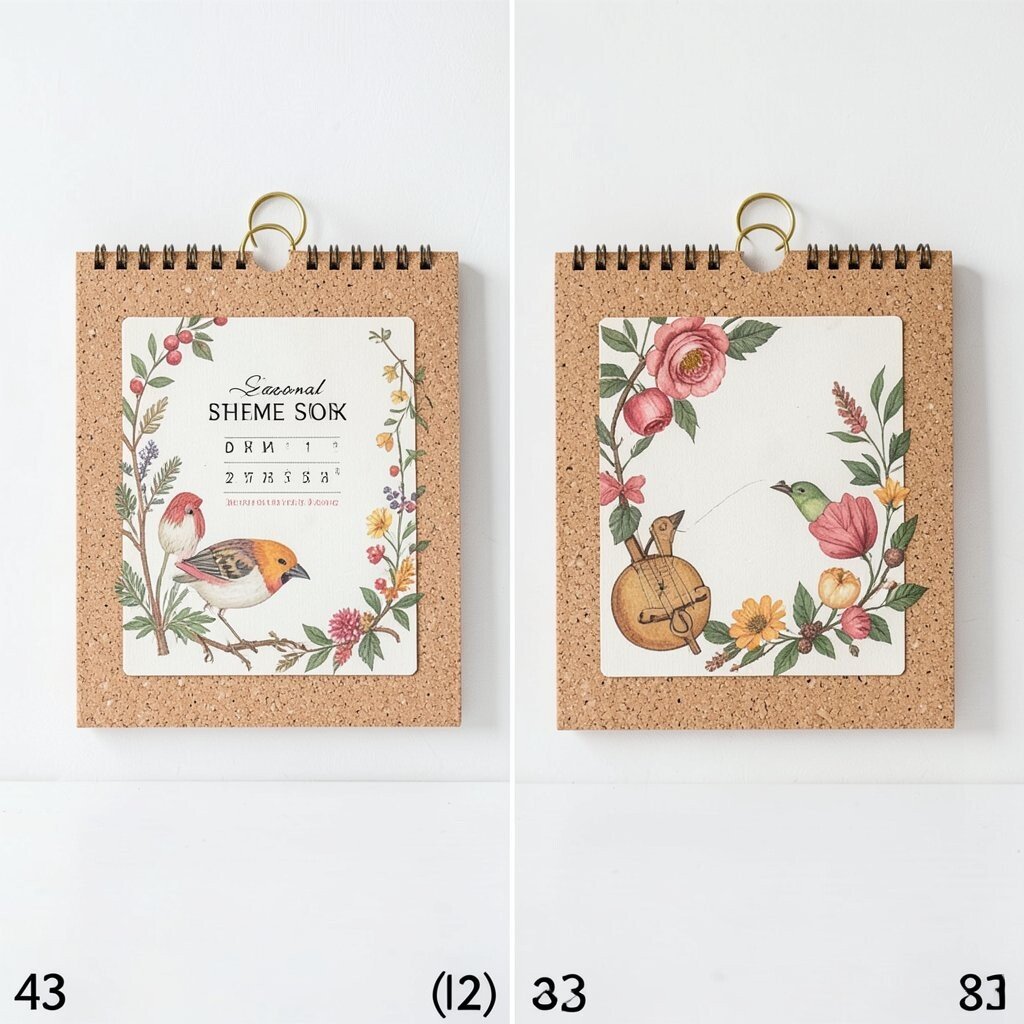
Before, the board stays the same all year, so it feels outdated the moment seasons change. After, a calendar spine runs down the center and you update the top with seasonal colors and decor.
Picture a board where autumn comes with warm browns, winter brings cool blues, and spring shows bright greens. Use lightweight seasonal cutouts pinned along the spine so updates are fast. Add a monthly calendar card holder so you can move dated reminders without rewriting everything.
This trend-friendly setup works well because it mixes function with style. Keep a small “season drawer” of paper scraps in a labeled envelope so you can refresh quickly. For cost, build the seasonal pieces from craft paper, old greeting cards, and leftover scrapbook sheets.
12. Woven Fabric Border for Soft Texture
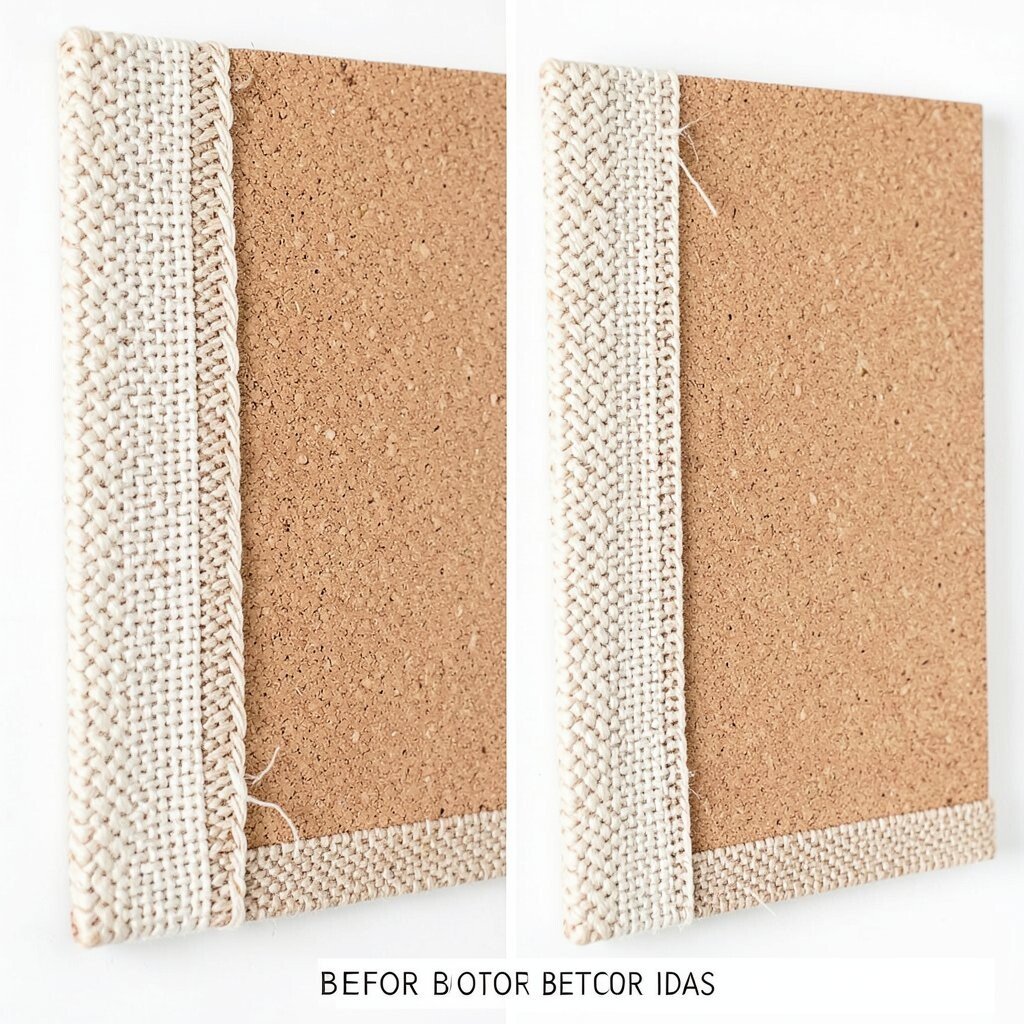
Before, the cork border looks plain and the board feels more practical than pretty. After, you add a woven fabric border that frames the cork like a picture mat.
The visual change is dramatic because fabric brings warmth and makes pinning look more intentional. Choose a fabric pattern you already love, like gingham, stripes, or tiny florals. Use double-sided tape or fabric-friendly adhesive to apply it, then trim clean edges with scissors.
This is a unique way to personalize without heavy tools. If your cork board is in a shared space, a woven border also helps it blend with your room decor. Keep it budget-friendly by using a scrap remnant or an old scarf you no longer wear.
13. Flowchart Style for Projects With Sticky Notes as Steps
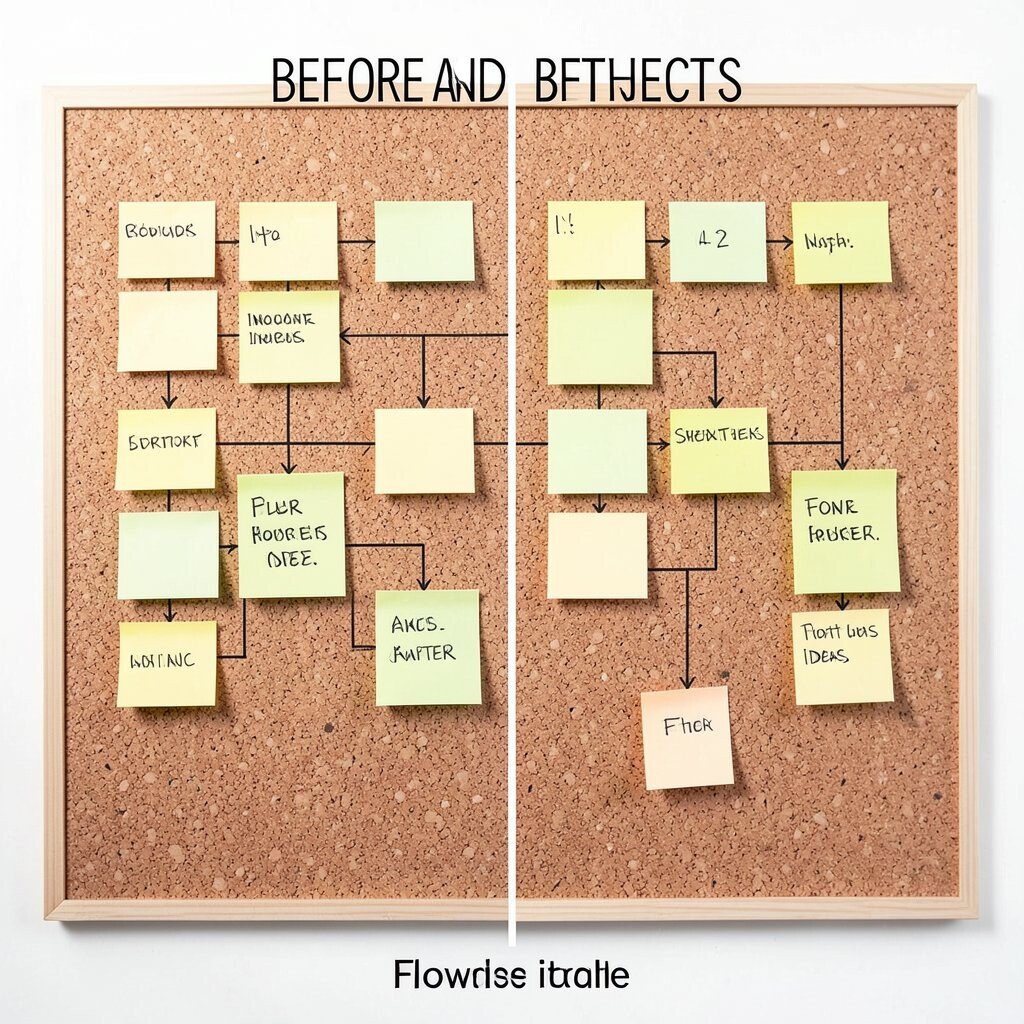
Before, project planning is stuck in one place, like an email thread, and you forget steps. After, your cork board shows a simple flow from start to finish using sticky notes as the moving steps.
You’ll see each stage clearly, and that makes it easier to keep momentum. Use arrows made from cardstock to connect steps, then pin each sticky note under the right arrow. When a step is done, slide it into a “completed” pocket or mark it with a check sticker.
This approach feels modern because many people now plan visually on the wall instead of inside a single app. Personalize it with color-coded sticky notes for different team members or phases. For cost, reuse old paper scraps for arrows and print sticky note templates at home if you want matching styles.
14. Photo Strip Before-And-After Moments With Matching Captions
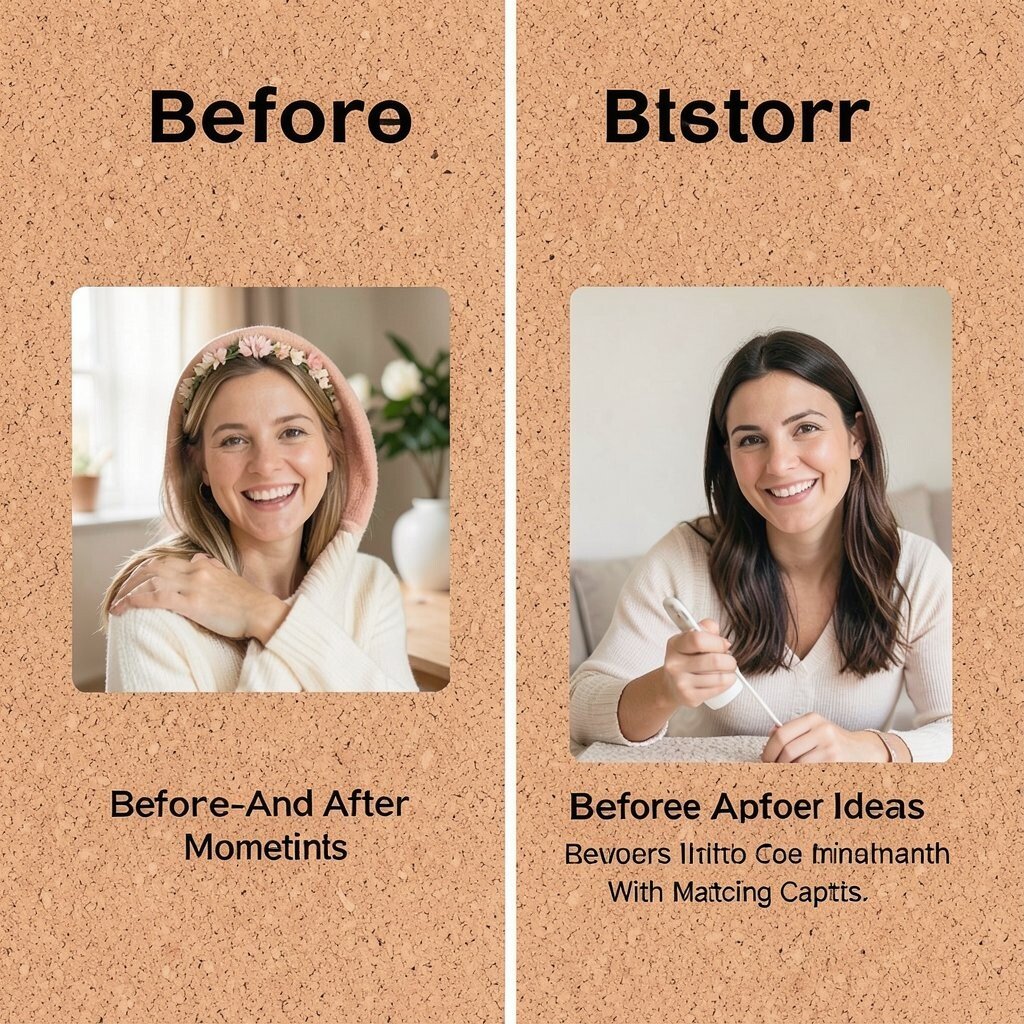
Before, photos are stored in folders, so the cork board doesn’t tell any personal story. After, it becomes a photo strip with before-and-after moments and matching captions that make each change easy to understand.
Think of a timeline that feels like a scrapbook page but still uses the cork’s pinning power. Use small caption cards printed or written in the same font style so everything looks consistent. Add one tiny decorative accent per photo, like a star sticker or a mini clothespin, to keep it playful.
The benefits are emotional as much as practical since you’ll enjoy seeing progress every day. It’s also unique because the board becomes a “memory dashboard.” If you’re mindful of cost, print photos in bulk and cut captions from paper you already own.
15. Chalk Marker Labels for Quick Updates Without New Paper
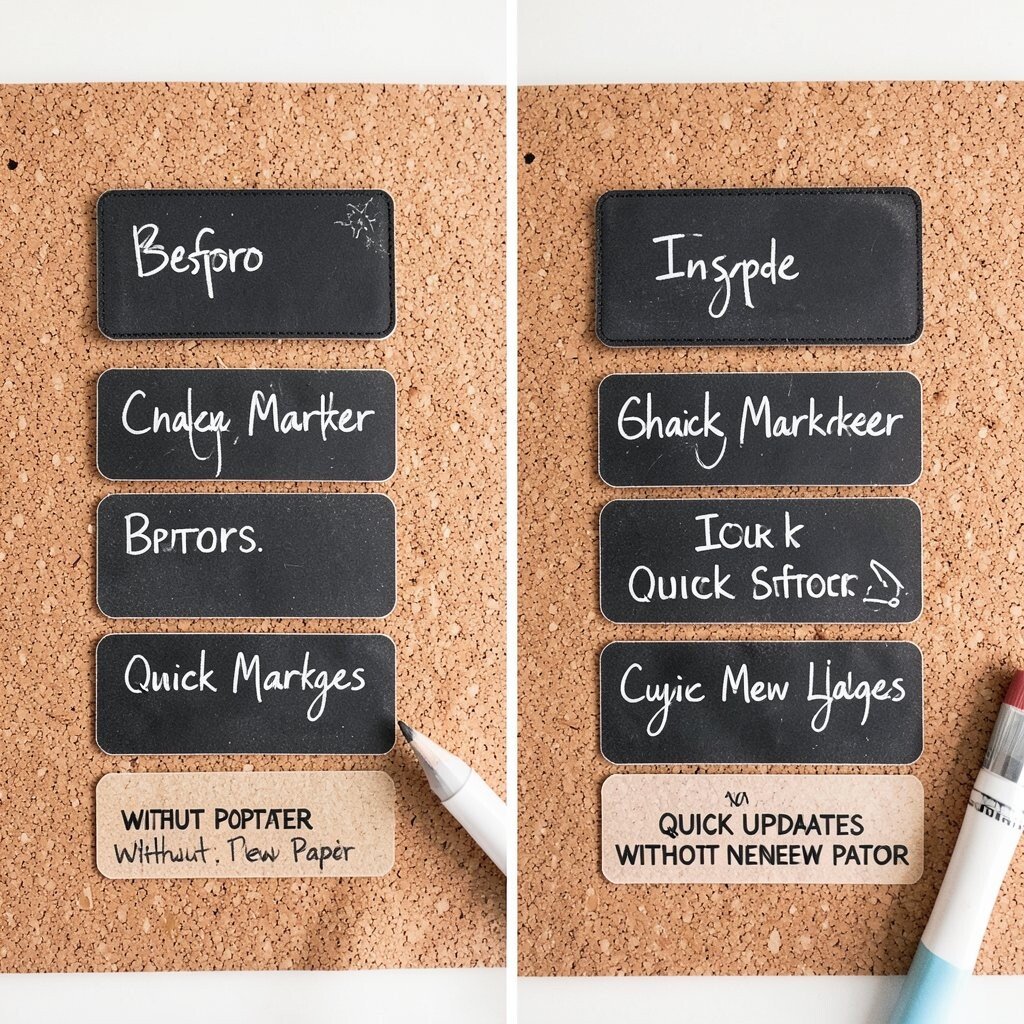
Before, you print or write new labels every time you rearrange your board. After, chalk marker labels allow quick changes directly on the cork frame or on attached label strips.
Visual clarity improves because labels stay in place even when content moves. Use painter’s tape to create straight label bands, then draw in neat handwriting. Wipe and rewrite when the schedule shifts so your board always stays current.
This trend is great for people who like a clean look but hate wasting paper. Personalize the board with your own handwriting style, like all lowercase or a tiny doodle under each label. For cost considerations, chalk markers can last a long time, and label strips can be made from cardstock leftovers.
16. Layered Fabric Clips With Quotes and Art Prints
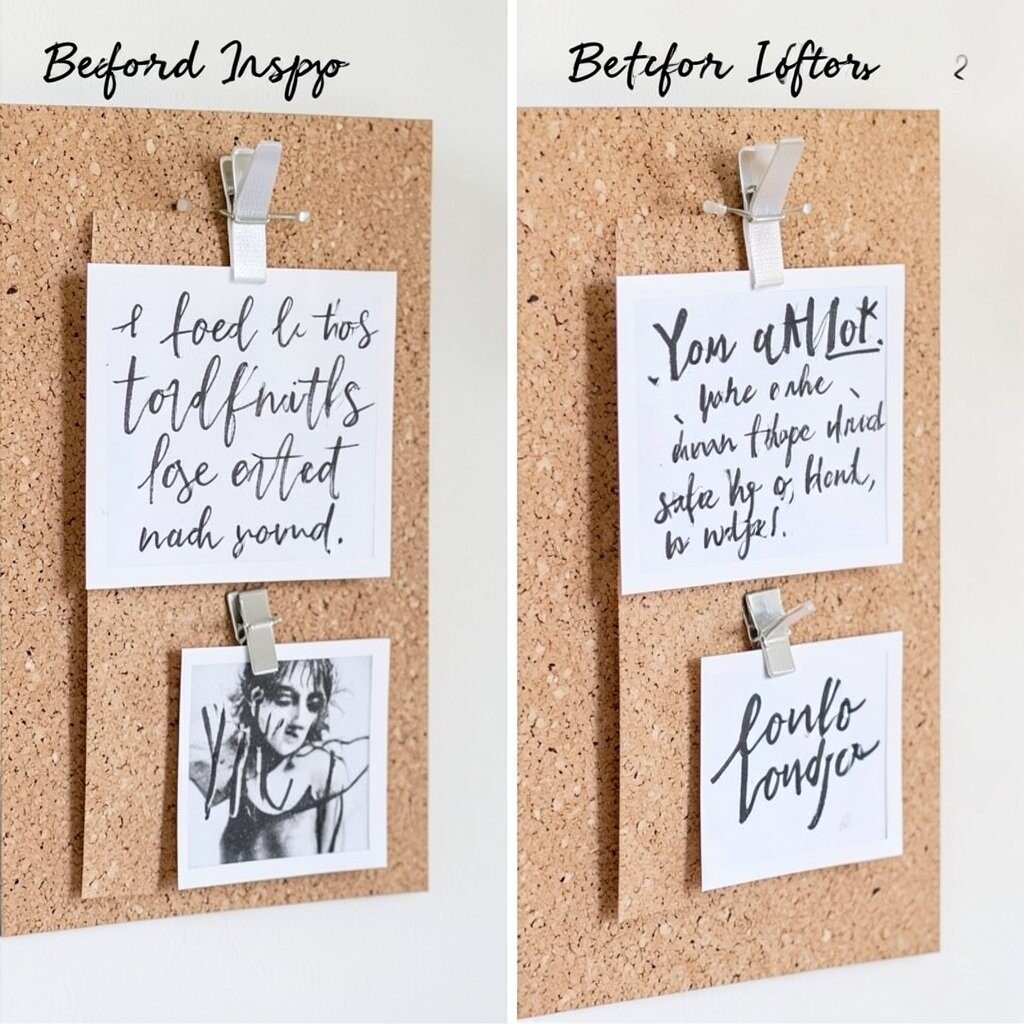
Before, your board only holds notes, so it doesn’t feel like part of your decor. After, layered fabric clips display small art prints, quotes, and even fabric swatches like a mini fashion board.
Imagine thin clips holding lightweight prints so the board looks airy instead of packed. Use binder clips covered with fabric or add clothespins painted in your favorite colors. Keep the prints small so you can rotate them without feeling overwhelmed.
This setup is unique because it mixes soft materials with pinned papers, giving a cozy, creative feel. It also helps you personalize by adding art that matches your current interests. If you want a budget-friendly version, print free quote art online and clip them onto scraps of fabric or plain paper mats.
17. Magnetic Accessory System for Tools and Small Objects
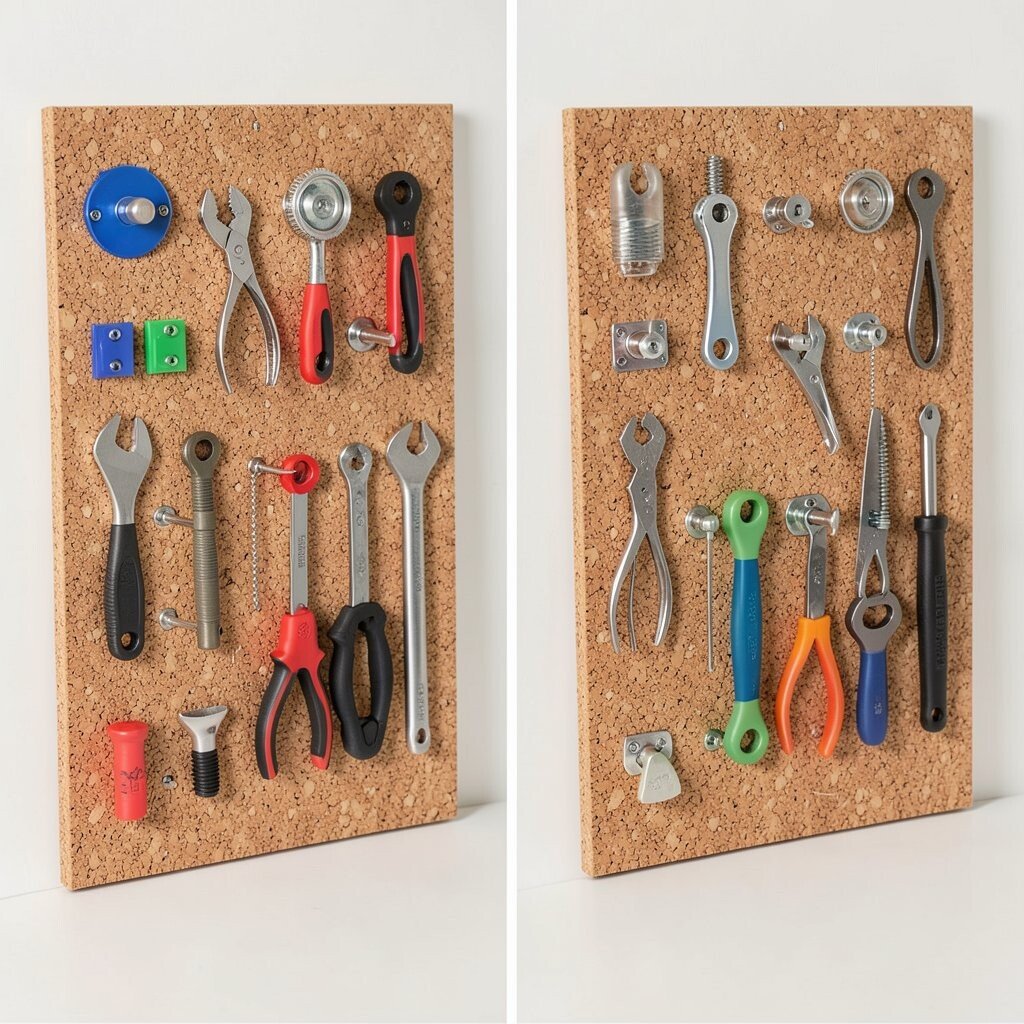
Before, small items like keys, cables, or USB drives are scattered around your home. After, a mix of magnetic holders and pushpin-friendly cards turns the cork board into a smart drop zone.
The visual benefit is clear because everything has a spot near where you need it. Add a magnetic strip for keys or metal tools, then use cork for cards and instructions. Include one pocket for small accessories so they don’t roll away when you grab them quickly.
This idea feels practical and modern, especially for people who want “visible organization.” Personalize it by matching magnet colors to your room palette or adding a tiny icon for each item. For cost, buy simple magnets in multipacks and repurpose old tins or small metal trays as holders.
18. Themed Border Using Washi Tape and Corner Badges
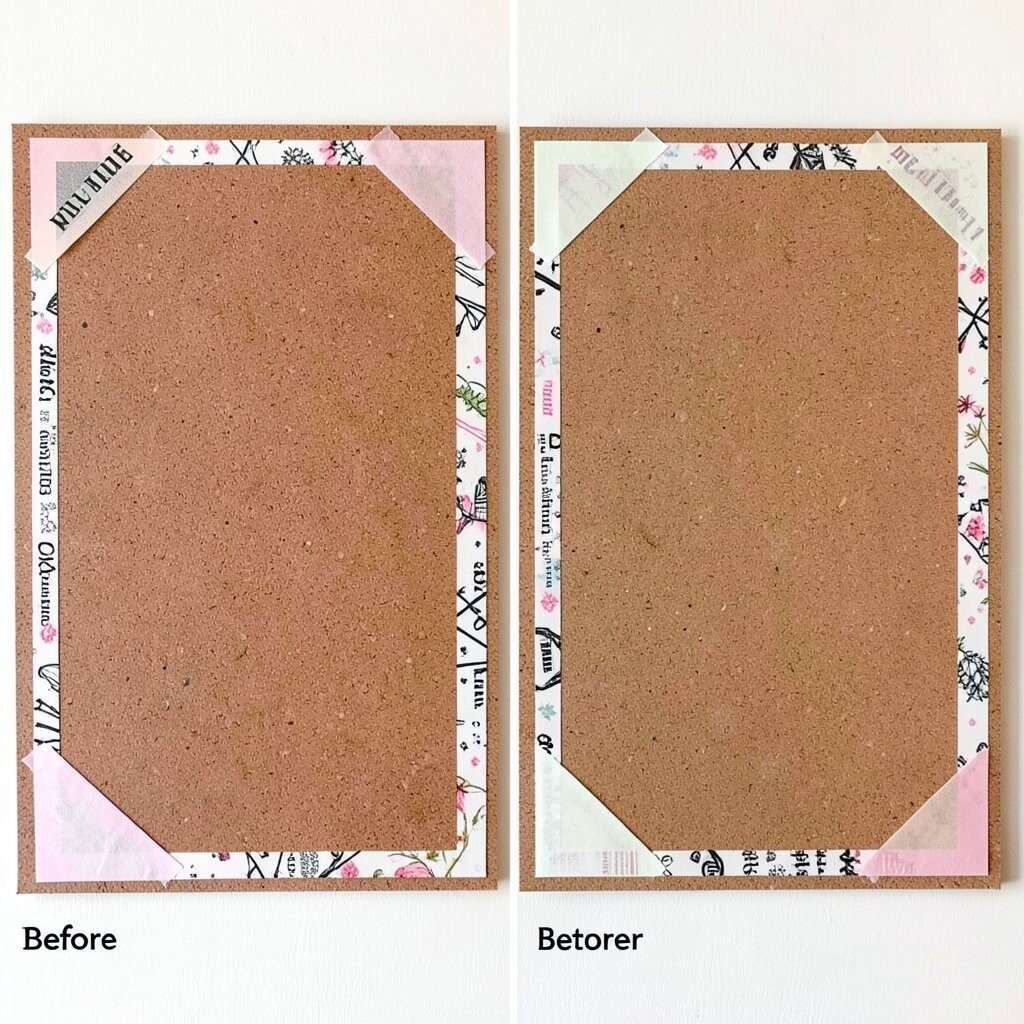
Before, the cork board edges look unfinished, so the whole area feels less polished. After, a themed border made from washi tape and corner badges gives it a finished, styled look.
Washi tape is easy to apply and remove, so you can update the border whenever you want. Pick a theme like travel, plants, or cozy evenings, then choose tape patterns that match. Add corner badges by cutting small shapes out of cardstock and labeling them with short goals or categories.
This is a unique way to keep the board flexible while still looking intentional. Personalize the badges with your own playful handwriting and rotate themes across the year. If you’re cost-conscious, use leftover tape from other crafts and keep the corner badges small so you don’t need many materials.