The first day can feel like a whole new world for your hair. The right hairstyle helps you feel ready before the first bell.
Sometimes the best advice is the quiet kind, the kind you only learn after your mirror gives you the truth.
1. The “No-Surprises” Ponytail Setup
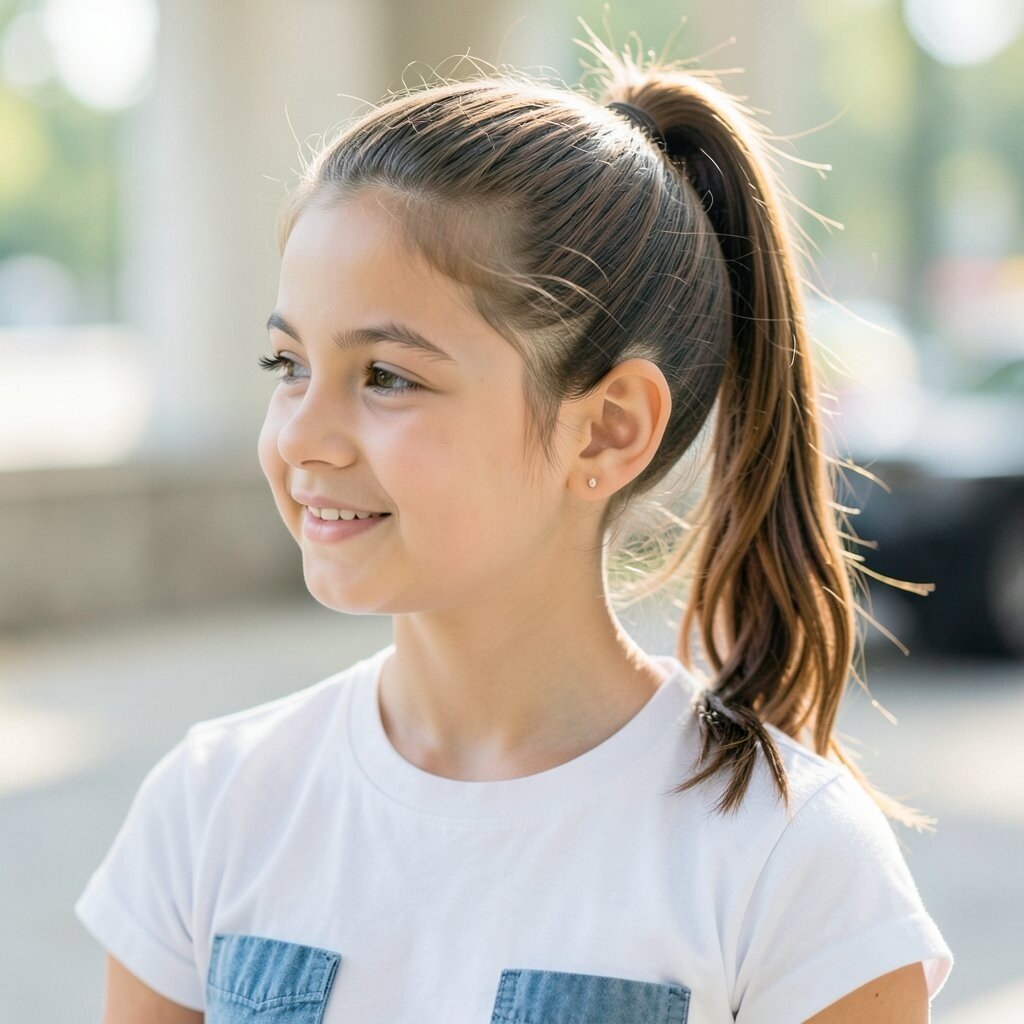
A high ponytail looks simple, but it can also be your easiest win. Start with smooth sections, then secure it with a band that feels firm but not tight.
For a visual upgrade, wrap a small strand around the elastic and pin it underneath so it hides the band completely. Use a light mist of water or a tiny amount of leave-in to control flyaways, especially near the hairline. If you want uniqueness, try a slightly off-center ponytail and let a soft face-framing piece fall where your eyes naturally look.
2. The Side-Sweep Braid That Holds Up
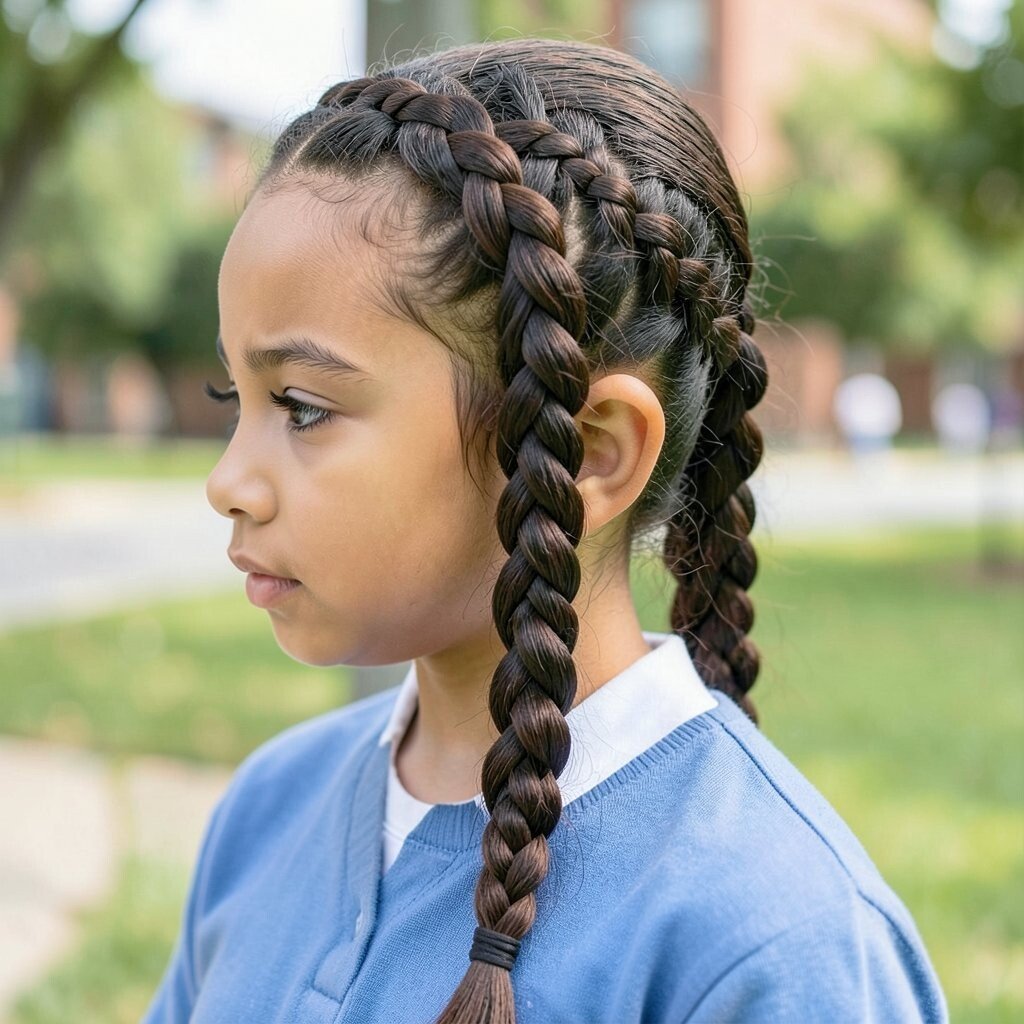
A side-swept braid feels playful and gives your hair direction, which is great on busy mornings. You’ll see it instantly because the braid sits like a glowing ribbon across your shoulder.
To make it last, braid a bit tighter at the roots and loosen the middle slightly for a fuller look. Then finish with a small elastic and a gentle tug on the outer strands so it looks trendy without needing extra styling time. If your hair is fine, use a tiny bit of mousse at the start so the braid doesn’t look flat by lunchtime.
For personalization, add a small ribbon tie or a barrette at the crown that matches your backpack color. This style is usually cost-friendly since it mainly needs basic elastics and maybe one accessory.
3. Curtain Bangs Without the Stress
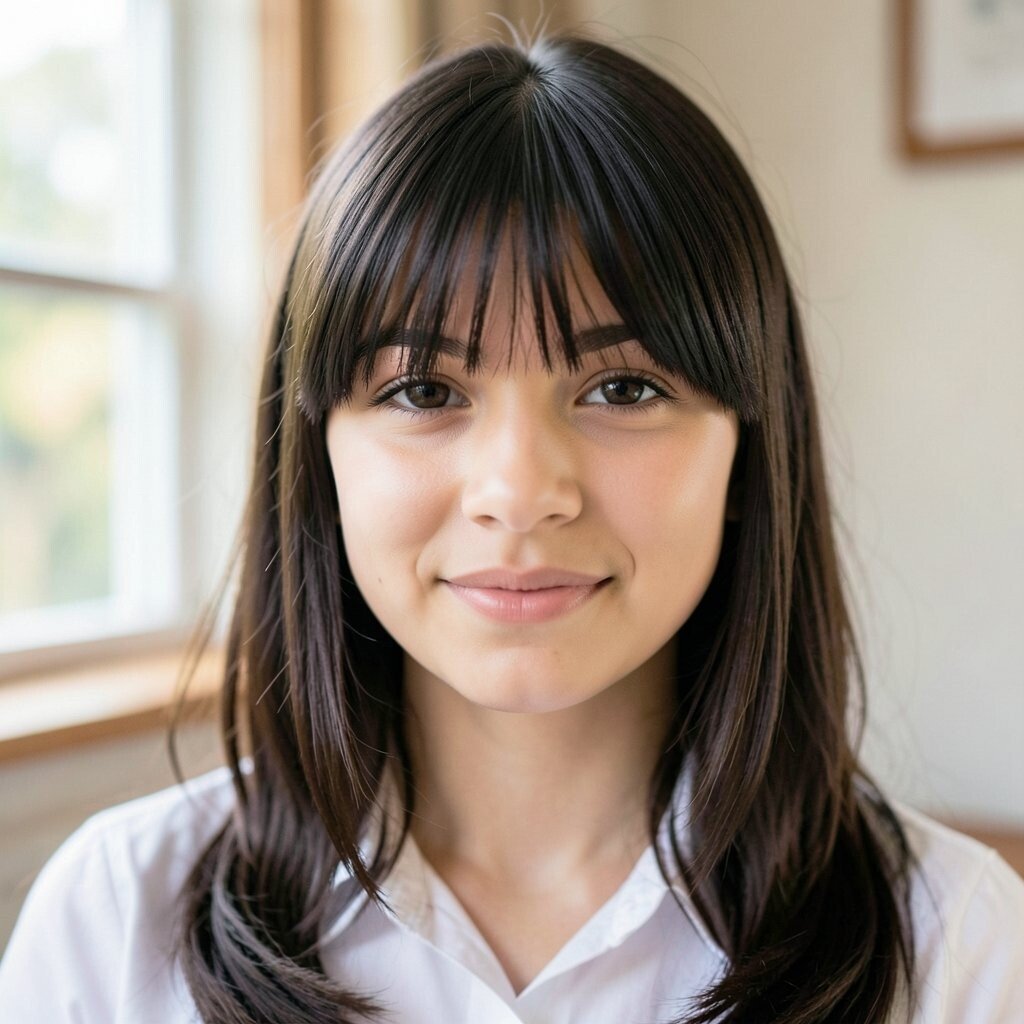
If you wear bangs or shorter layers, first-day hair can get tricky fast. Curtain bangs are a cute option because they frame your face on both sides like a soft curtain.
To keep them from separating, dry them with a brush while you aim airflow downward, then tuck the ends slightly to encourage shape. Use a dab of styling cream and warm it between your fingers, then press it into the ends so they fall smoothly. Add a tiny amount of hairspray only to the part line, because that’s where most frizz starts.
For uniqueness, try a slightly wider part than usual so the framing looks intentional. The best part is how low-cost it is, since you can often use products you already own.
4. Two-Speed Hair: Smooth Front, Soft Back
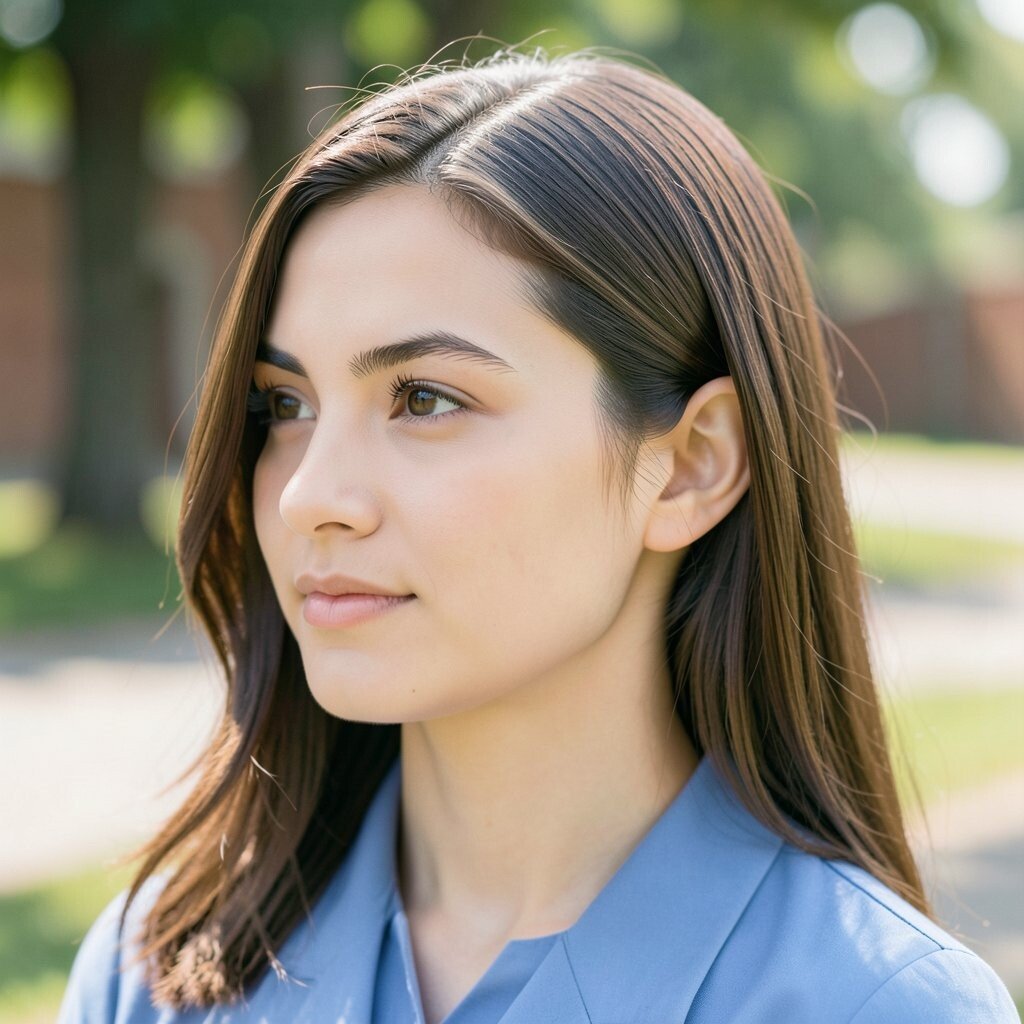
Not all first-day hairstyles need to be fully polished. A smooth front with a soft, airy back gives you that “put-together” look without feeling stiff.
Pull the front sections back into a half-up style, then leave the rest to move freely. Add a slight wave with a quick twist or a heatless method, and you’ll get a visual contrast that looks stylish in photos.
To make it practical, use bobby pins that match your hair color so they blend in like tiny helpers. If you want personalization, choose a half-up that’s higher for a bold look or lower for a sweeter vibe.
5. The Claw Clip That Looks Like a Plan
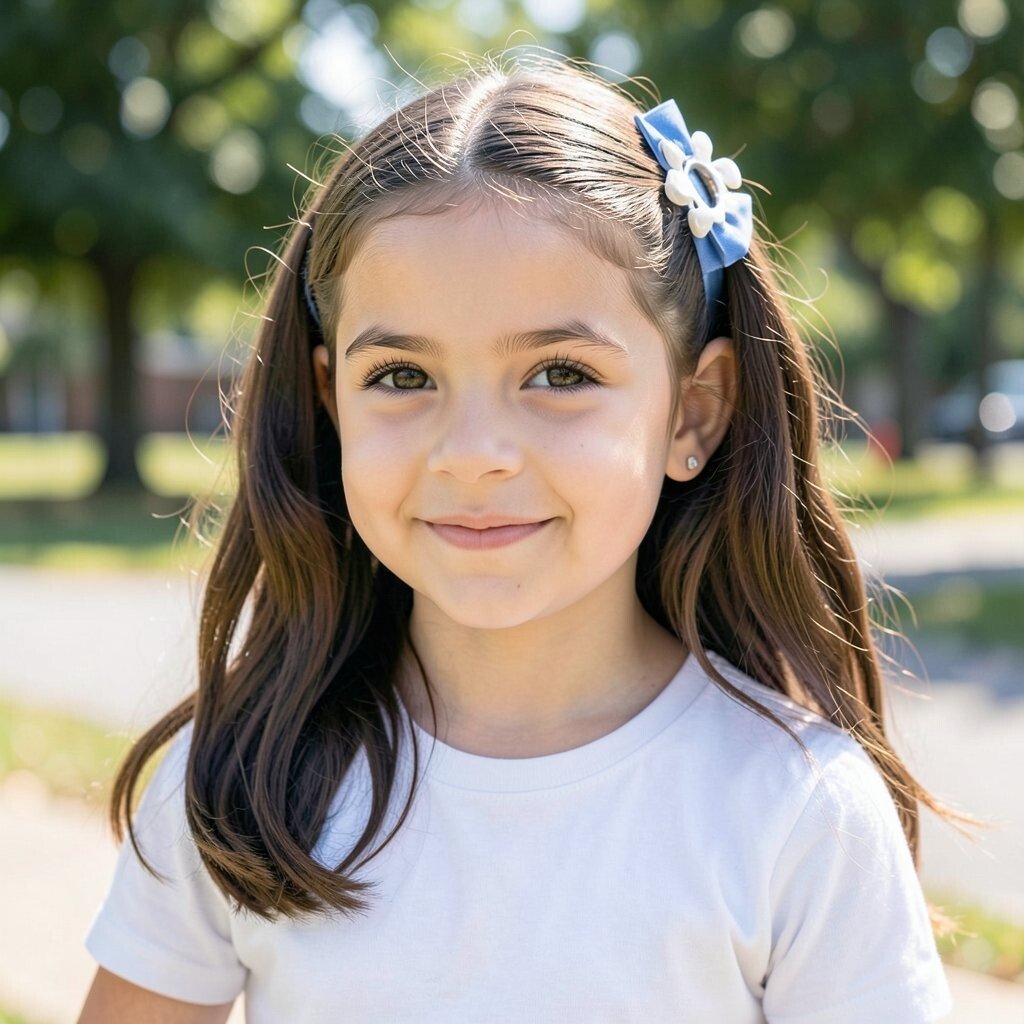
Claw clips are not just for lazy days, they can be your first-day confidence tool. When you gather the top and twist it slightly, the clip creates shape that shows up clearly in the mirror.
Use a medium hold clip for thick hair and a smaller clip for thinner hair, so the style stays secure. Keep a few loose strands near your face because that softness makes the look feel natural, not overly strict.
For uniqueness, try a half-twist before clipping, like you’re making a mini roll at the crown. Cost-wise, a decent claw clip can last a long time and usually costs less than one fancy salon visit.
6. Braided Headband for Instant Framing
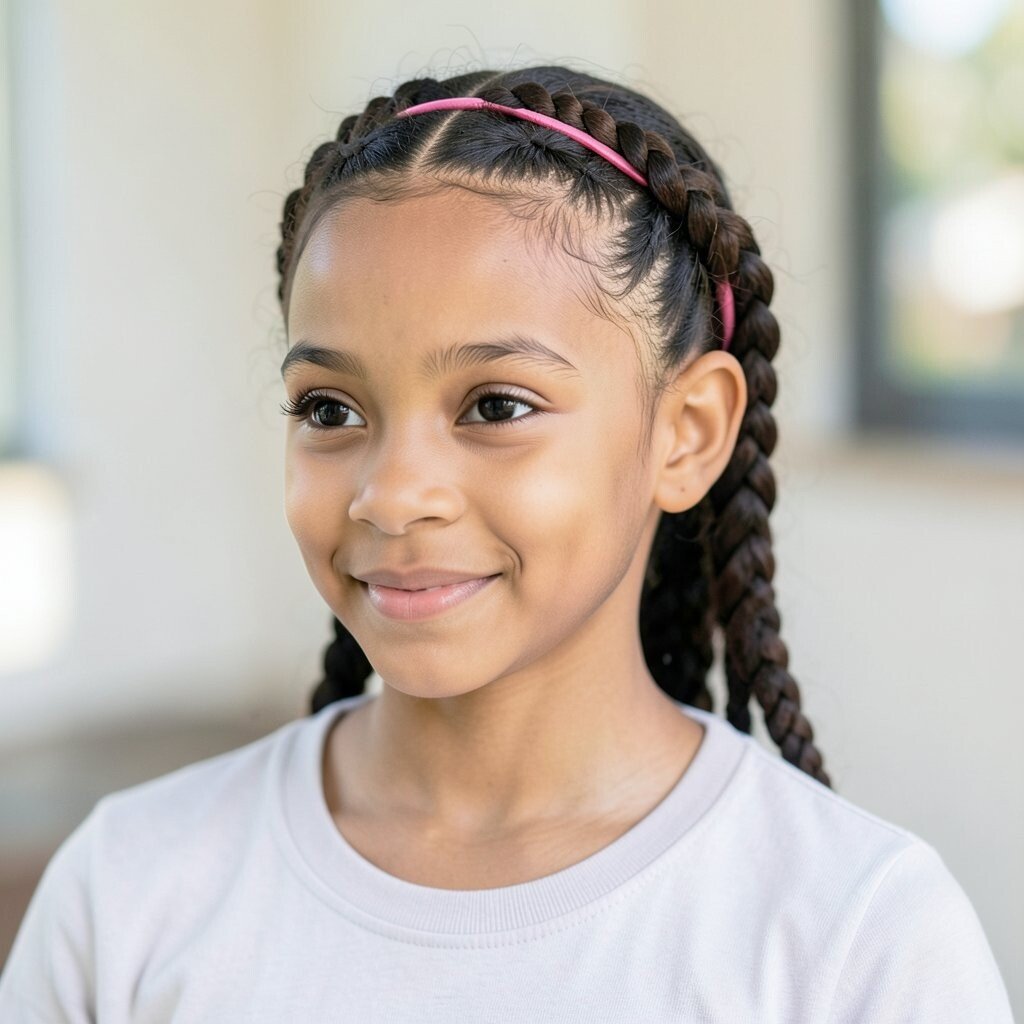
A braided headband is like wearing an invisible accessory that also keeps hair out of your face. You’ll notice how the braid forms a neat line across your forehead while the rest of your hair stays comfy.
Start by sectioning two small pieces near your temples, then braid each one and bring them toward the back. Pin them so the braid feels snug, and keep it light so it doesn’t pull when you turn your head.
For practical tips, secure the pins closer to the hairline so nothing slips during the school day. If you want a trendier twist, add a tiny braid near the top instead of only using the temple pieces.
This hairstyle is also easy to personalize, since you can pick braid thickness based on your hair volume and your comfort level.
7. The Sleek Low Bun With a Hidden Edge
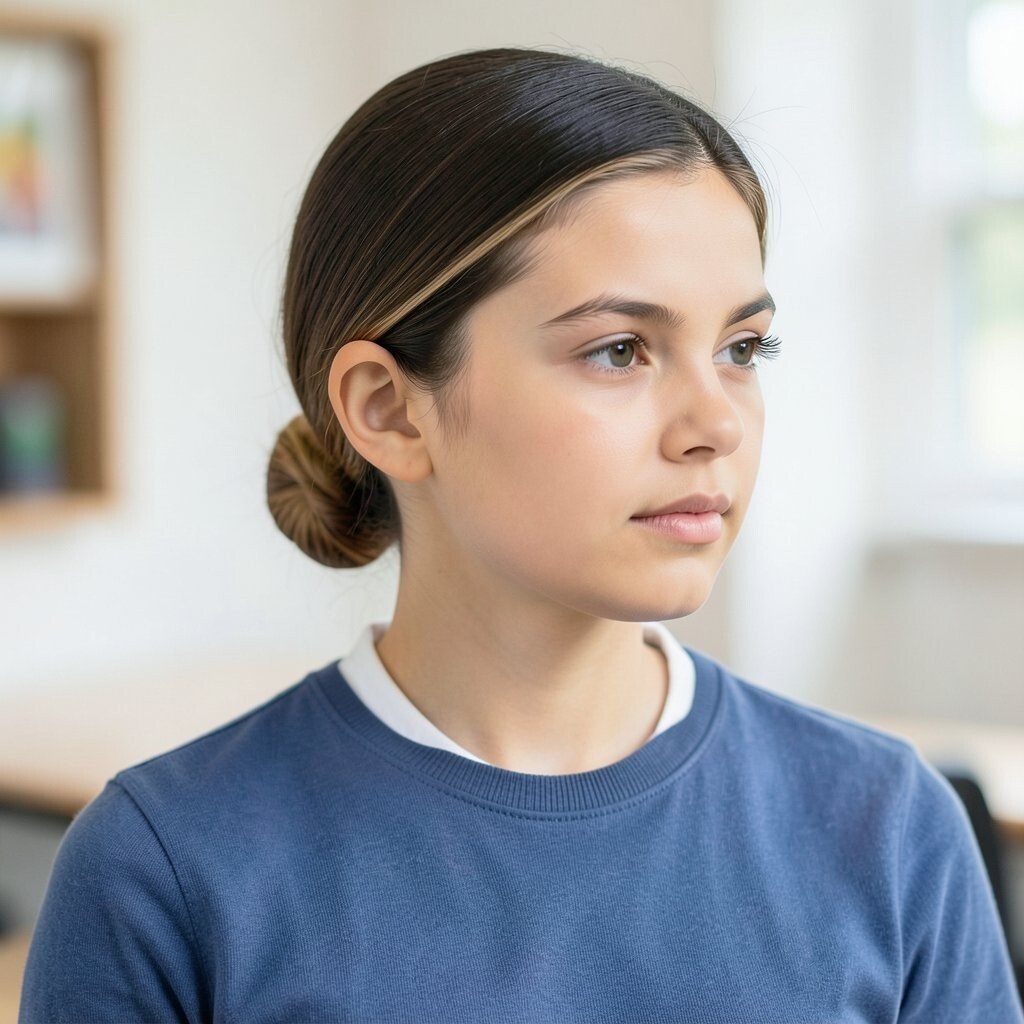
A low bun looks elegant, but it can also be surprisingly protective for long school days. The visual is clean and calm, like your hair is neatly tucked away from every hallway breeze.
To keep it from loosening, twist your hair in the direction you want the bun to sit, then secure with two pins in an X shape. Use a smoothing serum on the outer layer so flyaways settle and the bun looks polished in any lighting.
If your hair is wavy, you can still do this by lightly brushing and misting before you twist. For uniqueness, leave one thin strand wrapped around the bun with a pin so it looks intentional, not random.
Cost considerations are gentle here since you can reuse the same pins and hair ties with minimal product, making it a budget-friendly favorite.
8. High Half-Up with a Mini Bubble Ponytail
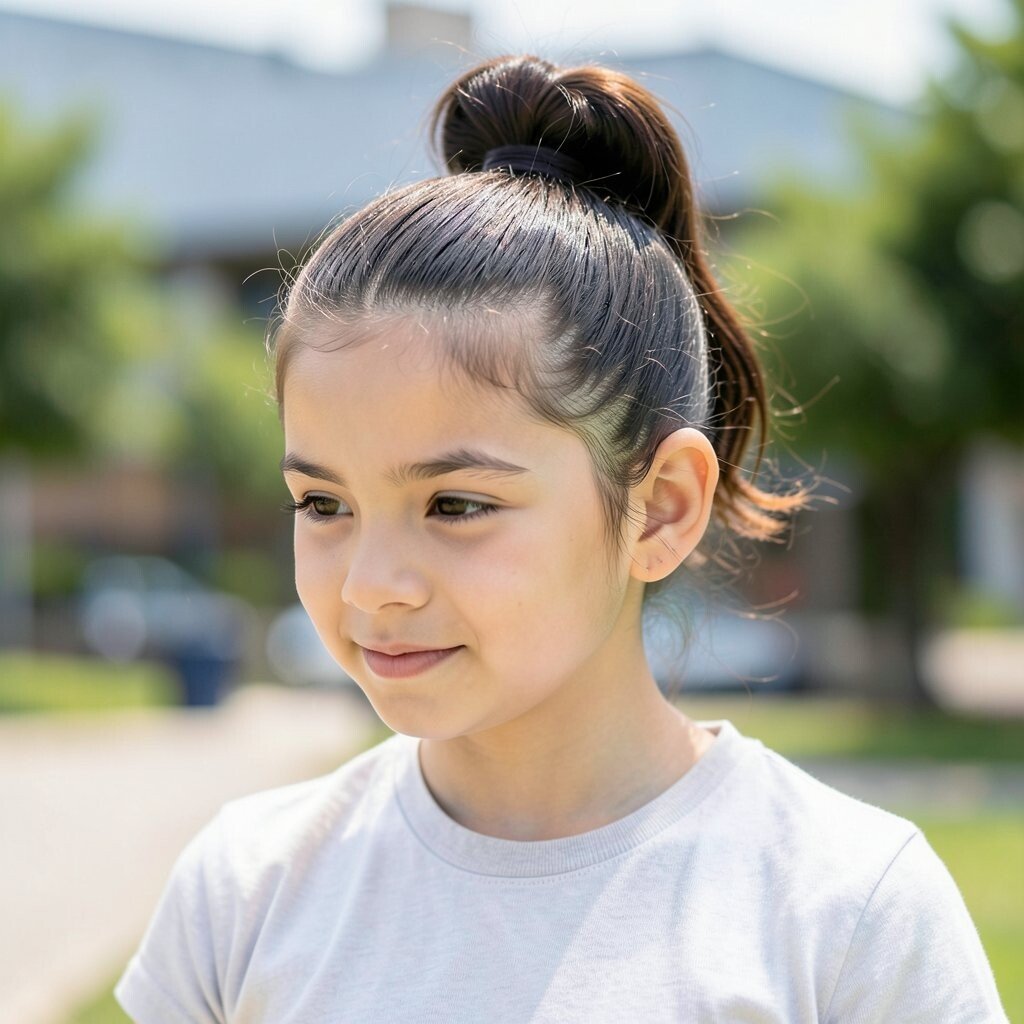
A high half-up style can make you feel instantly more awake, even if mornings are chaotic. The mini bubble ponytail adds a fun shape that stands out in selfies and photo class.
Section the top half, secure it with an elastic, then add more elastics down the ponytail at intervals. Gently pull each bubble outward so it looks full and rounded.
For practical tips, keep the bubbles small if your hair is thin and bigger if your hair is thick. Personalization is easy too, because you can use elastics that match your outfit or choose one colorful accent for a playful look.
This hairstyle is trending because it looks modern without needing a complicated tool, and it usually costs little beyond extra elastics.
9. The Messy Bun With Controlled Mess
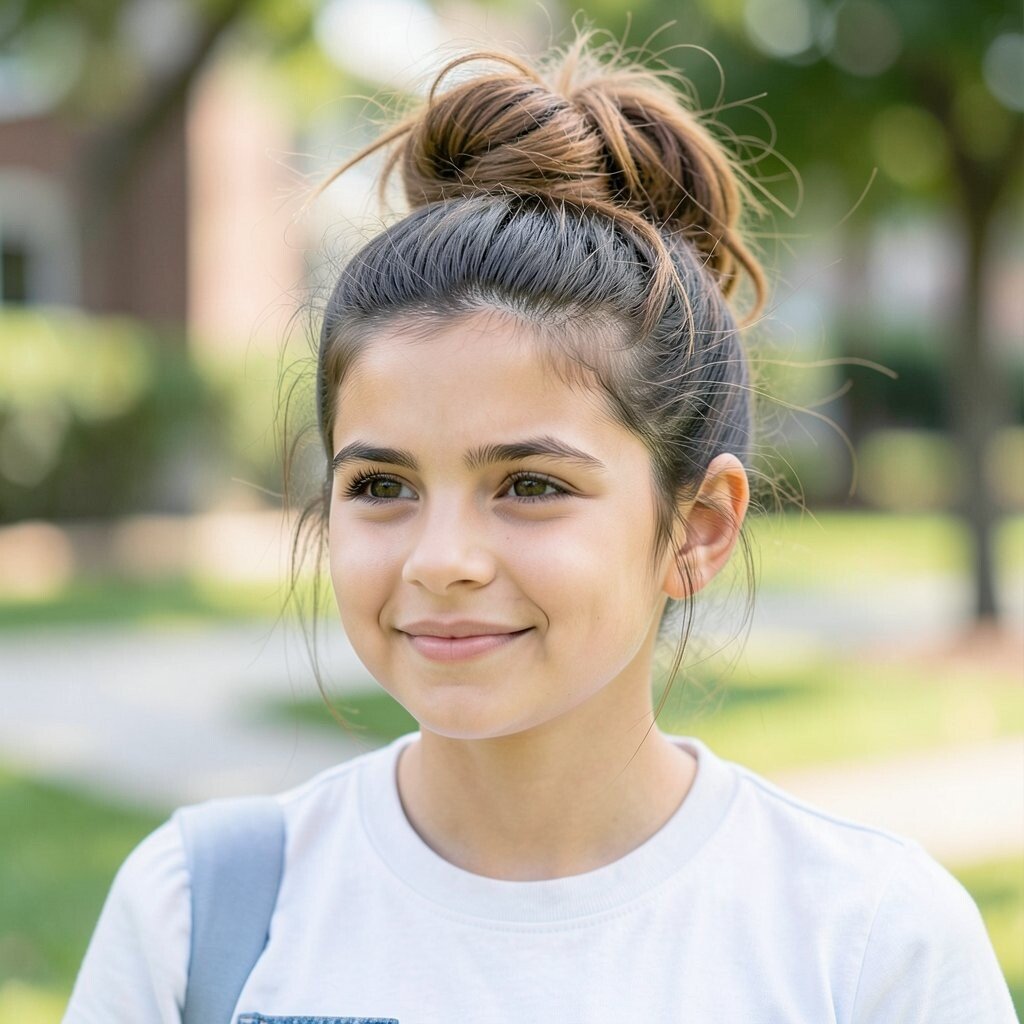
Messy buns are popular for a reason, because they look great even when you move. The secret is that it still needs structure, so it doesn’t become a tangled disaster.
Gather your hair loosely, twist it, and pin it in a way that keeps the bun anchored while leaving a few face-framing pieces free. Use dry shampoo or a little texturizing spray if your hair slips, and you’ll get grip that holds through the day.
For uniqueness, try a bun that sits slightly higher or one side, so it doesn’t look like every other messy bun. If you want personalization, match your loose pieces to your face shape by keeping them longer near the cheeks.
Cost-wise, texturizing spray is optional, and you can often achieve the same effect using products you already have.
10. Twisted Side Ponytail for Softer Volume
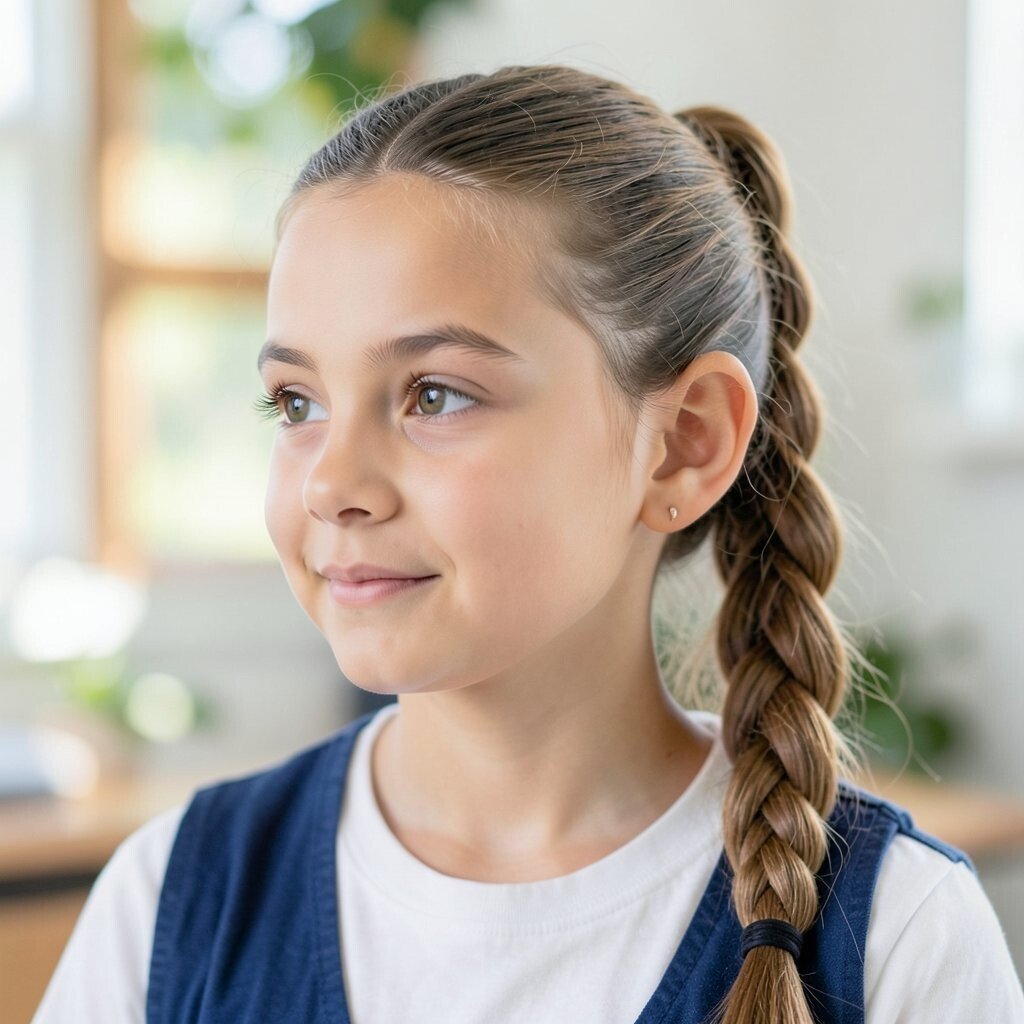
A twisted side ponytail gives you a different silhouette than a regular ponytail. You’ll see the twist immediately because it creates a braided-like rope effect without full braiding.
Start by brushing hair to one side, then split it into two sections. Twist each section toward the back and wrap them together, then secure with an elastic.
To make it last, pin the first part of the twist near the crown so it doesn’t unravel. Personalization can be as simple as adding a small clip at the twist point or leaving a couple of strands loose for a softer look.
Trends often favor rope twists right now, because they look polished but still feel light and easy. You can keep costs low by using only elastics and a couple of bobby pins.
11. Crown Braid for a Regal Look
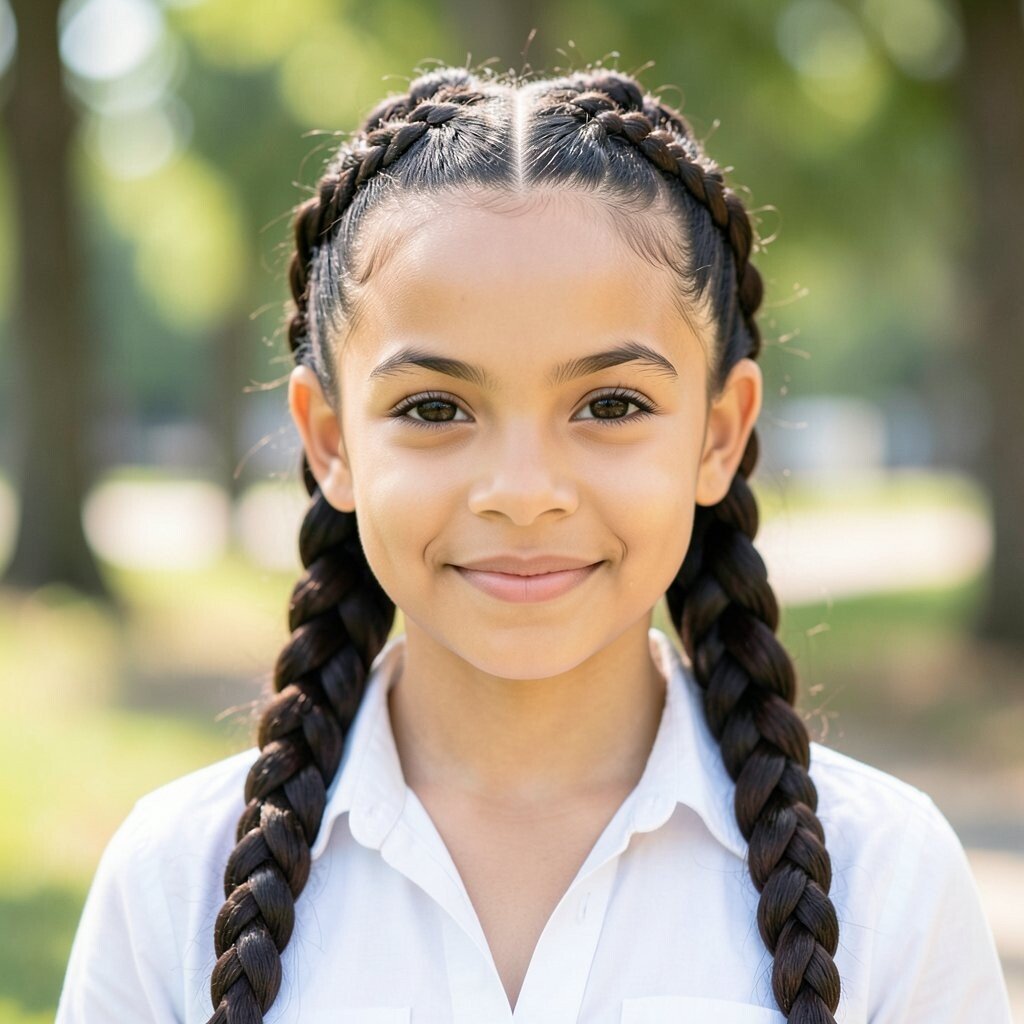
A crown braid feels special, like you stepped out of a storybook. It also has a practical advantage since it tucks hair close to your head, which reduces tangles.
To create the look, braid a section around the top of your head and connect the ends at the back. Keep the braid snug at the scalp for structure, then loosen it slightly for a softer, fuller shape.
For visual description, imagine a halo-like line that frames your forehead and temples. If your hair is shorter, use smaller braids and pin them tighter so the crown effect still shows.
Cost considerations are friendly because the braid mainly needs hair ties and pins, not extra gadgets. Personalization is where you shine, since you can choose a wider crown for bold style or a thinner one for a delicate vibe.
12. Fishtail-Inspired Mini Braids
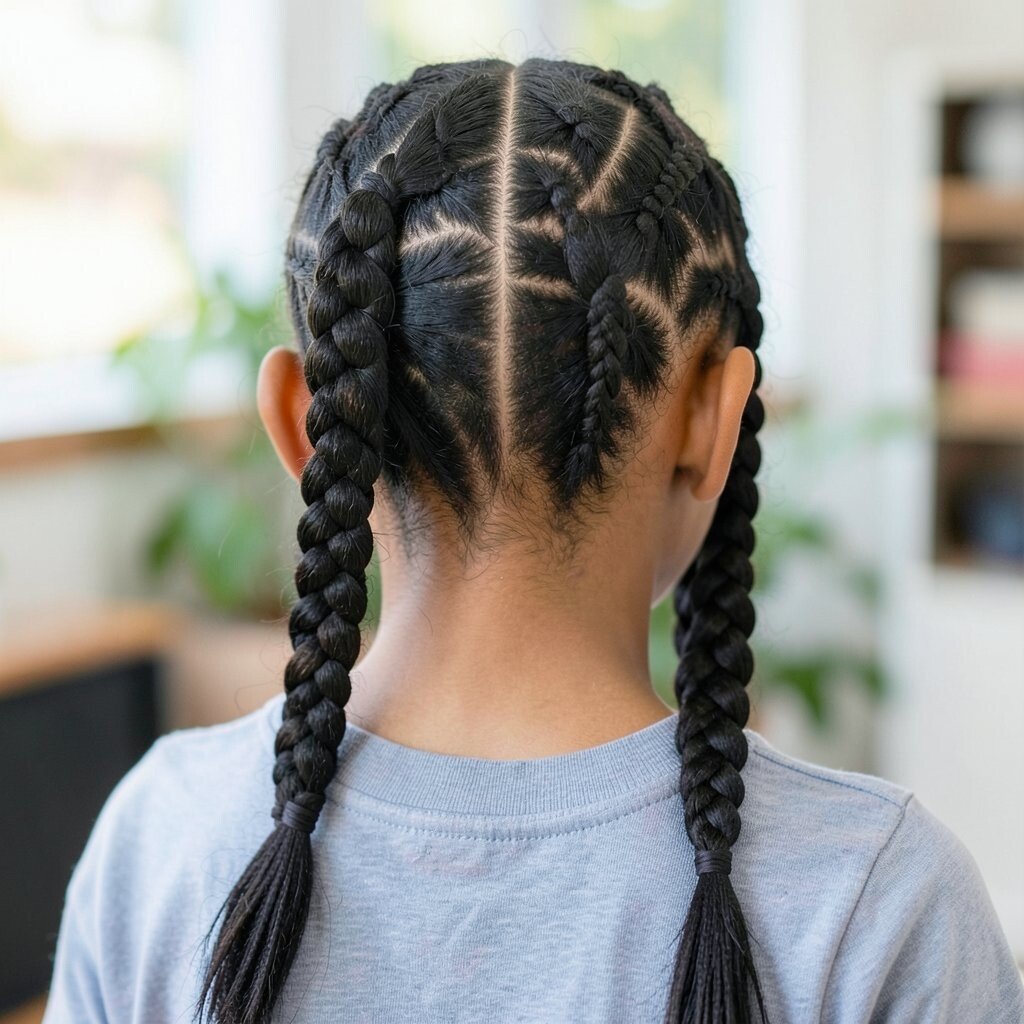
Mini braids are a great first-day choice because they’re cute and manageable. They also give your hair a “done” look even when you’re wearing it down.
Try small fishtail-inspired braids by splitting a section into two and crossing small outer pieces over. Secure each mini braid with a tiny elastic, then repeat along the front so the style looks intentional.
For practical tips, keep the outer pieces consistent in size so the pattern stays neat. If you want uniqueness, vary the number of mini braids, or add one thicker braid as a focal point.
This style can be trend-right because braided details are everywhere, from casual outfits to more dressed-up looks. It’s usually cost-friendly since you only need basic hair tools and a few small ties.
13. Straighten-Plus-Flip Ends for Quick Shine
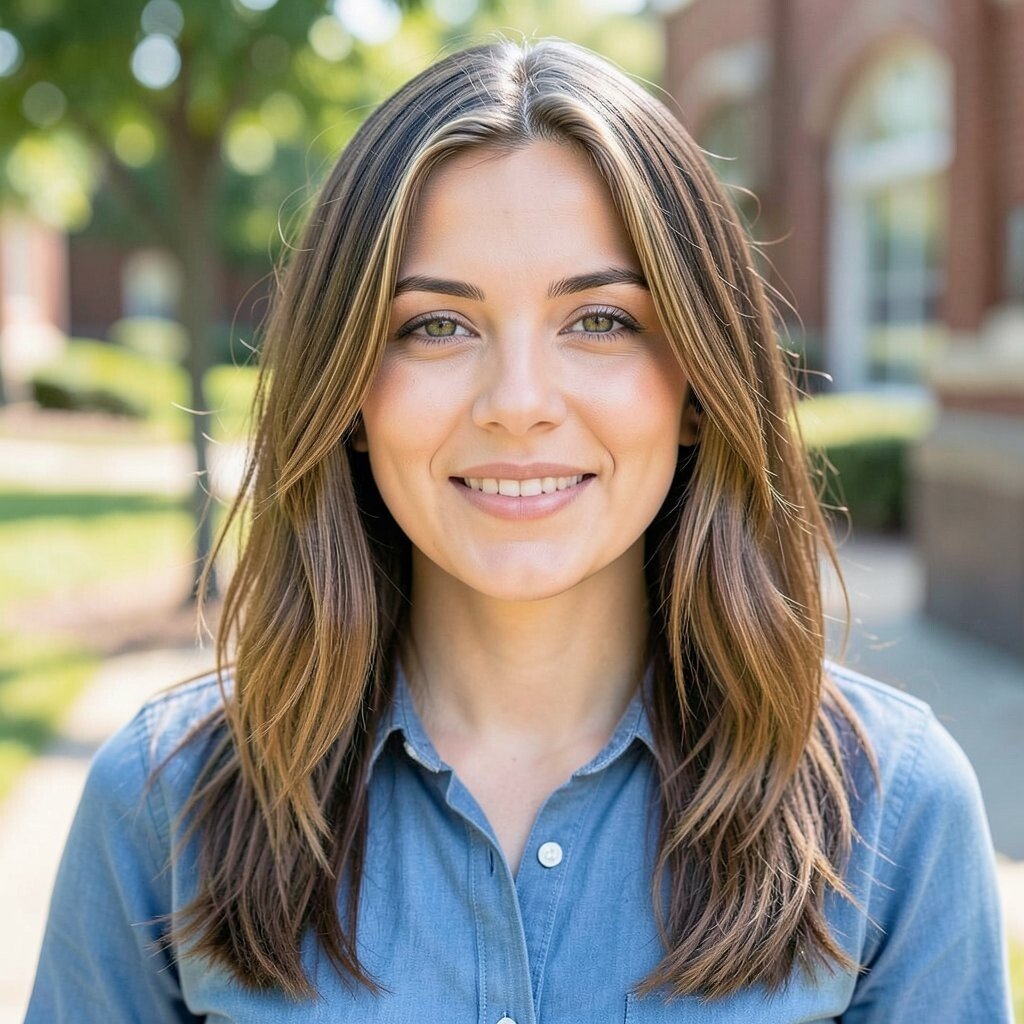
If your hair naturally straightens or you use heat tools, you can still make it look interesting without hours of work. A simple flip at the ends adds movement that looks great when you walk and turn your head.
After straightening, twist the ends slightly under and then back outward so they flip neatly. Use a shine spray or a drop of serum to reduce dryness, and you’ll see the difference right away.
For practical tips, apply heat protectant before any tool touches your hair, because healthy hair styles better. Personalization is easy too, since you can flip the ends under for a classic look or outward for a playful, bouncy vibe.
Cost considerations are mostly about product choices, but a small bottle of heat protectant often covers multiple days of styling.
14. The “Ready in Two Minutes” Accessory Lift
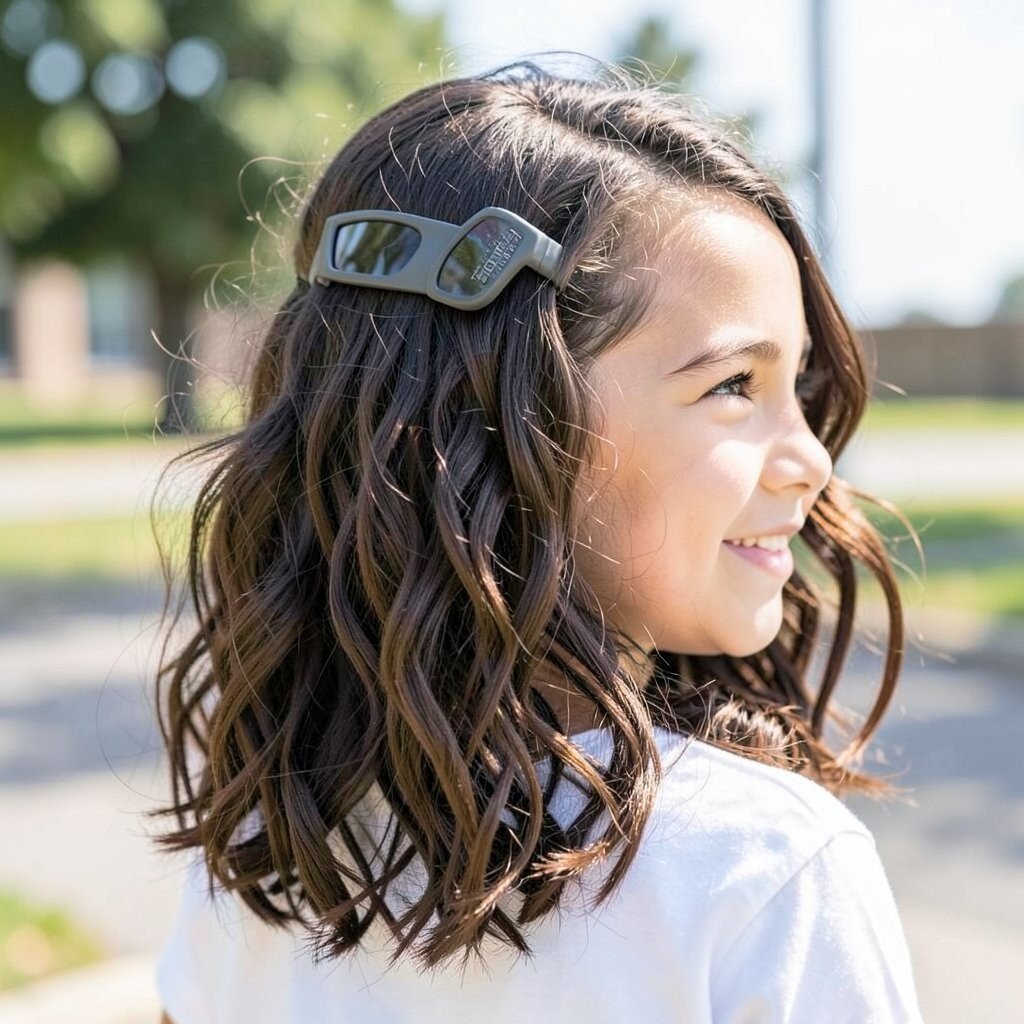
Sometimes the hairstyle isn’t the only thing that makes you feel ready. A simple accessory can lift the whole look in a way that feels effortless.
Choose one statement piece like a headband, a sparkly clip, or a scarf wrap, then build your hair around it. If you wear hair down, add a half-up twist and pin it just under the accessory so it looks balanced.
For visual description, think of your hair as the canvas and the accessory as the highlight. It’s unique because you can match it to your backpack, your outfit colors, or even your favorite hoodie.
This is practical for busy mornings because it saves time while still looking styled. Cost-wise, you can find affordable options, and investing in one good accessory can make many hairstyles feel new.