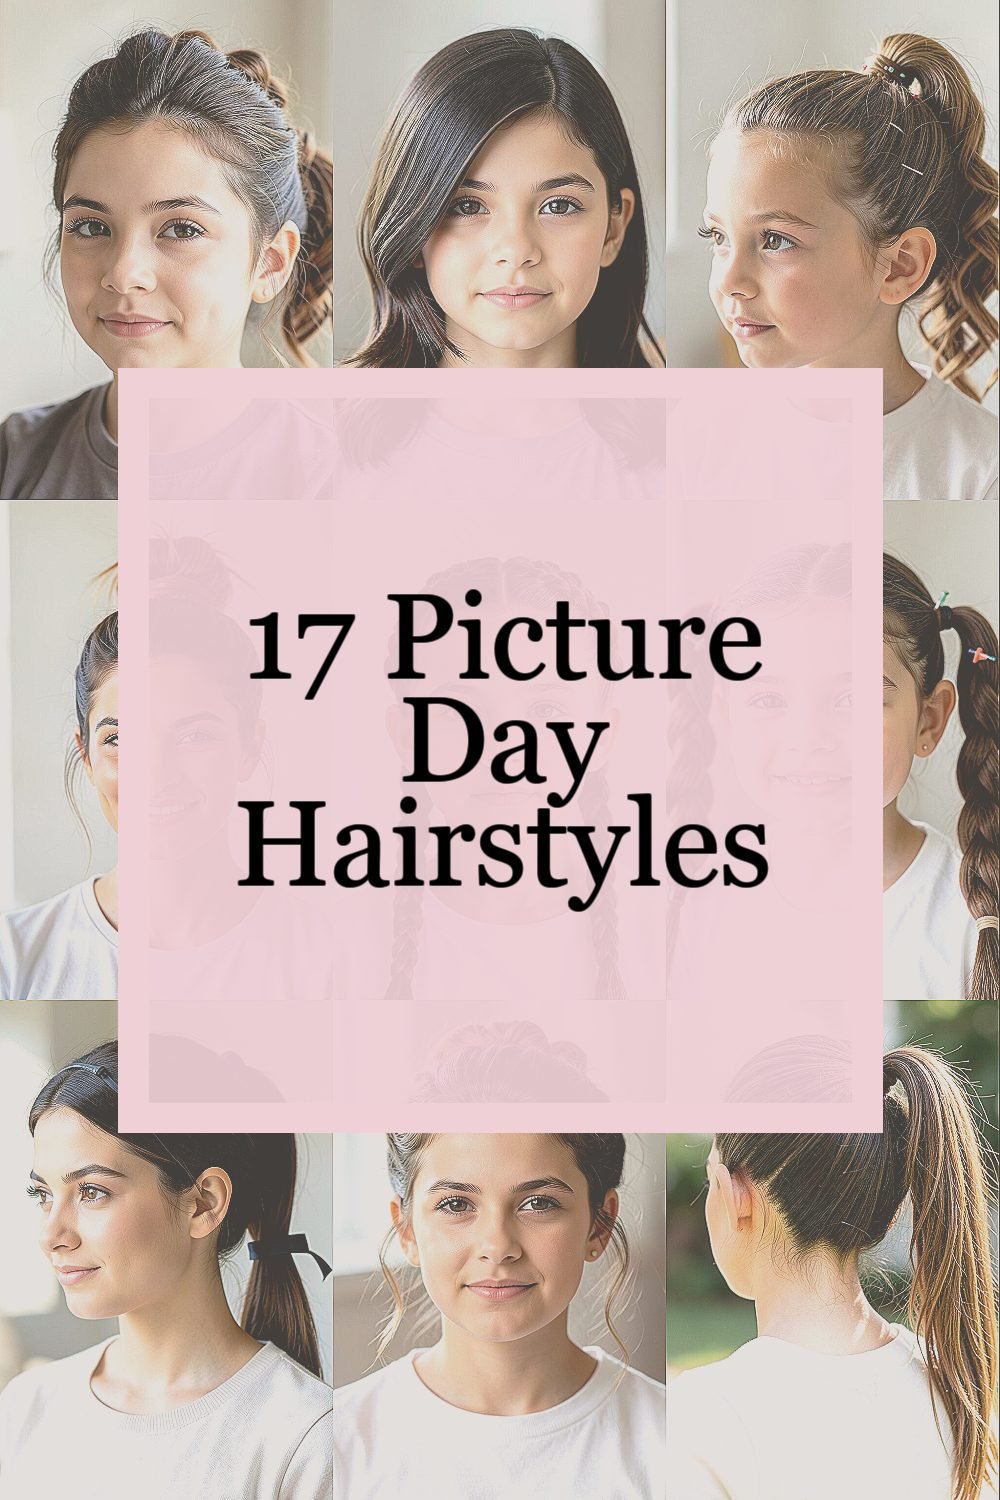
Picture day has a way of sneaking up fast, even when you feel unready. The good news is you can look polished without buying a whole new hair store.
From quick styles to smart tweaks, these looks are made for real mornings. You’ll get that “put-together” vibe using simple tools and a bit of creativity.
1. Half-Up Twist With Soft Volume

Start by parting your hair where you feel most comfortable, then gather the top half. Twist the section lightly and pin it so it sits a little above your crown.
This style makes your face look framed and tidy, which is perfect for photos. If you want more lift, gently tease the crown for a soft, not-too-big shape.
For personalization, try a twist on one side only for a cute asymmetrical look. Keep flyaways calm with a tiny bit of styling cream or a dab of hair gel on your fingertips.
2. Sleek Side-Part With Tucked Ends

Create a deep side part and brush your hair smooth. Tuck one side behind your ear and guide the ends under at the nape.
This look feels classy and clean, especially on camera. It also helps hair stay in place through the whole school day.
To keep it budget-friendly, use whatever pins you already have and add a light mist of hairspray only where needed. If your hair is thick, use a little conditioner on the brush for an easier, glossier finish.
3. Bubble Ponytail With Tiny Elastics

Gather your hair into a ponytail at the height you like, then secure it with an elastic. Add more elastics down the ponytail at even spaces to create rounded “bubbles.”
When the bubbles catch light, they look playful and full on pictures. It’s also a great way to keep medium to long hair from falling forward.
Use thin elastics if you want a neat look, or slightly thicker ones for a bolder style. For uniqueness, swap one bubble section to be slightly higher, so it creates a gentle diagonal line.
4. Messy Bun With a Polished Front

Pull your hair into a high or mid bun, then loosen a few strands near the hairline. Smooth the front with a comb so it still looks neat in photos.
This mix of casual and tidy looks trendy right now and works on many hair types. You’ll get volume at the back without needing perfect pinning.
To keep costs low, use a hair tie plus a few bobby pins you already own. If your bun feels too flat, wrap a small section around the base and pin it securely.
5. Braided Crown in Two Simple Braids

Separate your hair into two sections and braid each one from the front to the back. Bring the braids around like a crown and pin them in place.
The braided crown makes your whole look feel special while still being practical. It’s great for keeping hair off your face and staying comfortable during class.
For personalization, braid smaller sections near the temples so your face gets extra framing. If your braids look too tight, gently tug them to widen and soften the shape.
6. Twisted Pigtails With Mini Pins

Part your hair down the middle and create two pigtails. Twist each pigtail instead of leaving it straight, then wrap the twist around itself and secure with small pins.
In photos, the twists add texture and make your style stand out. It also reduces tangles because the hair is held more tightly.
Try using matching elastics for a clean, coordinated look. If your hair slips, add a light spray of water first so the twists hold better.
7. Classic Low Ponytail With a Ribbon Flip

Make a low ponytail and smooth the top with a brush. Wrap a ribbon, scrunchie, or scarf around the base and let a short tail flip to one side.
This style is simple but still looks put-together in school photos. The ribbon detail adds uniqueness without needing fancy accessories.
For cost considerations, you can cut a clean strip from an old ribbon or use a fabric hair tie. Choose a color that matches your outfit, or pick a neutral so it works with anything.
If your ends look thin, lightly curl them with a straightener or wrap them on a pen for quick waves before you tie the ponytail.
8. Soft Half-Up Scrunch With Texture Spray

Spritz a little texture spray or leave-in mist through your hair so it grips better. Gather the front section, scrunch it upward, and secure it with a clip or elastic.
This gives a modern, airy look that still reads “styled” in pictures. It’s especially flattering if your hair tends to fall flat by afternoon.
For personalization, add a small claw clip for a vintage vibe. If you want a smoother look, brush the sides lightly instead of leaving everything scrunched.
9. High Ponytail With a Wrapped Base Knot

Brush your hair into a high ponytail and secure it tightly. Take a small piece from the ponytail, wrap it around the elastic, and pin it so the base knot looks neat.
A high ponytail is a timeless picture-day favorite because it shows your face clearly. The wrapped base looks extra polished even when you’re keeping things affordable.
To save money, use a spare bobby pin stash and a small hair piece you already have. For uniqueness, wrap the hair at a slight angle so the knot leans instead of sitting perfectly centered.
If your hair is frizzy, smooth the outer layer with a little hair oil on your palms and press it over the top.
10. Waterfall Side Braid With One Clip Hold

Create a side part and start a loose braid near your temple. As you braid, drop a few small sections so they hang like “waterfall” strands, then secure the braid with one small clip.
This style looks intricate, but it can still be done with simple steps. The hanging strands add movement that looks great in photos.
For practical tips, keep the braid slightly looser so it looks soft rather than tight. Use a light hairspray on the braid to help it hold without getting crunchy.
11. Slick Mini Buns at the Temples

Part your hair slightly off-center, then take two small sections near your temples. Twist each section and pin into tiny buns so they sit close to your head.
These mini buns give a playful, trend-forward look that feels different from the usual styles. They’re also helpful if you want your hair out of your face while still keeping the rest down.
To keep it budget-friendly, use bobby pins and a dab of gel, then press the buns in place firmly. Personalize by making the buns higher for a lifted look or lower for a softer feel.
If your hair is short, use pin curls or small twists instead of trying to create full buns.
12. Rope Braid Ponytail for Long Hair

Gather your hair into a ponytail, then split it into two sections. Twist each side in the same direction, then cross them over each other to form a rope braid.
The rope braid looks smooth and high-end, especially when it catches light. It also helps long hair stay neat because the twist pattern holds well.
For cost considerations, skip fancy braid tools and just use your favorite elastic. If you want extra fullness, gently pull on the braid edges to widen it slightly.
13. Classic French Twist With a Soft Shine

Brush hair back and gather it at the nape. Twist the hair upward into a bun-like shape, then secure it with pins as you go.
A French twist makes you look instantly polished for picture day. It also keeps hair fully off your neck, which feels great on warm mornings.
To personalize, leave one thin strand to curl forward near the face. If you have flyaways, smooth them with a tiny amount of serum and lightly press them down.
For practical help, practice once at home using a few extra pins so you know where the best hold points are.
14. Side Part With Curtain Waves Using Heatless Tools

Create a side part and section your hair into two parts. Make gentle waves using heatless methods like a headband wrap or overnight twists, then let it fall into place.
Curtain waves frame your face and give you a soft, photo-ready look without stress. They also match current trends because they look natural and move easily.
To keep costs low, use items you already have, like a stretch headband or small fabric ties. Personalize by adjusting the wave size, making it tighter for a fresh look or looser for a relaxed vibe.
15. Braided Half-Up With a Scarf Knot

Braid a small section from each side near the temples, then join them at the back of your head. Tie a scarf or ribbon into a knot at the point where the braids meet.
This style blends classic braids with a fun accessory that stands out in pictures. It’s also practical because the front stays controlled all day.
Try a scarf color that matches your outfit for a pulled-together feel. If you want uniqueness, tie the knot slightly off-center and let one scarf tail fall forward for a cute detail.
16. Curly Puff With a Headband Pinning Trick

For curly or coily hair, gather the hair into a puff and secure it with an elastic. Place a headband over the puff, then tuck a few bobby pins under the headband to hold stray curls.
This look celebrates your natural texture while still looking tidy for photos. It’s a great option when you want volume without straightening or heavy styling.
Use a stretchy headband you can find easily, and keep your pins color-close to your hair for a clean finish. Personalize by positioning the puff higher for a bold look or lower for a softer, everyday feel.
If your curls need extra definition, scrunch in a little leave-in conditioner before you secure the puff.
17. Straight Hair With a Micro-Flip and Sleek Finish

Brush your hair smooth and apply a light heat protectant if you use styling tools. Take small sections near the ends and do a tiny flip inward so the hair curves gently toward your face.
The micro-flip adds just enough shape to look stylish in close-up photos. It also helps your hair look finished without requiring complex braids or buns.
For cost considerations, you can create the same effect with a flat brush motion even without strong heat. Personalize by flipping the ends out instead for a more playful vibe that still looks neat.
If you’re dealing with frizz, use a small amount of lightweight oil on the outer layer and avoid over-applying so it doesn’t look greasy.