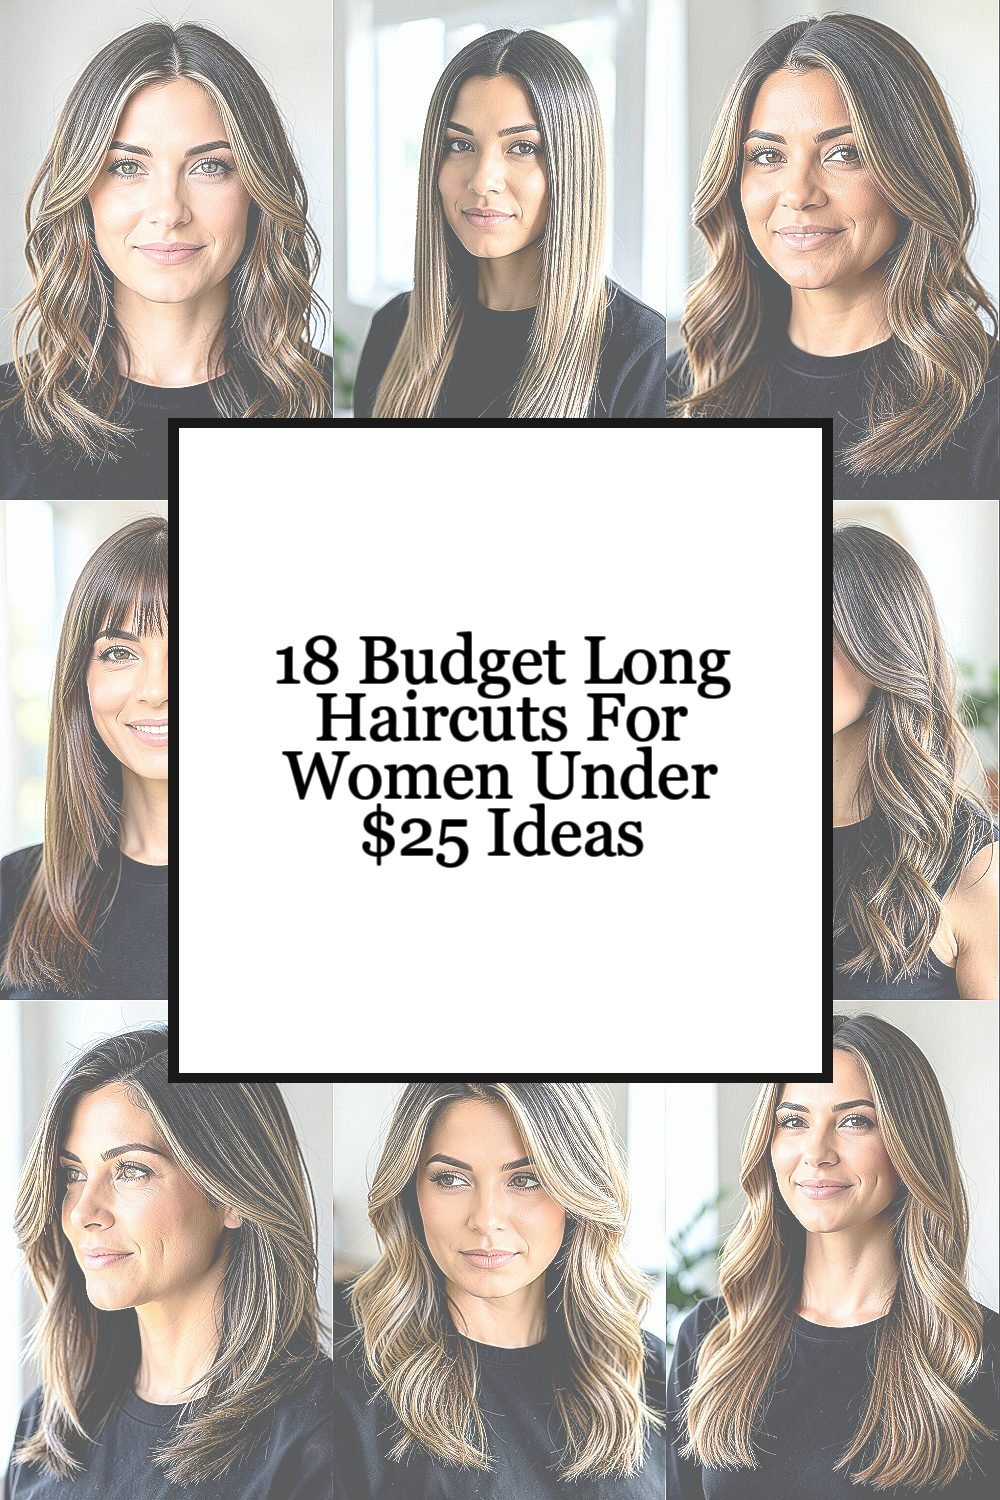
Your long hair can look brand new without emptying your wallet. Small changes can make a big difference in how your hair feels and how you feel in it.
These ideas focus on smart cuts, easy upkeep, and styles that match real life. You’ll find fresh looks you can personalize fast, using tools you already have or can borrow.
1. Face-Framing Layers With a Quick Trim

Start by sectioning your hair into neat halves and pulling the top forward. Snip small layers around your face so they land around cheekbone or jaw height.
Those soft pieces give instant shape, especially if your hair feels heavy or flat. Keep the ends slightly blunt so your cut looks clean even between washes.
For a budget-friendly result, use hair scissors and avoid deep thinning. You can personalize by making the front pieces longer for a subtle “grown-out” vibe.
2. Long Straight Cut With a Blunt End

Brush your hair smooth, then cut across the ends evenly for a blunt finish. If your hair naturally grows straight, this style will look sharp right away.
A blunt end makes hair look thicker and helps ends stay tidy longer. It also gives a modern feel that’s popular in everyday street styles.
3. U-Shaped Trim for Bounce at the Ends

Ask for or DIY a gentle “U” shape by keeping the center slightly longer. This makes the ends curve naturally when you wear your hair down.
You get better movement without losing length, which is great if you want volume near the bottom. It’s also an easy cut to maintain since the shape still looks good as hair grows.
To personalize, make the U subtle for a calm look or more curved for drama. If your ends split, focus your snips on damaged tips first.
Use a comb to guide your scissors and go slowly so you don’t remove too much at once. A light touch now can save money later because you won’t need frequent fixes.
4. Curtain Bangs Over Long Hair

Part your hair down the middle and cut soft bangs that blend into the layers. Keep them long enough to frame your cheeks, like curtains that move when you turn your head.
Even without heavy styling, curtain bangs can make your face look brighter and more balanced. They’re also a current trend that shows up everywhere because they flatter many hair types.
5. Long Hair With V-Cut for Length That Pops

Create a V shape by cutting the front pieces slightly shorter than the back. The result keeps your overall length but adds lift at the front.
This style looks especially good when you wear hair half-up because the front becomes the focus. It also hides thin areas near the ends by adding structure.
Personalize by choosing how deep the V goes. If your hair is fine, a softer V will look more natural and keep edges from feeling too sharp.
6. Classic Shaggy Long Layers on a Budget

Long shag layers can be done with a simple strategy, using small snips at different heights. Leave the top a little longer so you can create movement without losing too much weight.
Shaggy cuts make hair look fuller because layers create natural texture. They also help you style faster, since the shape does some of the work for you.
To keep it budget-friendly, avoid over-cutting and stick to gradual adjustments. Use a mirror and take your time, especially around the crown.
For personalization, add more face layers if you want extra framing. If you wear your hair in waves, this cut will flatter that texture right away.
7. Side-Swept Length With One Long Layer

Sweep hair to one side and cut a long, angled layer that falls across your shoulder. The layer should start near mid-length and blend as it moves down.
This idea is unique because it changes your look based on how you part your hair. It’s also practical since you can tuck one side back and still look styled.
Try trimming only a small section at first, then check the overall balance. Personalize by choosing how dramatic the angle is.
Because you’re cutting one main layer, it’s easier to manage for self-cuts. That means fewer mistakes and less money spent on corrections.
8. Blended Layers for Thick Hair That Feels Lighter

If your hair feels bulky, blended layers can remove weight without making it look shorter. Keep layers long and focus on internal shaping for a smooth fall.
You’ll notice less heaviness around the ends and more natural swing when you walk. This is a budget-friendly way to improve comfort and reduce frizz caused by thick buildup.
9. Long Hair With Soft “Chin-to-Collarbone” Gradual Pieces

Take the shortest pieces to around chin or collarbone height, then blend down to the rest. This creates a gentle gradient that looks polished even when hair is straight.
Gradual pieces frame your face and make your hair look styled. The blend also helps curls and waves look more intentional instead of random.
For personalization, keep the shortest pieces closer to the cheek for a subtle look. If you want more glam, let them reach the jawline and add soft bend at the ends.
Cost-wise, you can often manage upkeep with small trims every so often rather than major fixes. Using quality scissors helps your cut look clean and reduces the need for rework.
10. Long One-Length With a Micro-Trim Refresh

Sometimes the best budget move is a tiny refresh that removes only the tired ends. Take off just a small amount while keeping the whole cut one-length.
This keeps your hair looking neat and helps prevent split ends from traveling upward. It’s practical because you can do it slowly and safely at home with good lighting.
11. Long Layers Paired With a Simple Middle Part

A middle part is flattering and helps layers show their shape. After cutting, aim for layers that start around cheek level and soften down into the ends.
This combo looks modern and clean, especially with smooth blowouts or natural air-dry texture. The middle part also makes your hair feel more balanced and intentional.
Personalize by keeping the top layers longer if you want extra length around the face. If your hair is curly, let the layers match your curl pattern so you don’t fight the shape.
For cost considerations, focus on snipping damaged ends first. Small improvements can keep your hair looking fresh longer between salon visits.
12. Long Hair With a Slimming Internal Cut

To reduce bulk, remove weight inside the hair while keeping the outside surface smooth. You can do this by making careful, light snips in the mid layers rather than at the top.
This style is helpful if your hair is thick and heavy, because it makes everything easier to manage. It also lets your ends lay better, which reduces frizz and tangles.
13. Long Layers With Feathered Ends for Airy Movement

Feathered ends work by cutting lightly so the ends separate and move. You can keep the top longer and shape the bottom for a light, breezy finish.
Your hair will look softer and more dimensional, especially with slight waves. This is a unique option if you want movement but don’t want short layers all over.
Try personalizing the feathering by choosing how close it starts to the mid-length. If you want a natural look, begin feathering lower so it blends smoothly.
Budget-wise, you can keep maintenance easy by touching up only the ends. That means fewer trimming appointments and less spending over time.
14. Long Hair With a Subtle Burn-Down Layer for Waves

If you wear waves often, build a cut that supports them instead of flattening them. Add a gentle “burn-down” layer so your hair has a natural path as it dries.
This gives curls and waves more bounce and helps reduce the look of a heavy triangle shape. It’s practical too, because the style needs less effort to look good.
15. Long Hair With a Soft Collarbone-Length Blend in Front

Cut the front pieces to land near collarbone height, then blend them into the longer back. The goal is a smooth front that catches light when you move.
This makes your hair look styled even when you wear it up quickly. It also works well if you want a noticeable change without losing too much length.
Personalize by adjusting the front length based on your neck and collarbone area. Shorter front pieces look bolder, while longer front pieces look more relaxed.
To keep it cost-friendly, consider a small trim first and see how it grows out. Gradual changes are kinder to your hair and easier on your budget.
16. Long Hair With a Slightly Rounded Back

Create a soft round shape by cutting the back ends a touch shorter in the center than the sides. This helps the hair curve naturally when it falls over your shoulders.
The rounded back feels playful and unique, and it flatters many face shapes. It also helps ends sit neatly when you wear your hair down, which reduces daily fussing.
17. Long Hair With Minimal Layering for Straight or Sleek Looks

If you love straight hair, keep layers minimal and focus on a clean shape. Trim the ends evenly and add only a very small amount of internal shaping if needed.
You’ll get a sleek look that still feels lively, since even small adjustments reduce heaviness. This approach is practical because it’s easier to maintain and less likely to surprise you.
Personalize with the part and finish, like a sleek middle part or soft side part. Cost considerations are simple here since you’re doing light trimming rather than re-cutting the whole style.
18. Long Hair With a Half-Up-Friendly Layer Placement

Plan layers so they look great when you pull hair back, especially at the crown and around the front. Trim pieces to sit smoothly at the height where you usually clip or tie.
This style is uniquely practical because it upgrades your everyday routine. When you half-up your hair, the shape frames your face and makes the rest of your length look even more intentional.
For personalization, choose whether you want the front to be wispy or more structured. If you wear braids, pick layer lengths that prevent flyaways from popping out.
To stay under a budget, do small maintenance trims and avoid big overhauls. Keeping your cut aligned with how you style daily means you’ll spend less time and money chasing the perfect look.