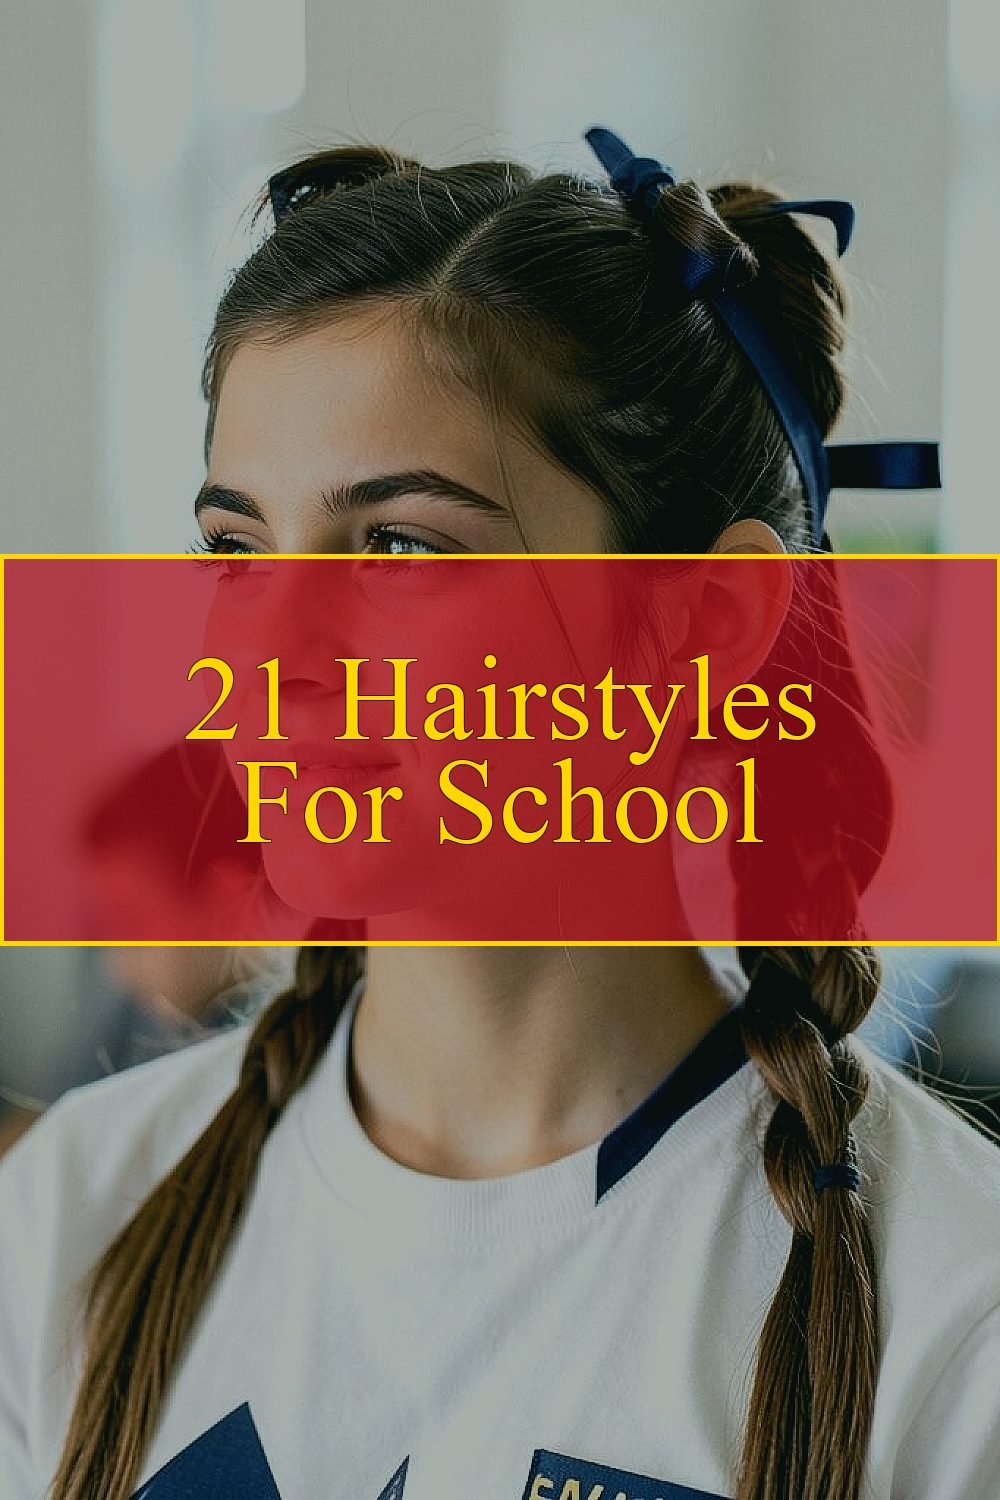
Morning chaos can still end with hair you love. Pick a style that looks special without draining your wallet.
1. The Half-Up Ribbon Twist
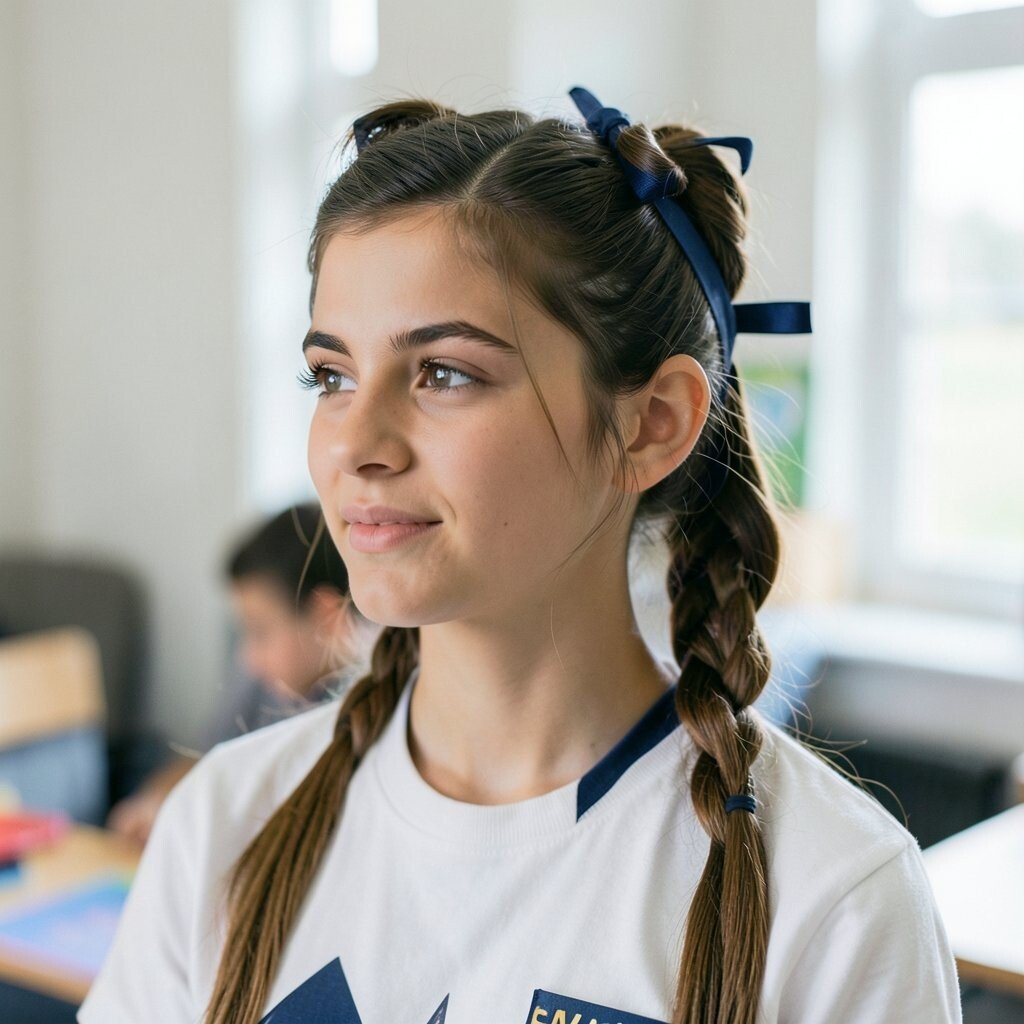
Pull the top section of hair up and twist it gently, then secure it with a simple elastic. Add a small ribbon, scarf tie, or even a strip from an old t-shirt for a soft pop of color.
This style looks neat from every angle, with loose ends that frame your face. It’s quick, beginner-friendly, and keeps hair out of your eyes during the school day. For extra polish, smooth flyaways with a dab of leave-in conditioner or gel on your fingertips.
2. Bubble Pony With Scrunch Detail
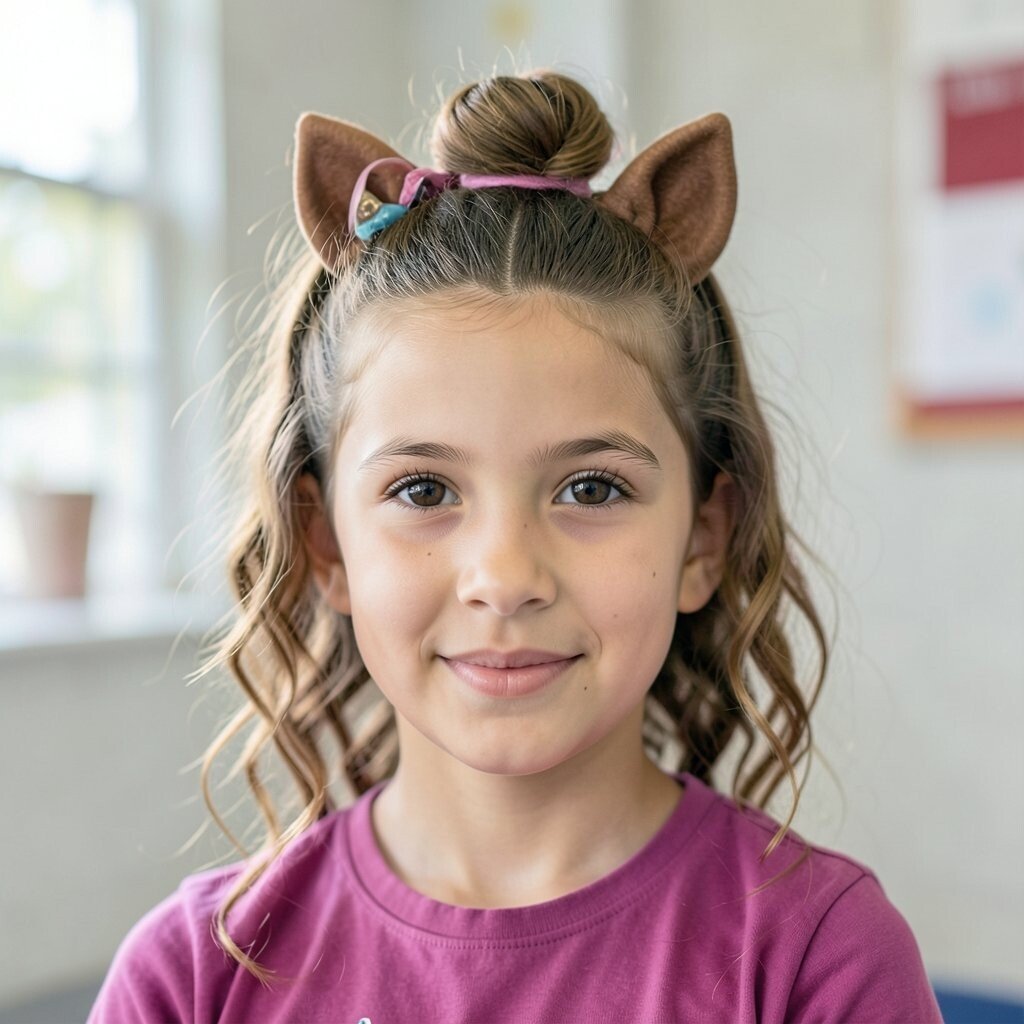
Start with a mid or high ponytail and fasten it with an elastic. Then pinch and loop the ponytail with extra elastics so it turns into bouncy “bubbles.”
The bubbles create a fun, playful shape that still feels tidy and school-appropriate. Keep each elastic evenly spaced for a balanced look that photographs well on the way to class.
To stay budget-friendly, use the tiniest elastics you can find and reuse a clean set from last year. If your hair is fine, add a light spray of water before styling so the loops hold longer.
3. Sleek Low Bun With a Side Part
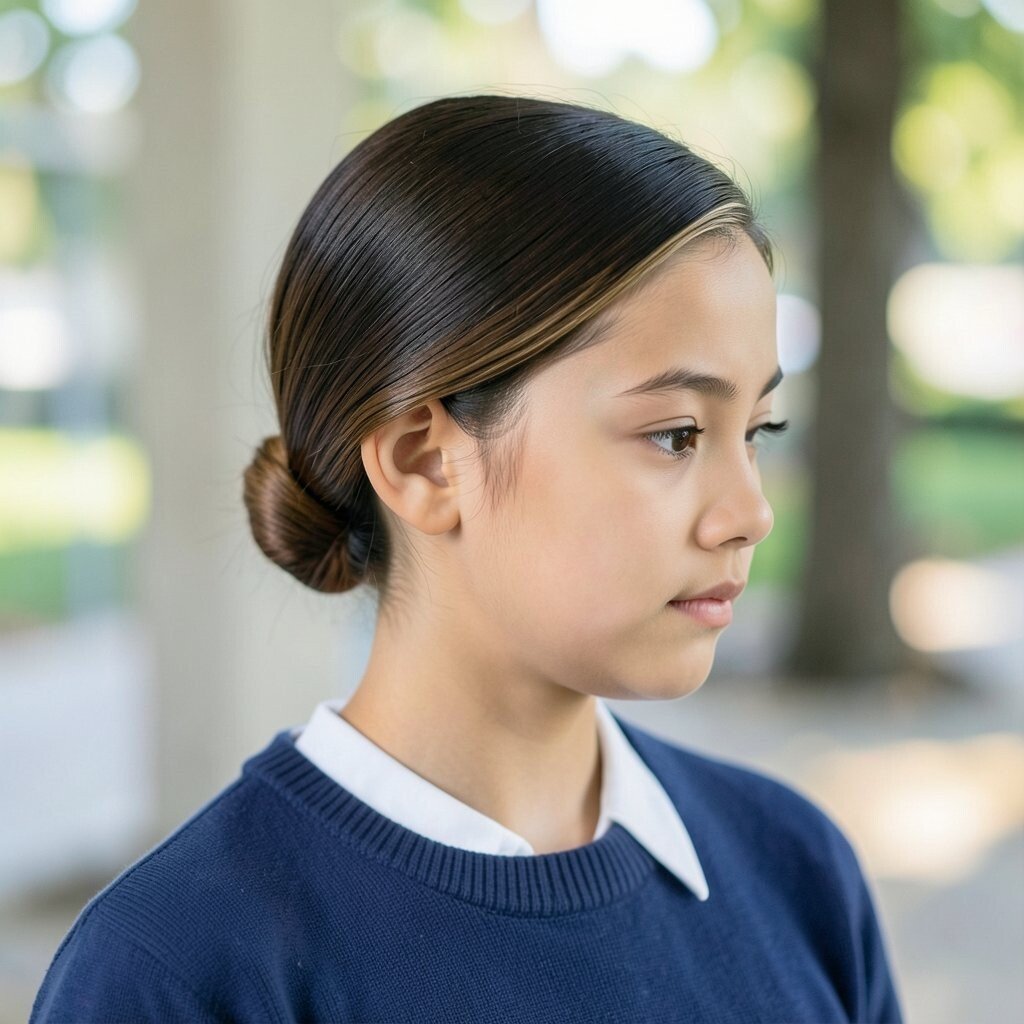
Create a clean side part and gather your hair into a low ponytail. Twist the ponytail, wrap it into a bun, and secure it with bobby pins.
When you add a little smoothing cream, the bun looks glossy and mature. This style stands out because it feels “put together” even when you’re moving fast.
For a personalized touch, tuck a thin braid along the part or hide one pin under a small hair clip. If your hair slips, use one extra pin in the underside and lightly mist the bun with water before locking it in.
4. Two-Minute French Braid Crown
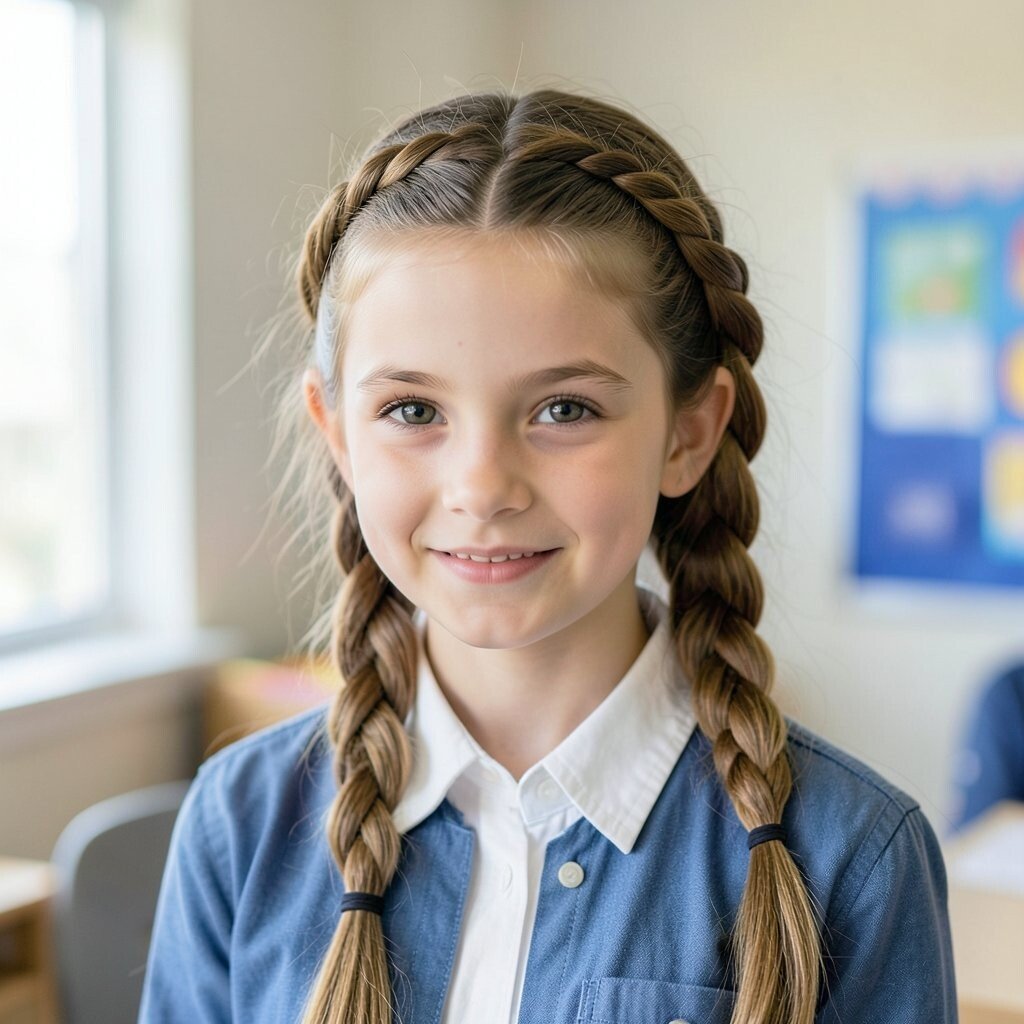
Part your hair in the middle, then begin a French braid on each side near the forehead. Continue braiding until you reach the back, then secure with elastics and tuck the ends underneath.
The crown look sits flat and feels like a headband, but it’s made from your own hair. It’s great for active days because the braids hold up better than many loose styles.
5. Messy-Pretty Ribbon Braided Ponytail
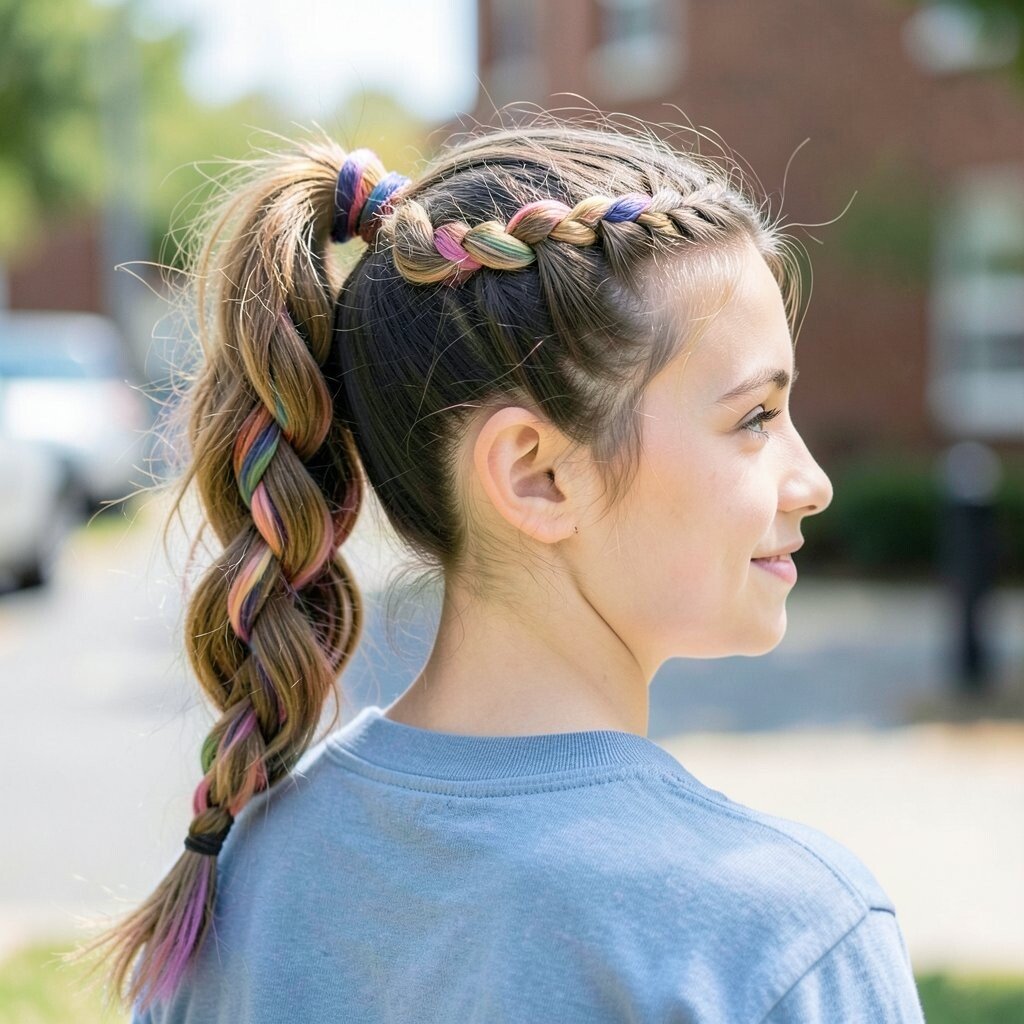
Make a ponytail, braid it, and secure the braid with a clear elastic. Gently pull apart the braid sections for a fuller, more “effortless” look.
Add a ribbon around the base, or tie it onto the elastic end. This style looks unique because it mixes tidy placement with relaxed texture.
For cost savings, use ribbon scraps, thrifted scarves, or hair accessories you already own. If you want it to last, braid with slightly damp hair and finish with a light hairspray.
6. Classic Rope Twist Half-Up
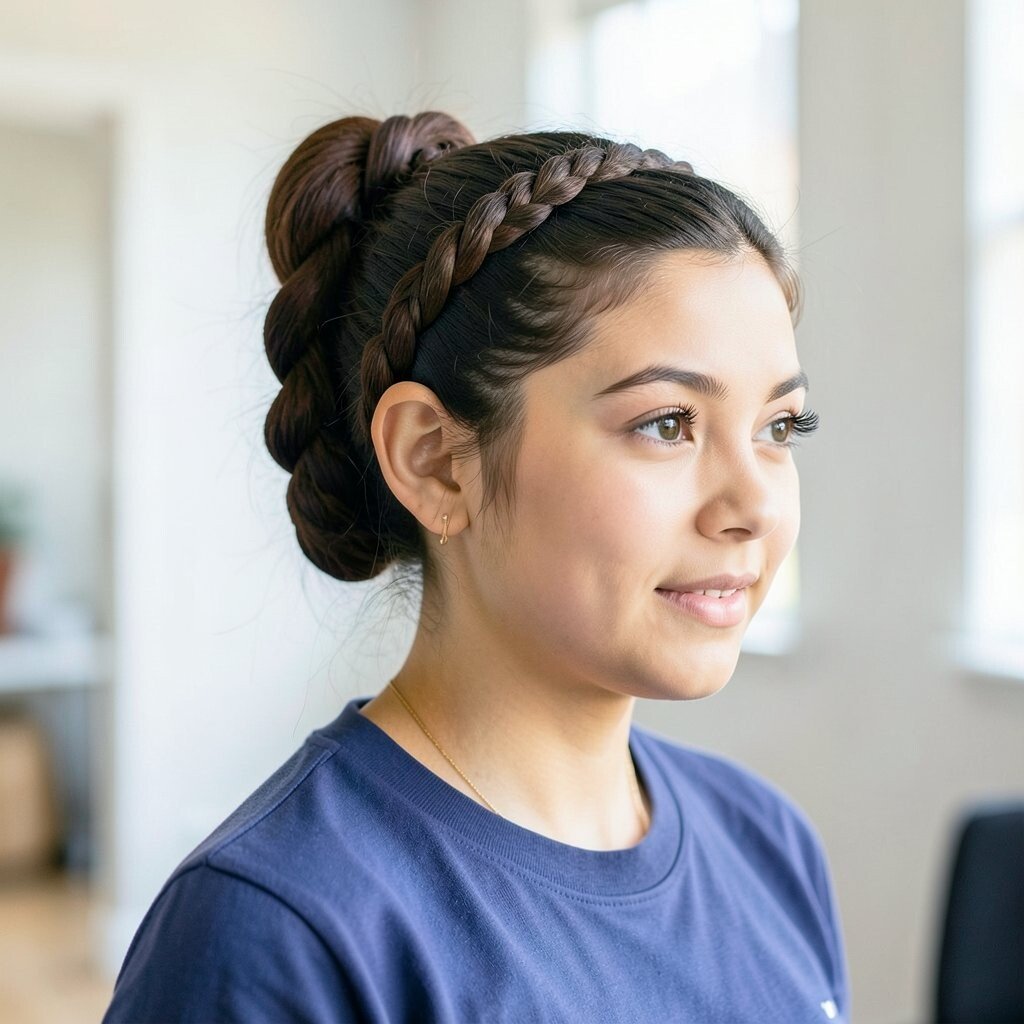
Take two small sections from the front and twist each one away from your face. Then cross them over, twist again, and secure at the back with an elastic.
It gives a polished, braided feel without needing to master complex braiding. The rope twist frames your cheeks and keeps the front tidy when you’re wearing glasses or a headband.
7. High Pony With Milkmaid Micro Braids
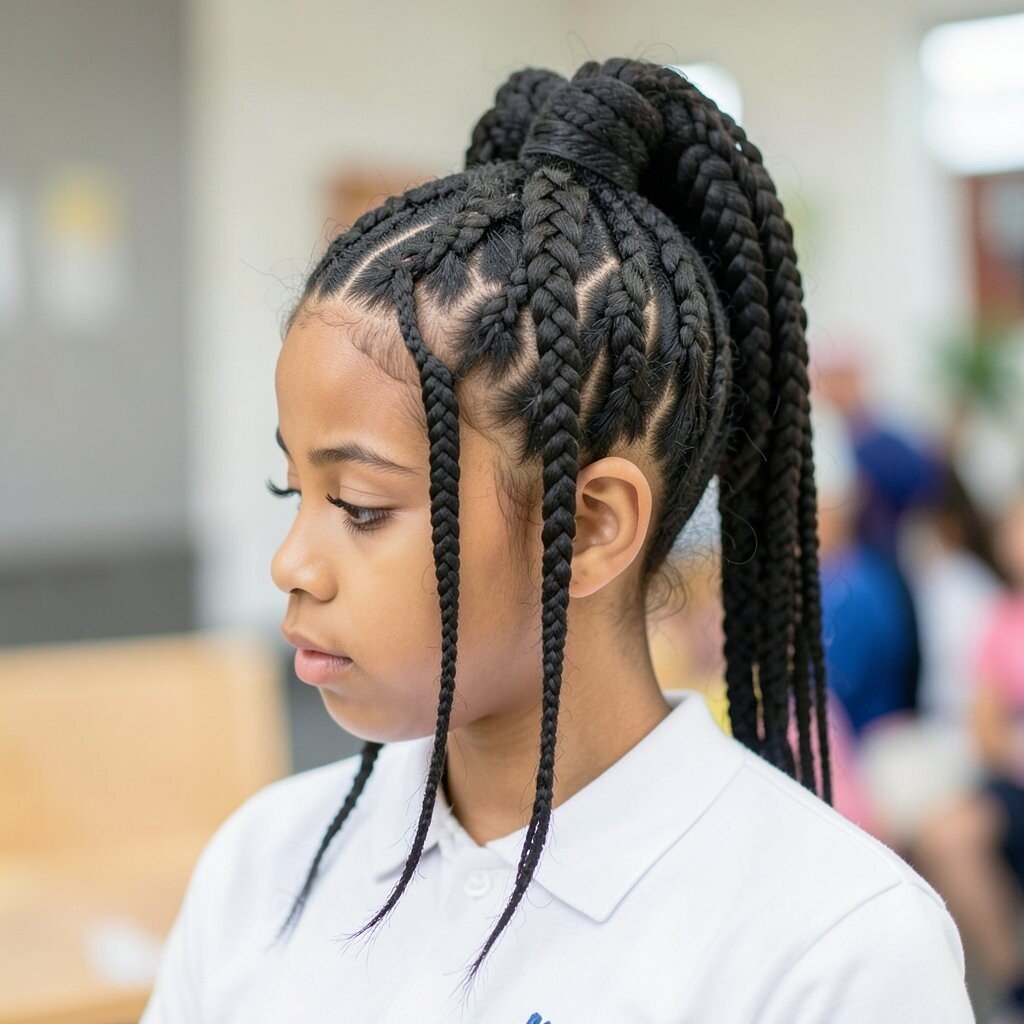
Section a small stripe of hair near each temple and braid each side into a tiny braid. Bring them back and tuck them under a high ponytail for a milkmaid-inspired twist.
The contrast between the smooth pony and small braids makes the hairstyle look intentional. It also gives you a fresh trend vibe without needing expensive extensions or special tools.
For personalization, vary the braid size or add a small clip where the pony is secured. Use a soft scrunchie instead of a tight elastic to reduce breakage.
8. Waterfall Pony With Two Face-Framing Braids
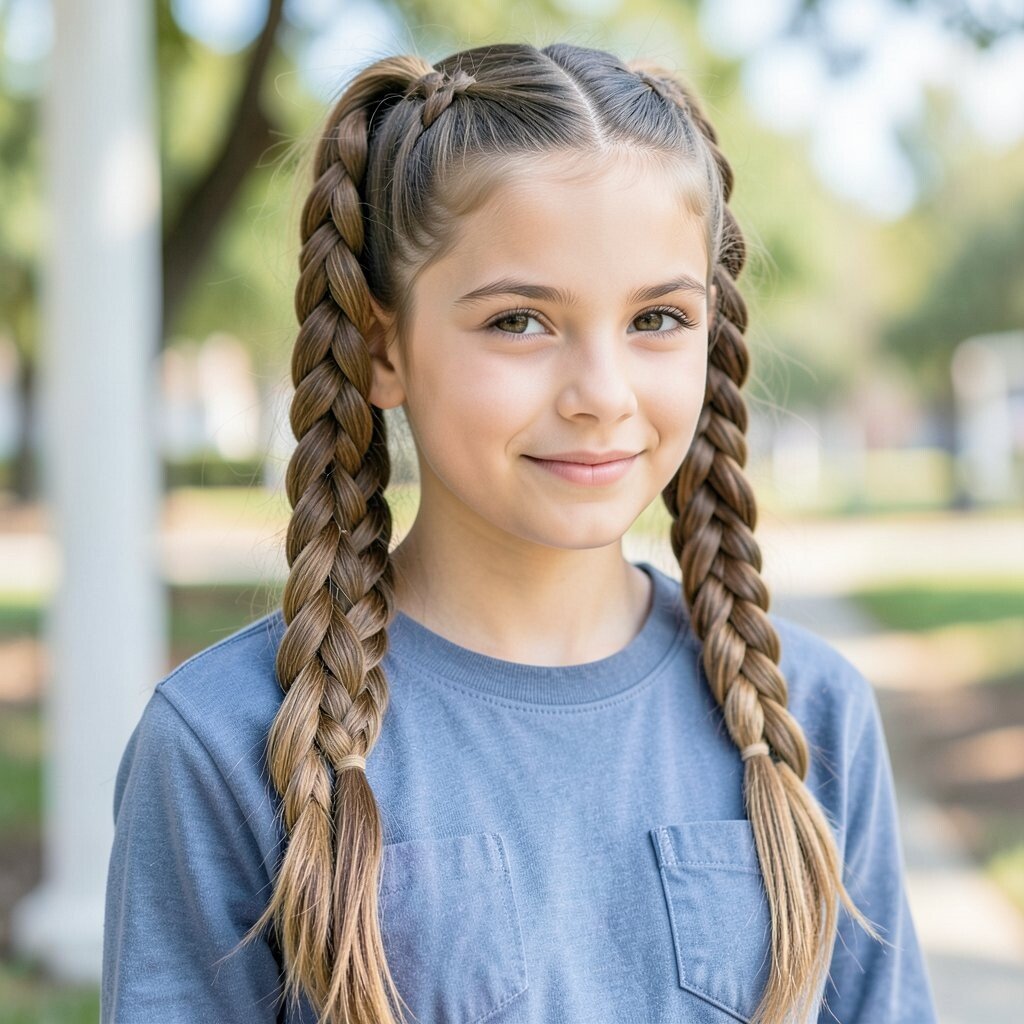
Start by parting your hair and creating a braid pattern across the front. Let a few strands “fall” over the braid so the sections look like a gentle waterfall as you move back.
Then gather the remaining hair into a ponytail at the side or the back. The visual effect is delicate and pretty, perfect for first-day pictures.
9. Twisted Side Braid With Clip Finish
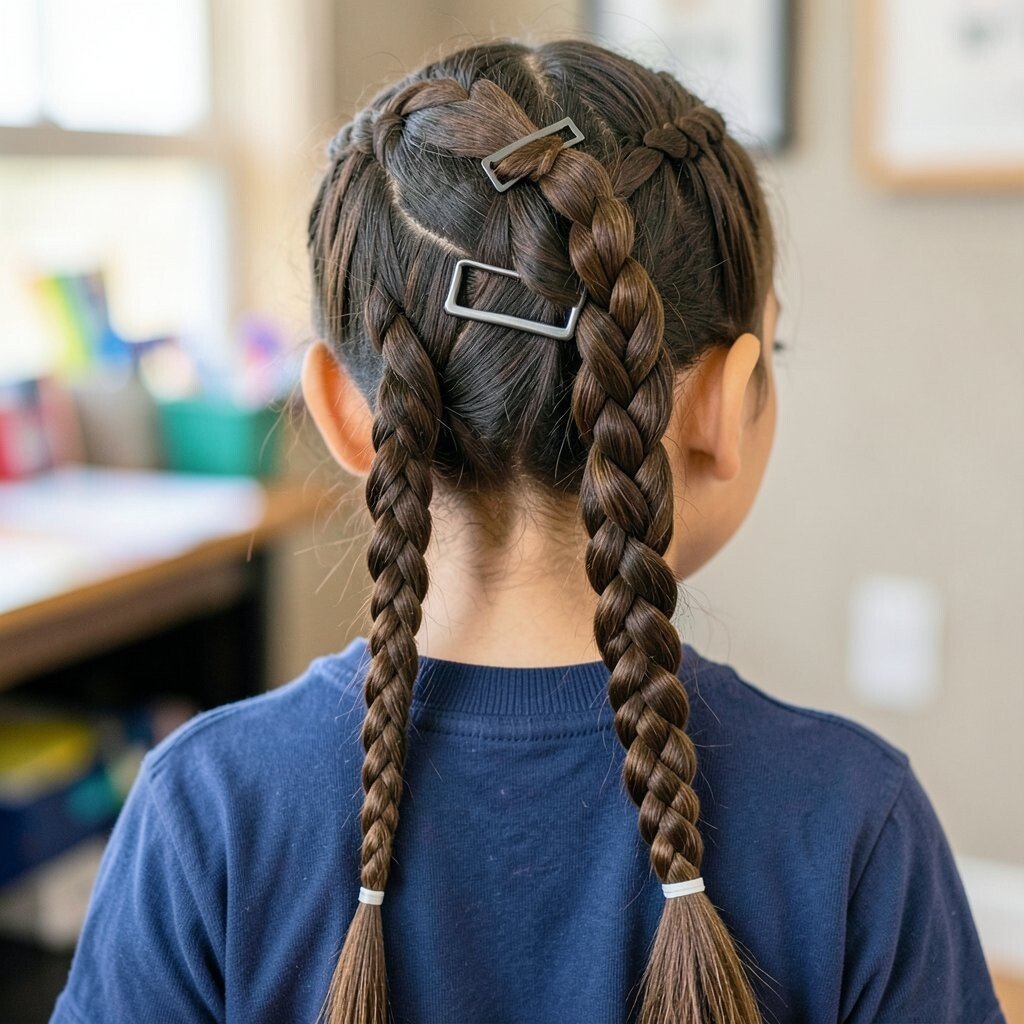
Gather hair over one shoulder and split it into two sections. Twist them together toward the ends, then secure with an elastic and a pretty clip.
This style is unique because it looks like a braid but uses twists, making it easier than a classic braid. It also stays comfortable under backpacks and coats.
Try adding a small braid charm or a pearl-like clip for a budget-friendly luxe feel. If you have layers, use a few bobby pins to tuck shorter pieces into the twist.
10. Crown Knot (Easy Center-Up Knot)
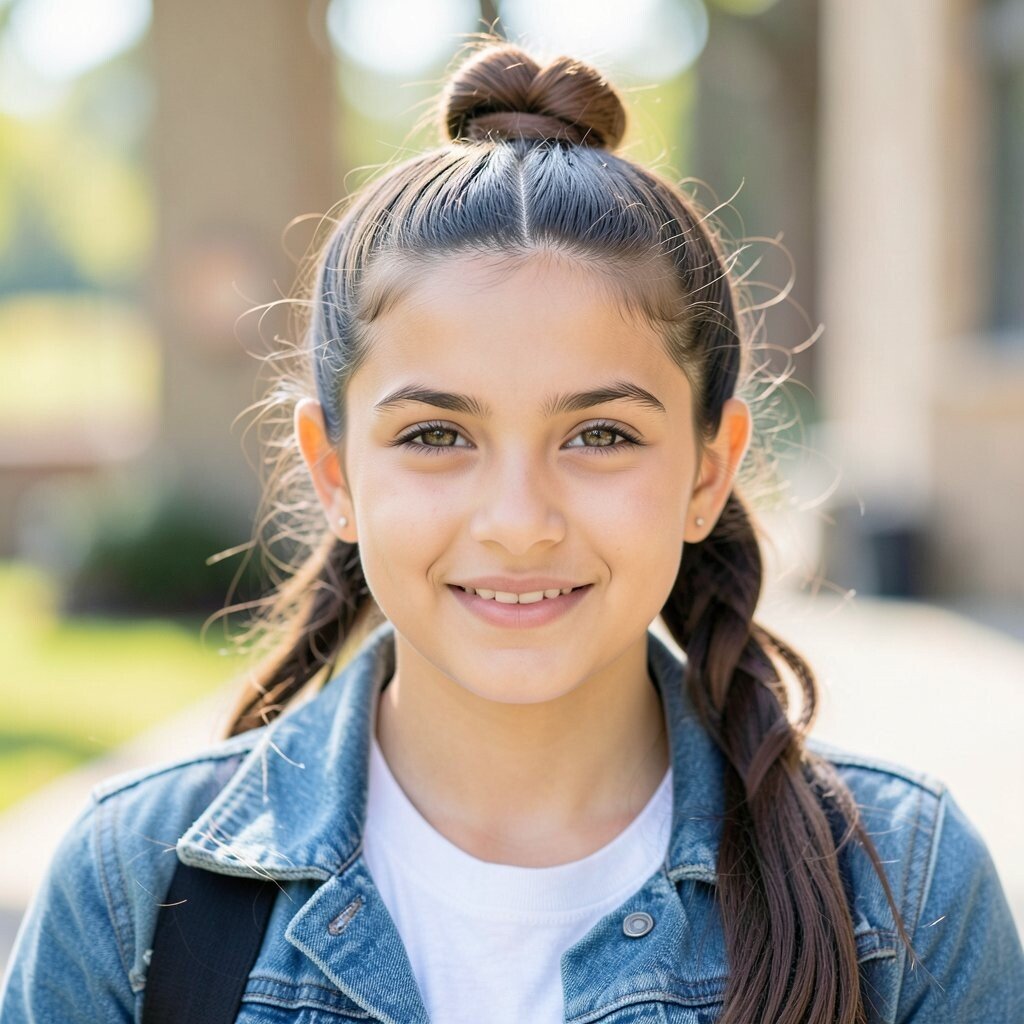
Pull hair into a high center ponytail, then twist it into a knot near the crown of your head. Secure it with pins and smooth any flyaways with a dab of hair gel.
The knot sits like a mini sculpture and instantly upgrades a basic hairstyle. It’s also practical because it keeps hair off the neck during warm classroom days.
11. Half-Up Bow Ponytail
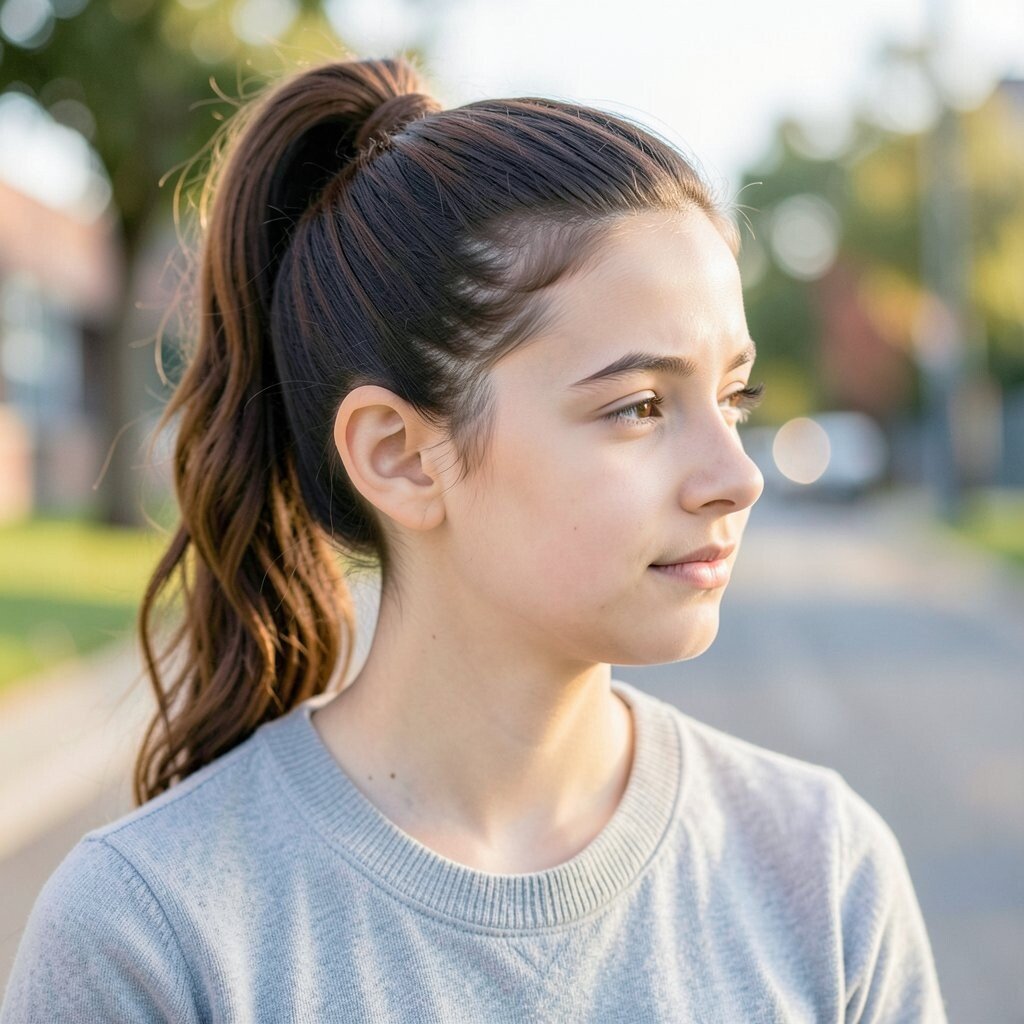
Create a half-up ponytail and use a longer elastic loop to form a bow shape. Adjust the loops until you get two even “bow” sides, then secure with bobby pins.
The bow detail makes this style feel fun and school-ready without looking childish. It works especially well with medium to long hair because there’s room for the bow to show.
To keep it budget-friendly, use a hair tie you already have and hide extra pins with a cute clip. For personalization, add a tiny bow charm on the elastic or switch between a high half-up and a lower half-up.
12. Sleek Pony With Braided Base
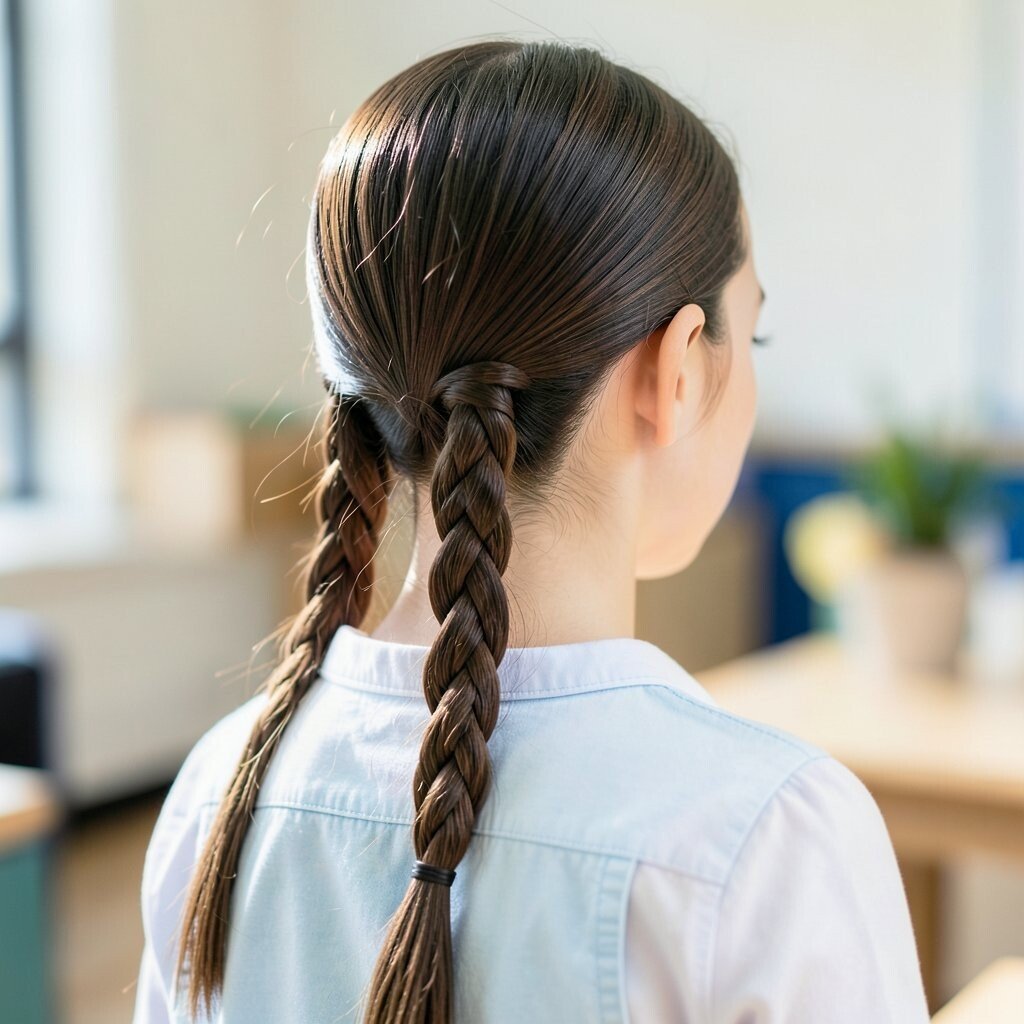
Brush hair back and form a smooth ponytail. Before securing, wrap a thin braid around the ponytail base so it looks extra neat.
This gives the ponytail a “designer” look while using only your own hair. It’s a great option when you want something fast but still polished.
13. Low Twisted Bun With Two Strand Wrap
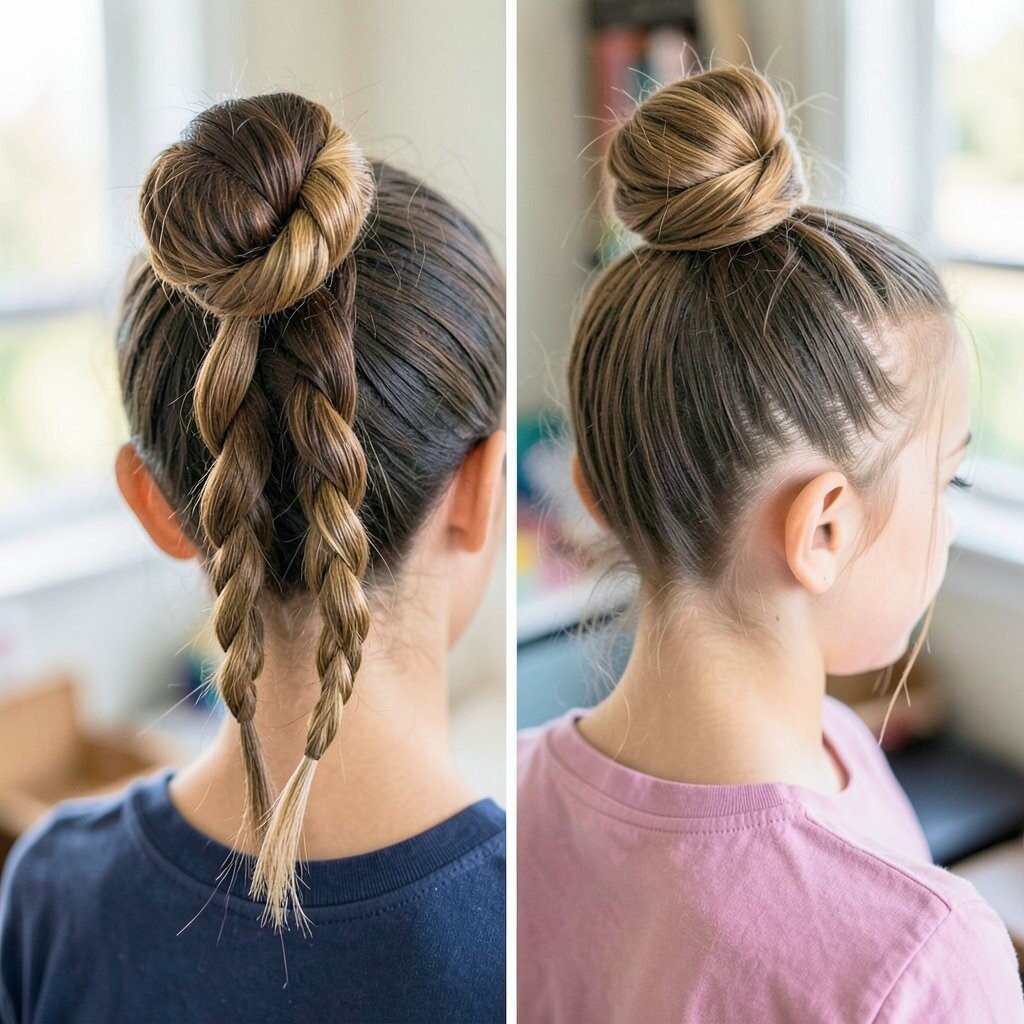
Gather hair into a low ponytail and twist it into a bun shape. Leave two small strands out near the front, then wrap them around the bun for decoration.
The two-strand wrap makes the bun look customized and extra detailed. It’s also a helpful trick for adding style when your hair is short or when you don’t have many pins.
If your bun falls apart, set it by misting lightly and pinning the underside first. Consider using an inexpensive hair donut if you need extra volume, especially on thinner hair.
14. Messy Bun With Face-Framing Tendrils
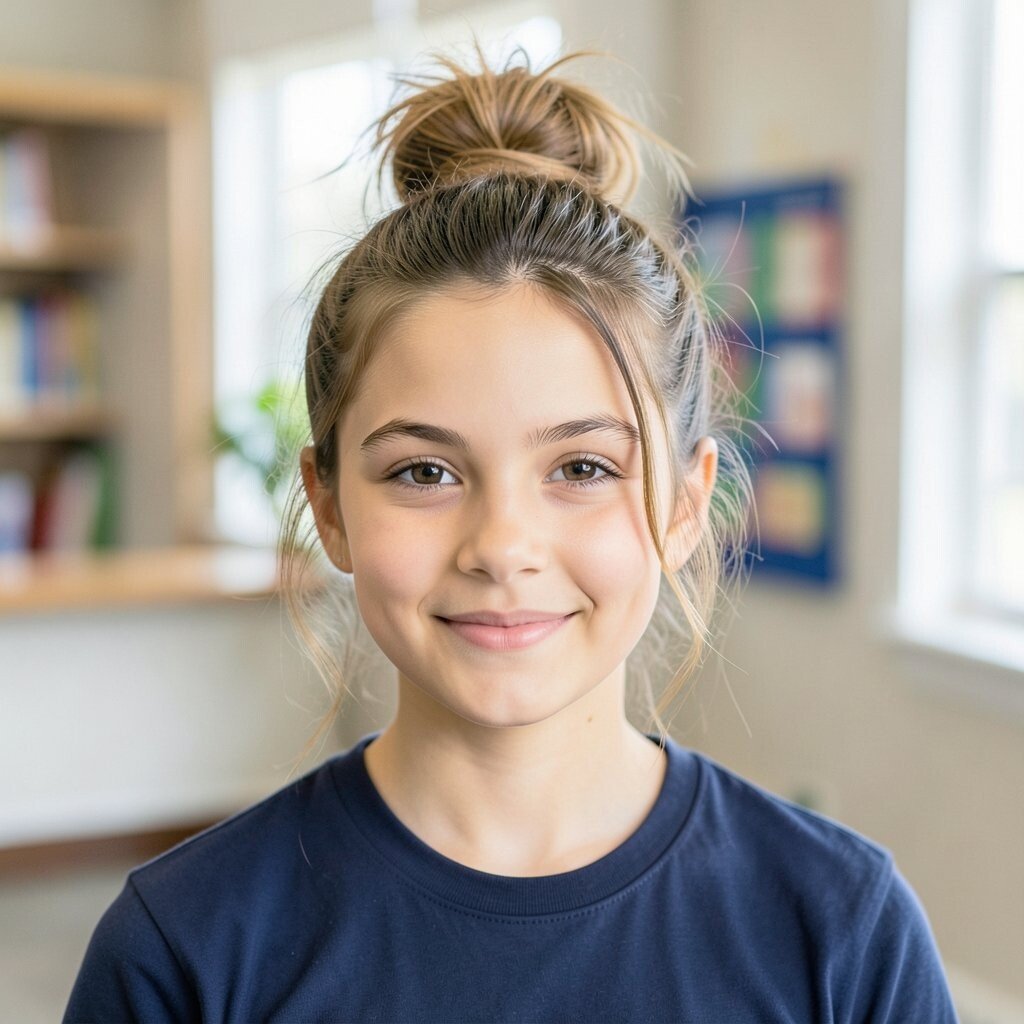
Pull hair into a loose bun at the back or slightly off-center. Tug a few strands around your face so the style looks soft instead of too tidy.
This is perfect for busy mornings because it forgives uneven texture. The face-framing tendrils make the look feel current and cute, even with minimal effort.
15. Side Part Twist-Back Mini Braid
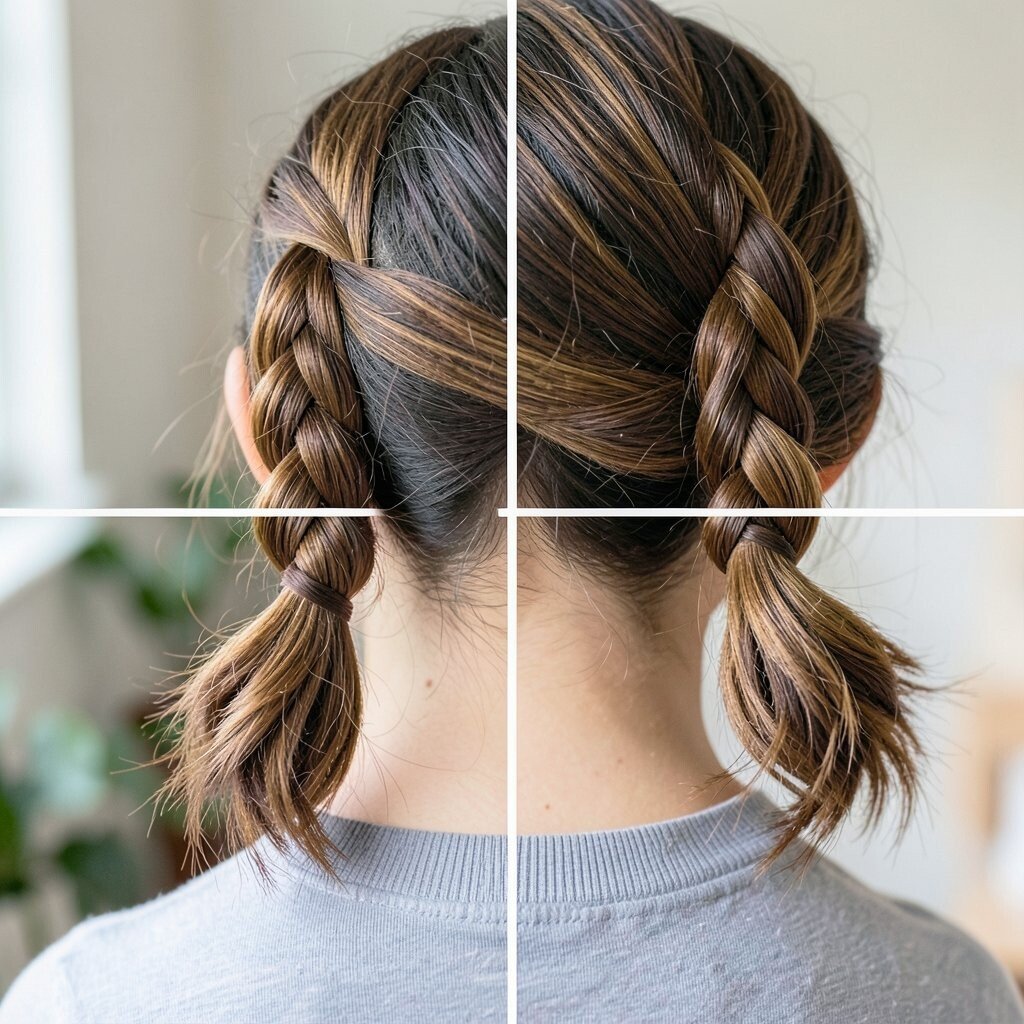
Make a side part and take a small section near the front. Twist it back, then add a tiny braid as you go for a compact accent.
The result looks like you spent more time than you did, which is the best kind of magic. It’s also practical since it helps manage shorter pieces around your forehead.
For personalization, match the vibe with accessories like a pastel clip or a simple claw clip. Keep the twist secure by pinning right where the head naturally changes shape.
16. Classic Two Buns With Scarf Tie
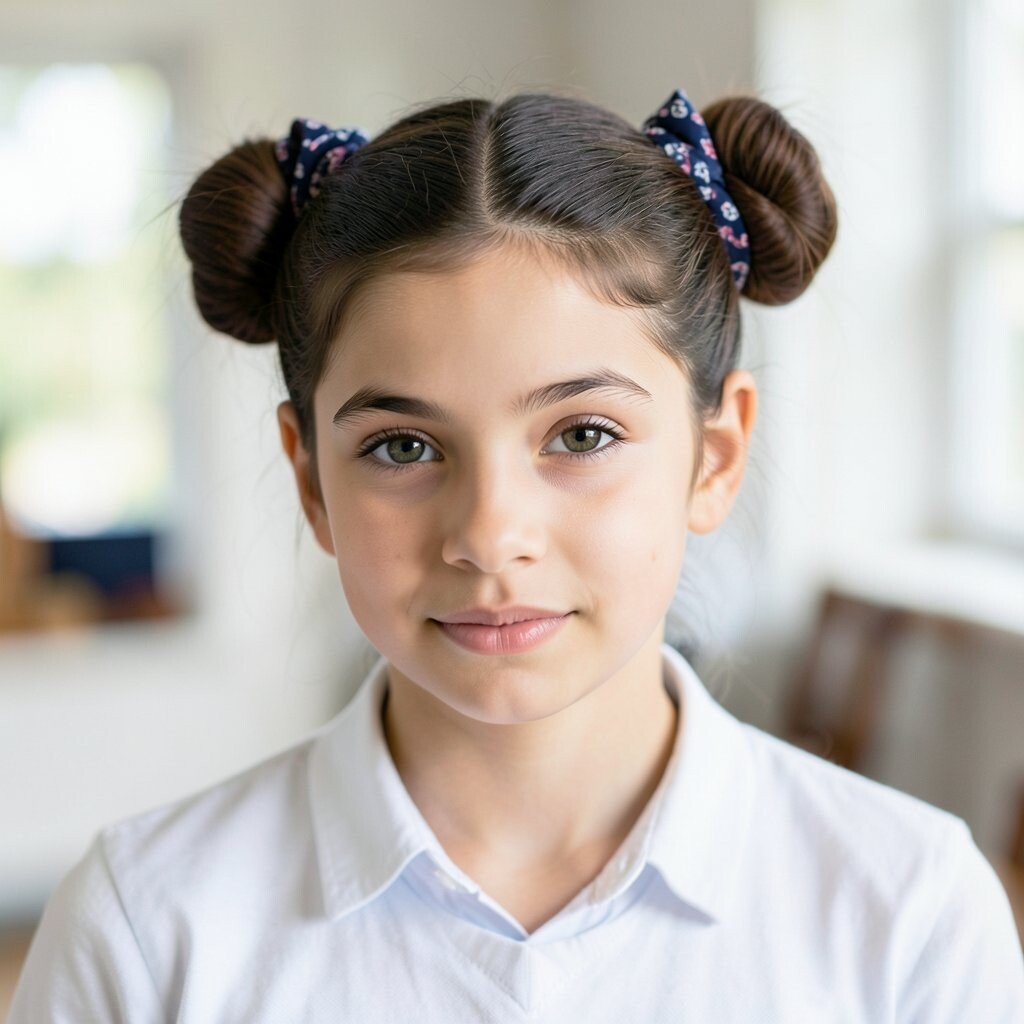
Create two small buns at the top left and right sides, then secure with pins. Tie a scarf strip, headband, or small ribbon around the base for a playful finish.
The scarf adds color and pattern without costing much, especially if you reuse one you already own. This hairstyle stands out because it feels playful but still organized.
17. Dutch Braid Tail Pony
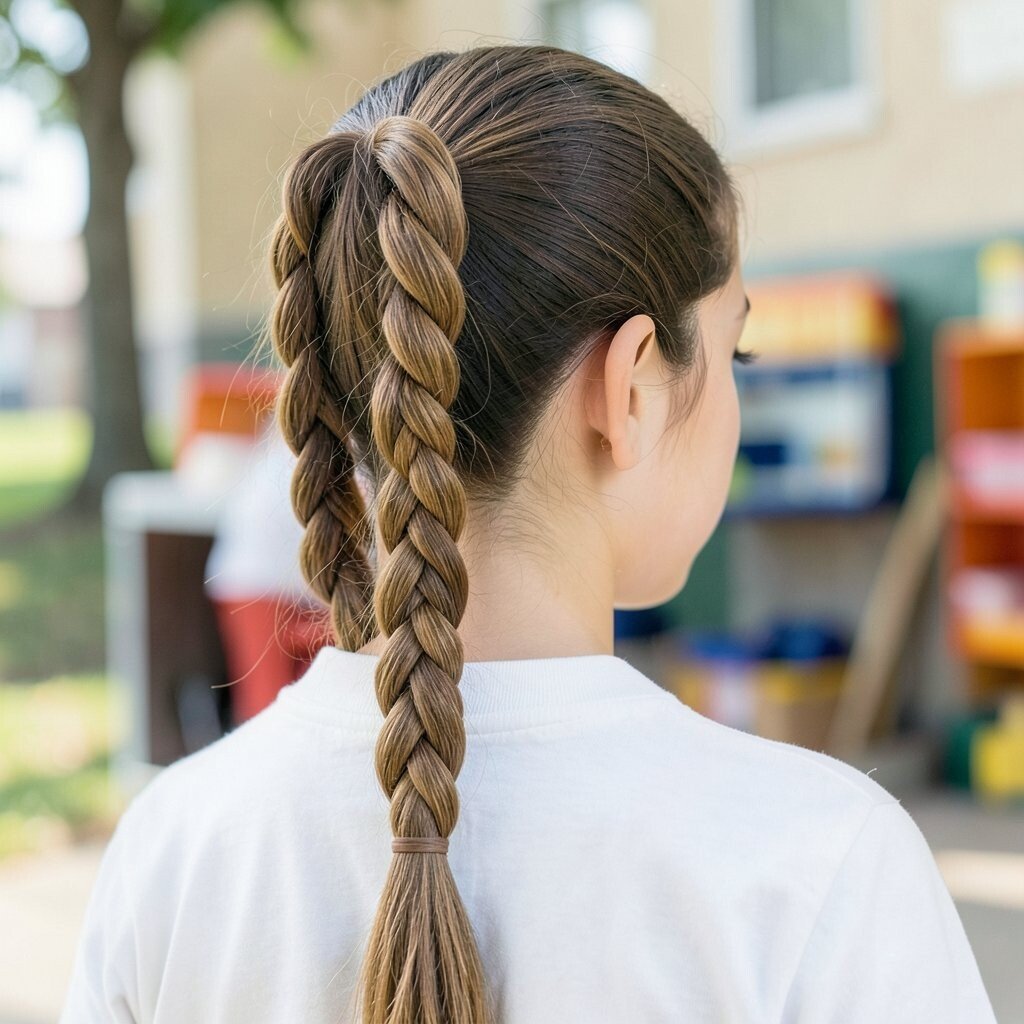
Do a Dutch braid by braiding under instead of over, starting at the crown and working downward. When you reach the ends, secure the braid and gently loosen it for a thick look.
Then combine the braided length into a ponytail or leave it as one bold braid. This style is trending because textured braids are always in, and it looks amazing in motion.
To keep the cost low, skip fancy braid extensions and instead use a little texturizing spray for volume. If your braid tightens too much, relax it slowly with your fingers once it’s secured.
18. Rope Twist Headband Bun
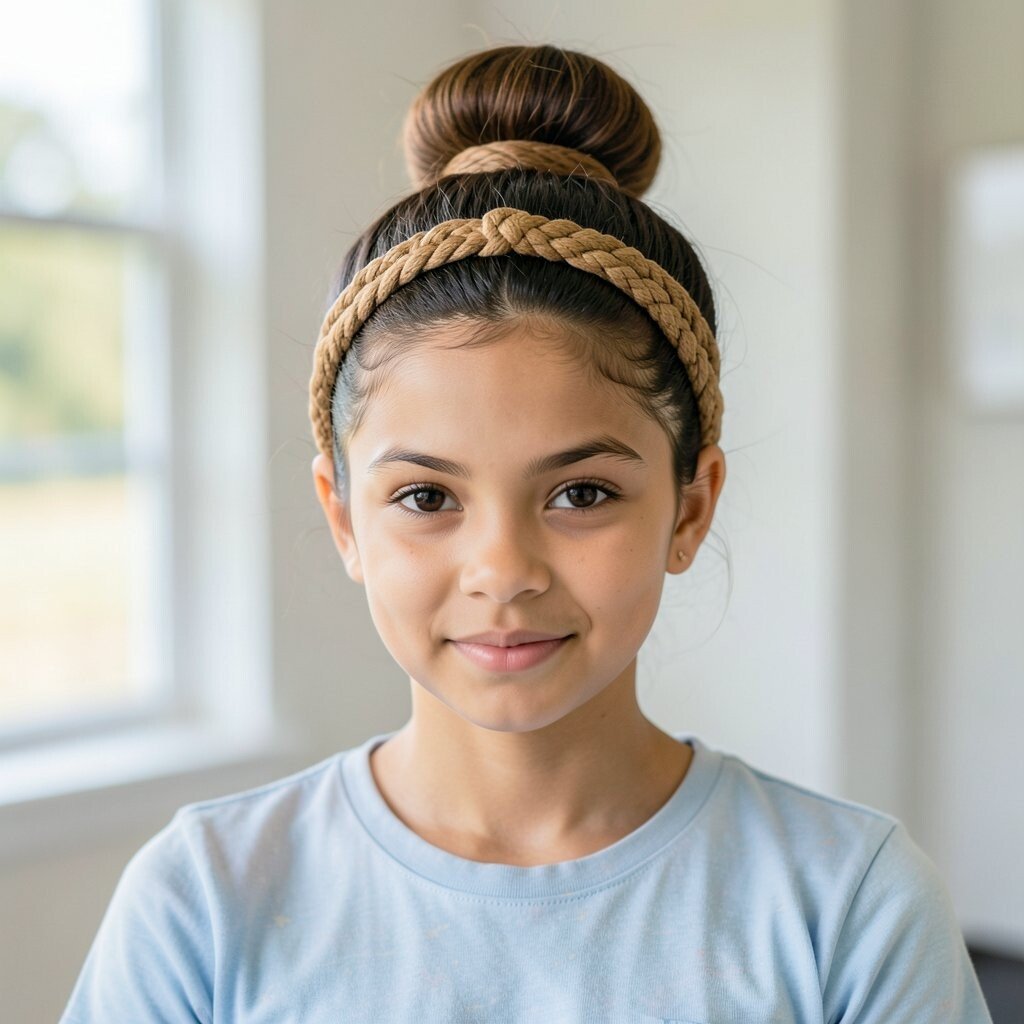
Make a bun as usual, but leave out a front section to twist like a headband. Wrap the twist around the bun’s front edge and pin it in place.
This looks unique because it blends two styles together into one clean silhouette. It also helps hold short layers in place, which is a common first-day struggle.
19. Sleek Low Pony With Wrapped Elastic Ends
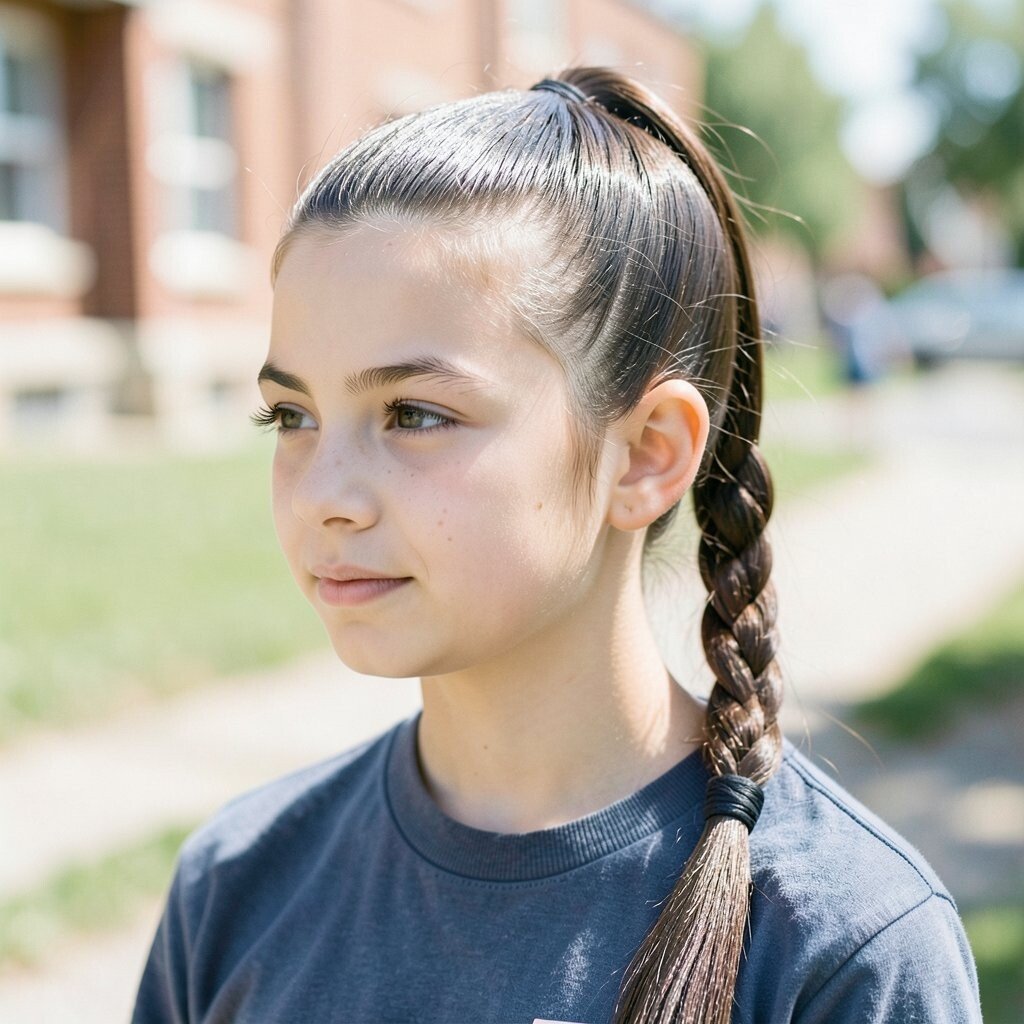
Gather hair into a low ponytail and secure it. Then take a thin strand from the pony and wrap it around the elastic, pinning the end underneath.
The wrapped elastic makes the ponytail look smoother and more expensive. It’s a budget-friendly upgrade because you only need a few bobby pins and your own hair.
For personalization, choose a matching hair clip or add a small ribbon at the end of the wrapped strand. If you want a trend feel, keep the pony slightly higher and add a subtle shine serum.
20. Curl-Friendly Twist And Pin Updo

If your hair holds curls well, gather sections and twist them into small pinned pieces around the top. Leave a few curls loose so the updo looks soft instead of tight.
This style is practical because it protects curls from flattening while you move around school. It also feels special because pinned sections add structure without losing your natural texture.
21. Mini Braided Bangs With Half-Up Pullback
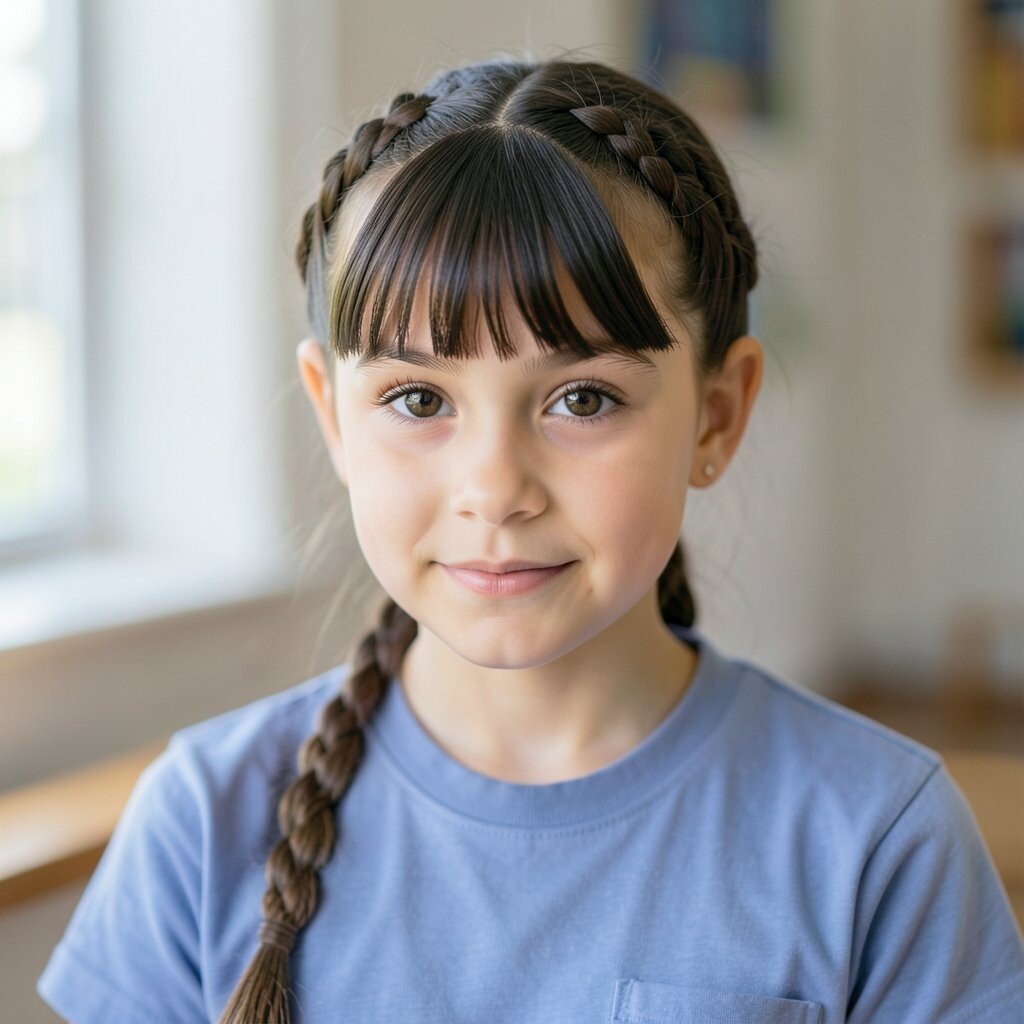
Take two to three small slices from the front and braid them lightly into mini braids. Pull the rest of your hair back into a half-up style and secure with an elastic.
The mini braids act like stylish “bangs,” giving you a fresh look even if you didn’t change your haircut. It’s unique, fast, and perfect for controlling flyaways on windy bus rides.
To keep it affordable, use small elastics from your kit and skip store-bought add-ons. Personalize by choosing where the half-up section sits and by tucking the mini braids slightly to one side for a charming angle.