The smallest bathrooms can still feel calm, bright, and personal. With the right wall choices, you can make every inch work harder without making the space feel crowded.
1. Smooth Whiteboard Accent for Daily Notes
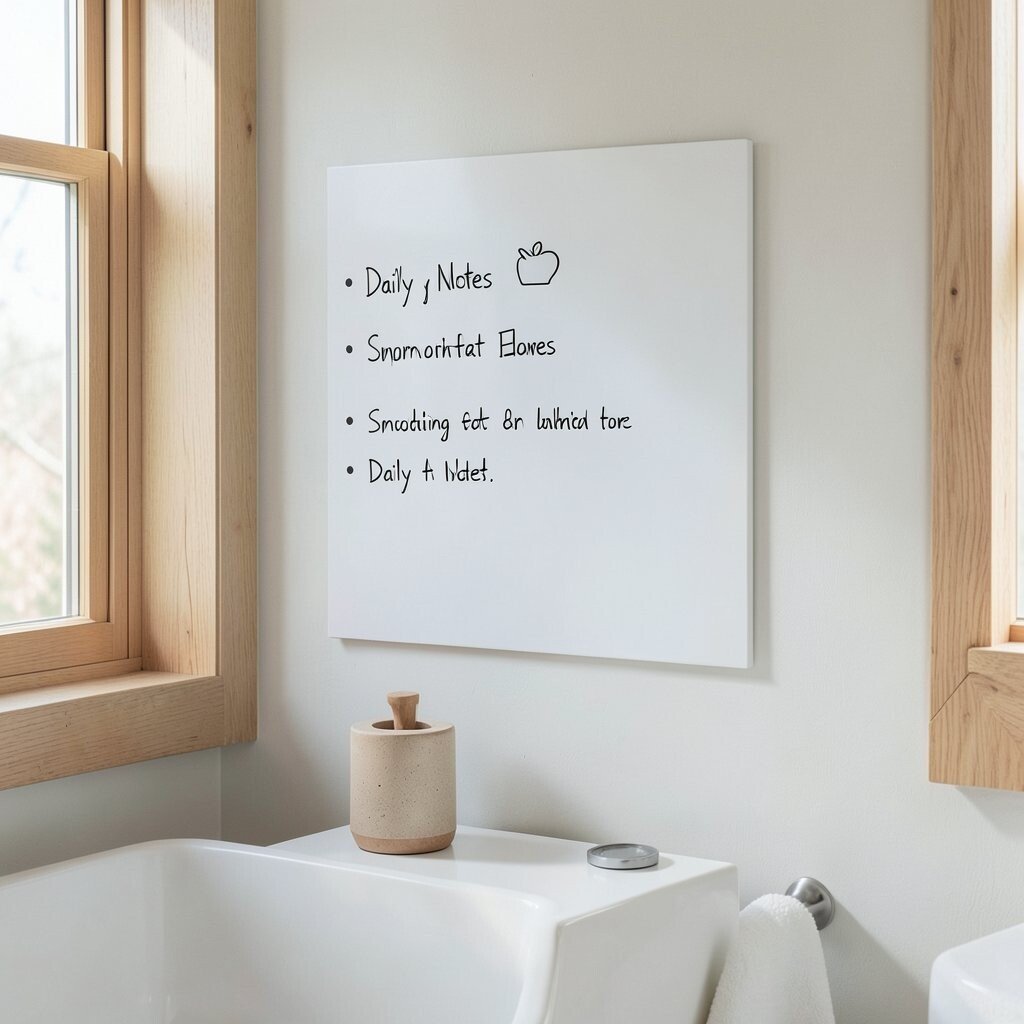
Pick one wall and paint it with a smooth, cleanable whiteboard surface. You’ll see crisp lines for lists, reminders, and quick shower schedules that stay neat against the bright backdrop.
Use a magnetic tray for tiny items like spare hair ties or bobby pins, so everything has a place. Choose slim markers and a small eraser clip that mounts right near the board. Keep the rest of the wall plain so your notes feel like part of the design, not clutter.
2. Frameless Mirror With Soft Lighting
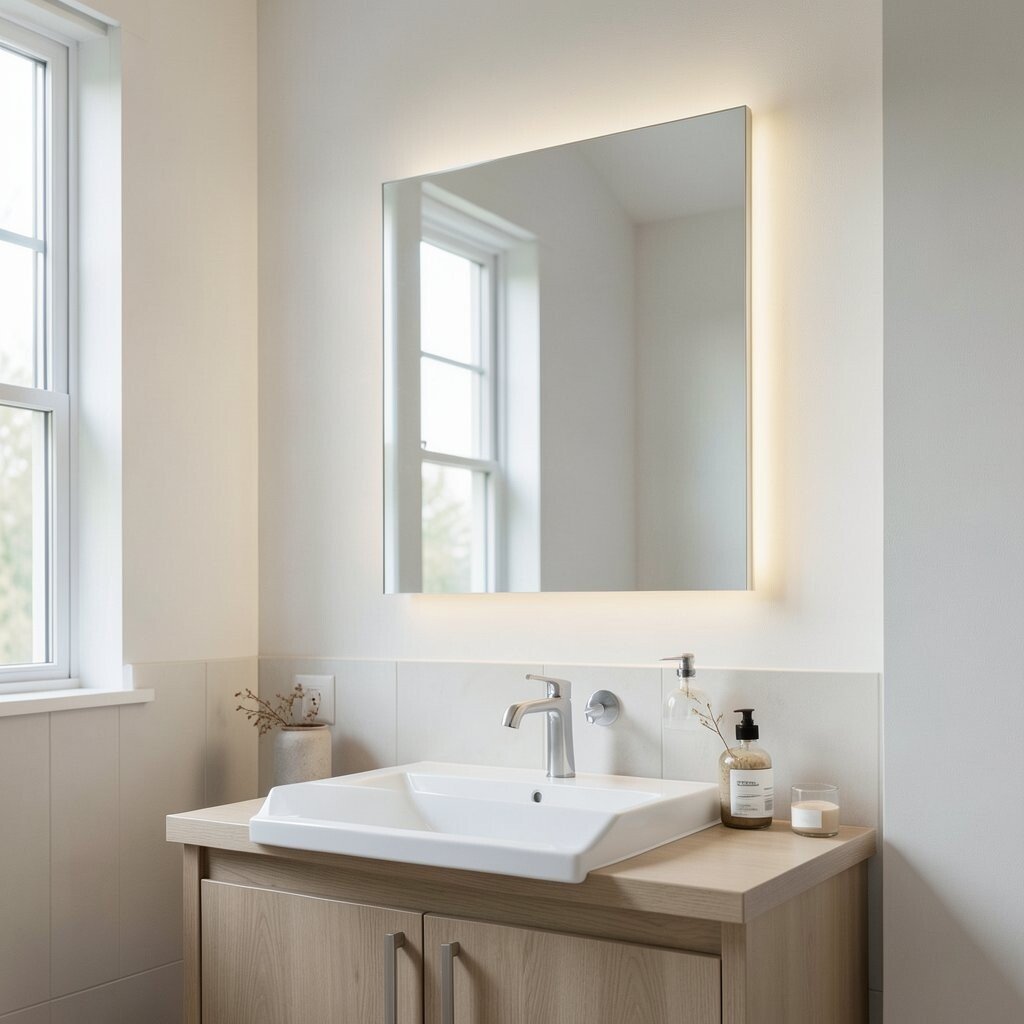
A frameless mirror makes the wall look lighter and more open. When you add subtle lighting around the edges, the room glows even during cloudy mornings.
Mount it at a comfortable height and angle it so the light bounces across the sink area. Use a warm, dimmable bulb to flatter skin tones and keep the vibe cozy. For practical use, keep the mirror clean with a microfiber cloth and a gentle spray made for glass.
If you like a minimalist style, pair the mirror with a flat-front vanity and simple towel rings. To personalize it, consider a thin, brushed metal light bar that matches your faucet finish. This upgrade can range from budget-friendly kits to higher-end fixtures, so shop for a kit with clear mounting instructions to save time.
3. Vertical Wood Slats for Calm Texture
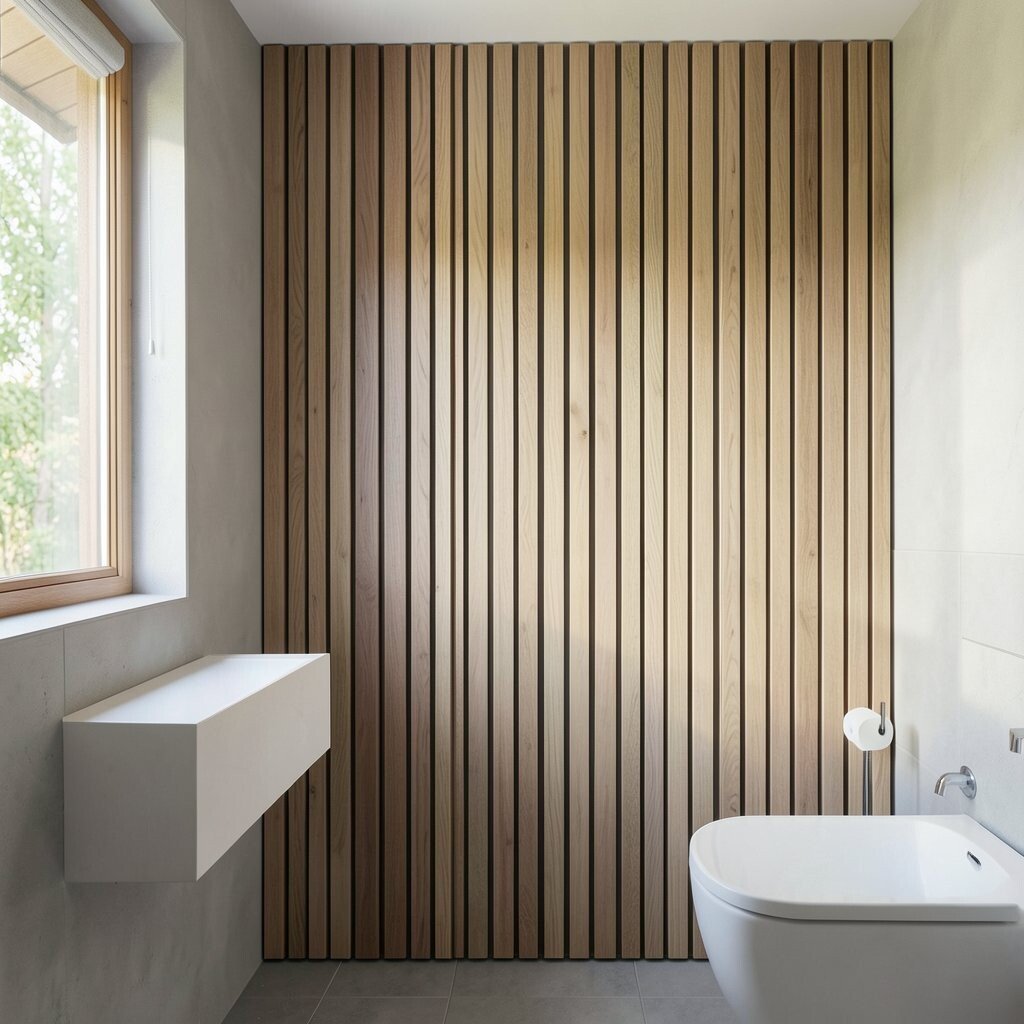
Install narrow vertical wood slats on one wall to add warmth without heavy bulk. The lines draw the eye upward, which can make a small bathroom feel taller.
Seal the wood with a moisture-safe finish so it survives steam and splashes. Keep the slats spaced just enough to let the wall breathe, and wipe them regularly to prevent buildup.
Match the wood tone to your vanity or flooring so the whole space feels intentional. If you want a modern look, choose light oak or a pale, matte stain that stays airy. For cost control, cover only the most visible section of wall rather than building the entire feature.
4. Large-Format Wall Tile in One Simple Color
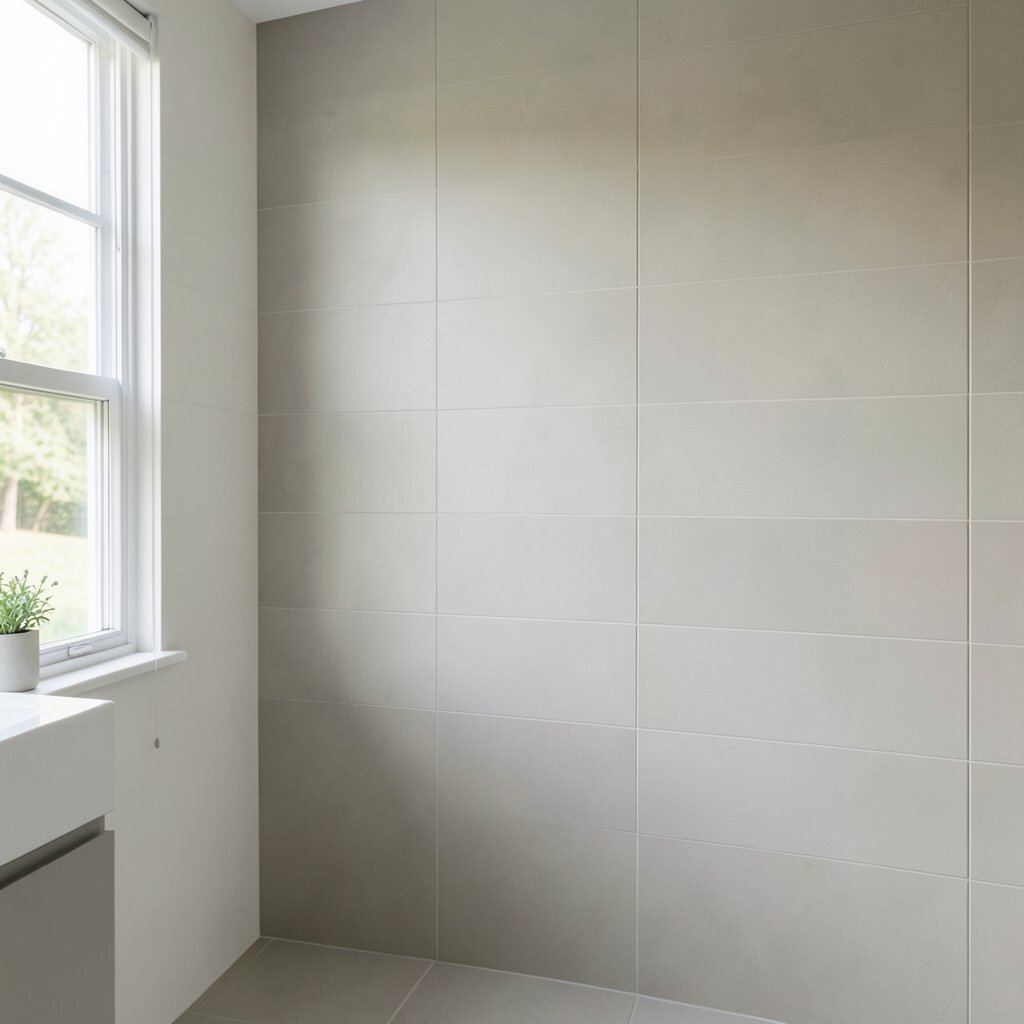
Go for large tiles in a single shade to reduce visual noise. Fewer grout lines make the wall look smooth and easy, which helps tiny rooms feel tidy.
Choose a slip-resistant finish if your bathroom gets wet often. Keep the tile pattern consistent from the floor upward for a clean, continuous look that hides the room’s small size. If you’re renting or doing a quick update, consider peel-and-stick tile over a suitable surface and apply carefully.
5. Water-Resistant Fabric Wall Panels
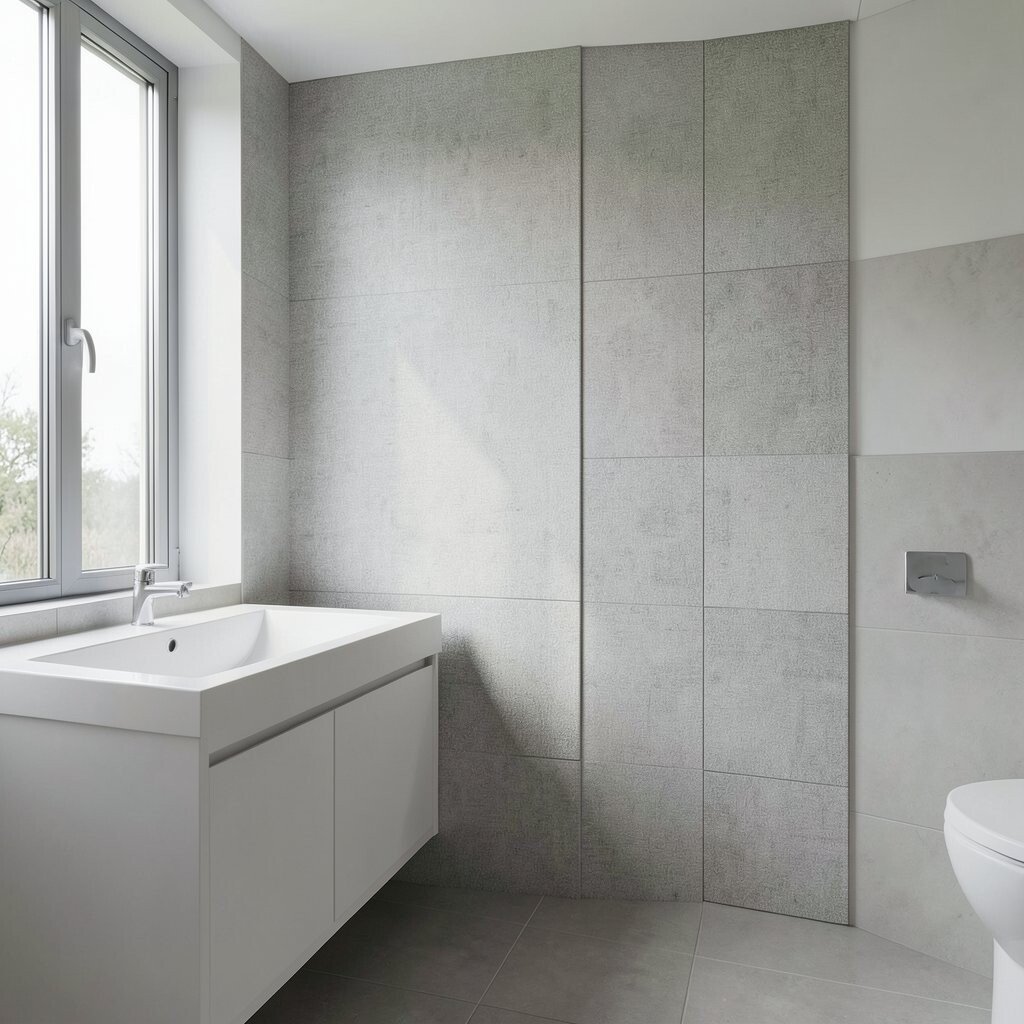
Try water-resistant fabric panels on a wall that stays mostly splash-free. They bring softness to the room, like a gentle backdrop for the sink and mirror.
Pick a neutral weave such as oatmeal, light gray, or sage to keep everything minimalist. Mount panels with simple brackets and make sure the edges are sealed to handle bathroom humidity.
For practical use, wipe the fabric with a damp cloth and let it dry fully. Personalize the look by choosing one subtle pattern, like faint texture stripes, without adding busy prints. This can be a moderate cost option, especially if you cover only a small wall section for contrast.
6. Minimal Floating Shelf at Eye Level
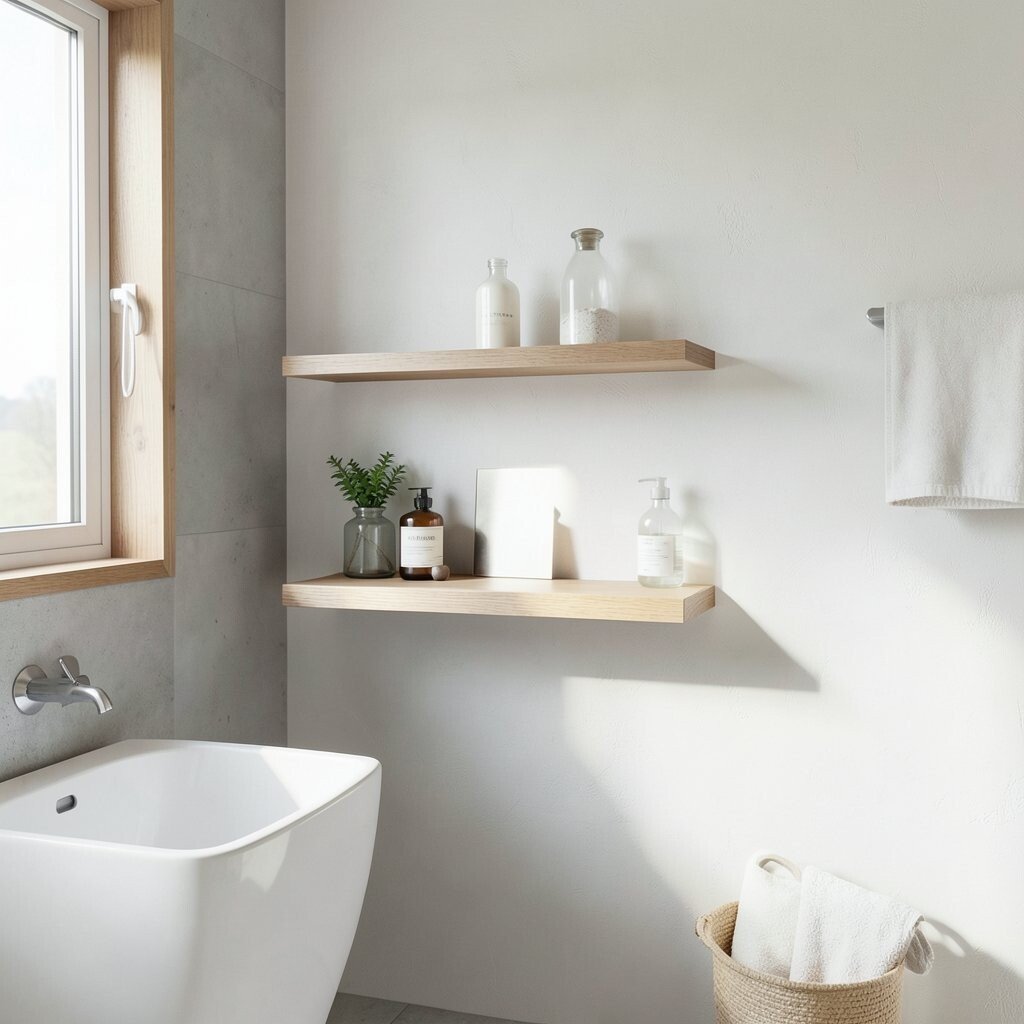
Add a floating shelf directly beside or above the sink to keep daily items within reach. Because the shelf looks thin and light, it doesn’t visually crowd the wall.
Use a simple, water-resistant finish and mount it securely into studs. Keep items curated, like a soap dispenser, a small canister, and a folded towel. For personalization, rotate seasonal touches such as a small ceramic dish or a plant that likes humidity.
7. Single Color Paint With a Satin Finish
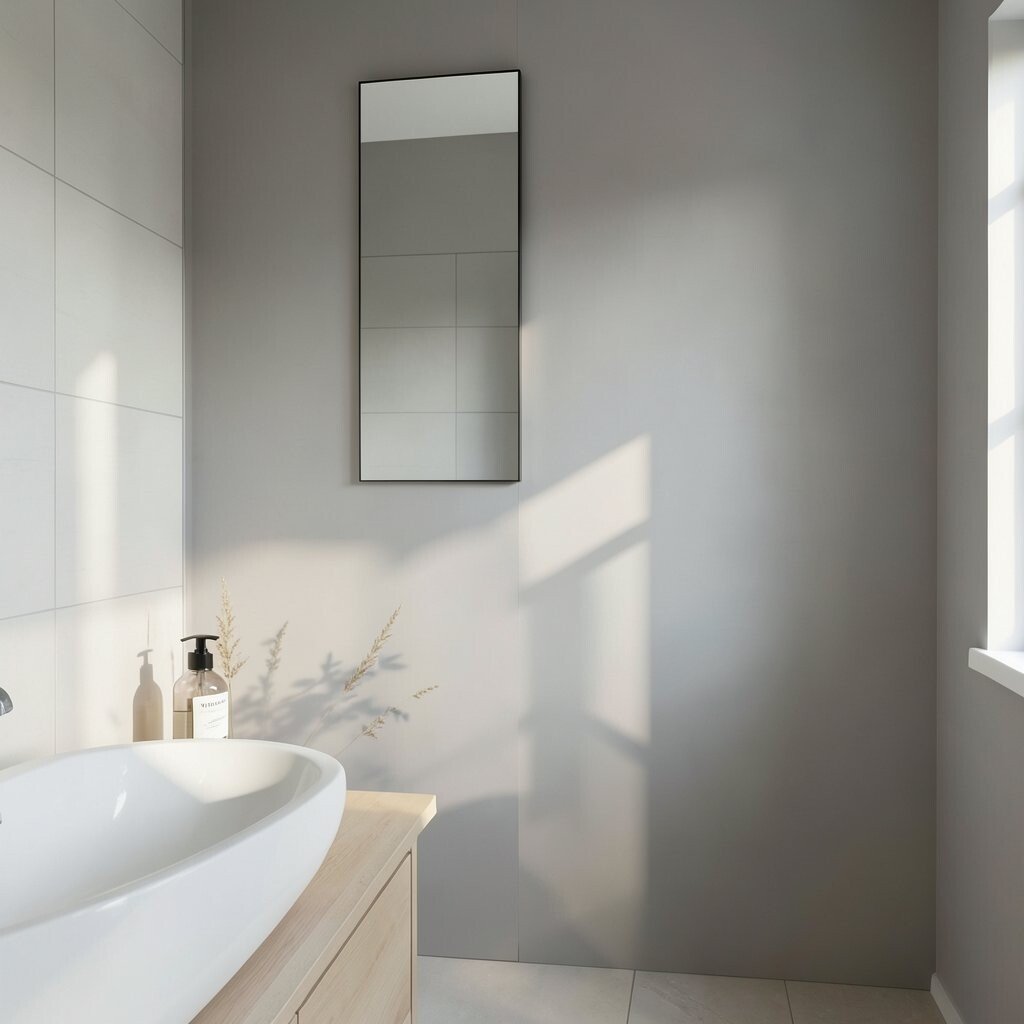
Choose one calming paint color and keep it consistent across the wall. A satin finish reflects light softly, which can make the room feel cleaner and brighter.
Use a mildew-resistant bathroom paint and let it cure fully before using the shower heavily. To avoid streaks, apply in smooth, even passes and keep a steady wet edge. This approach is usually one of the most budget-friendly ways to refresh the look fast.
If you want to add personality, paint a narrow accent strip behind the mirror or along the top edge. Pair the color with chrome or matte black hardware for a crisp contrast. In current minimalist trends, muted tones and warm whites are especially popular because they hide scuffs and look relaxed.
8. Built-In Niches for Shampoo and Soap
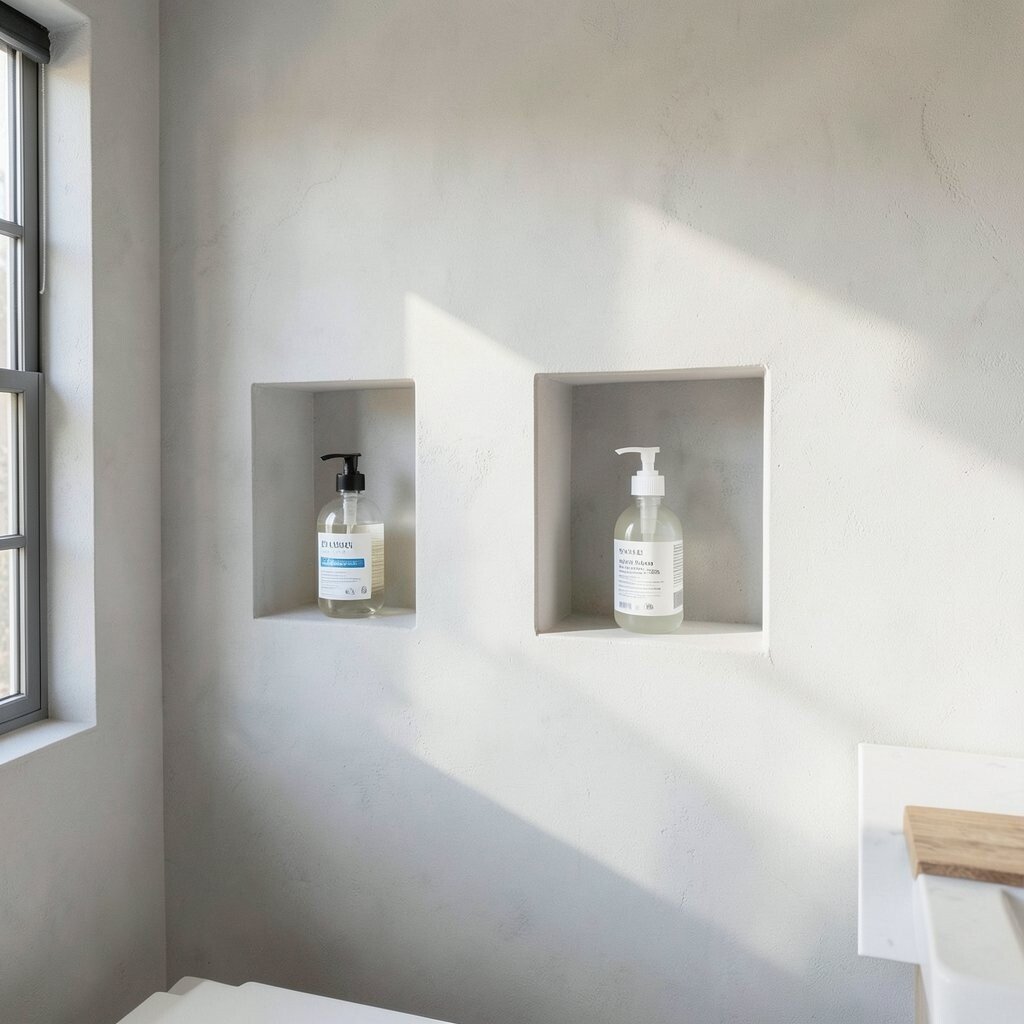
Create recessed niches in the wall to hold toiletries and keep counters clear. The space stays uncluttered, and the products look like part of the design.
Use waterproof tile or a matching moisture-safe surface for the niche interior. Keep shelves inside the niche slightly sloped so bottles don’t pool water. This feels unique in a tiny home because it gives storage without taking up floor space.
For practical planning, measure bottle heights before you cut anything. If full construction is too much, use a slim, prefab niche insert system or a wall-mounted recessed style. Cost can vary widely, so consider focusing on one niche that covers your most used items.
9. Mirrored Medicine Cabinet With Hidden Storage
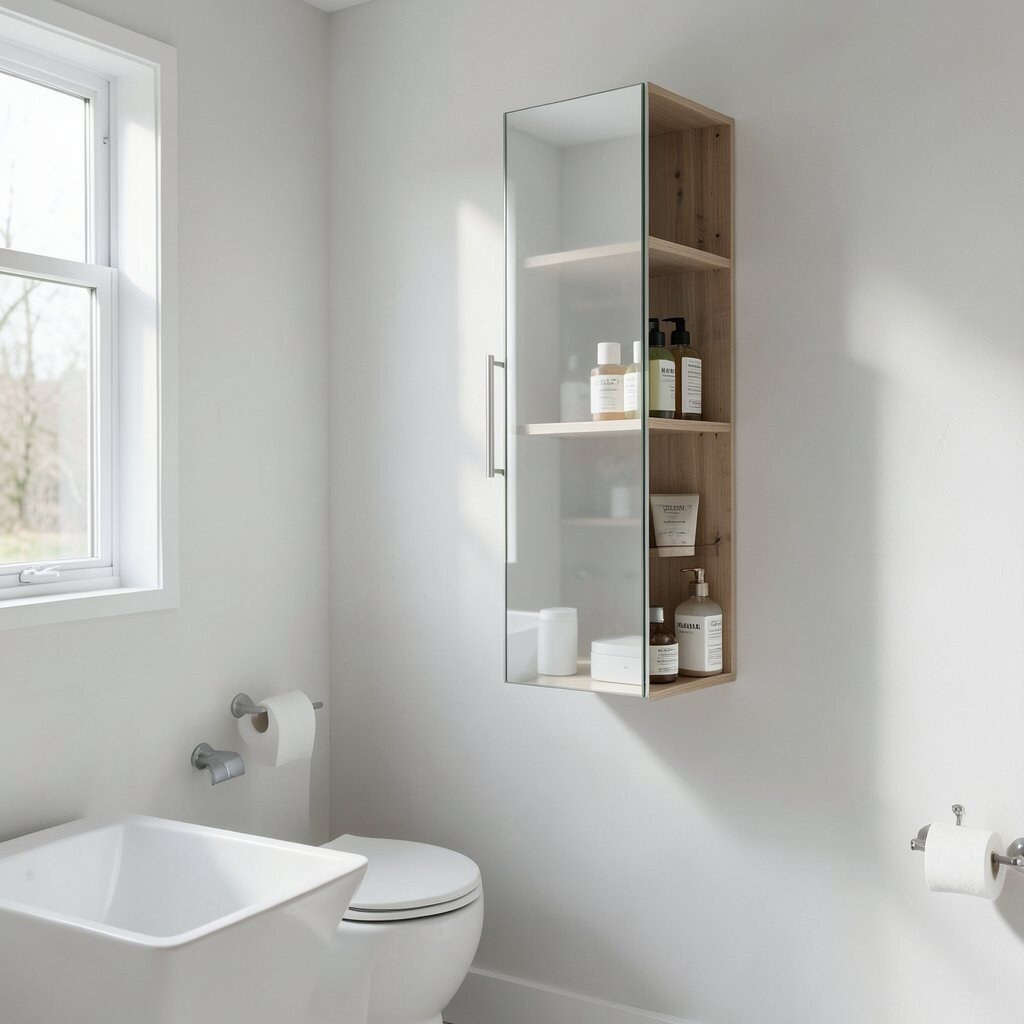
A mirrored cabinet blends into the wall while still giving you real storage. It makes the room feel bigger by reflecting light and keeping surfaces clear.
Choose a cabinet with adjustable shelves so you can fit different bottle shapes. Look for a model with a soft-close door to keep the experience quiet and premium. Personalize by matching the cabinet hardware to your faucet and towel bar.
For everyday ease, store travel-size items on the top shelf and keep backup refills in a lower section. This option can be mid-range in cost, but it often saves money later by reducing the need for extra organizers. It also fits a minimalist style because it hides clutter behind a clean, reflective surface.
10. Slim Towel Rails in a Matched Finish
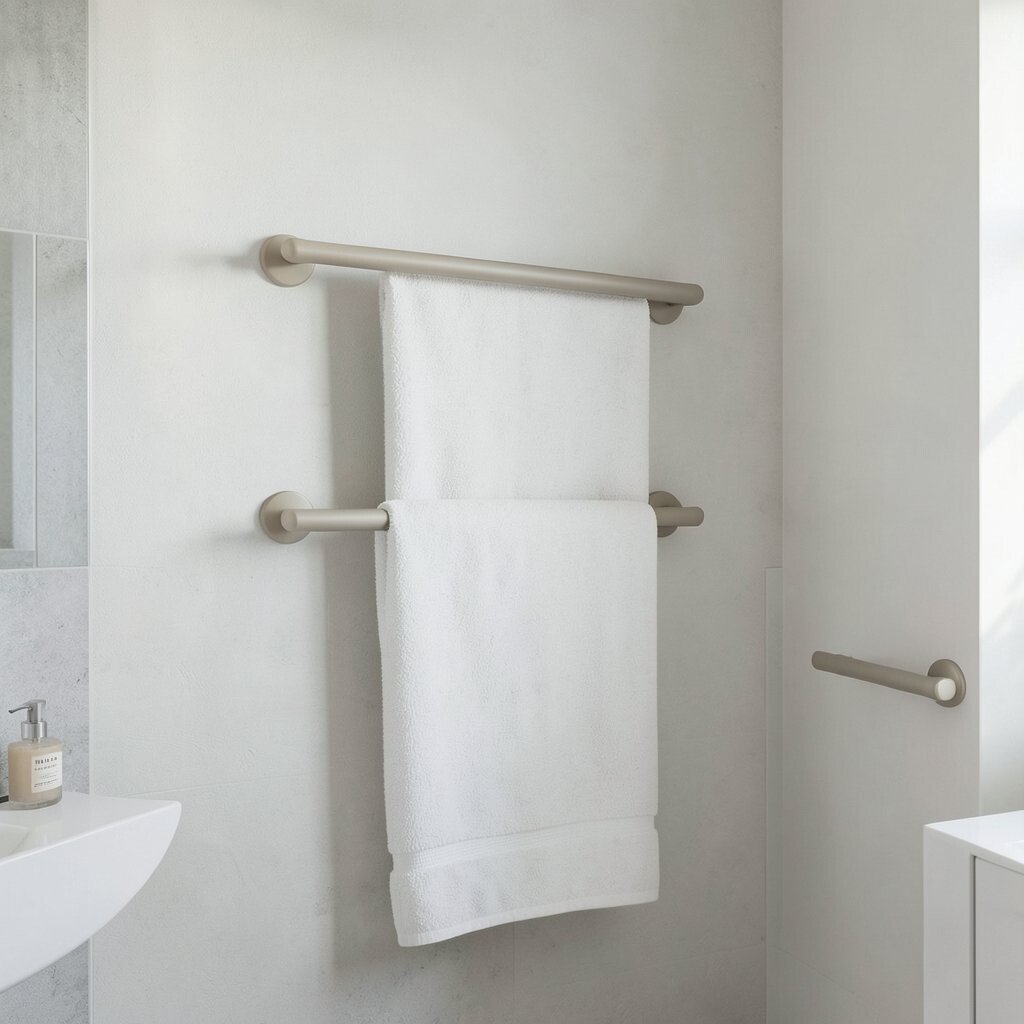
Swap bulky towel racks for slim rails that mount close to the wall. When towels hang neatly, the wall looks intentional and the room feels calm.
Use rails near the sink and inside the door zone if you can. Keep the distance between rails just right so towels dry well and don’t stay damp. For a current minimalist vibe, choose matte black, brushed nickel, or warm bronze finishes that match other fixtures.
11. Textured Limewash Effect for Soft Depth
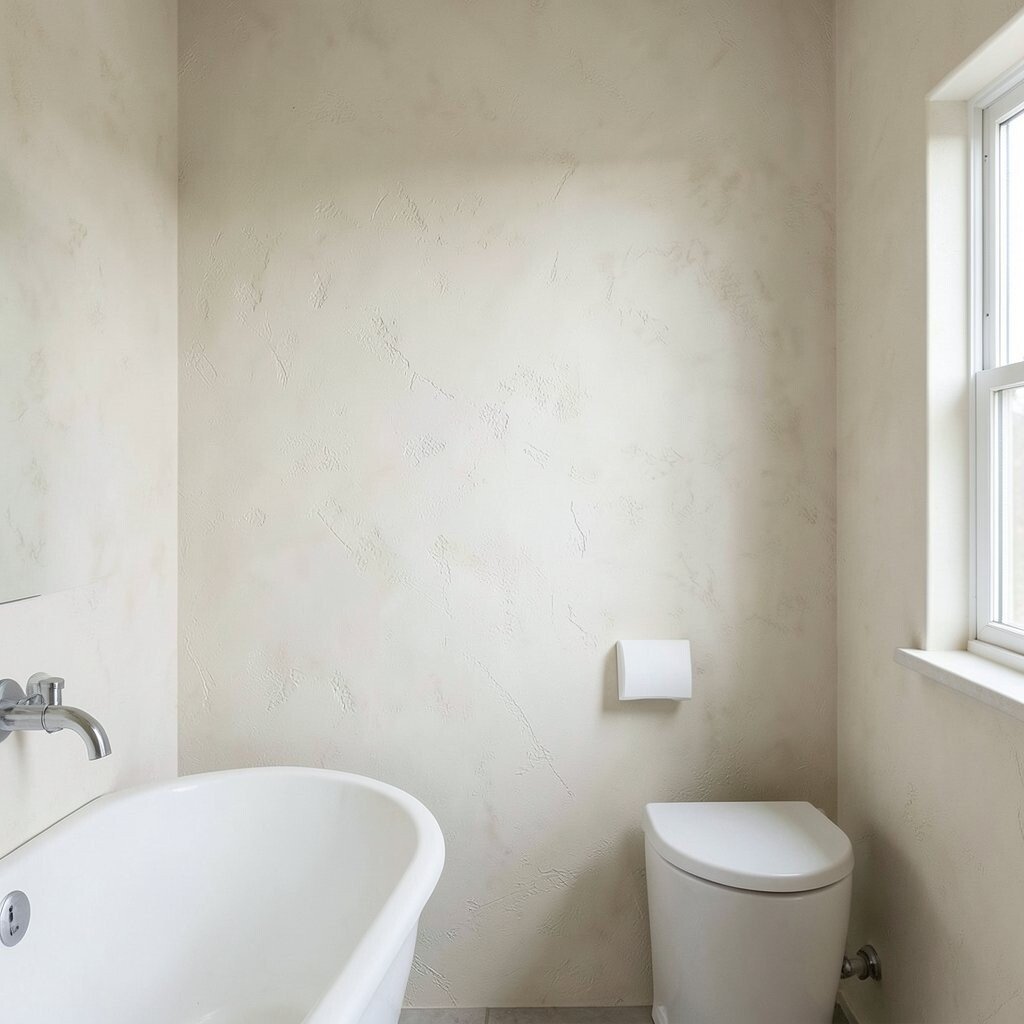
Consider a limewash-inspired finish to add gentle depth to your bathroom walls. The surface looks organic and slightly uneven, like a natural plaster that still feels light.
Use a moisture-friendly limewash product meant for bathrooms, and follow the coverage guidelines carefully. If your wall gets heavy steam, add a suitable topcoat for durability. This style is unique because it gives a lived-in look without adding clutter.
Personalize the shade by choosing a warm off-white or pale sand tone that matches your lighting. Cost can be moderate depending on brand and wall area, but it often looks high-end even with simple decor. Keep the rest of the room minimal so the texture stays the star.
12. Floating Vanity Back Panel for a Clean Line
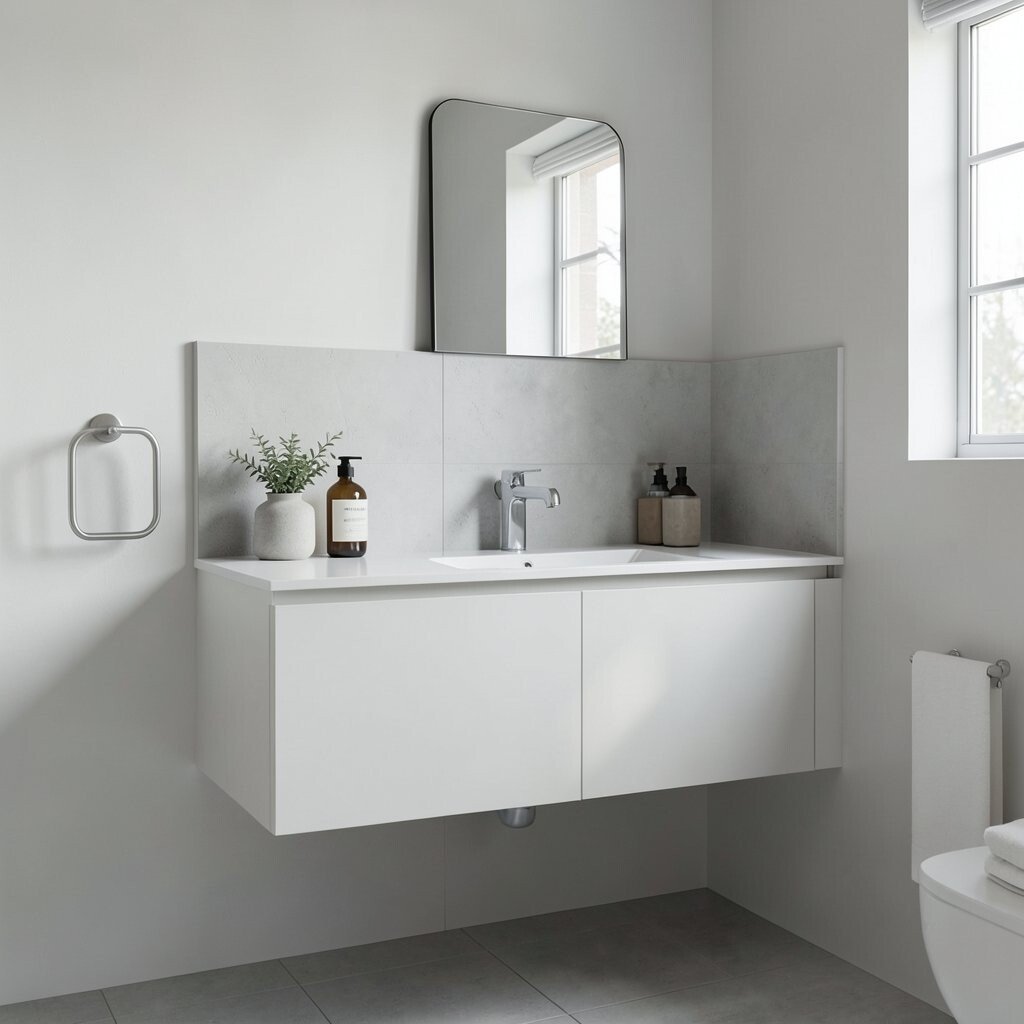
If you have a floating vanity, extend the clean wall line behind it with a simple back panel. It hides the mess behind the sink and makes the whole area look more polished.
Use a moisture-resistant panel in a matching color, such as white, soft gray, or a wood tone. Keep the vanity, mirror, and panel in the same finish family to reduce visual busy-ness. This is a practical choice because it also protects the wall behind plumbing from splashes.
For personalization, add one small accent detail like a narrow tile border where the panel meets the backsplash. Budget-friendly options include painted panels or thin wall boards, while premium options might include tile sheets. Either way, the effect is crisp and minimalist.
13. Chalky Accent Wall Behind the Mirror
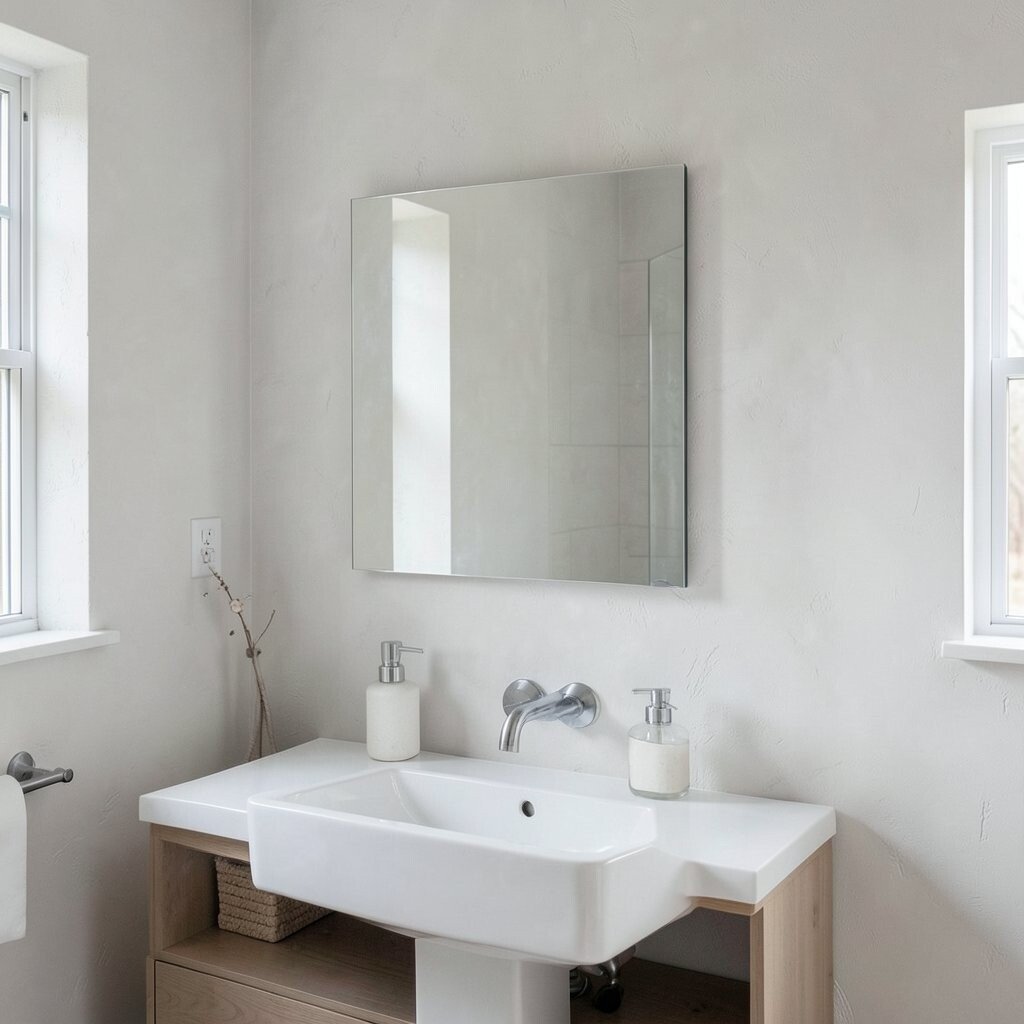
Make the wall behind your mirror slightly different using a chalky, matte paint. The soft surface frames your reflection and hides tiny imperfections.
Choose a washable, bathroom-safe matte paint because bathrooms get splashes. Keep the color close to your base shade so it feels subtle rather than loud. This approach gives uniqueness without adding extra objects, which matters in tiny homes.
To personalize, pick a color that works with your towel color or shower curtain tone. Consider testing a small patch first so you’re happy with how it looks in both day and night lighting. Cost is usually low because you’re just adding paint, but the visual payoff can feel big.
14. Minimal Wall-Mounted Faucet and Splash Shield Look
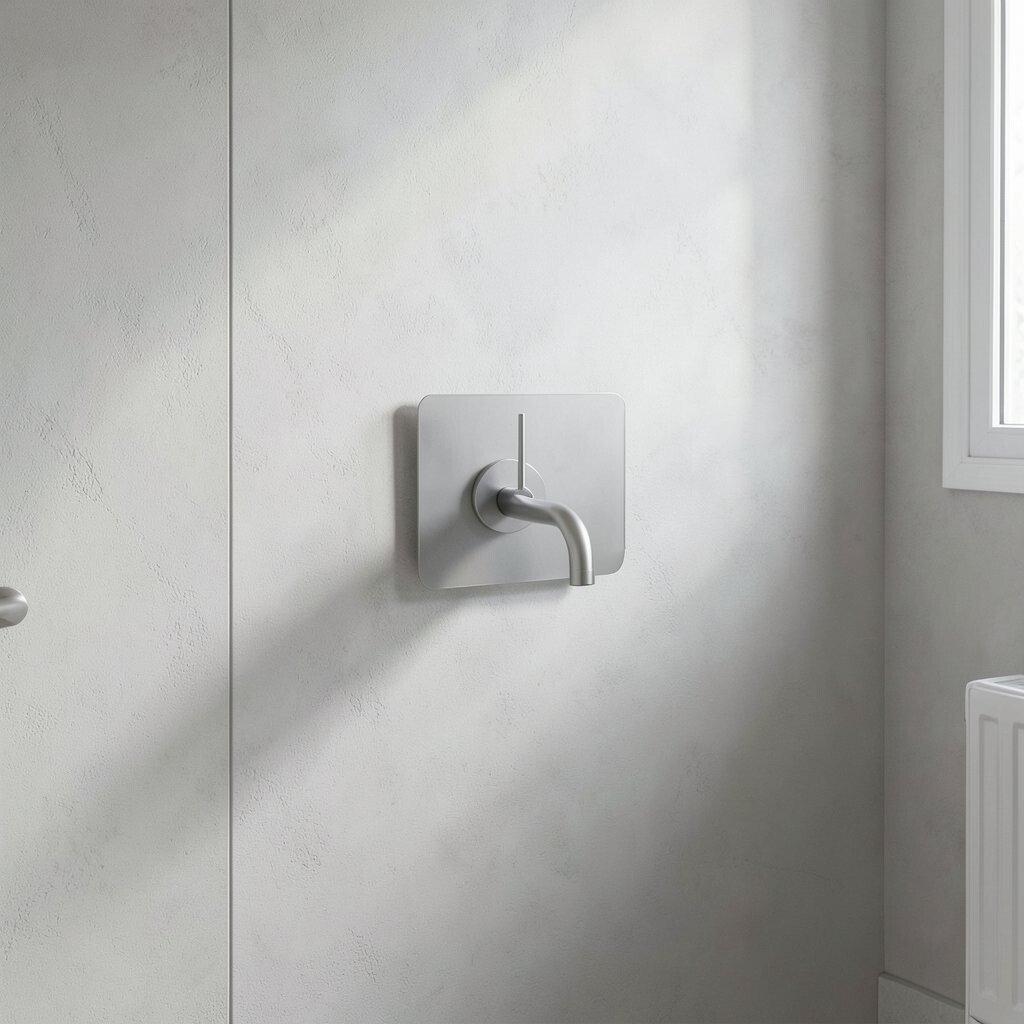
If your layout allows it, go for a wall-mounted faucet to keep the sink area open. Less equipment on the counter helps tiny bathrooms feel less busy.
Pair it with a small splash shield or a tiled section that looks intentional. Clean lines around the faucet make the wall feel designed, not just covered. For practical care, keep a small squeegee in the shower or near the sink so water spots don’t build up.
This is a unique direction because it shifts attention from clutter to clean geometry. Personalize with a faucet finish that matches your mirror light and hardware. Cost can be higher than a basic faucet swap, so plan carefully if plumbing changes are needed.
15. Modern Peg Rail for Small Towels and Tools
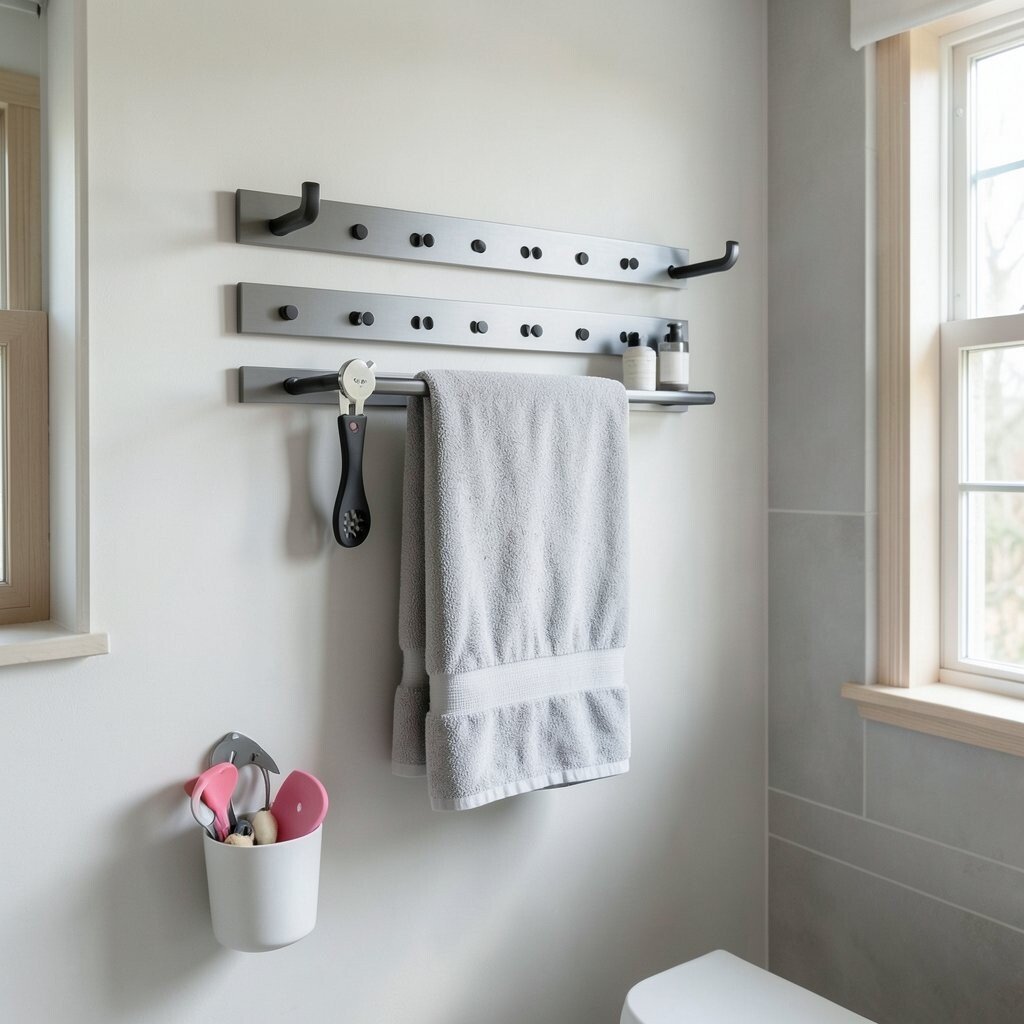
A peg rail is a simple way to hang small towels, loofahs, and hair tools neatly. The grid-like look stays minimalist when you choose a slim profile.
Use hooks that are consistent in size so the wall keeps a tidy rhythm. Space the hooks so items don’t overlap when you hang them. For a practical approach, assign each hook to one category, like “daily towel” or “backups,” and keep it consistent.
Personalize by choosing wooden pegs for warmth or metal pegs for a cooler modern look. This can be budget-friendly compared to built-in storage, especially if you install it yourself. Watch current trends: many tiny homes now use vertical wall organization because it frees up counter space fast.
16. Picture-Ledge Minimal Art Gallery in Clear Frames
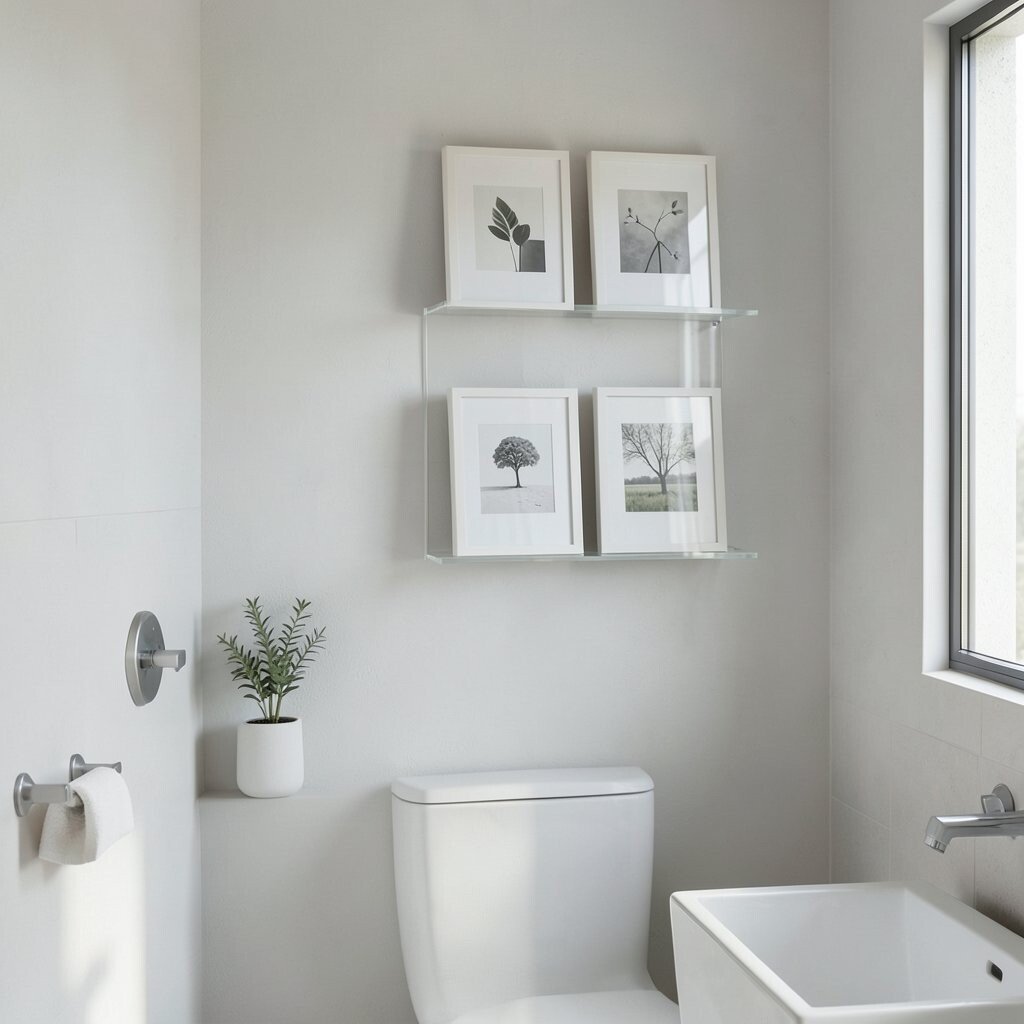
Create a tiny wall gallery using a few small pieces on picture ledges. Clear frames keep the display feeling light, even in a narrow bathroom.
Choose prints that match your palette, like soft landscapes, line drawings, or abstract shapes. Keep spacing consistent so the wall doesn’t look random. This is also practical because you can swap art seasonally without remodeling.
If you worry about humidity, use glass-front frames with secure seals. Personalize with a single meaningful print, such as a map from a favorite trip, and keep the rest simple. Cost is usually moderate, but you can control it by buying frames first and printing art later.
17. One Statement Soap Wall Dispenser Station
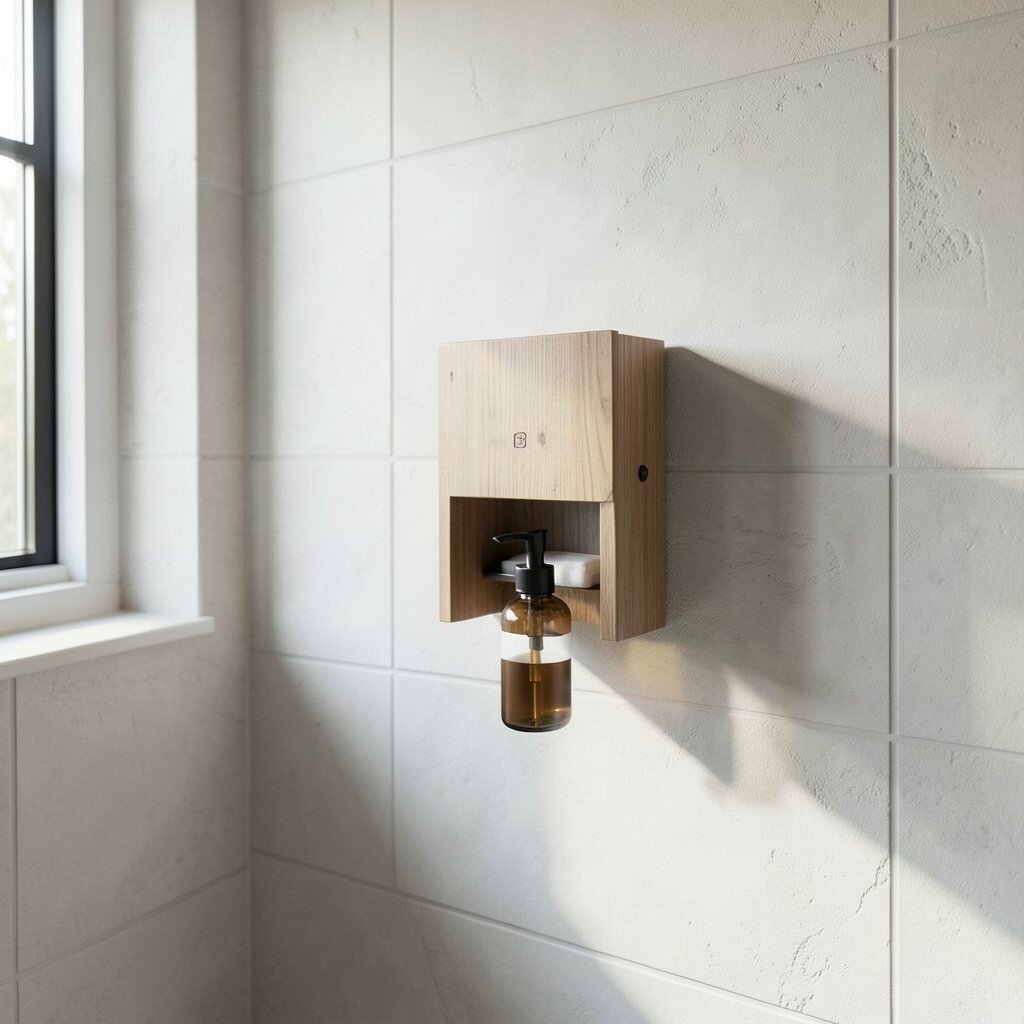
Turn your wall into a small “service station” by installing one set of sleek dispensers. When everything matches and mounts neatly, the wall feels tidy and modern.
Pick dispensers with smooth pumps and minimal labels so the look stays clean. Store refills in a small cabinet, then refill the station as needed. For practical use, keep the station away from direct spray paths and wipe it weekly to prevent residue.
Personalize by choosing a dispenser finish that matches your toothbrush holder and towel hardware. Unique touches can include a single ceramic tray beneath the dispensers or a small ring light style mirror nearby. Cost can range from budget-friendly multi-pack dispensers to premium wall systems, so choose based on how long you want them to last.
18. Micro-Panel Backsplash With a Repeating Pattern
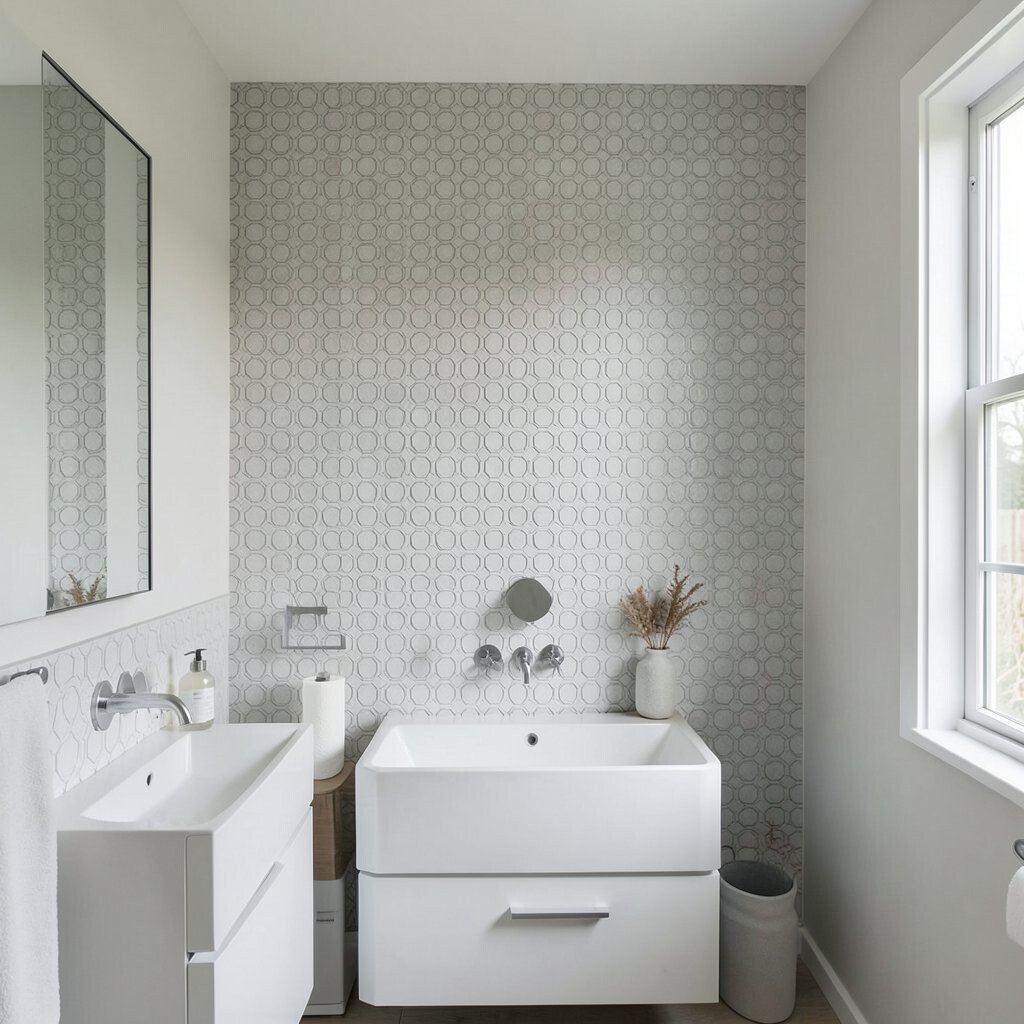
Use a micro-panel backsplash to bring interest without filling the whole wall. Small repeating shapes can look rhythmic and still feel minimalist when the colors stay calm.
Choose panels in matte finishes to reduce glare from bathroom lights. Keep the pattern aligned and limit the color to two tones for an easy, modern look. This option is great for tiny homes because it creates a strong focal spot while keeping the rest of the walls simple.
Personalize by selecting a pattern that matches your shower floor, like small geometric tiles. Cost can be moderate because you’re adding material to a smaller area rather than tiling everything. If you’re working with a tight budget, start with the wall around the sink and grow from there later.
19. Vertical Cabinet Door for Concealed Toiletry Storage
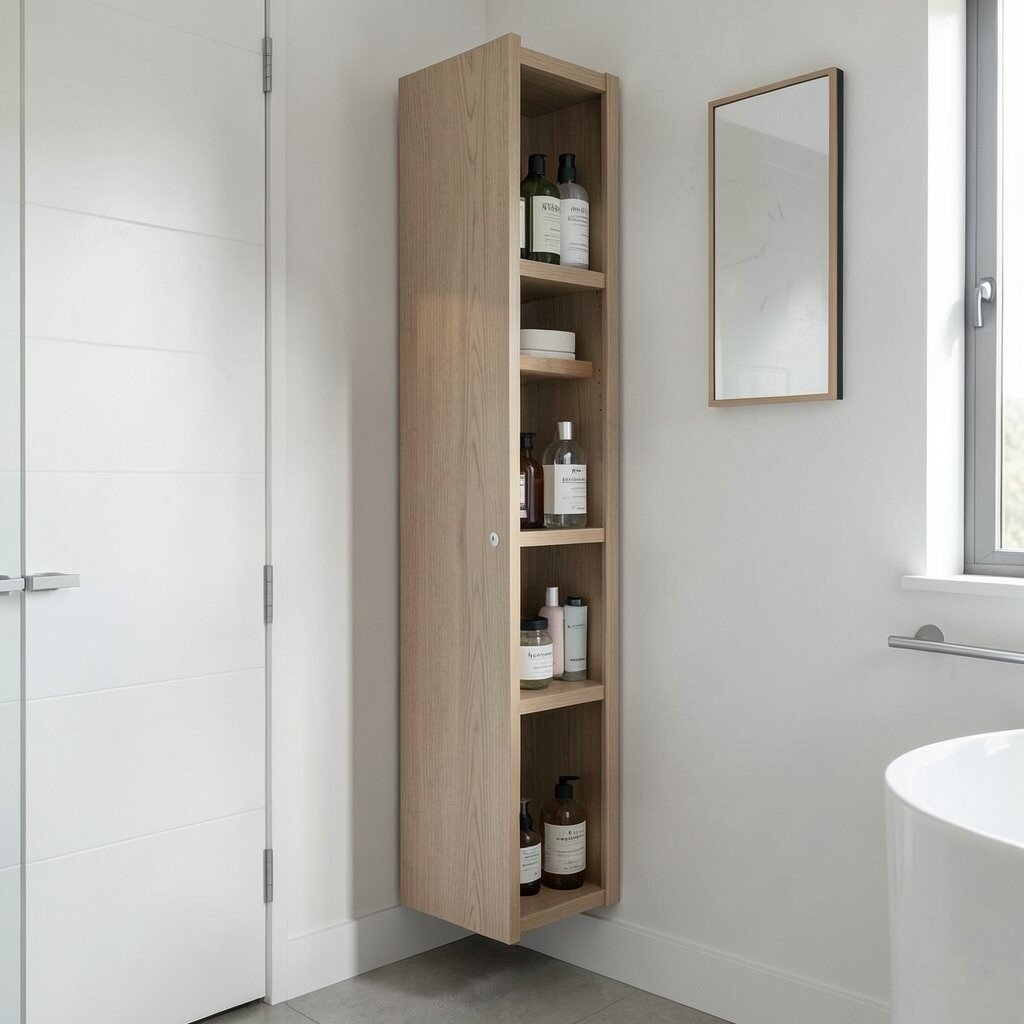
Install a narrow vertical cabinet door on the wall to hide toiletries. The tall shape uses vertical space, which helps when your floor area is limited.
Choose a moisture-resistant material and make sure the door seals well. Inside, use slim organizers or small pull-out trays so items don’t get lost. This is a practical win because it keeps the bathroom looking minimal every day.
Personalize by adding a simple handle in your preferred finish or using a push-to-open style. Uniqueness comes from how the cabinet disappears into the wall when it’s the right color. Cost can be mid-range, but you save money by avoiding extra countertop organizers and buying fewer separate storage pieces.
20. Frameless Shower Screen With Matching Wall Trim
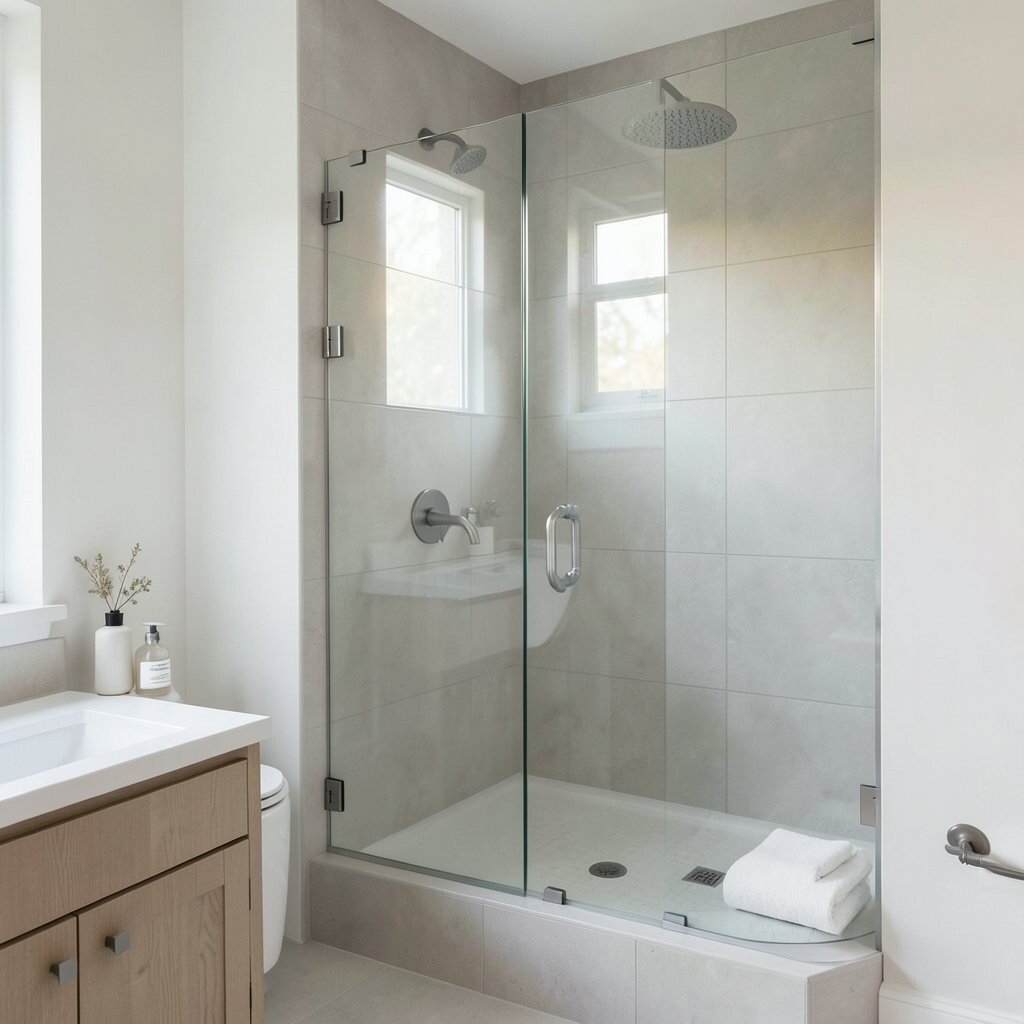
A frameless shower screen creates a crisp barrier without visual frames that crowd the room. When you match the trim to your fixtures, the whole bathroom looks pulled together.
Use a clear glass option to keep sight lines open, especially in narrow layouts. Add a simple wall-mounted storage bar or shelf that follows the same clean design language. For practical care, use a water repellent coating so the glass stays clearer longer.
Personalize with subtle hardware choices like brushed nickel or matte black for the hinges. This style aligns with current trends that favor open, airy spaces and less visible hardware. Cost can vary depending on the glass size and installation needs, so measure twice and consider professional installation if plumbing or framing is involved.
21. One Slim Wall Planter for Humidity-Friendly Greens
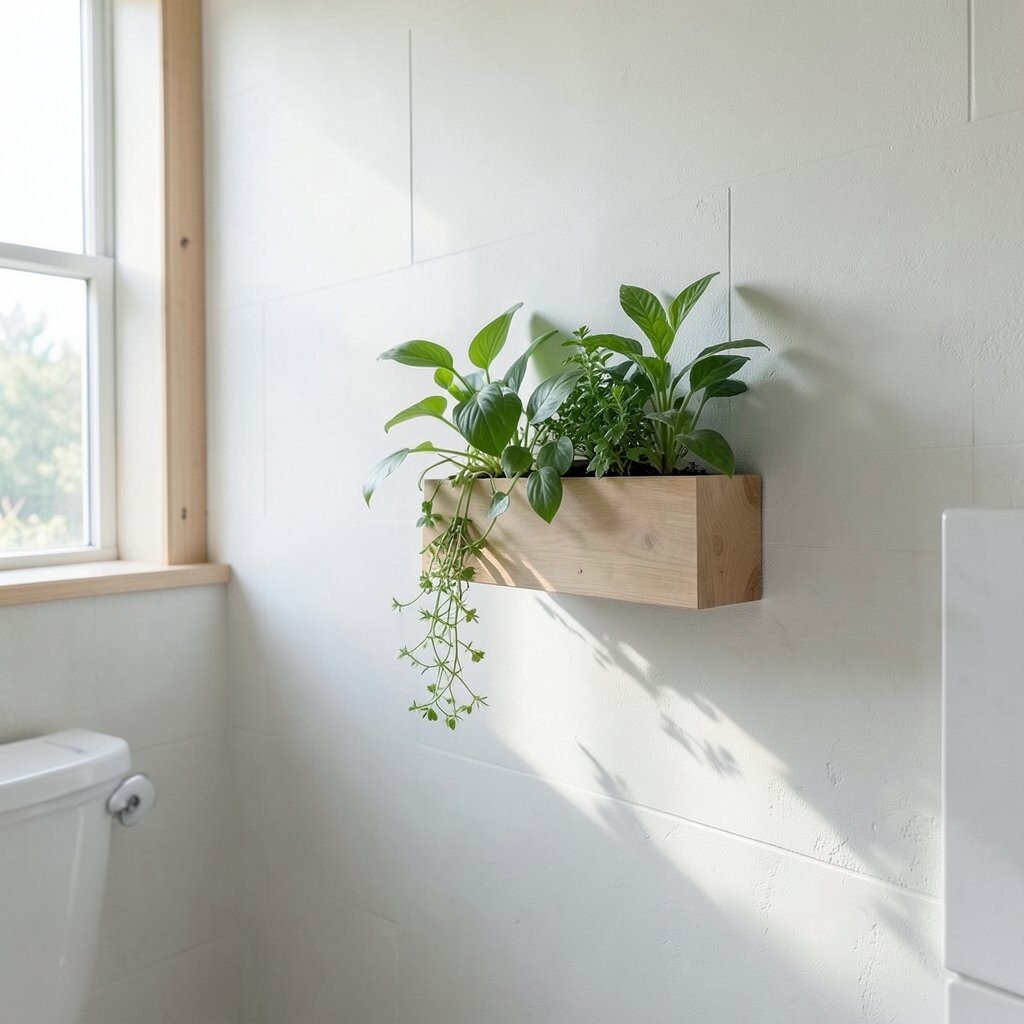
Place a slim planter on a ledge or wall-mounted bracket to bring life to your bathroom. The green color softens the minimalist look and makes the space feel fresh.
Choose plants that handle humidity, like pothos, snake plant in low-light areas, or small ferns if your bathroom stays warm. Use a planter with a tray or a removable insert so water doesn’t damage the wall. Personalize by matching the planter color to your towels or hardware for a coordinated feel.
This idea is unique because it adds calm energy without taking up precious counter space. If you’re thinking cost, start with one hardy plant and a simple mount, then upgrade pots later if you love the look. With steady care and a quick wipe-down of the ledge, the wall stays clean and the plants stay thriving.