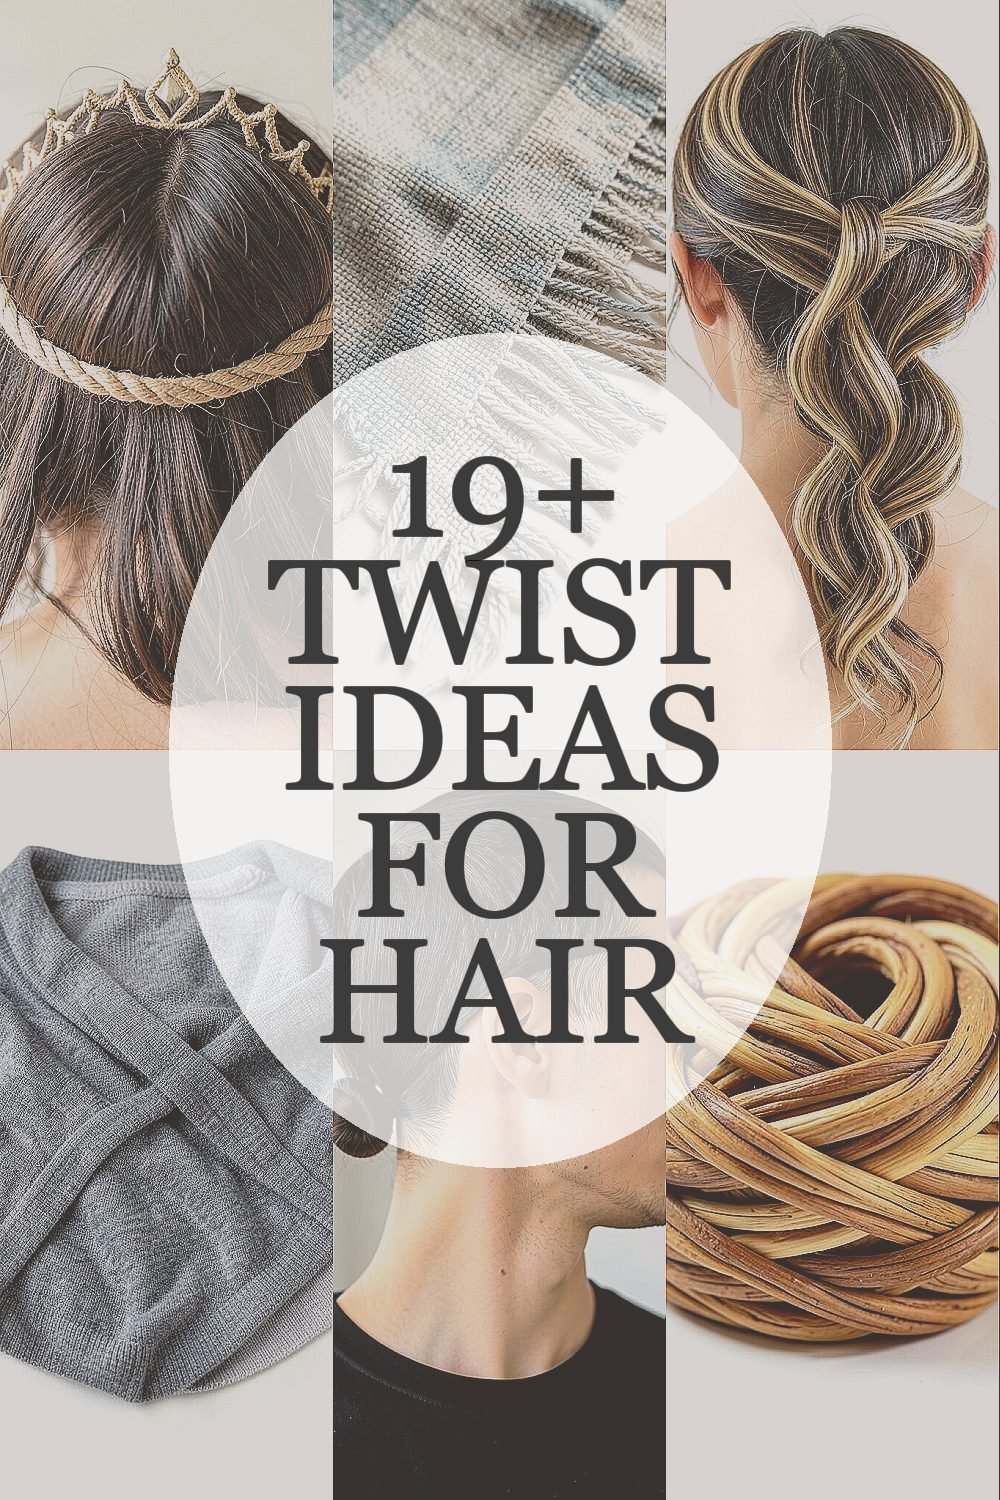
Twists have a special way of making your hair look styled even when it’s busy days. The right twist can frame your face, boost volume, and look polished from every angle.
From sleek rope twists to playful twists that move, these ideas help you switch up your look without losing your everyday comfort.
1. Rope Twist Crown With Soft Flyaways
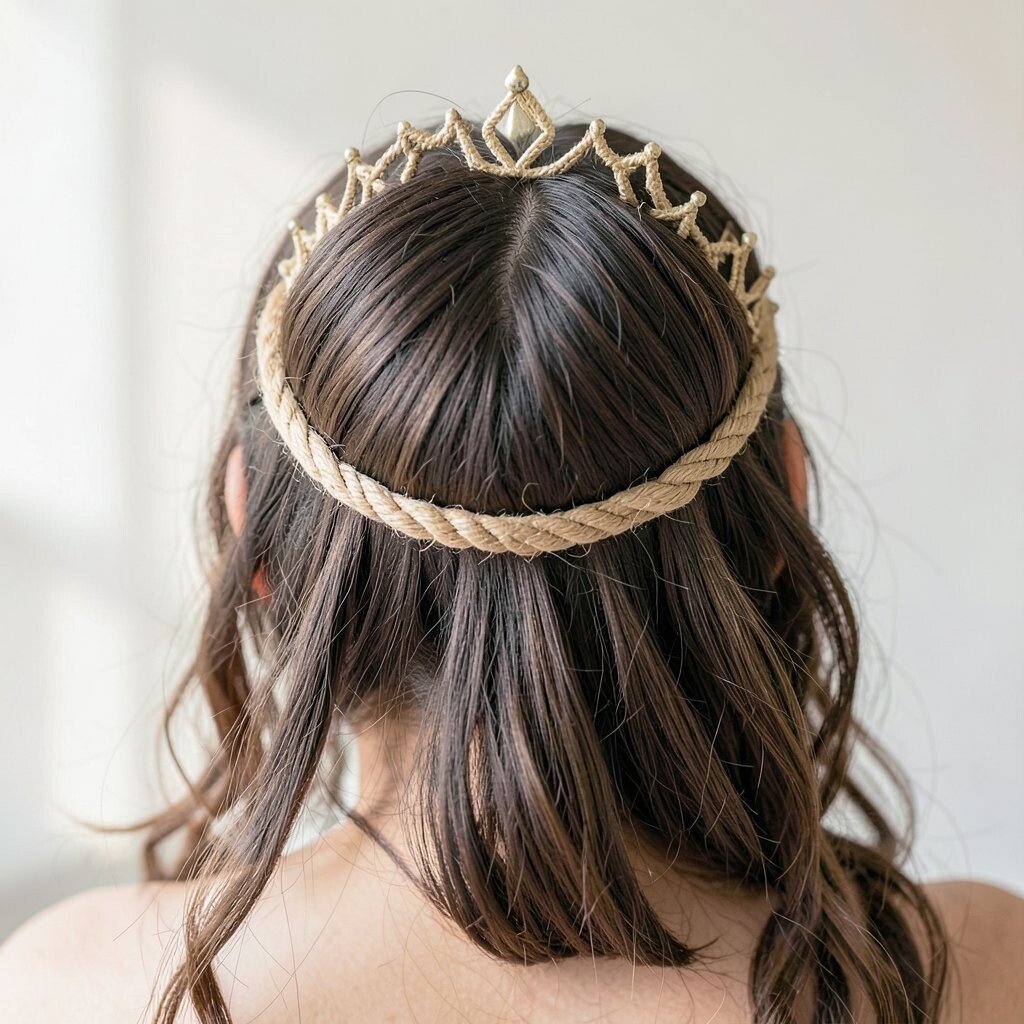
Imagine a thin rope twist wrapping like a delicate crown across your head. Tiny wisps around the hairline make it feel airy and real, not overly perfect.
This style looks especially flattering with oval and heart-shaped faces because it lifts the crown area. Keep the twist snug at the front and a little looser as you move back for a natural texture. To make it hold, lightly mist with a flexible hold spray before you start, then finish with a light hand of hair oil on the ends.
2. Zigzag Micro-Twist Side Fringe
Picture a side-swept fringe made from neat micro twists that form a zigzag pattern. The look catches light and creates a soft, graphic effect without needing extra accessories.
This adds interest even if your hair is shoulder length, and it can help tame flyaway bangs. Start by parting the fringe firmly, then twist small sections away from your face for a cleaner silhouette. Use gel or styling cream on the roots, and secure with bobby pins hidden under the twists for a smooth finish. If your hair is fine, use a tiny amount of mousse first to add grip, and if it’s thick, work in smaller sections so the twists don’t loosen.
For a current vibe, pair it with the rest of your hair in a loose bun or a low ponytail so the fringe stays the star.
3. Twisted Half-Up Waterfall With Ribbon-Like Strands
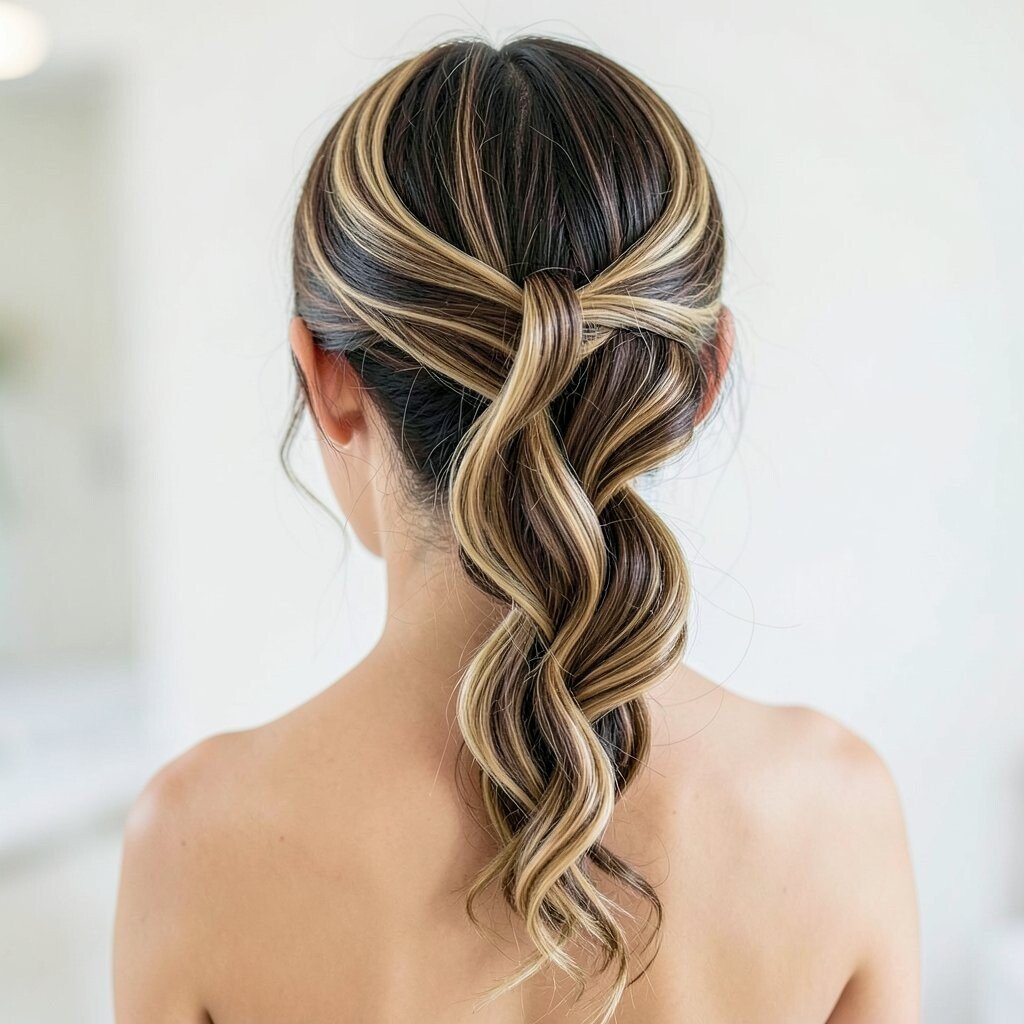
Think of a waterfall braid, but made from twists that look like flowing ribbons. As the twists travel down, a few strands fall freely to keep the movement.
This is a great pick when you want a romantic feel that still looks tidy. Separate a top section, create two twisting lanes, and let selected strands drop as you move. A light styling cream helps your twists look defined, and a mist of heat protectant lets you soften the fallen lengths with a quick blow-dry. For personalization, twist thicker sections for a bold look or keep them thin for a more delicate finish.
If you want extra staying power without stiffness, use a flexible setting spray only on the twisted areas, then comb the falling ends lightly.
It pairs nicely with soft layers and looks stunning with subtle balayage because the “drops” show off color contrast.
4. Double Dutch Twist With a Hidden Elastic Pull-Through
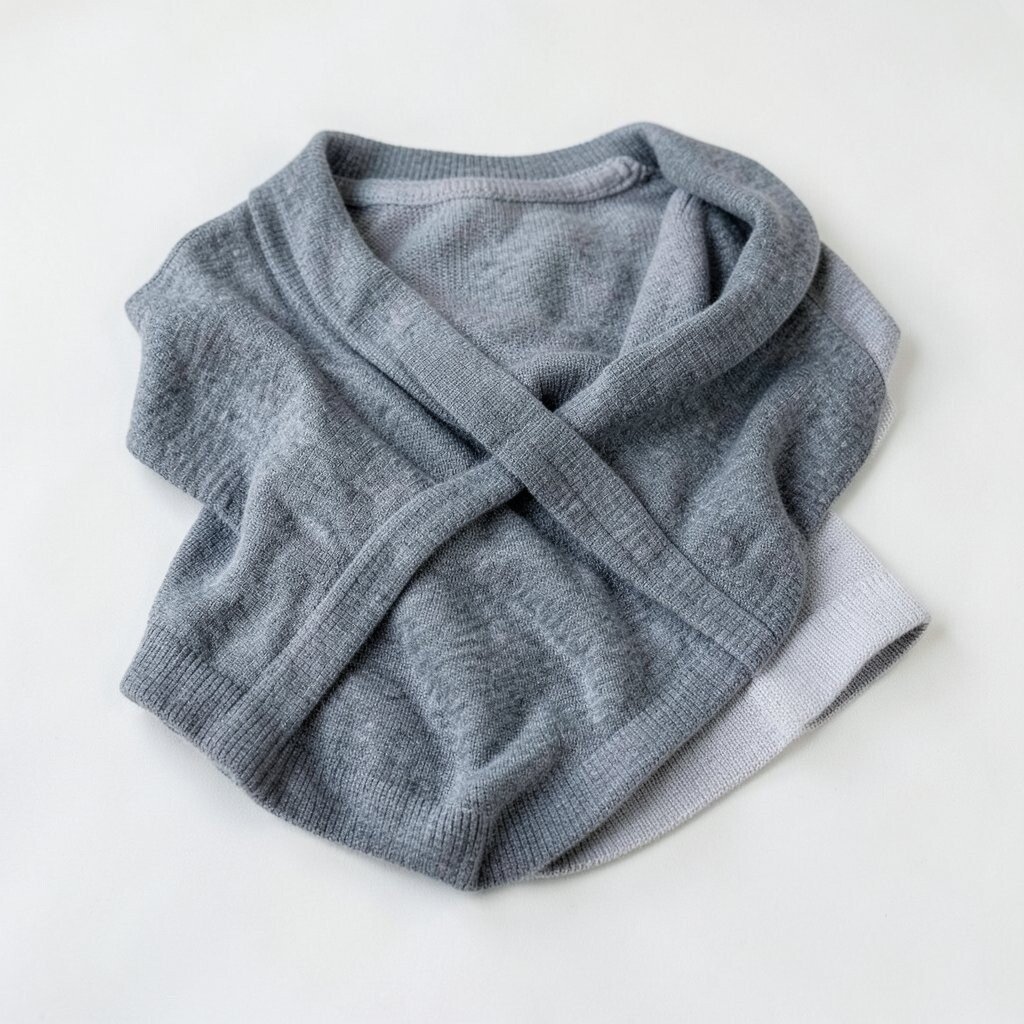
Picture two crown-level Dutch twists that meet near the back like twin highways of hair. Each braid-like twist sits raised, and the final connection looks almost hidden.
This style gives lots of structure, which helps if you want your hair off your neck. Begin at the front with tight sections, and keep tension even so the twists look uniform. When you reach the back, use a small elastic and do a pull-through method to hide it under the twists. If your hair is slippery, add a little dry texture spray at the roots before you start.
5. Tapered Temple Twist to Sleek Low Pony
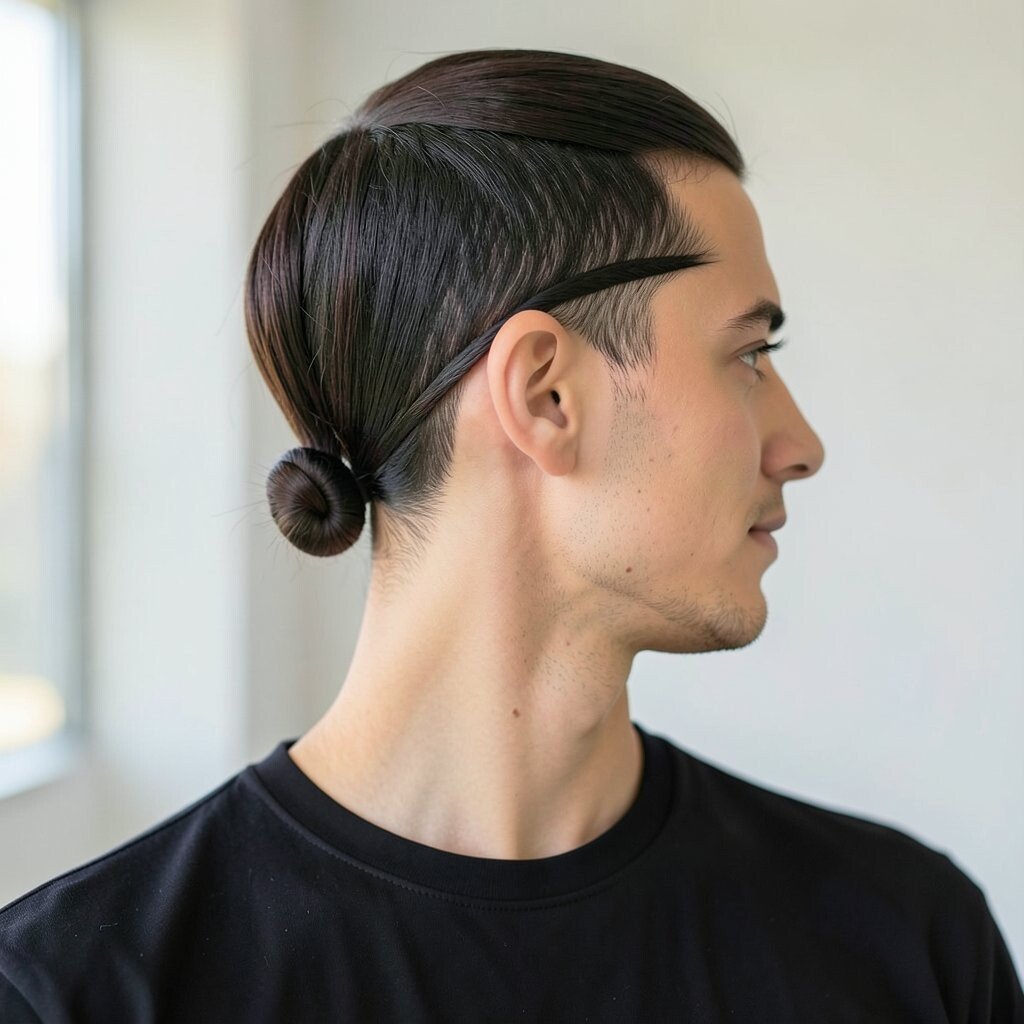
Start with a smooth low pony, then wrap a narrow twist from the temple toward the base. It looks like a polished headband, but it’s made from your own hair.
This is perfect for workdays, dinners, or any time you want your style to look intentional. Use a shine serum lightly so the ponytail looks sleek, and pin the twist right where you’d normally clip a headband. For uniqueness, keep the twist slightly angled to match your natural part, and tie the pony with a thin elastic for a cleaner look. If you have curly hair, gently stretch the front section with your fingers while you twist so it lays flatter.
Cost-wise, it’s mostly about a good elastic and a small styling product, so you can keep it budget-friendly while still getting a “salon finish.”
6. Basket Twist Bun With Interlaced Thickness
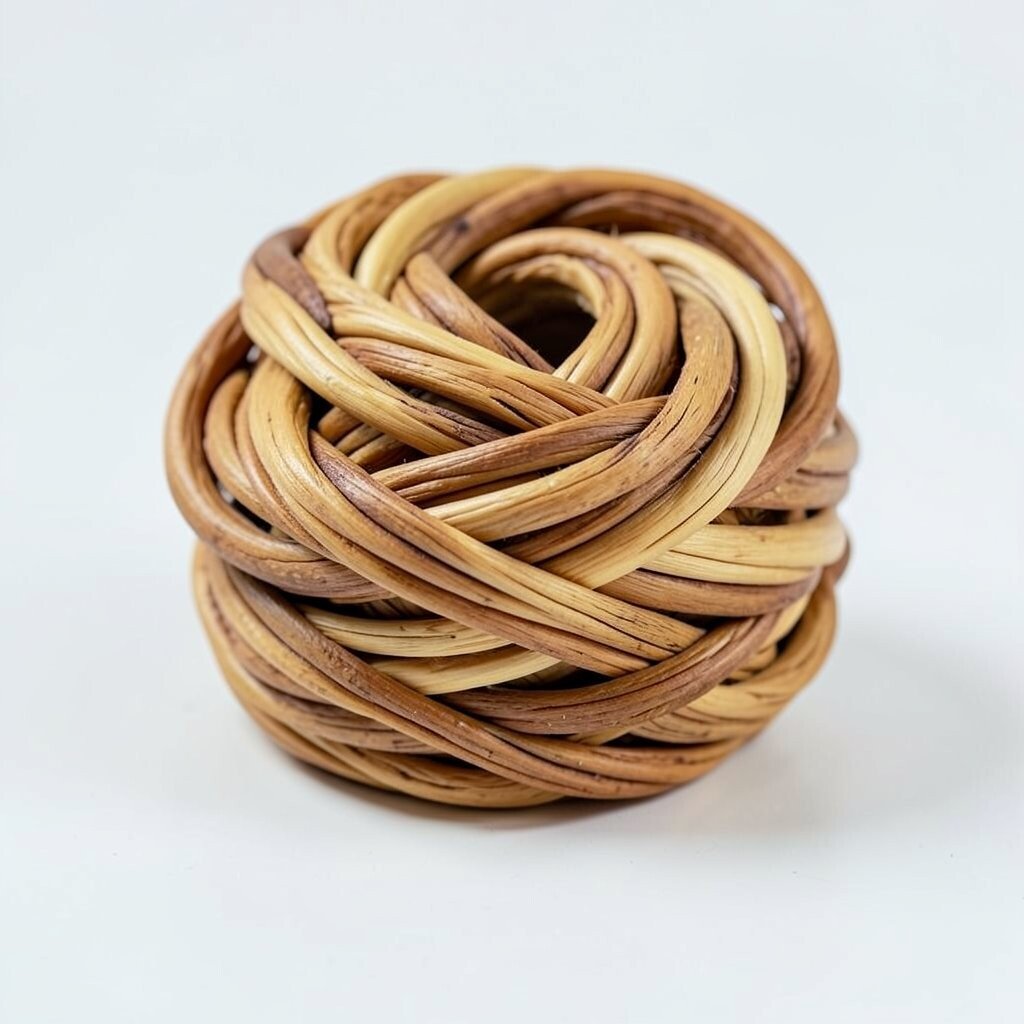
Imagine a bun made from twists that alternate between thick and thin sections. From the outside, it looks like woven baskets, but it feels soft and wearable.
This bun gives a strong shape and holds well, which is helpful if you hate constant readjusting. Create a base bun, then wrap interlaced twists around it, tucking ends as you go. Use a light hold cream to keep each twist from unraveling, and finish with bobby pins placed in a cross pattern for staying power. For personalization, choose how tight the weave looks by changing section size, and match the twist direction to the way your hair naturally falls.
7. Loose Twist Halo for Soft Volume
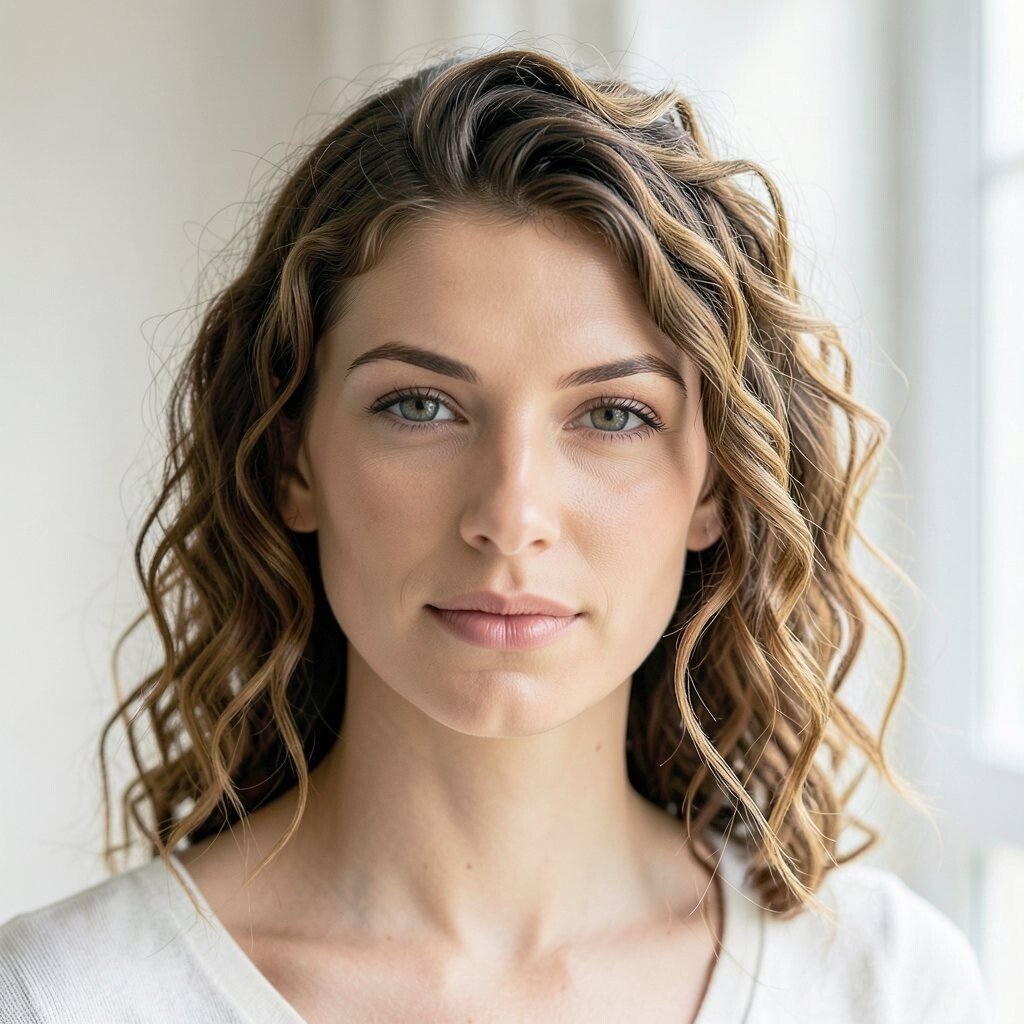
Picture a halo effect made from loose twists that sit gently around the head. The texture is airy, and you still get that “my hair looks naturally great” vibe.
This style boosts volume on top because the halo twists create lift without needing teasing. Separate two sections from above the ears, twist them loosely, and wrap them around the head like a frame. Tuck the ends under and secure with bobby pins that match your hair color. If you have fine hair, add a bit of root powder first, then keep the twists looser so they don’t collapse.
It’s a wonderful option for spring and summer events because it looks breathable and not heavy.
8. Twist-Into-French Braid for a Raised Finish
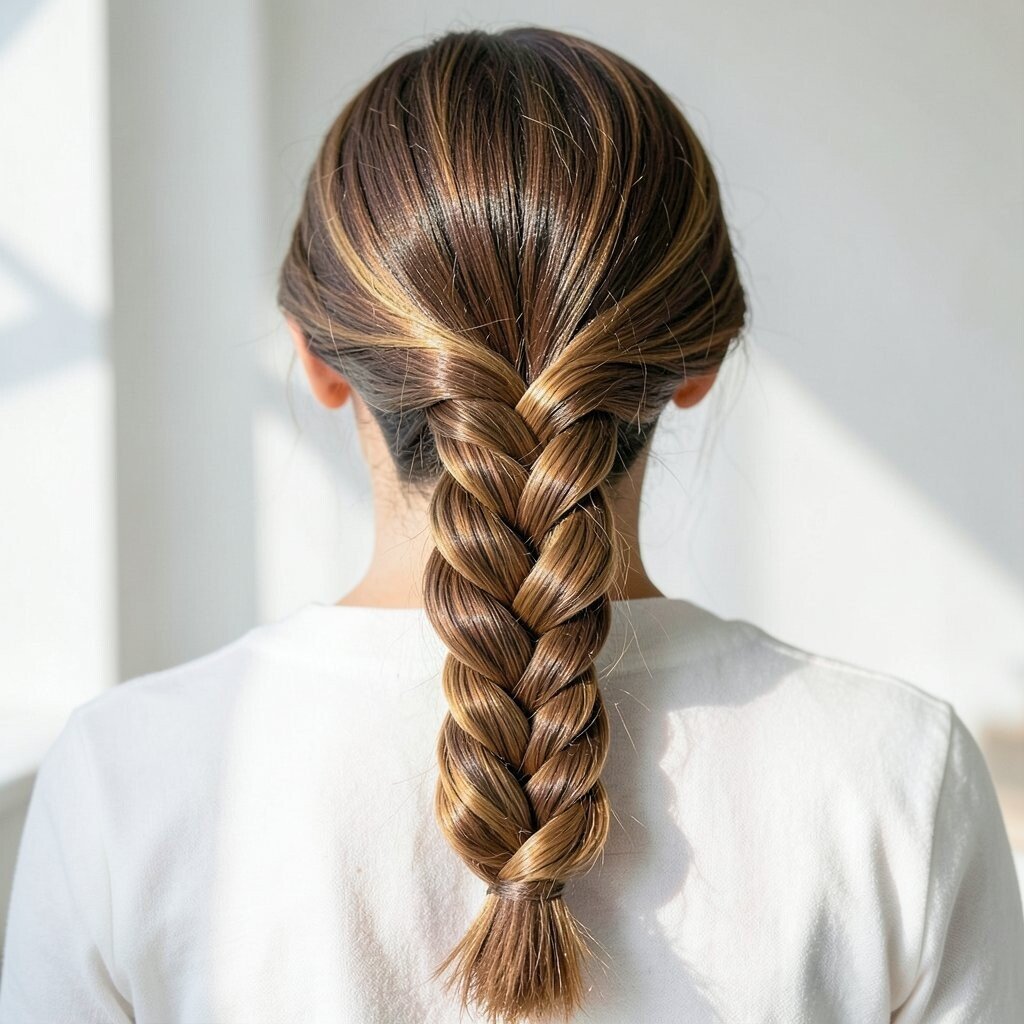
Think of a French braid that starts with twists, giving it a raised, ropey beginning. The top looks especially intricate, while the braid continues cleanly down the length.
This technique helps you avoid a flat start and gives a more dramatic texture. Start with two twisted sections at the crown, then add hair gradually like a classic French braid. Keep your additions small so the braid stays smooth and the twists stay visible. For personalization, pull tiny strands free along the sides after braiding to make it look trendy and soft.
9. Spiral Twist Bangs With Pin-Curl Shine
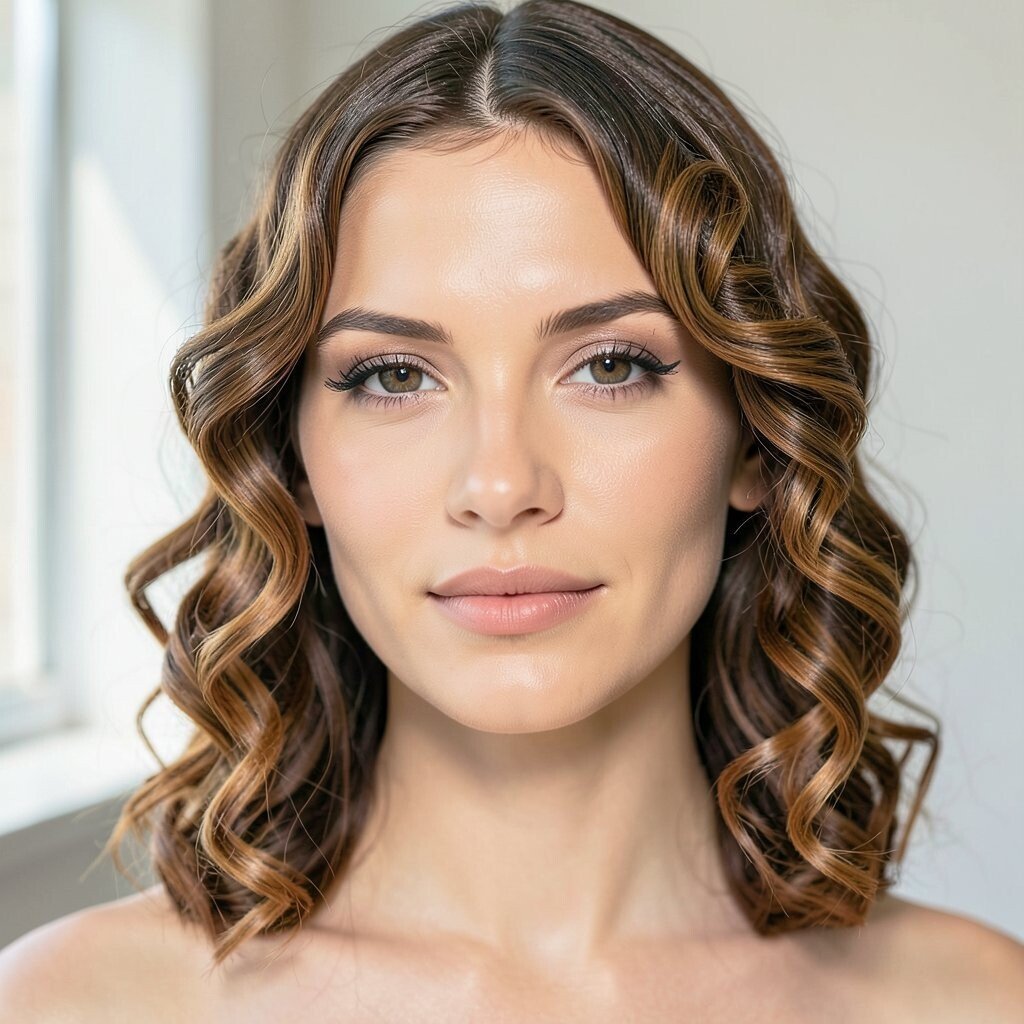
Imagine tiny spiral twists that sit like mini curls at the front, catching light with every turn of your head. They give your bangs a defined look that feels playful but still neat.
This is a smart choice if you want to style bangs without fighting them all day. Twist small sections toward the center, then pin them briefly so they set. Use a light gloss spray or serum on the surface to create shine, not crunch. To personalize, choose a side part and let the spirals point toward your cheekbone for a face-framing effect.
If you’re on a budget, you can skip fancy tools and rely on pins, a good styling cream, and patience while they set.
It also works beautifully with curtain bangs because the spirals blend into the rest of the style.
10. Twisted Crown Undercut Illusion With Strategic Parting
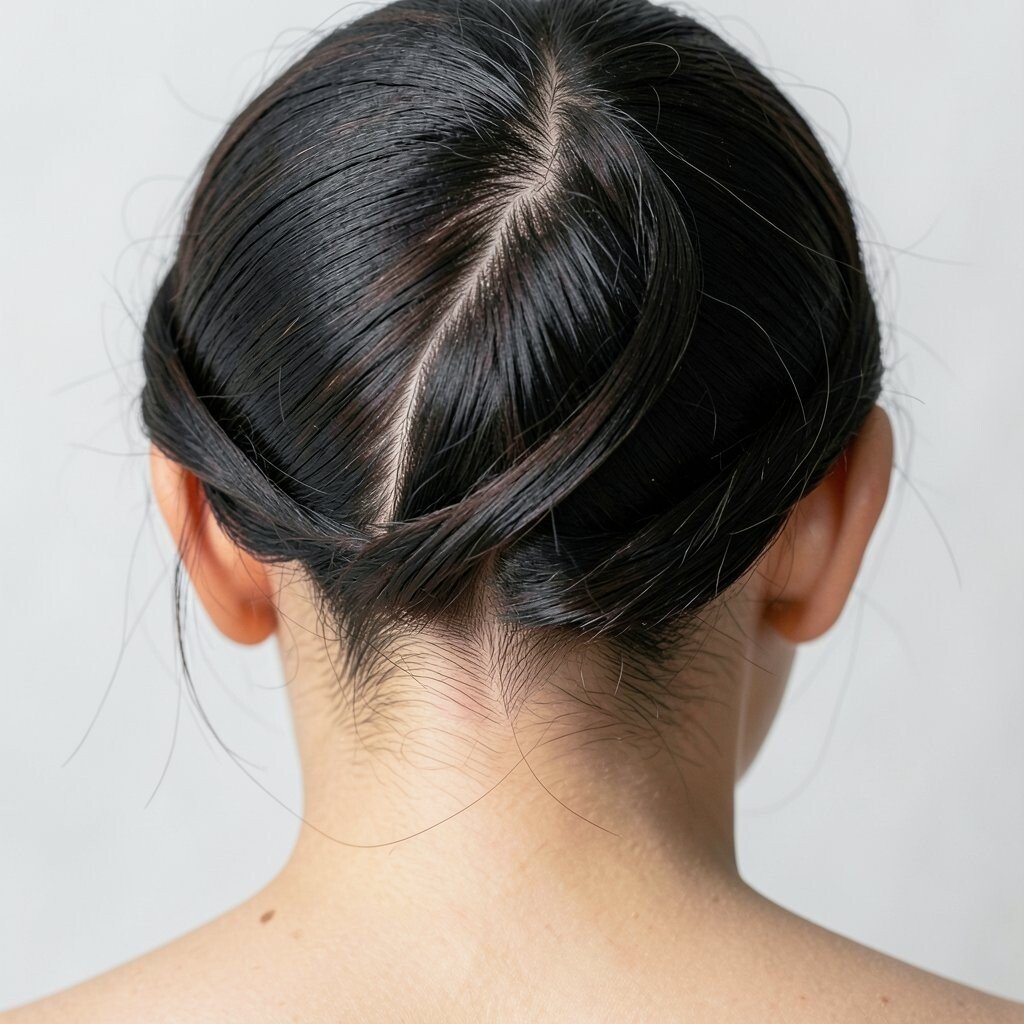
Picture a crown twist that looks like it’s hiding an undercut, even though your hair is all one length. The secret is the parting, which creates a bold contrast under the twist.
This is unique because it gives an edgy vibe without needing to actually cut your hair. Create a deep side or asymmetrical part, twist hair from the denser side across the top, and secure it so the under area looks sleek. Add a little smoothing cream to the “shadow” area so it looks controlled. If you want a softer look, use thinner twists instead of very chunky ones.
11. Four-Strand Twist Updo With Color-Highlight Frames
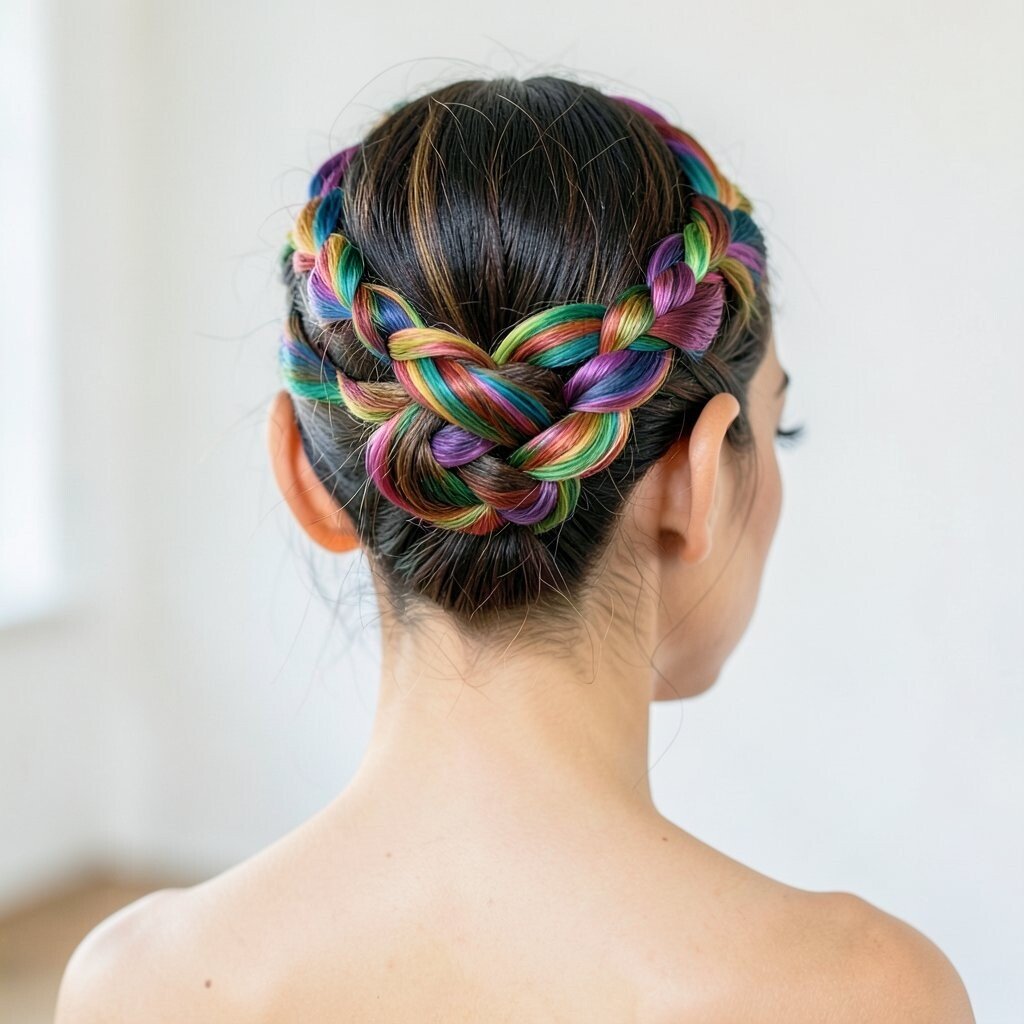
Imagine a twist updo built from four strands, with each section turning like a braided sculpture. It looks extra detailed, especially when your hair has highlights or a balayage.
This look shines because color lines get caught in the twists, making everything appear more dimensional. Divide the top into four sections and twist in a steady pattern, keeping tension even. Then coil and pin the twisted lengths into an updo that feels secure. For personalization, vary where you start the updo so the thickest twists frame your favorite cheek area.
Use a strong-but-gentle holding spray and press down any stray hairs with a soft brush so it stays crisp. It’s a bit more time than a simple style, but the result looks worth it for events or photos.
12. Waterfall Twist Ponytail With a Loop Detail
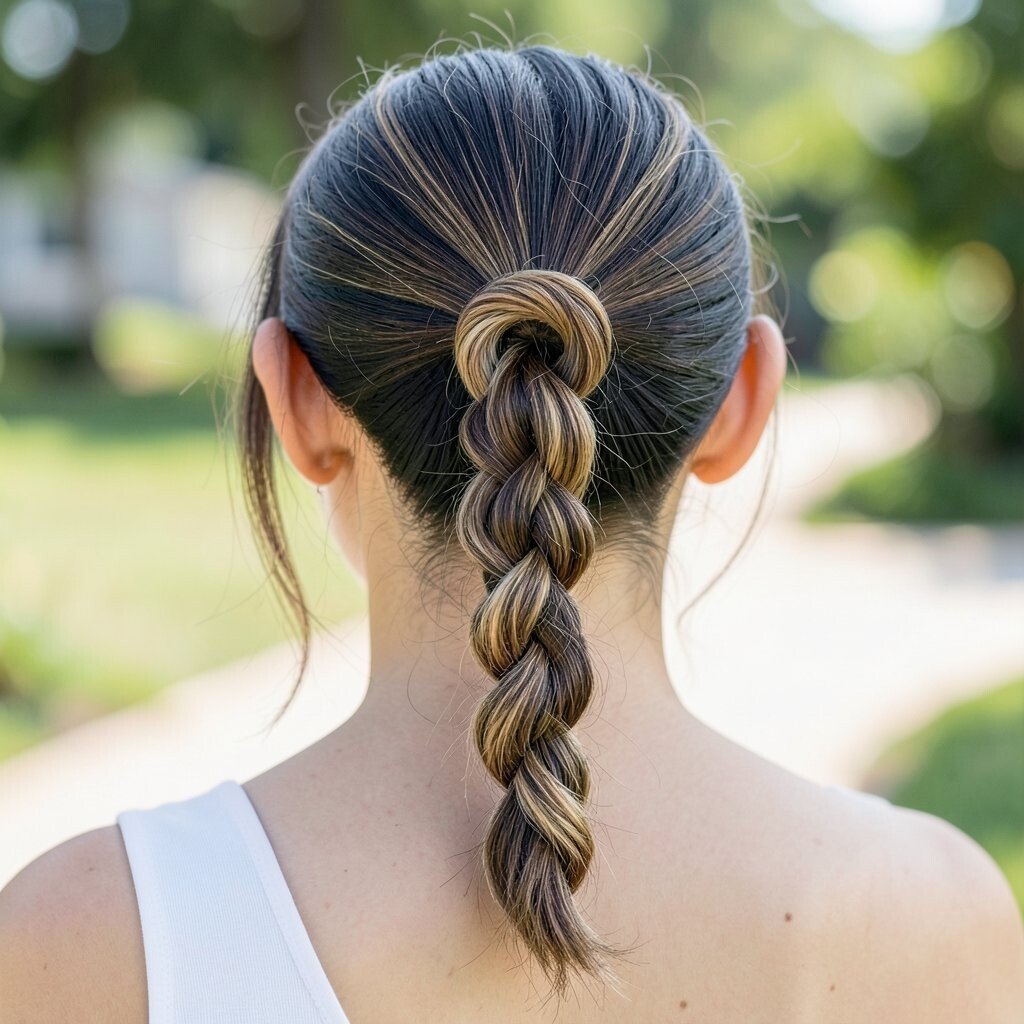
Picture a ponytail where the top section is braided in twists like a waterfall, then gathered into a clean pony. A small loop detail near the base adds a fancy touch without complicated tools.
This ponytail is great for active days because it stays secure while still looking styled. Create twist lanes at the crown, let a few strands drape down, then gather everything at the end. Add a loop by wrapping a thin strand around the elastic and tucking the end under. If your hair is thick, use two elastics, one for the base and one for the upper gather, then blend the twists to cover both.
For current trends, keep the pony slightly off-center so it feels modern and flattering.
13. Mini Twisted Space-Bun With Texture Spray Finish
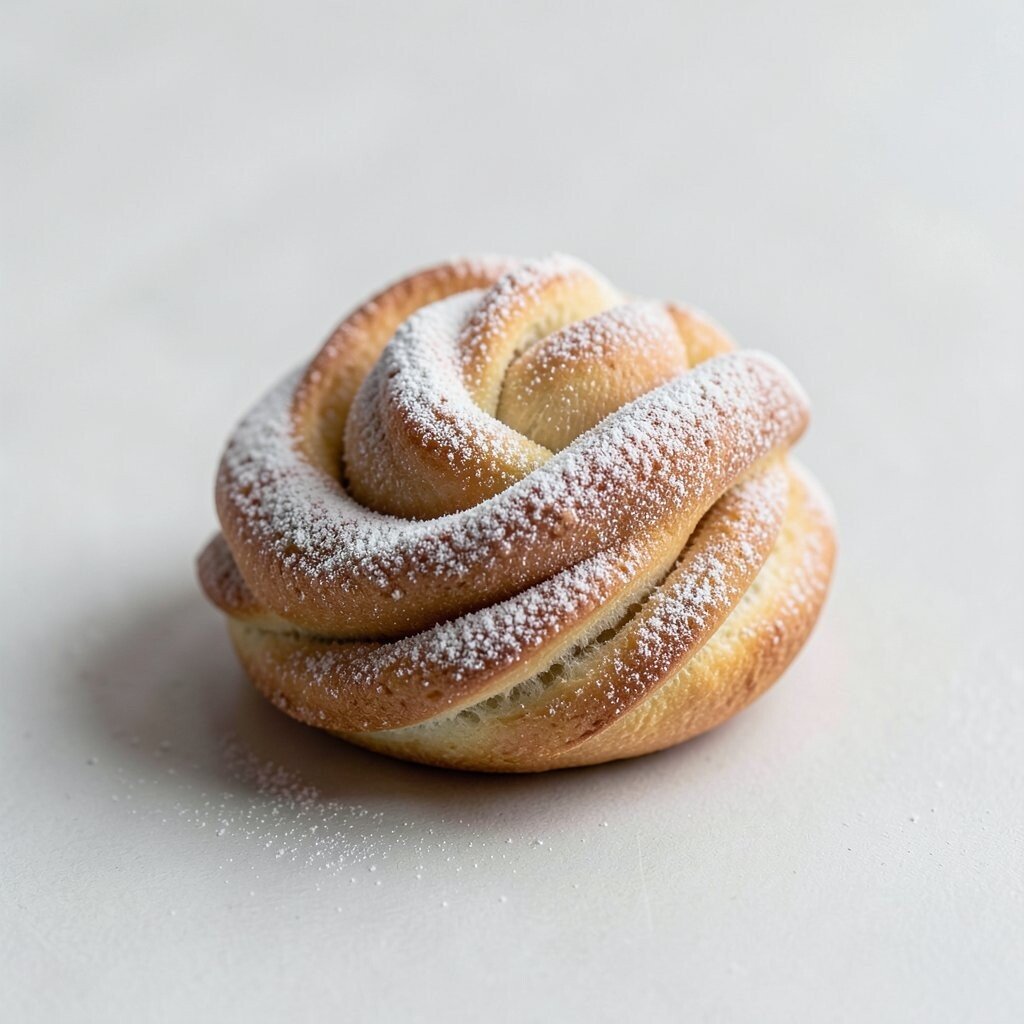
Imagine two small space buns made from mini twists, giving a playful, sporty look with lots of texture. The twists make the buns look fuller and more interesting than regular buns.
This is a fun option for festivals, casual dates, or even gym-to-brunch days. Part your hair into two sections, twist each section into mini ropes, and coil into buns. Secure with pins and add texture spray to keep everything from looking too stiff. For personalization, vary the twist direction so the buns have a woven look, or add one twist strand that spills out for a cute imperfection.
It’s also budget-friendly since you mainly need styling products you already use.
14. Twisted Side-Swept Mohawk Without Shaving

Think of a mohawk feel, but made gentle with twists instead of sharp edges. A series of twists runs down the center, while the sides stay smooth and tucked.
This style gives you that bold attitude while still keeping your hair wearable. Pin the sides flat, then twist the center section tightly and secure it along the way. Use a strong hold gel so the center stays raised, and finish with a light mist so it looks sleek rather than wet. If you want a softer look, keep the center twists slightly looser and let a few strands frame the forehead.
15. Rope Twist Chignon With Pin-Curled Ends
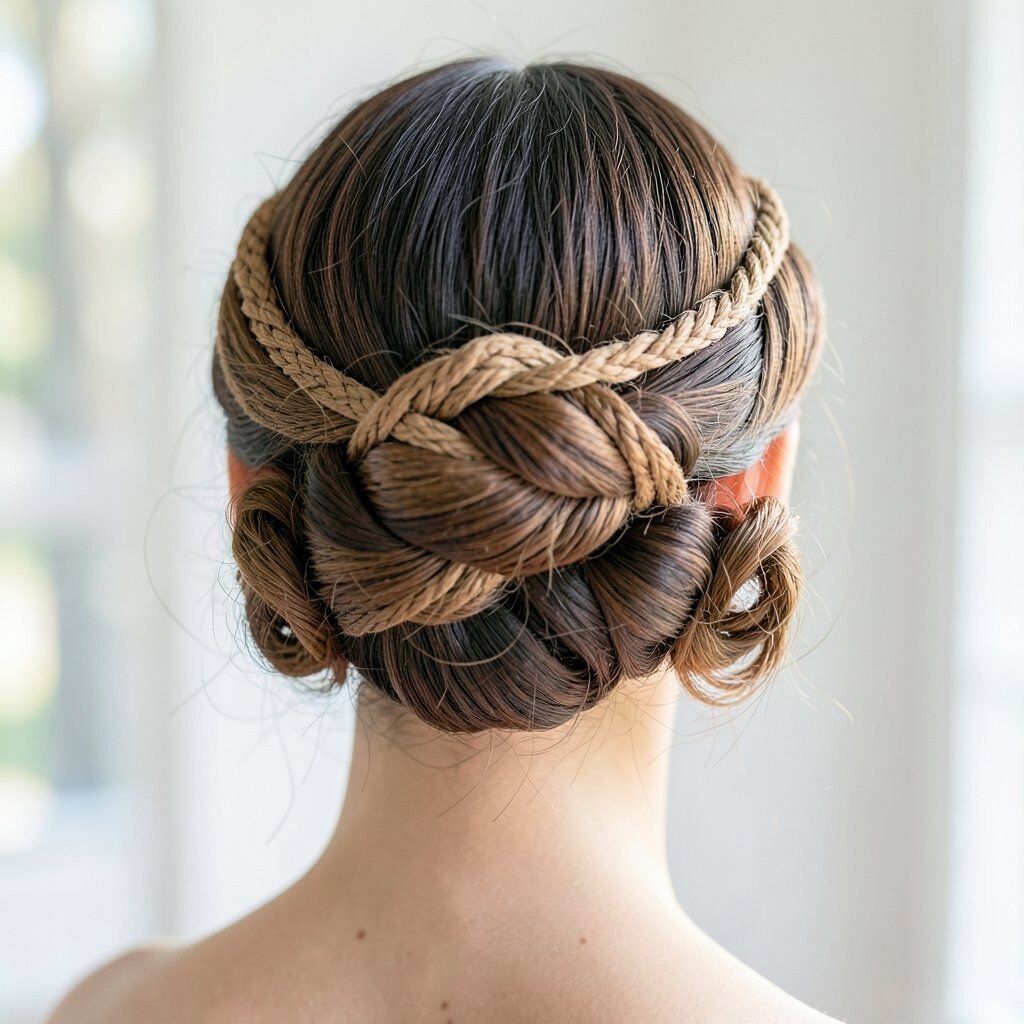
Picture a chignon where the main body is a rope twist, and the ends are tucked into pin-curled loops. The shape looks elegant, with a hint of vintage romance.
This is ideal for weddings, parties, and formal dinners because it looks polished from the front and the back. Start by twisting the hair into a rope, then coil it into a bun and secure with pins. Before tucking, take the ends and twist them into small loops so they set softly. Use a medium-hold hairspray to keep the loops defined without making them crunchy.
For personalization, decide whether the chignon should sit high for lift or lower for a classic look.
Even with a simple outfit, the twist detail makes it feel special without adding extra accessories.
16. Twisted Curtain Fringe With Soft Layer Blending
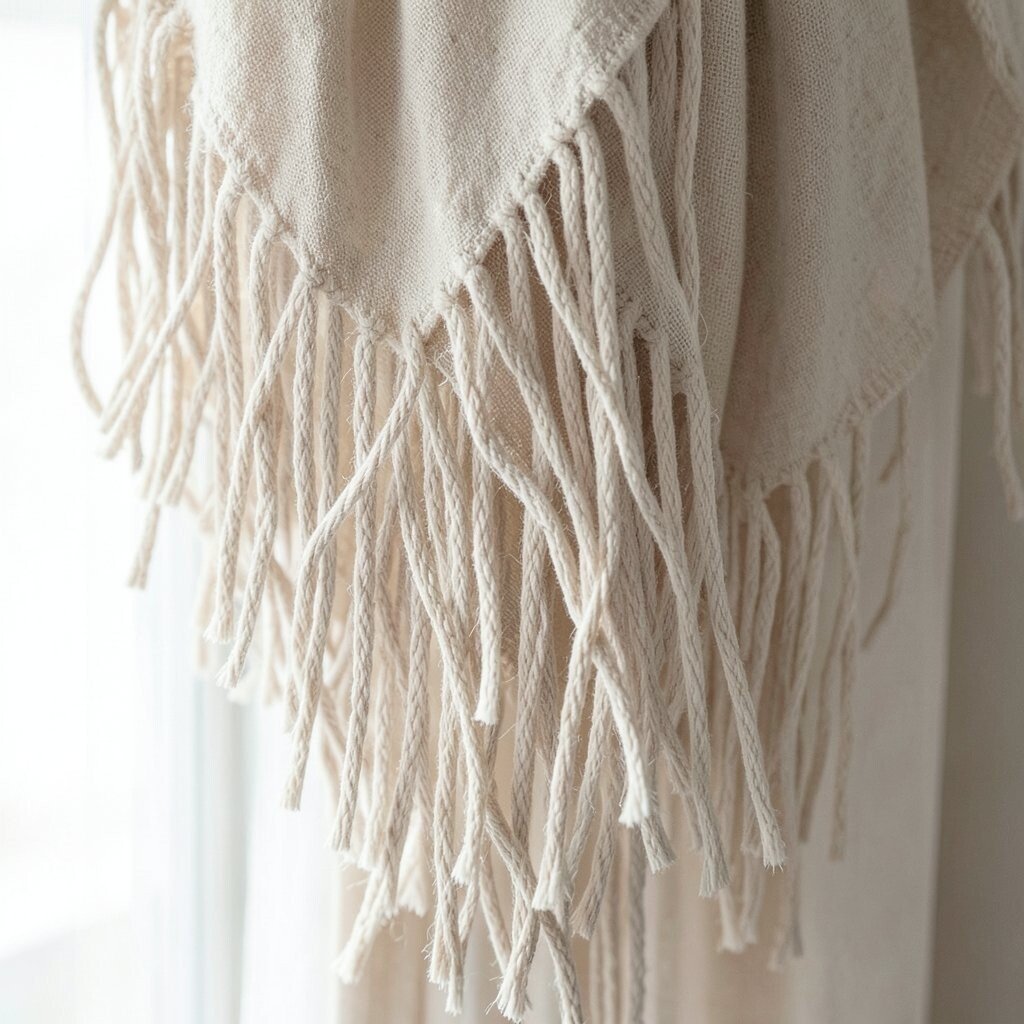
Imagine a curtain fringe where each side is made from gentle twists that blend into your layers. The result looks romantic and effortless, like your hair is naturally styled.
This look works well if you want movement around your face without messy styling. Create two twist sections from the front, then let them connect with the rest of your hair so the boundaries fade. Add a light leave-in conditioner or styling cream to help the twists slide into place smoothly. If your hair is wavy, embrace the texture by twisting less tightly so it keeps its natural bounce.
17. Twisted Half-Up Mini Topknot With Tucked Ends
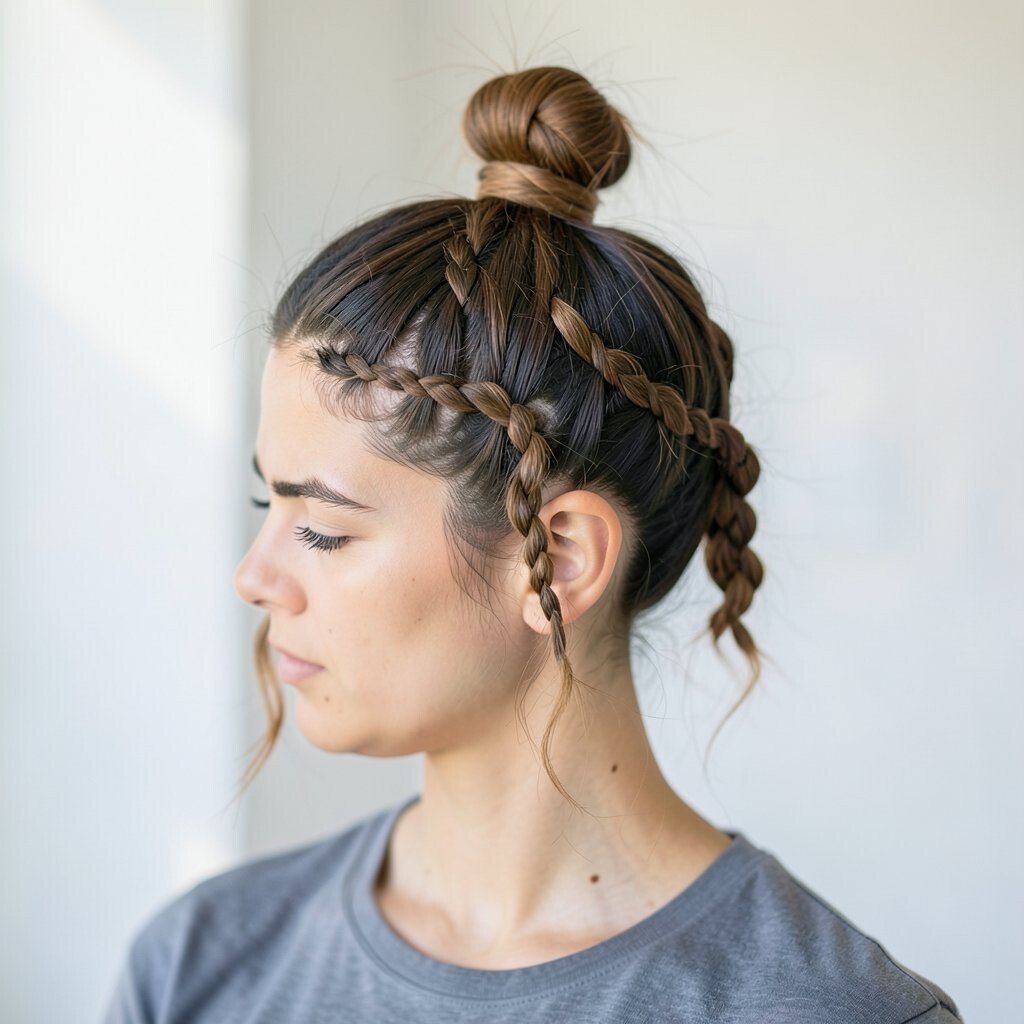
Picture a half-up look that forms a tiny topknot using twists, then hides all ends neatly. It gives a playful lift while keeping the rest of your hair loose and comfortable.
This style is great for days when you want your face clear but still want length. Twist a small crown section, coil it into a mini knot, and pin it so it feels stable. Tuck the ends under for a clean finish, and smooth the hair around the knot with a brush. For personalization, make the knot center-aligned for symmetry or slightly off to one side for a more modern feel.
Current trends favor effortless texture, so consider gently loosening the twists after pinning to make them look light and not too tight.
18. Scalp-Forward Twist Pattern With Flat-Back Control
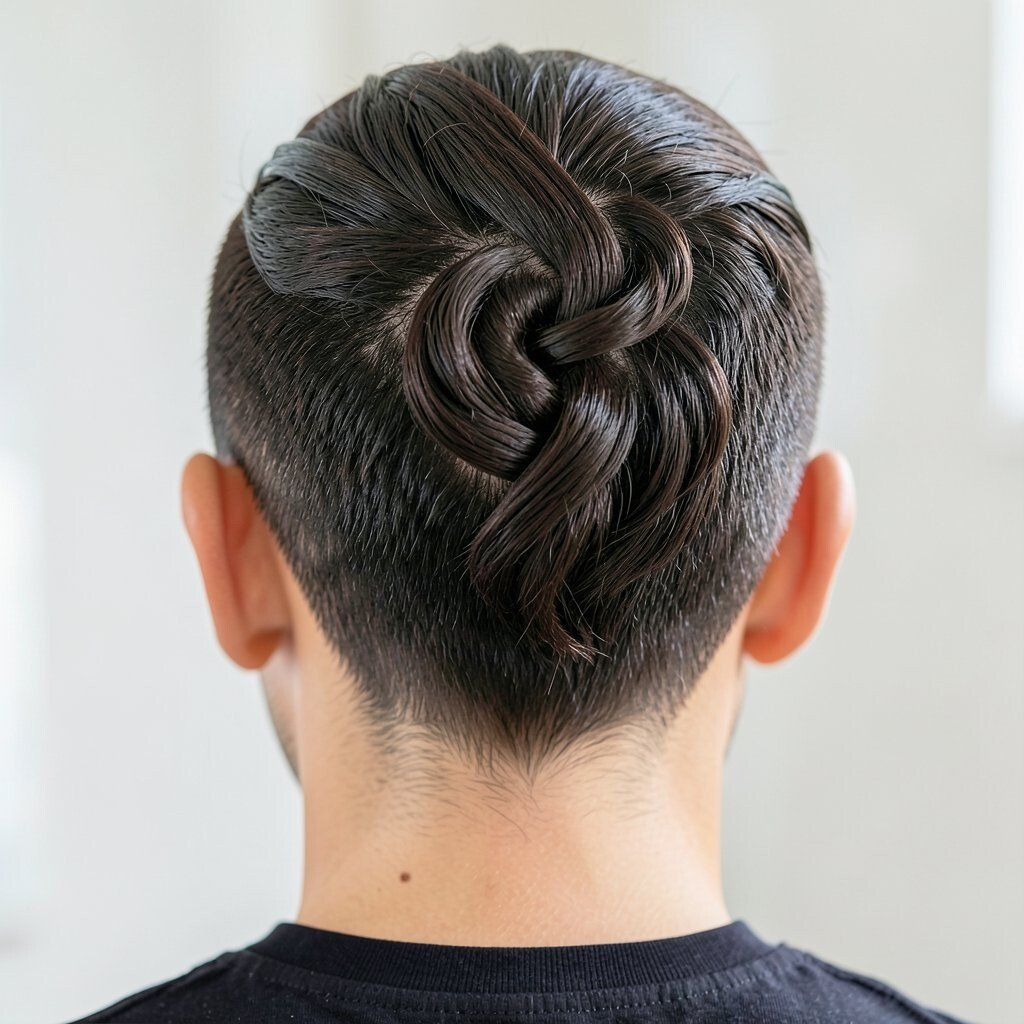
Imagine twists that begin close to the scalp and move outward in a neat pattern, creating a controlled flat-back look. It feels sleek on top and tidy underneath.
This is a strong choice if you want your hairstyle to last through wind, errands, and long days. Part your hair into clear sections, twist each one neatly starting from the scalp, and secure as you go. Use a small amount of edge control or smoothing gel at the base for a clean finish, then apply a flexible spray on top so it holds without stiffness. If your hair is curly or coily, use a curl cream and detangle well so the twists stay defined.
19. Crown-to-Nape Twist Wrap With Hidden Pinning
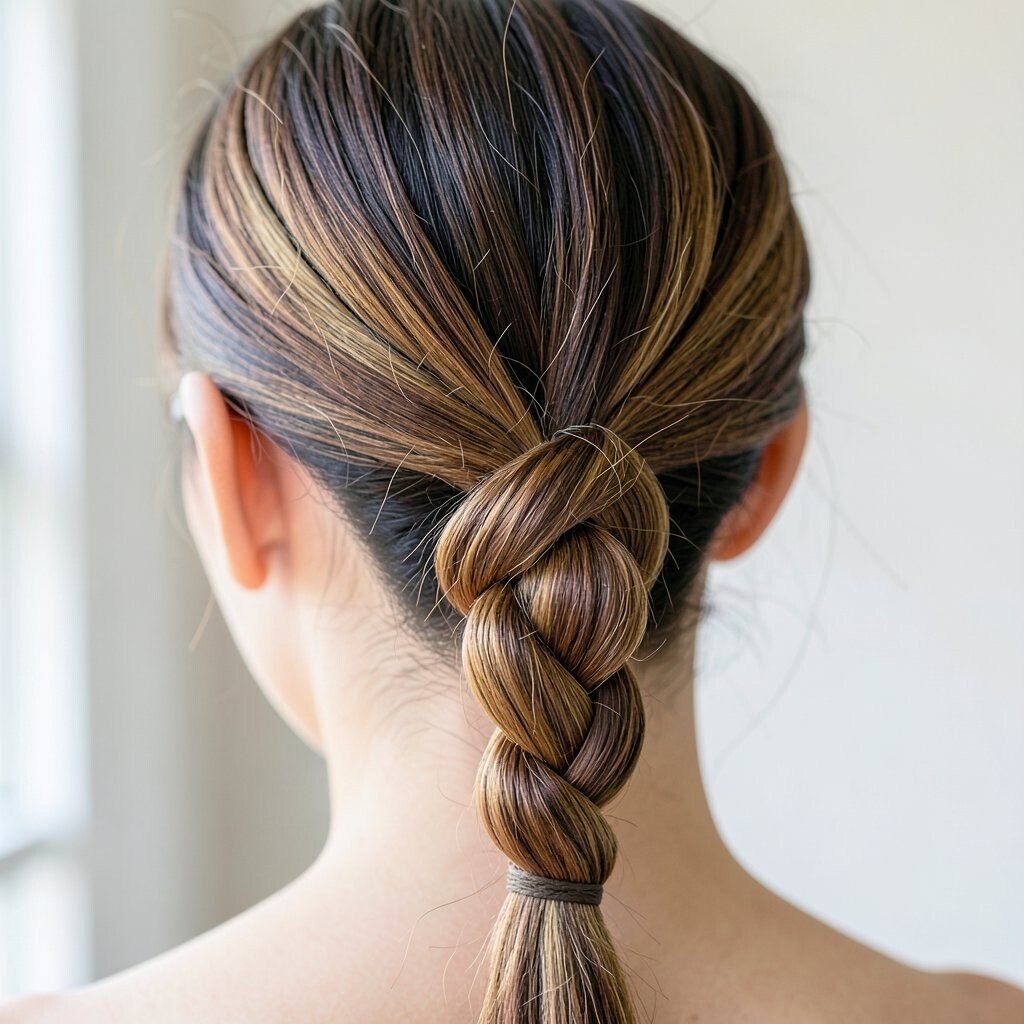
Picture a twist that starts at the crown and wraps down to the nape like a ribbon hugging your head. The twists feel intricate, but the finish stays smooth and wearable.
This look is practical because it keeps hair off your neck while still showing off a detailed hairstyle. Start with a crown section, twist toward the nape, and then wrap the twist around so it disappears under the layers. Secure with pins placed underneath the wrapped section for a hidden effect. For personalization, choose a central twist for a classic look or an angled twist for a fashion-forward feel.
Using bobby pins that match your hair color helps the style look effortless, even in bright light.
20. Twisted Ribbon Braid With a Faux Crown Lift
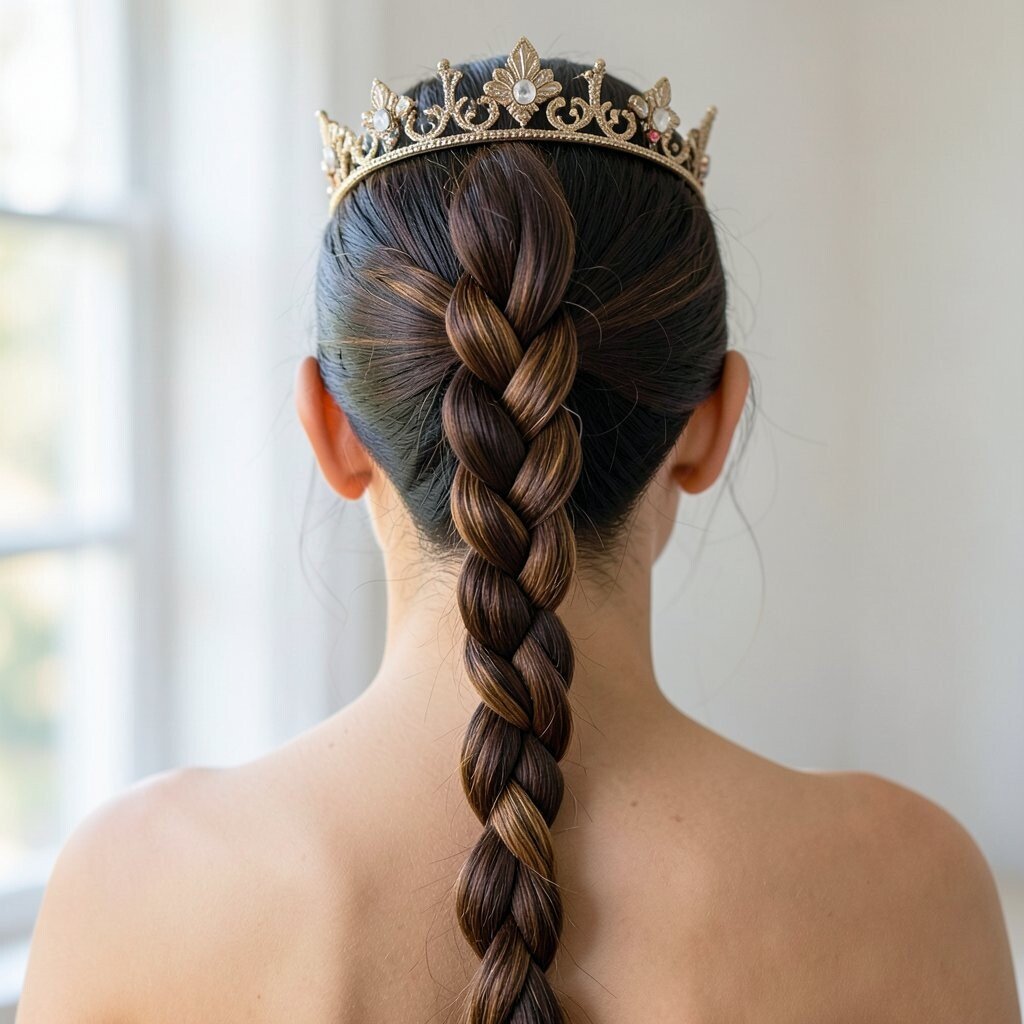
Imagine a ribbon braid that looks like twisted ribbons draped across your head. It creates a faux crown lift at the top, then flows smoothly toward the back.
This is a beautiful option when you want something detailed but still easy to finish. Divide hair into two main sections, twist each like a rope, then braid them together while keeping the ribbon-like strands visible. Add a small puff or lift at the crown using gentle teasing on the root area only, then cover it with the braided twists for a neat look. If you want a more trendy finish, pull a few strands from the braid after securing so it looks soft and lived-in.
To manage cost and effort, rely on familiar products like styling cream, pins, and hairspray, and focus on clean sectioning for the most polished result.
The twisted ribbon effect looks especially gorgeous with warm highlights because the twists act like little light catchers.