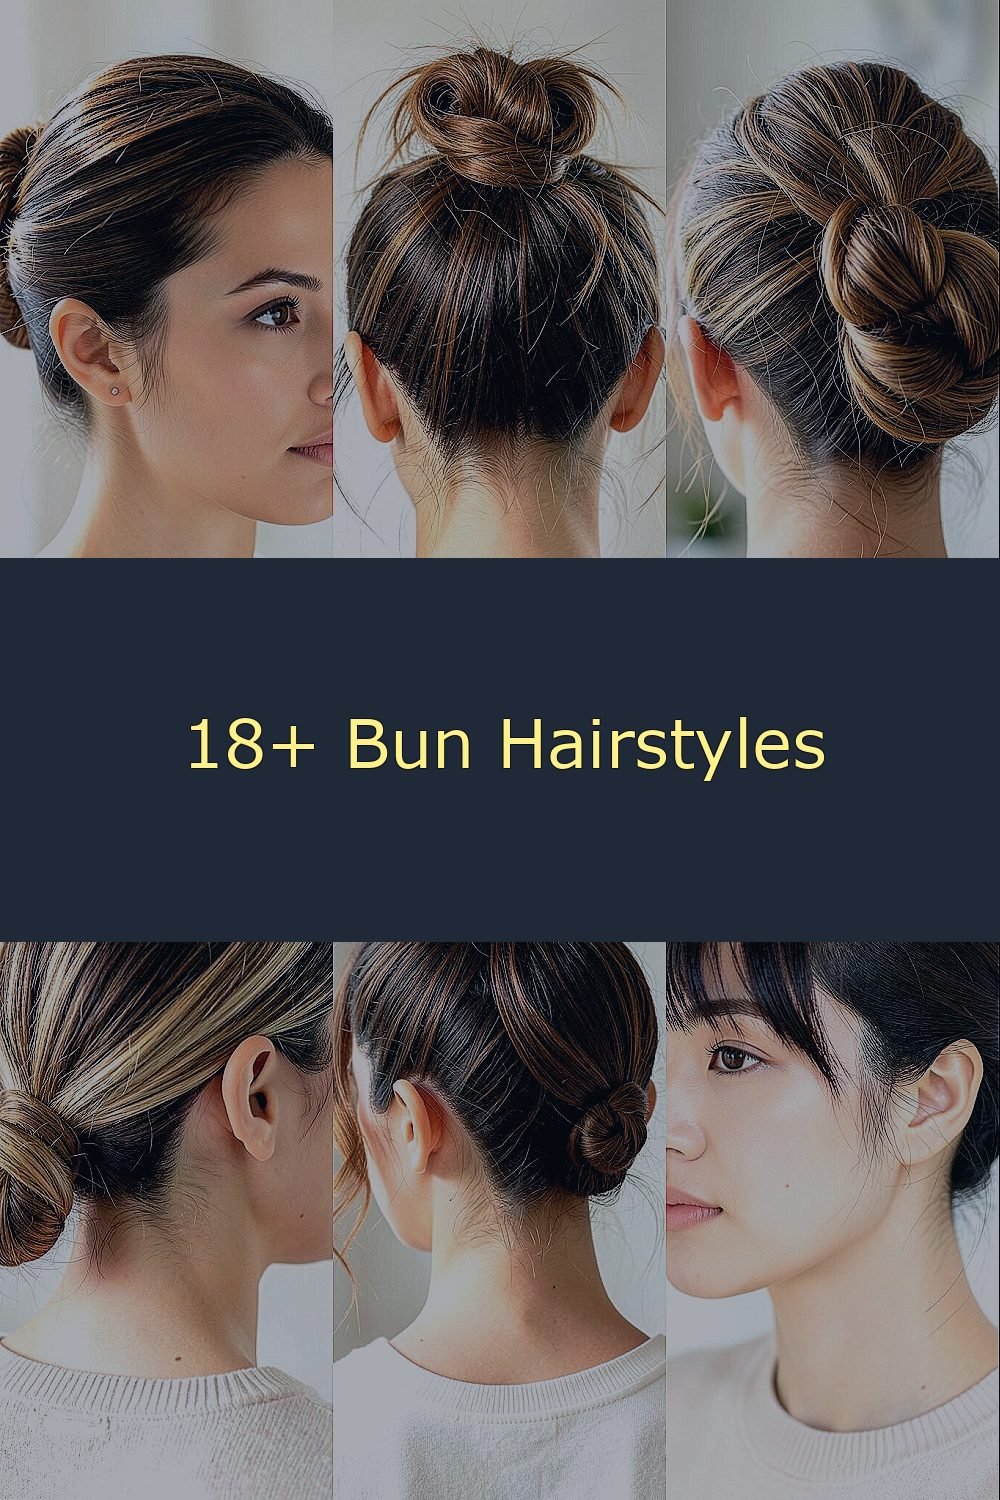
Some buns feel fancy, but they’re actually fast to do. These styles help you look polished even when you’re in a hurry.
1. The Sleek Ballet Bun
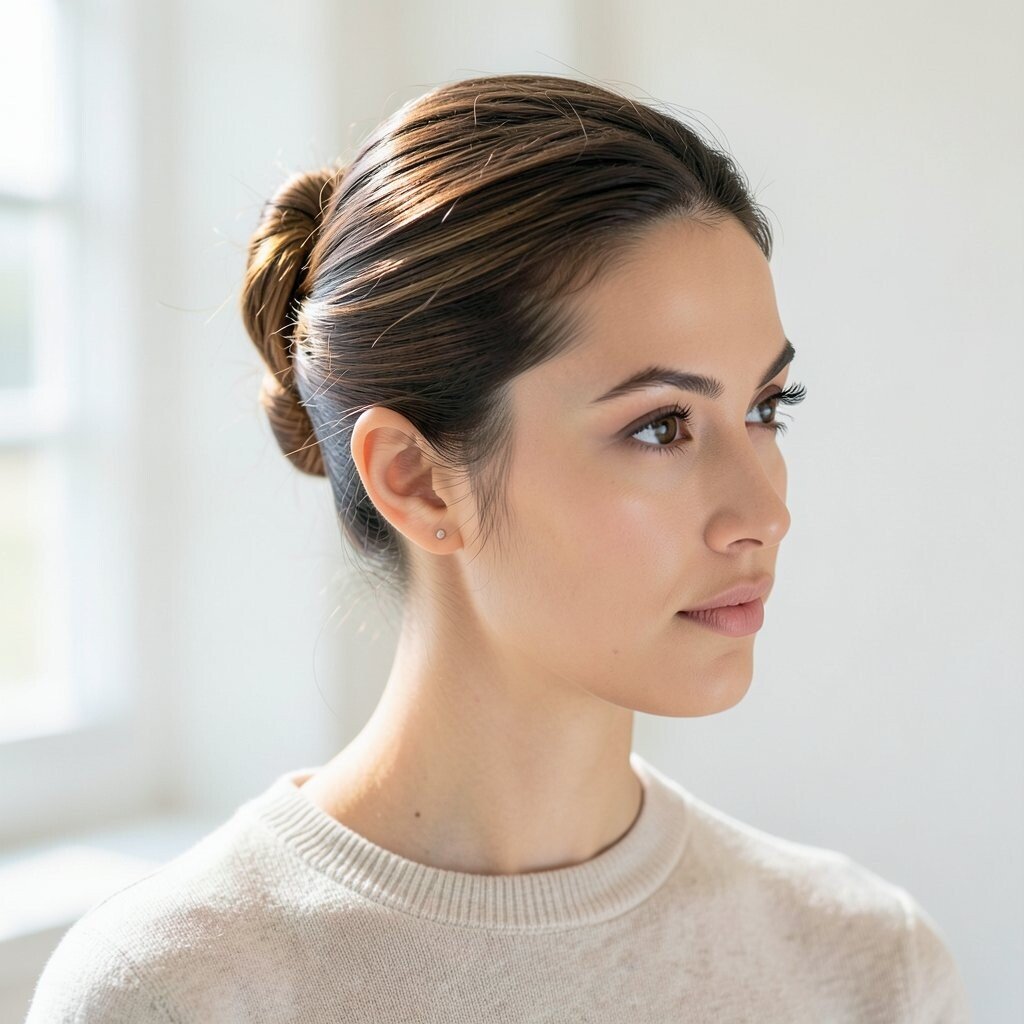
Start with smooth, combed hair and gather it at the crown. Twist the hair into a tight bun and slide a few pins to hold it flat and neat.
A sleek bun makes your face look brighter and your neckline look elegant. For a clean finish, pull the sides in gently and add a light mist of hairspray to tame flyaways. This look is great for work, school events, and even dinner when you want to feel put together.
2. The Messy-Cute Topknot
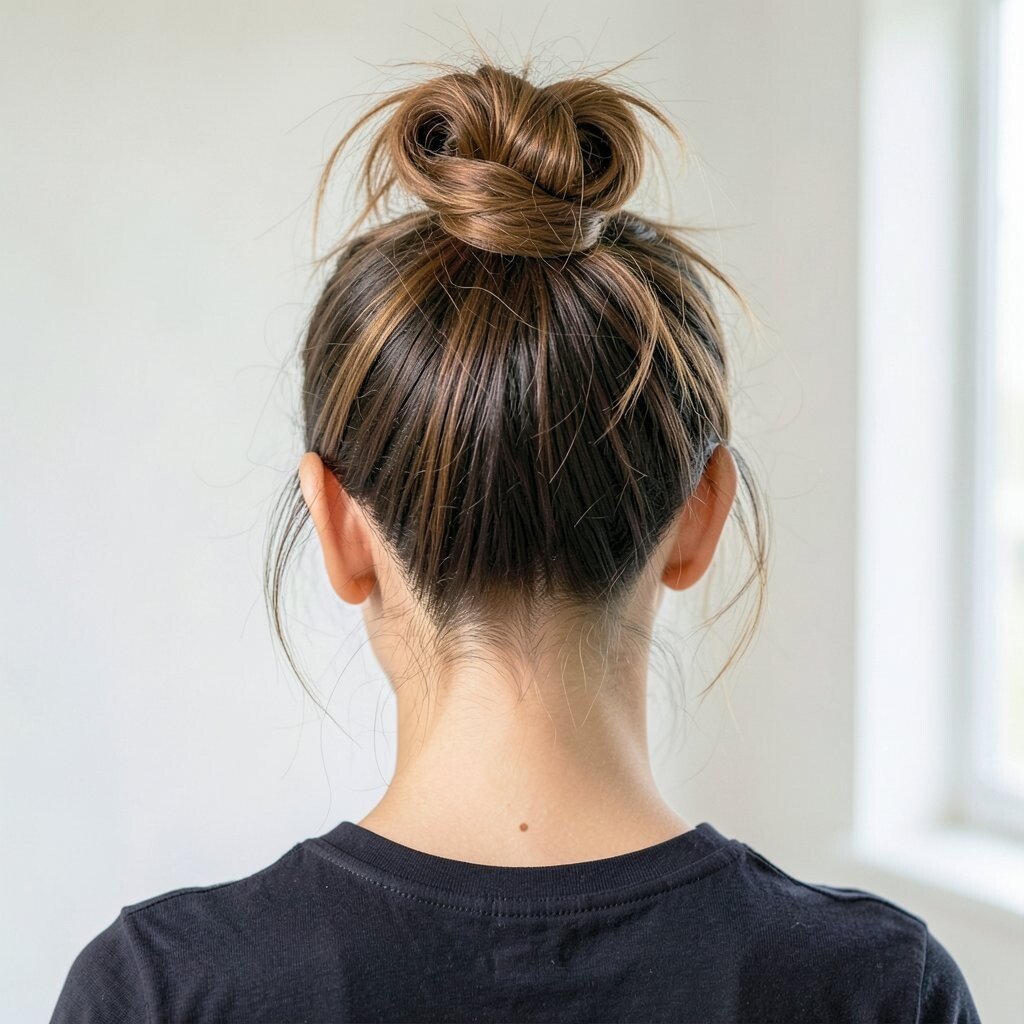
Gather your hair high on top, then twist it without making it too perfect. Tuck the ends under and let a few strands fall loose for a soft, playful vibe.
This style feels effortless and still looks stylish in photos. Use a scrunchie or mini claw clip if you want less pinning, and keep the bun slightly lifted so it doesn’t crush your volume. It’s a strong current favorite because messy looks match everyday fashion so easily.
If your hair is slippery, add a tiny bit of dry shampoo at the roots before you twist. A slightly bigger bun gives a trendy silhouette, while a smaller one feels tidy. For personalization, try leaving a thin face-framing strand on each side to make it feel uniquely yours.
3. The Half-Up Bun Twist
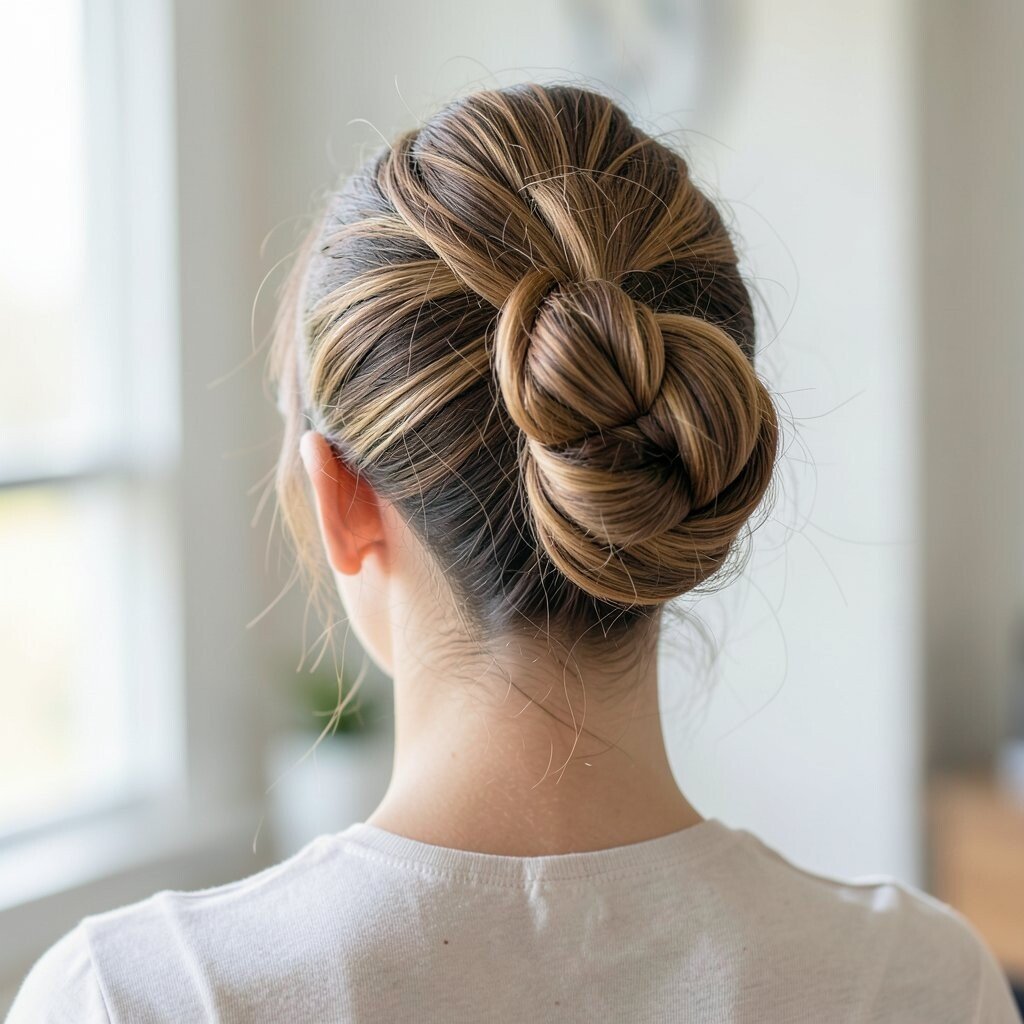
Split your hair into upper and lower sections, then pull the top into a small bun. Twist the bun area once more and pin it so it sits like a little crown.
The best part is that you get the charm of a bun without losing your length down below. Keep the bottom hair smooth with a quick brush, or add loose waves if you want movement. This style is unique because it blends “up” and “down” in a balanced way that flatters many face shapes.
To make it sturdier, use two bobby pins in an X shape near the base. If your hair is fine, backcomb the top slightly so the bun has a fuller shape. It’s also budget-friendly since it relies on simple pins and a clip, which you probably already own.
4. The Low Knot With Soft Side Part
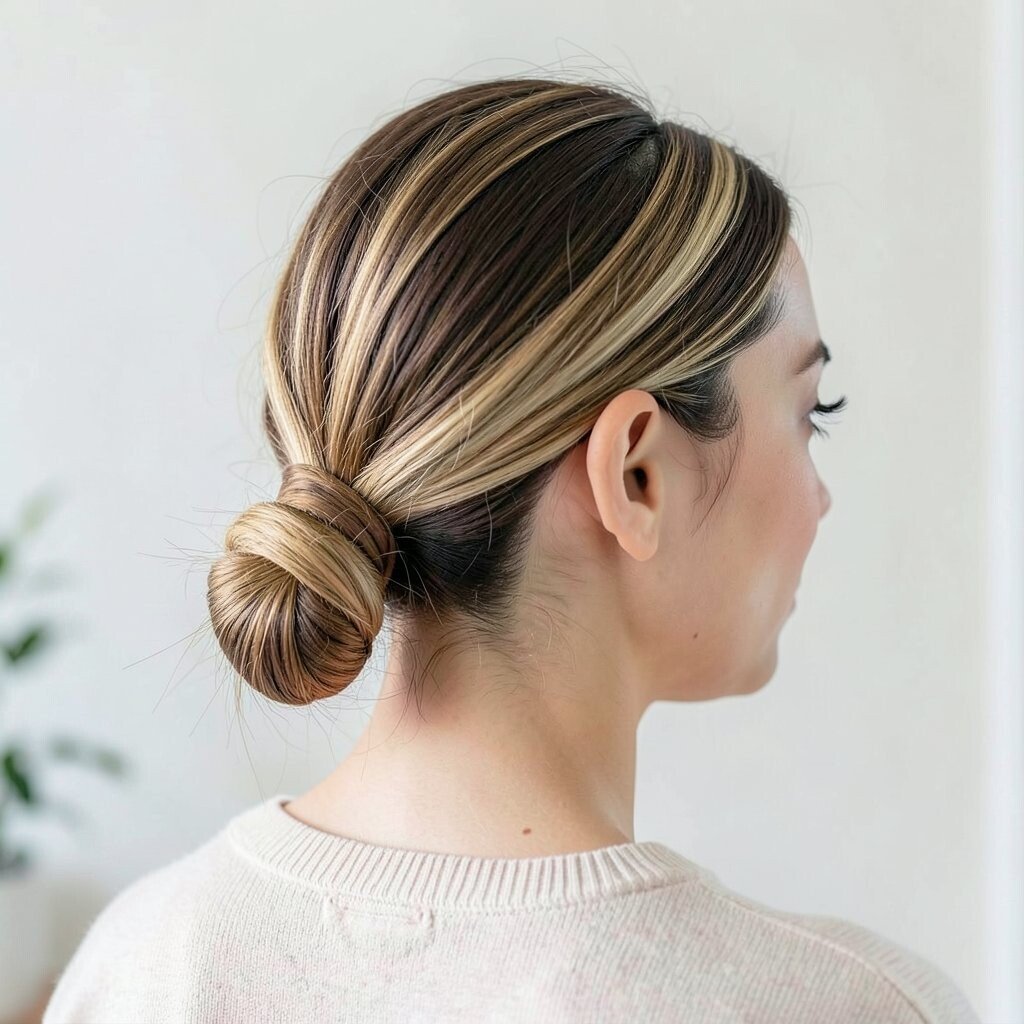
Create a side part, then sweep hair into a low gather at the nape. Twist the ponytail into a knot and pin the sides so it sits comfortably against your head.
A low knot looks calm and grown-up, and it works well with both straight and wavy hair. Try wrapping one small section around the bun base to hide the pins and make it feel more polished. Keep the sides slightly looser for a romantic look that still feels quick.
5. The Twisted Crown Bun
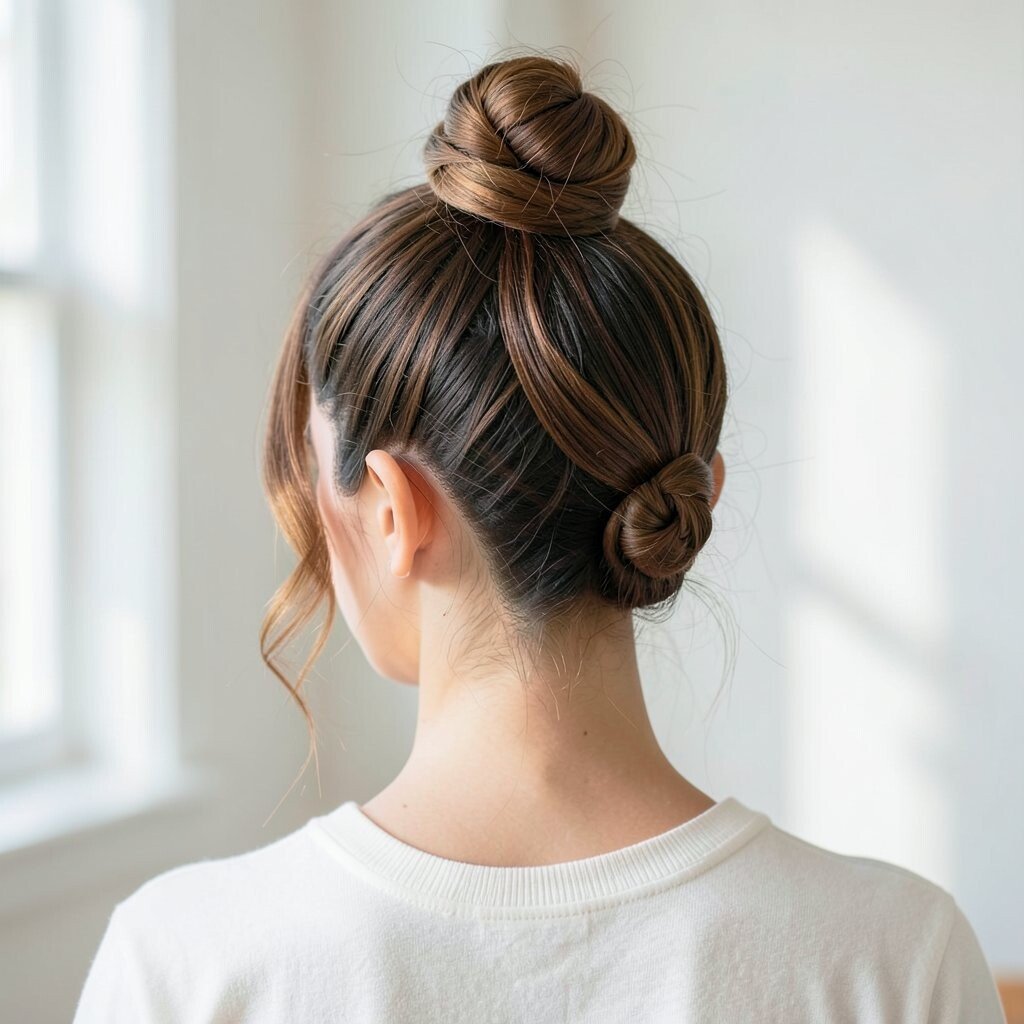
Take two front sections, twist them toward the back, and connect them at the center. When you reach the middle, gather the rest of your hair and form a bun underneath.
This hairstyle feels special because it frames your head like a crown. It helps you look styled even on days when you didn’t plan ahead. For practical results, pull each twist snugly before pinning so it stays in place all day.
To personalize it, choose a deeper part for drama or keep it subtle for a softer effect. If you want a trendier look, add a tiny hair accessory like a small clip near the twist. It costs almost nothing if you use what you already have, like bobby pins and a comfortable hair tie.
6. The Side-Bun With Bang-Friendly Pieces
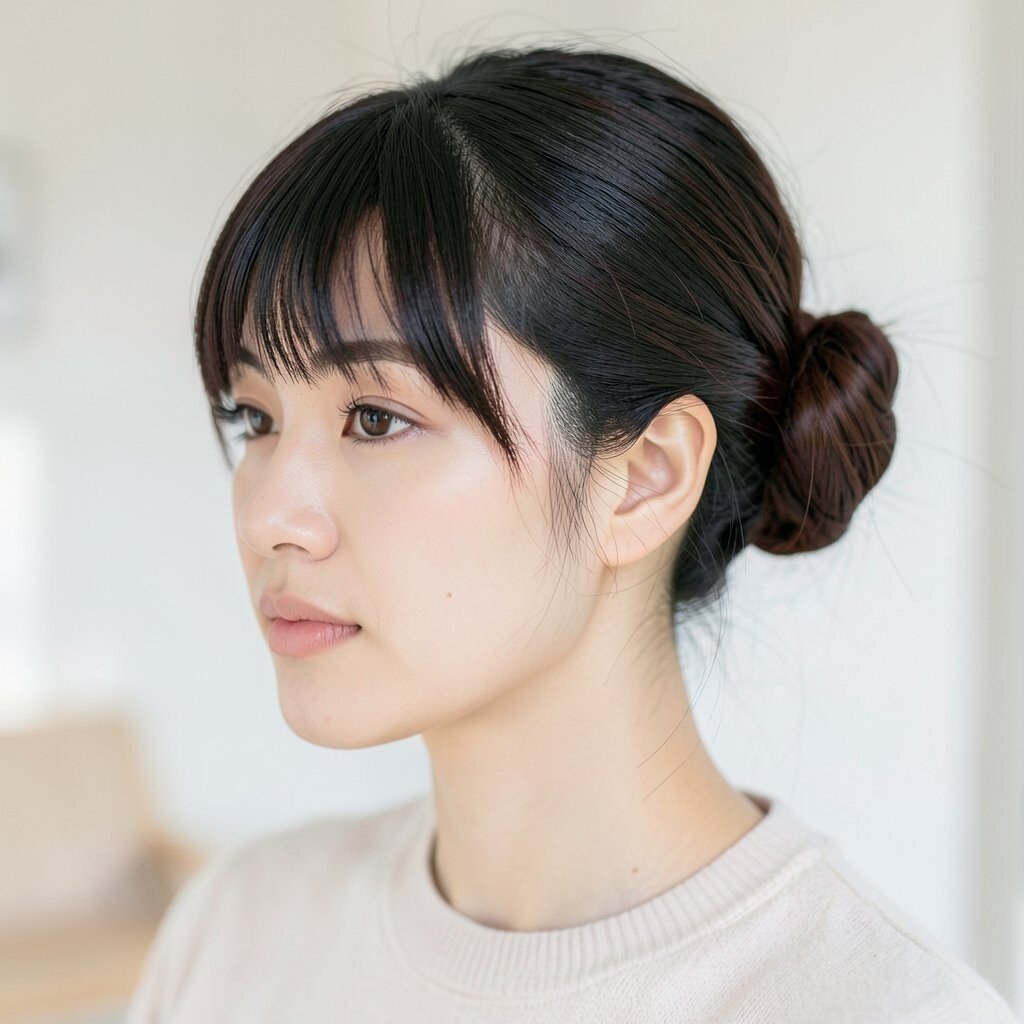
Gather your hair to one side and twist it into a compact bun. Pin it securely, then let your bangs or face pieces stay airy and natural.
A side bun adds instant attitude and makes your hairstyle look intentional. Keep the bun close to the ear for a sleek feel, or let it sit slightly lower for a relaxed look. If you have layers, use the layers to help cover pin spots, which saves time and effort.
7. The Sock Bun Shortcut
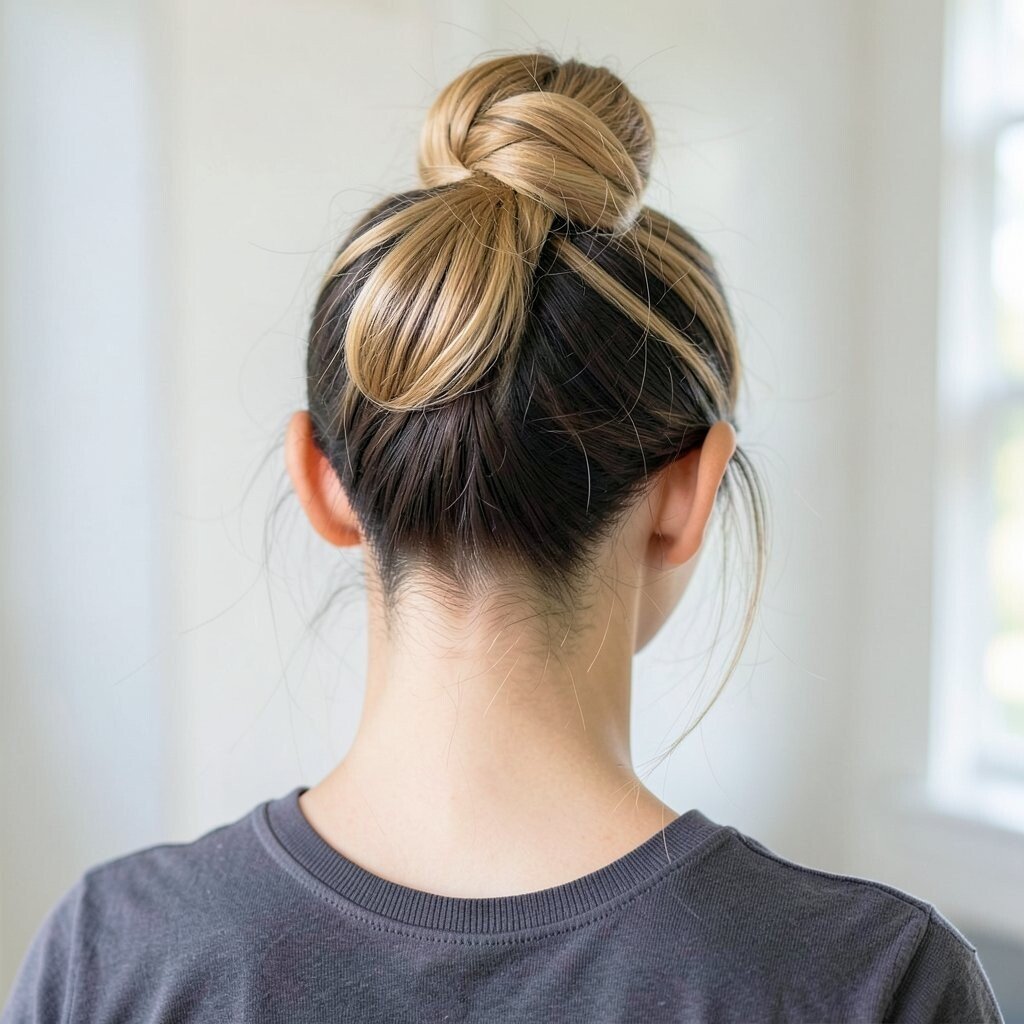
Use a rolled-up sock or a donut-shaped hair tool to speed up the bun. Slide your ponytail through the center, then spread the hair around it and tuck the ends underneath.
This bun creates a round, even shape that looks like you spent more time than you did. It’s especially handy for thick hair days because it holds volume without lots of pinning. Choose a tool close to your bun size for the best fit, and keep the hair snug so it doesn’t slip.
For uniqueness, try a slightly higher placement at the crown or wrap a thin ribbon around the base. This is a great cost consideration because one simple tool can help you create many looks for a long time. A sock bun also looks amazing with minimal accessories, so you can keep your routine quick.
8. The Wraparound Bun With One Pin Loop
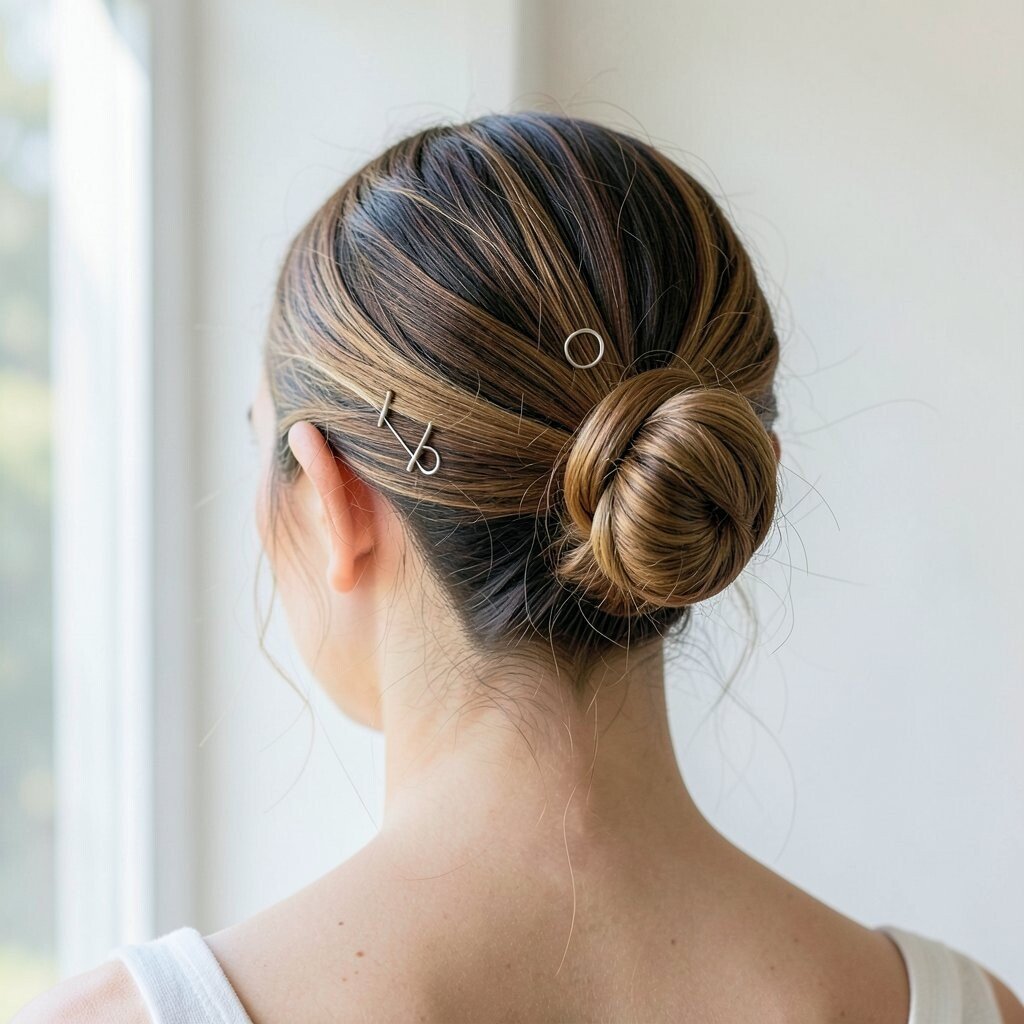
Make a small bun at the back and leave a long strand that you’ll wrap around it. Secure the end using one pin at the edge so the wrap looks intentional.
This style is unique because it focuses on a neat wrap effect without needing many tools. It looks especially good when your hair has shine, because the wrapped section catches the light. If you want it to feel secure, tug the wrap gently before pinning so it holds like a hug.
9. The Ribbon-Ready Bun
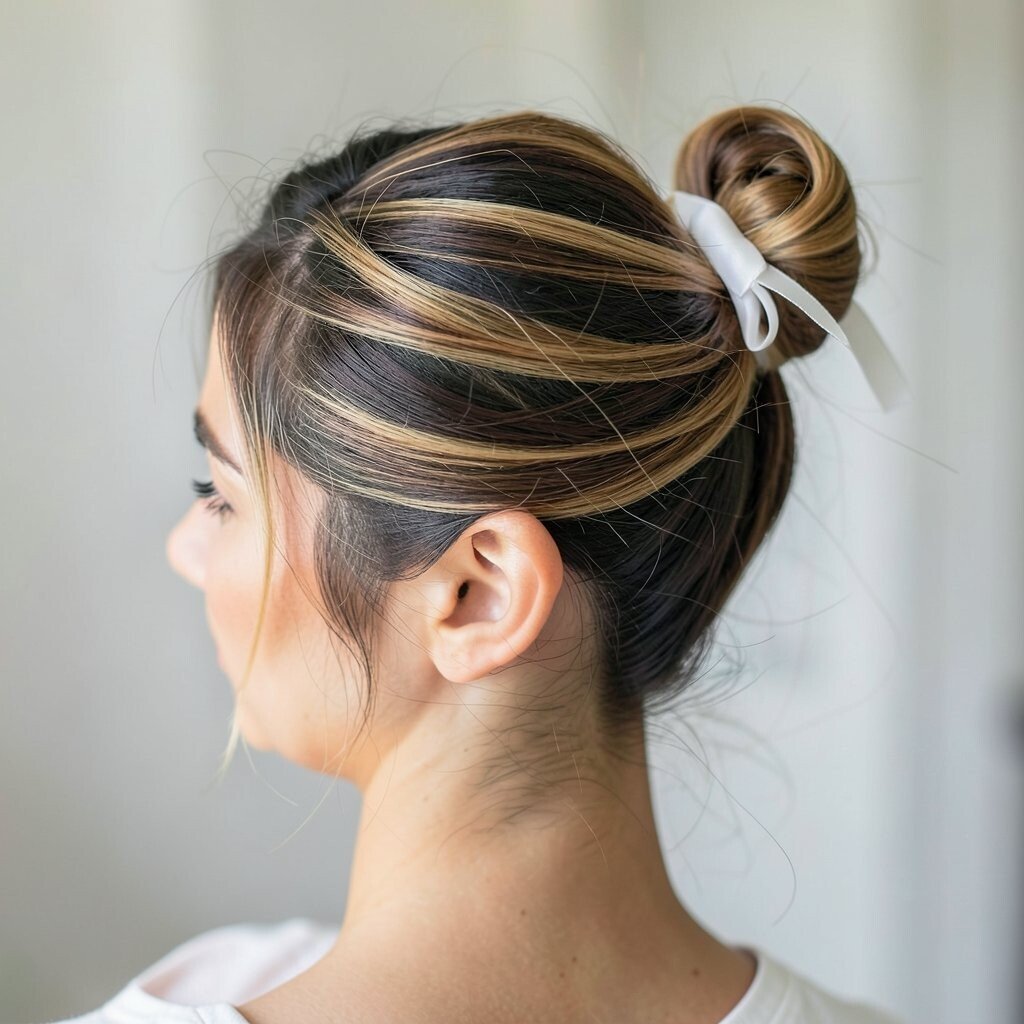
Gather hair into a simple bun, then tie a ribbon around the base. Let the ribbon ends hang down or tuck them for a cleaner look.
A ribbon-ready bun feels playful and creative, and it can match lots of outfits. Use a satin ribbon for a polished finish, or choose a soft fabric ribbon for a cozy vibe. This hairstyle also gives you a personalization option that looks different every time depending on color and texture.
If you’re on a budget, use a scarf strip or an old ribbon you love. For practical staying power, place a bobby pin where the ribbon crosses the bun base. This adds a secure hold without changing the whole look.
10. The Mini Buns for Double Charm
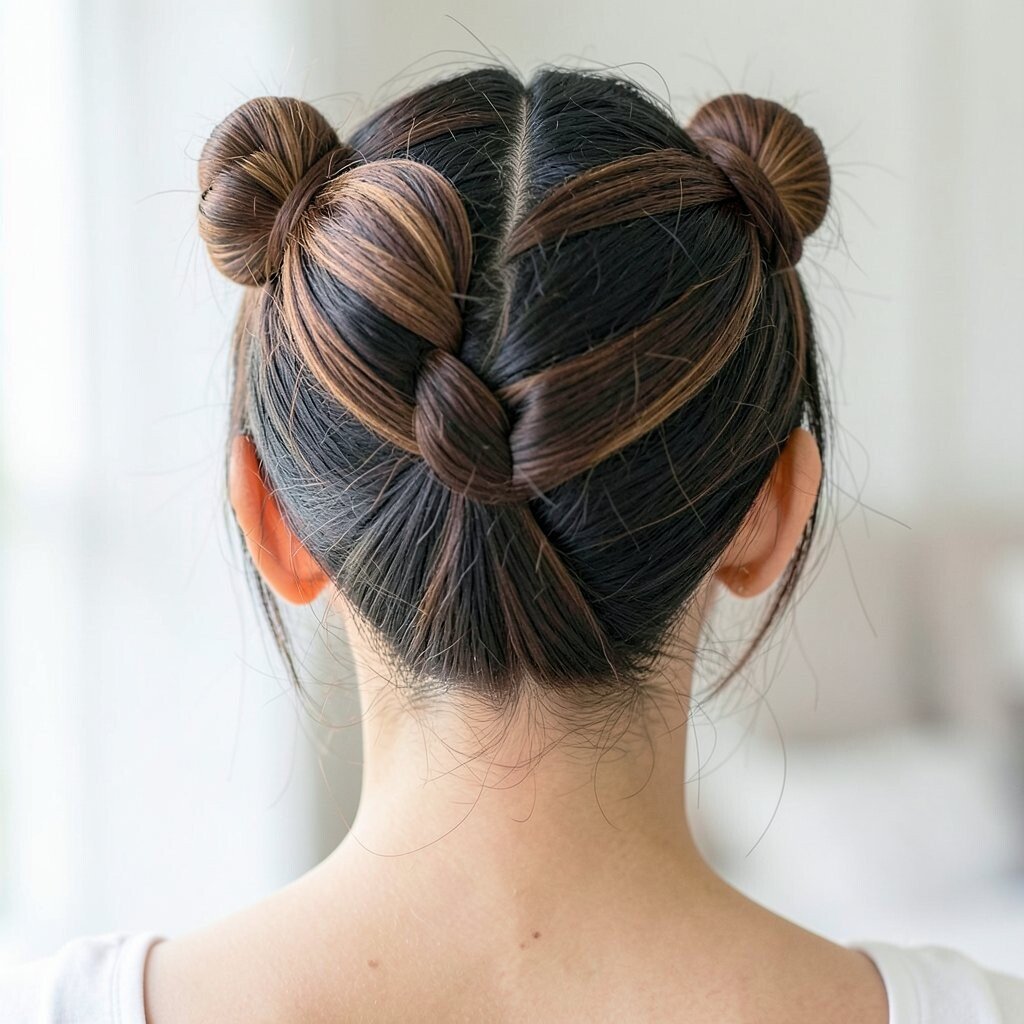
Part hair into two sections and make two small buns at the back. Twist each section the same way so the pair looks balanced.
Mini buns are adorable and they create a fun, youthful look fast. This style works great when your hair is between washes because the texture helps it grip better. Keep the buns slightly messy on top for a current, casual vibe that feels easy.
11. The High Puff Bun Hybrid
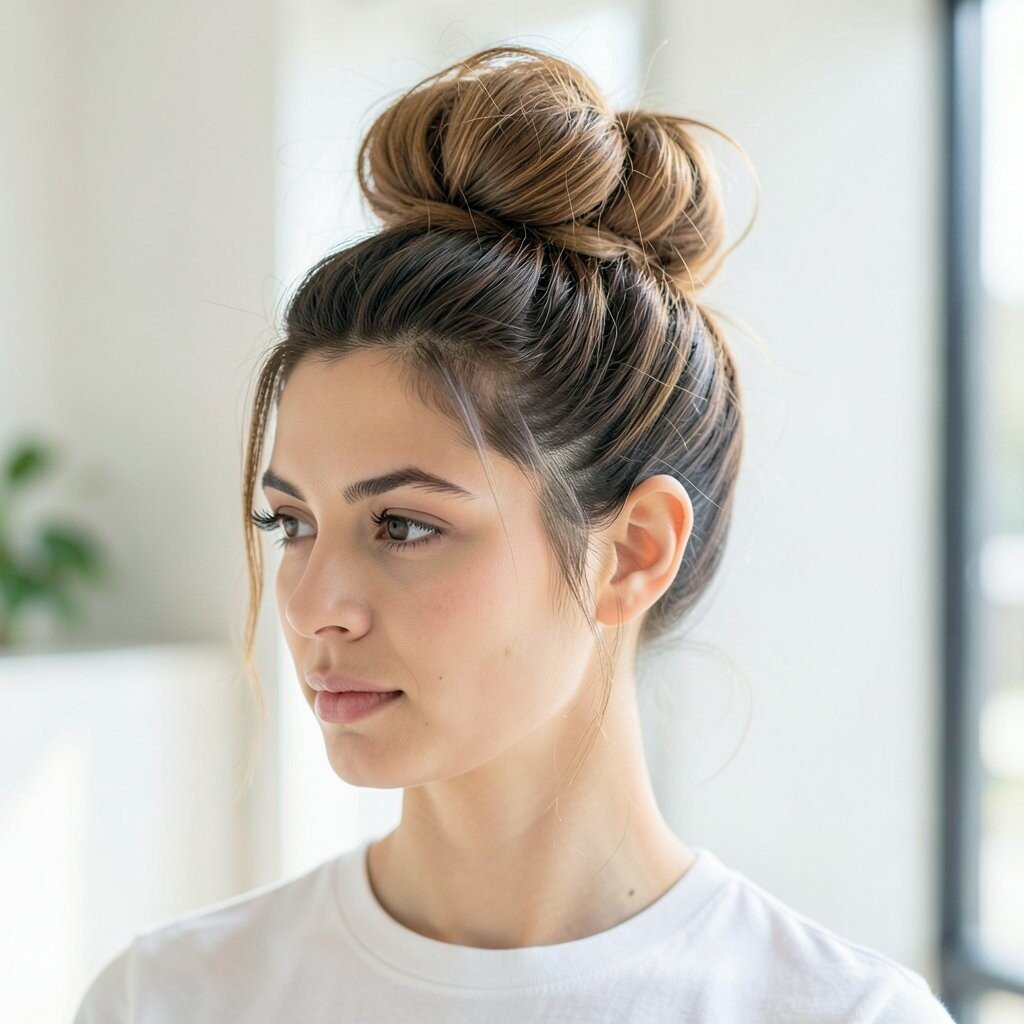
Start with a high puff using a ponytail holder, then twist the puff into a bun. Pin the base and smooth any bumps with your fingers instead of heavy combing.
This hybrid gives lift at the crown while still giving you the convenience of a bun. It looks great with active days, because the hair is gathered and won’t swing into your face. For personalization, add a small section of braids into the twist so it feels more detailed without taking much time.
If your hair is fine, tease the puff lightly before twisting so the bun looks fuller. If your hair is thick, divide the puff into two twists and pin them in an X shape. Either way, you’ll get a look that feels trendy and practical.
12. The Braided Base Bun
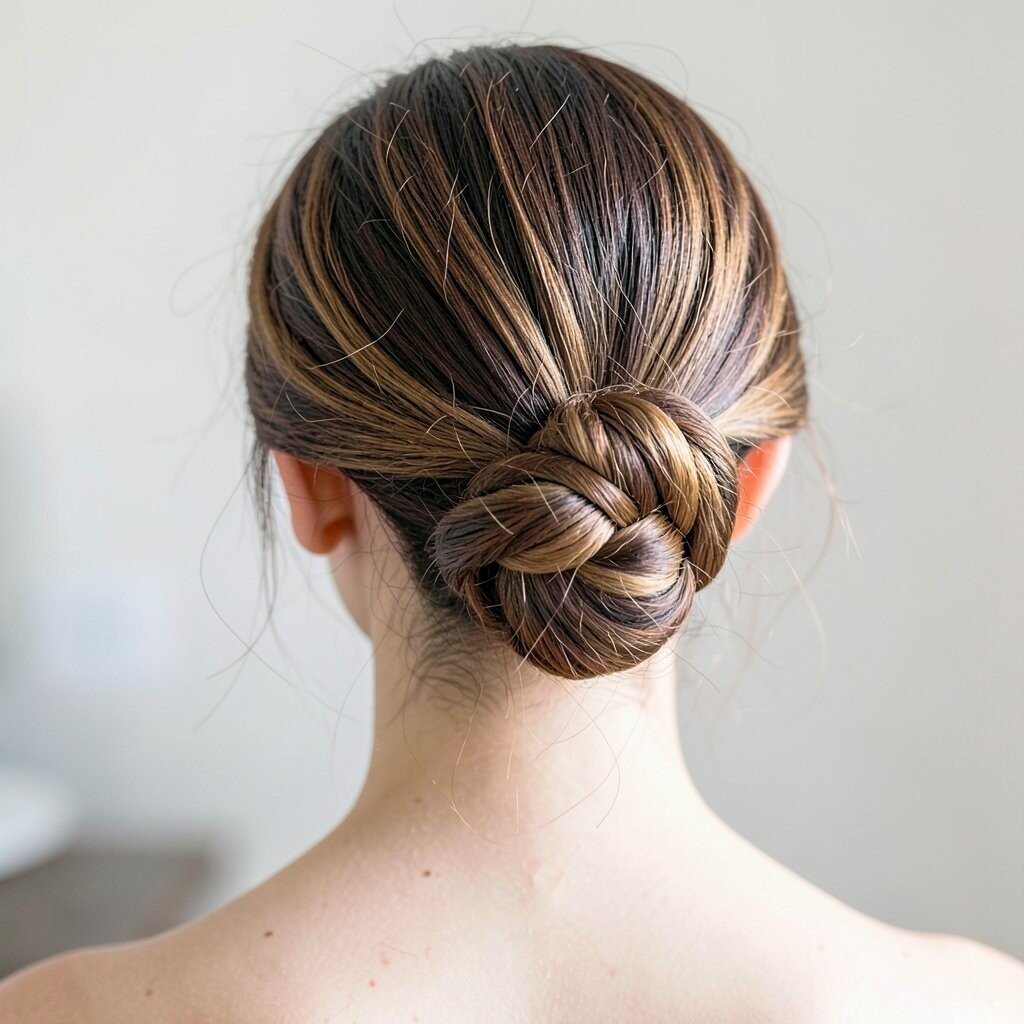
Braid your ponytail first, then coil the braid into a bun. Pin along the base to keep the braid pattern showing.
A braided base makes the bun feel special because the braid adds texture and shape. It’s also great for hiding stray ends since the braid naturally gathers everything. For practical tips, braid tightly at the start and loosen slightly near the ends so the bun looks soft rather than rigid.
13. The Curved-Back Bun With Elbow Clip Style
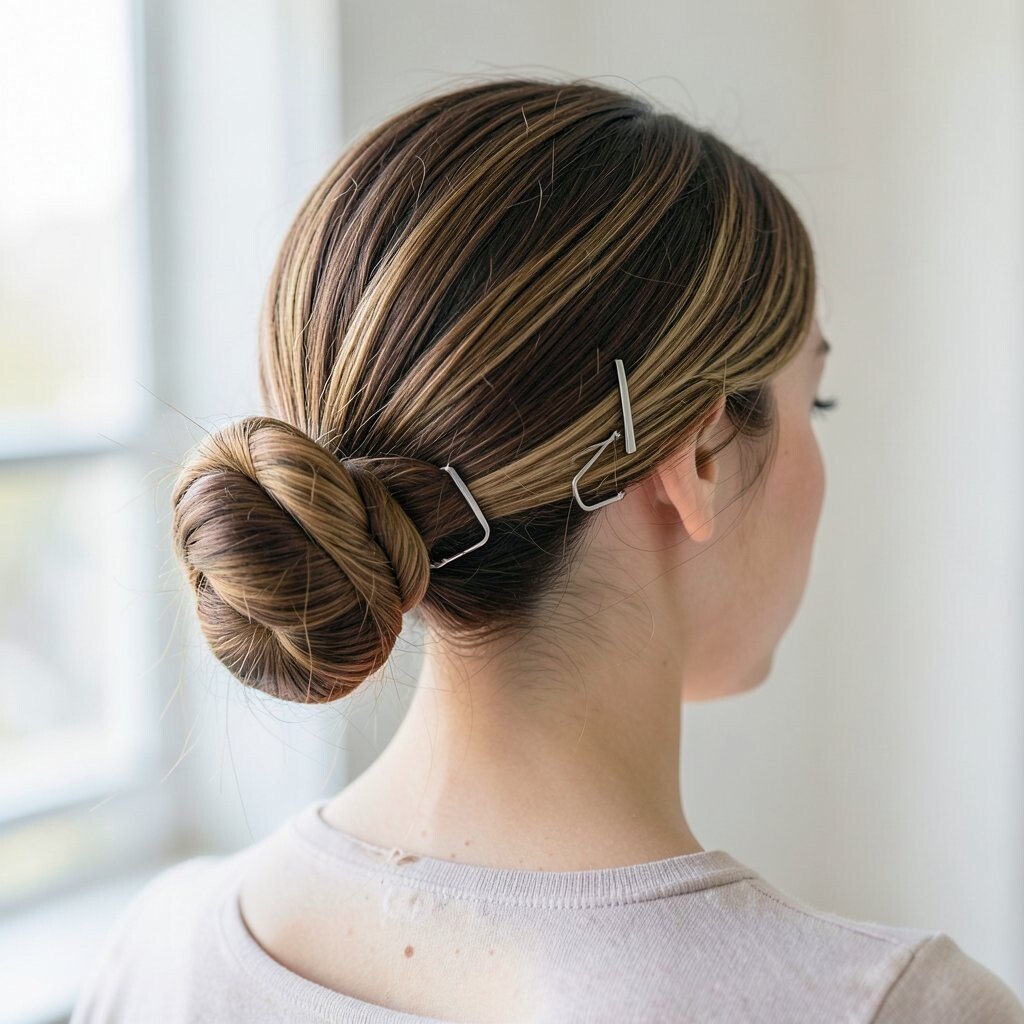
Gather hair into a low bun and secure it with an elbow clip or curved clip if you have one. Use bobby pins only where the clip needs extra support.
This look is unique because the clip creates a neat, structured hold with less pin clutter. It’s a lifesaver when you want comfort and less tugging on your scalp. Choose a clip that matches your hair tone for a blended look, or pick a contrasting color for a fun pop.
For personalization, place the bun slightly off-center so the curve and angle look intentional. If you want a smoother finish, brush hair lightly over the clip area before pinning. This also helps with cost since you can use one accessory to do the job that many pins would do.
14. The Puff-and-Bun With a Crisscross Pin
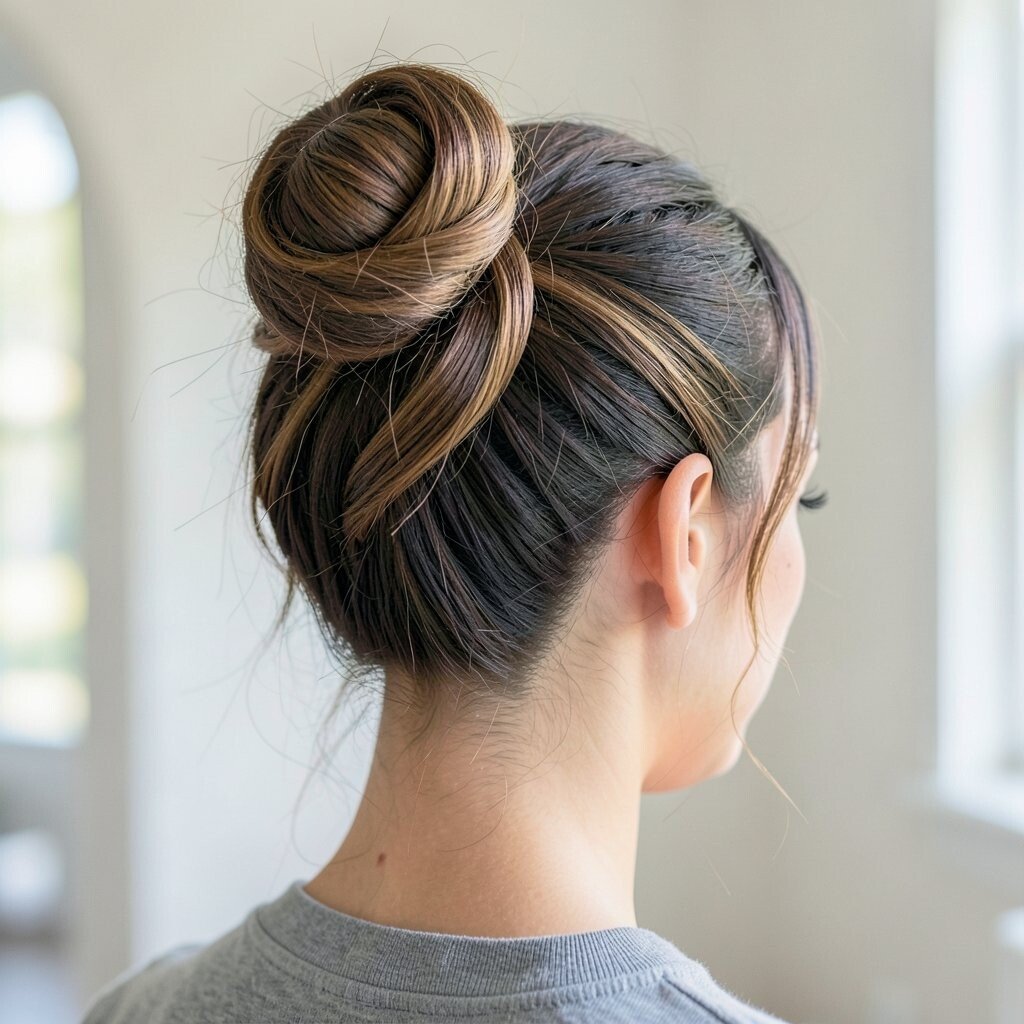
Make a medium ponytail and create a quick bun, then add a crisscross pin pattern at the base. The crisscross helps anchor the bun without extra bulk.
This style feels secure and tidy, so it’s great for long days. It also adds visual interest because the pin pattern can look like a subtle design. If you want it softer, pull out one or two tiny sections near the cheeks for a gentle frame.
15. The Low Bun With a Wrapped Ponytail Tail
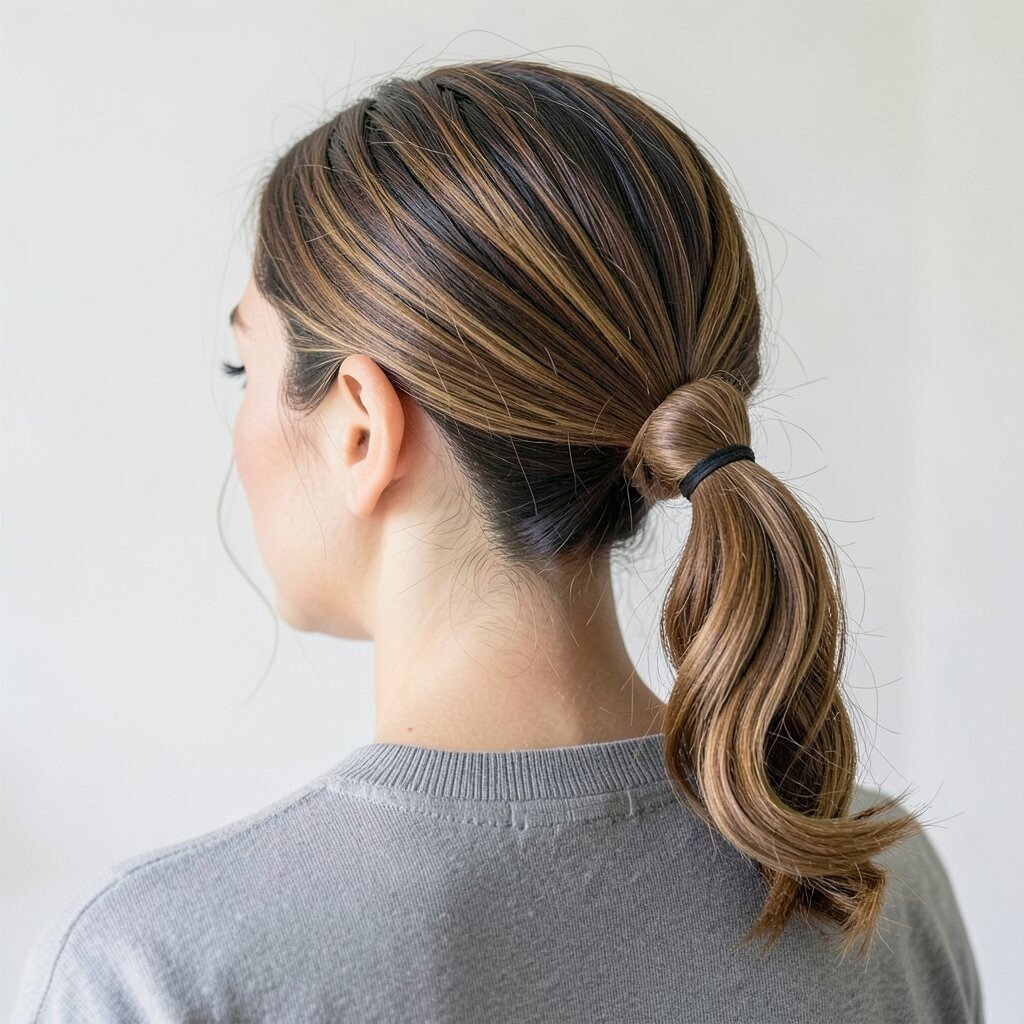
Make a low bun and leave a small ponytail tail that you wrap around the base. Pin the end under the bun so it blends with the hair.
This is one of those looks that looks “done” even though it’s quick. The wrapped tail hides the elastic and gives the bun a polished center. Try using a slightly thicker tail for a fuller wrap effect, or a thinner tail for a delicate, minimal finish.
To personalize, curl the tail slightly with a small wand before pinning so it adds a soft curve. If your hair slips, use a bit of styling cream at the base so the wrap sticks. It’s also cost-smart because it needs only basic tools you can find almost anywhere.
16. The Bun With a Simple Top Braid Thread
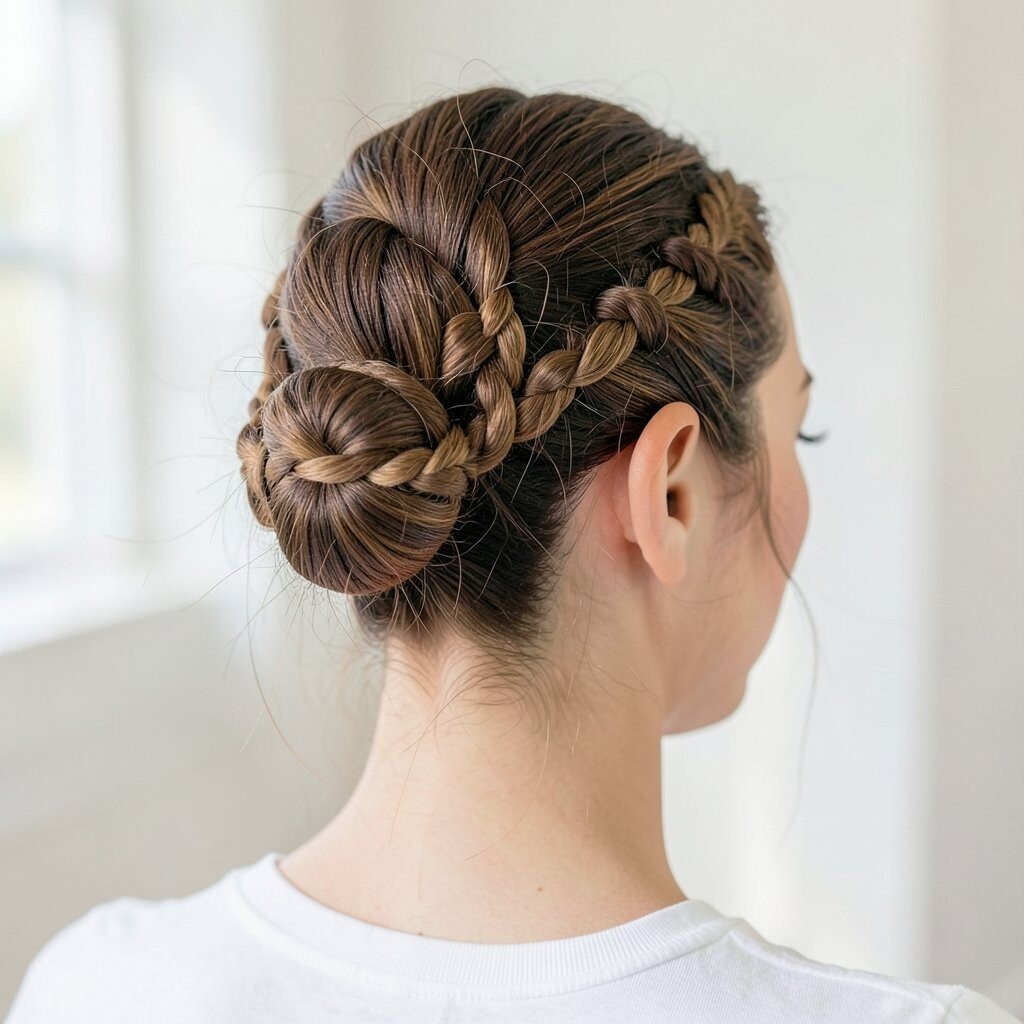
Take a small braid from the top section, then thread it into the bun. Pin it so the braid looks like a built-in accent.
This hairstyle is unique because the braid acts like a ribbon detail without becoming complicated. It’s a great option when you want something trendy but still easy to do with your hands. For practical staying power, anchor the braid with pins near both the base and the mid-length of the bun.
17. The Soft Donut Bun With Face Framing
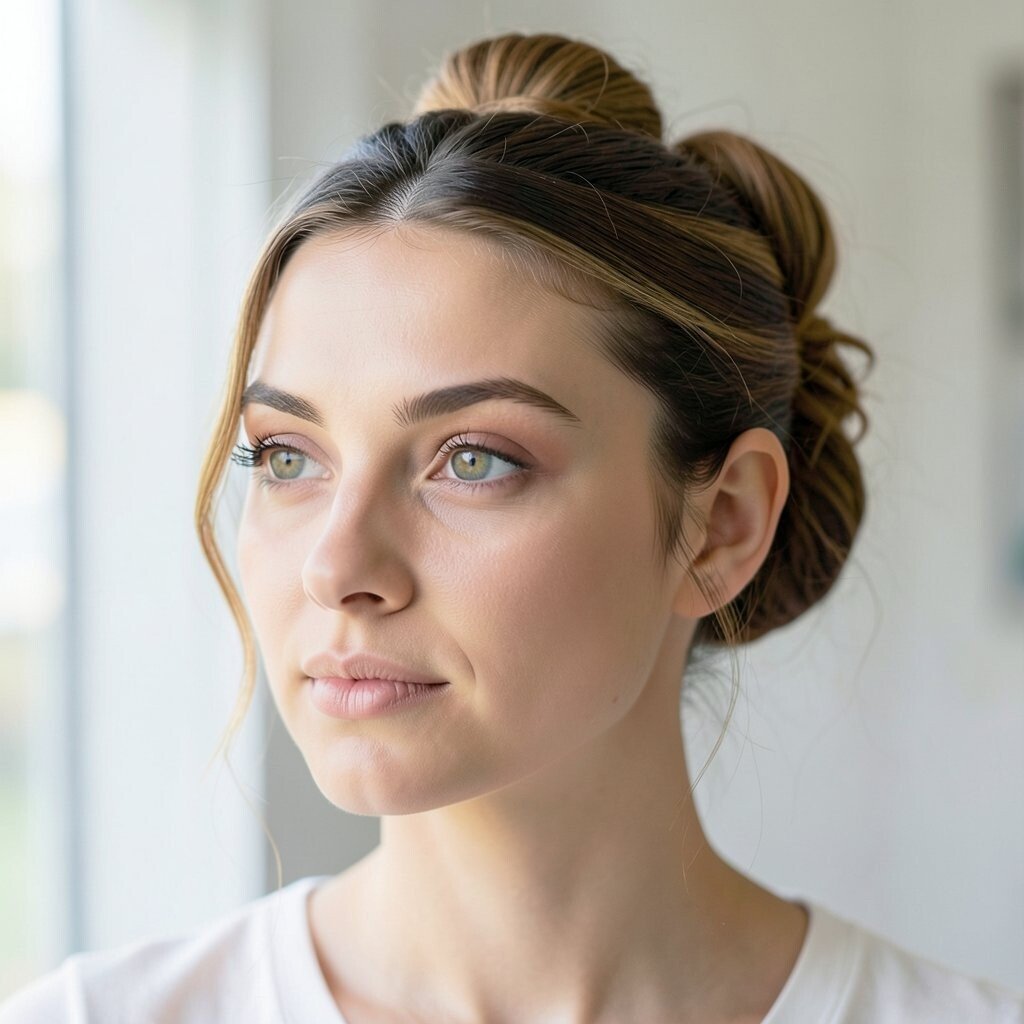
Create a donut bun shape, but keep it soft by leaving a little looseness around the edges. Add face-framing pieces by pulling two strands forward near your cheeks.
The face framing makes the bun feel fresh and less severe, which is perfect for everyday outfits. This style also works well with many hairstyles because the bun shape stays steady even if your hair texture changes. To personalize, choose a middle part for a balanced look or a slightly off-center part for a modern feel.
For cost considerations, a donut tool can be reused for months, so it’s a smart investment if you love buns often. If you don’t have one, use a rolled sock with the same method. Either way, you’ll get a clean, rounded style that looks like you planned it.
18. The Bump Bun With Volume at the Crown
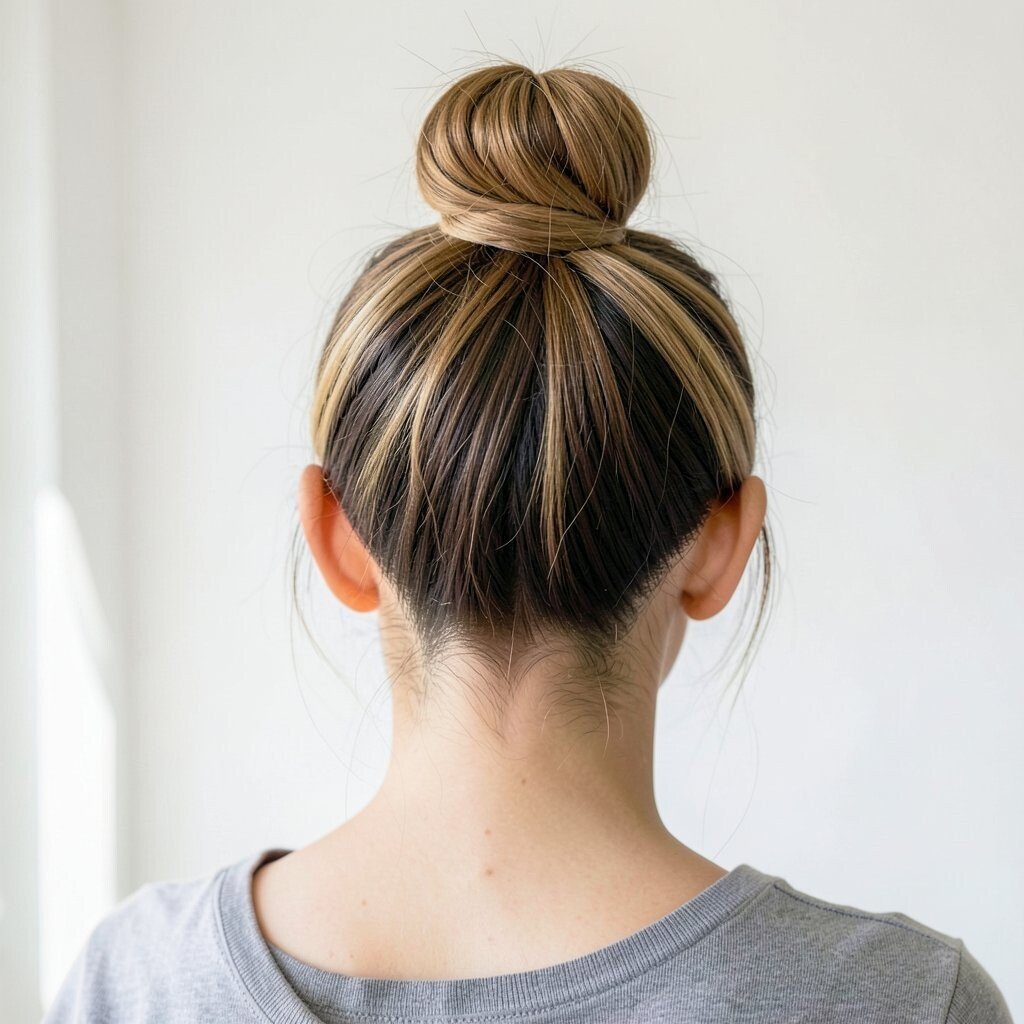
Gather hair into a bun, then create a little bump at the crown by teasing lightly before twisting. Pin the bun so the lifted shape stays intact.
This bun gives a stylish silhouette and makes your hair look thicker and fuller. It’s also a flattering choice if you want more height without using lots of products. Keep the back smooth and let the top have the volume for a balanced look that still feels easy.
If you have curly hair, use your fingers to shape the bump while your curls sit naturally around it. If you have straight hair, mist a little texture spray so the teased section holds longer. This is a smart way to match current volume trends without spending extra money on new tools.
19. The Pinned-Up Bun With Two Loose Waves
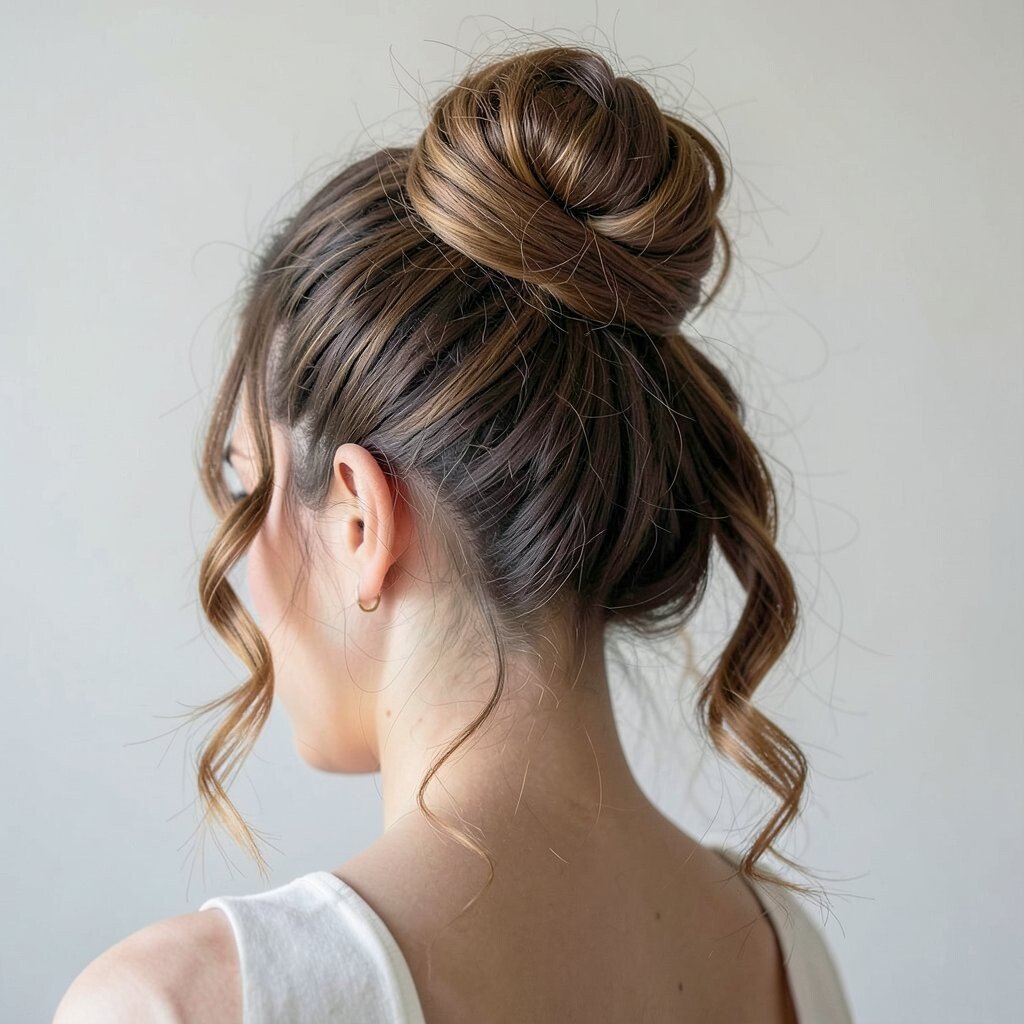
Roll hair into a bun and pin it firmly, then leave two loose strands that you curl or wave. Let them frame your face and soften the overall shape.
This hairstyle is unique because it feels sleek in the back but playful at the front. It’s also a great way to show off hair texture, especially if you have natural waves. For practical tips, pin the bun first, then curl the loose strands after so you don’t disturb your shape.
Personalize it by choosing the strand placement based on your hair cut, like closer to the cheekbone for a brighter look. For cost considerations, you can use heat tools you already own or skip heat by twisting the strands and letting them set briefly. Either way, you’ll get an easy look that feels lively and ready to wear.