Your wedding day deserves hair that feels like you. The best makeovers happen when you plan for both style and comfort.
Below are wedding hairstyles that show a clear before-and-after feel, plus practical ways to make them work for your hair type, your dress, and your schedule.
1. Romantic Half-Up Twist With Soft Waves

Picture before hair that falls in one direction and won’t stay off your face. The after look lifts the crown with a gentle twist and keeps loose waves glowing around your shoulders.
To get this effect, start with damp hair and add a light styling cream at the mid-lengths so the waves look touchable. Then clip the half-up section higher than you think, because it settles as hair dries and your head moves during photos.
For benefits, this style balances your face and looks polished in every angle. It also helps keep hair off your neck when dinner and dancing heat up the room.
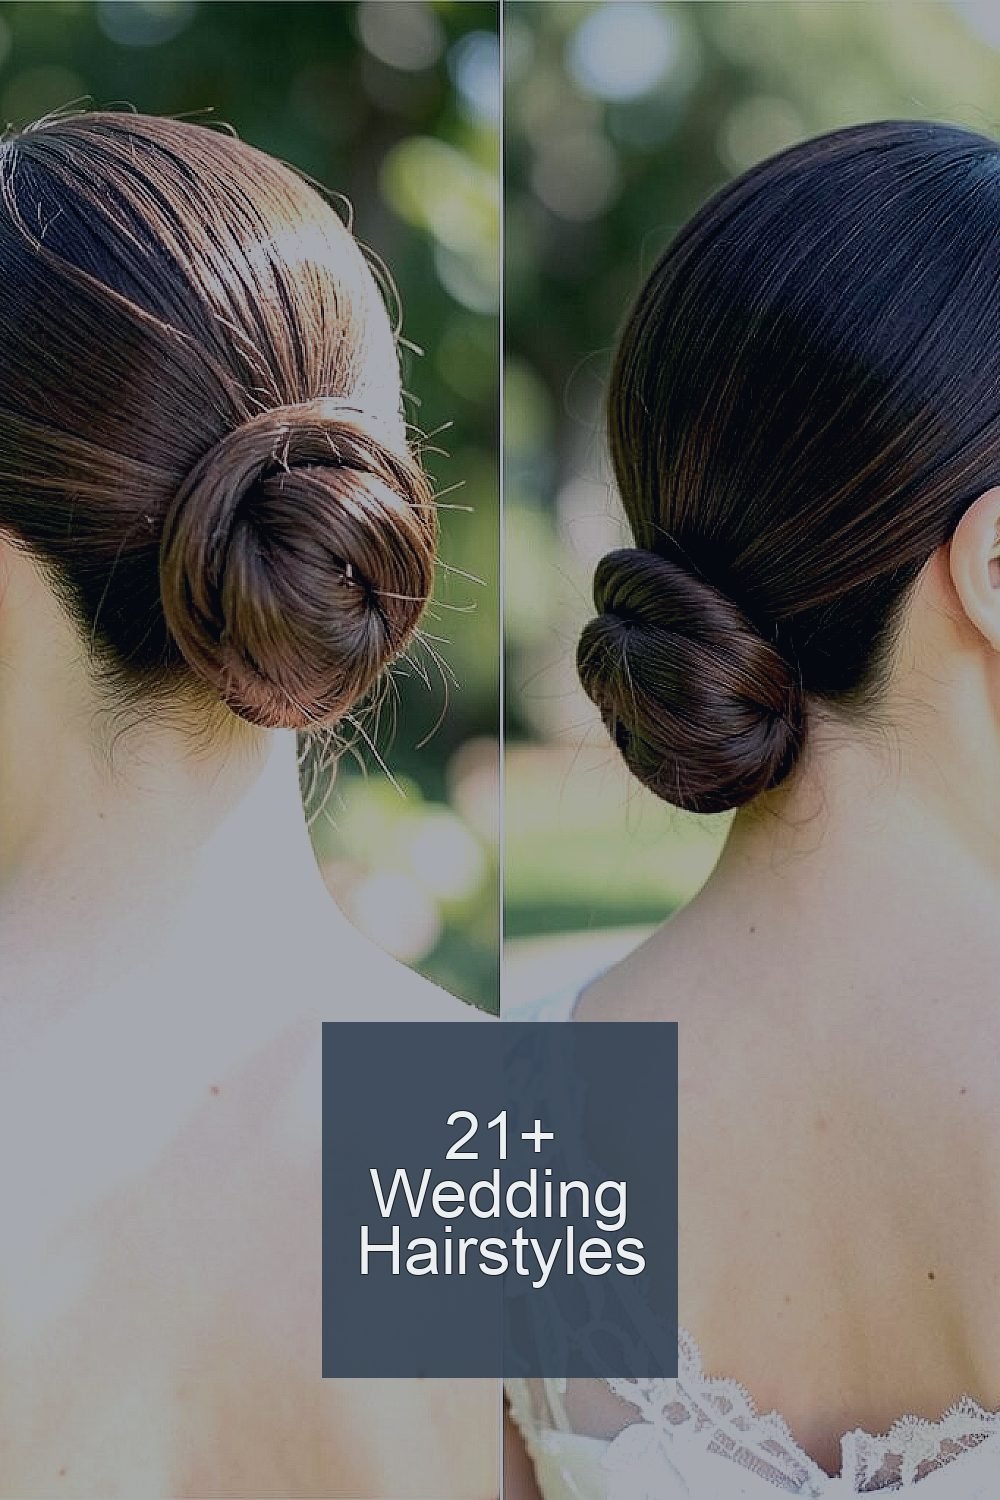
2. Sleek Low Bun With a Side-Swept Headband

Before, your hair might look flat at the roots or frizzy near the ends after you pin it. After, a smooth low bun and a soft headband give a clean, finished line that photographs like a dream.
This makeover works great for straight or slightly wavy hair because a bun loves structure. Use a smoothing serum first, then brush the hair tight at the nape before forming the bun so it stays neat for hours.
You can personalize it by choosing a headband with pearls, crystals, or fabric that matches your dress details. For cost, an easy upgrade is swapping a plain clip for a ready-to-wear headband instead of adding extra hairpieces that require more labor.
3. Vintage Victory Rolls With Modern Shine
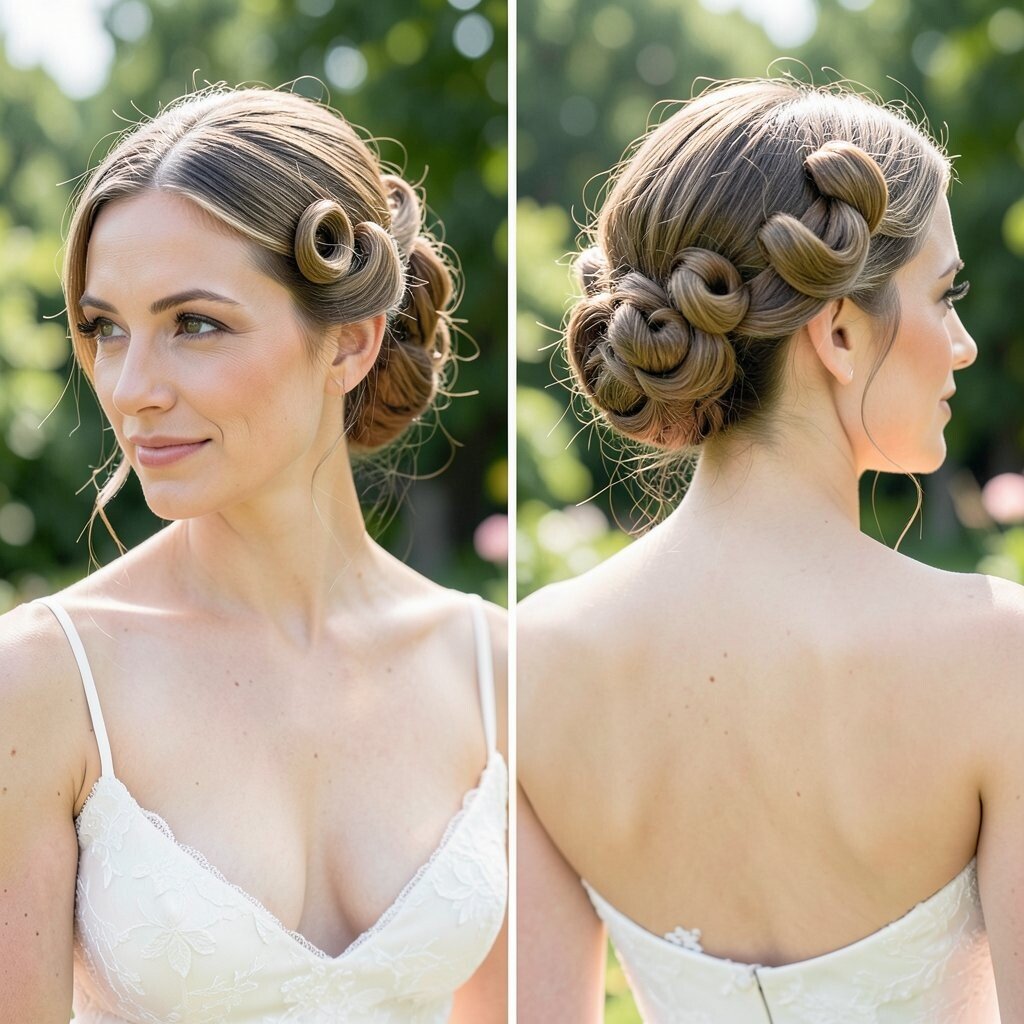
Imagine before curls that look cute but don’t hold their shape after hairspray. The after makeover adds vintage rolls near the front and finishes with a glossy top layer for a head-turning vintage mood.
Start by sectioning your hair into neat bands and roll with consistent tension, then let each section cool before you release it. A light mist of flexible hairspray helps you keep the look without making hair crunchy.
For practical tips, keep the rolls slightly asymmetrical so they feel natural instead of overly perfect. This style is unique because it pairs bold history-inspired shapes with today’s shiny, healthy finish.
Pair it with earrings or a veil that doesn’t overpower the curls. If your hair is very fine, ask for a teasing step at the crown so the rolls have a foundation that won’t slip.
4. Loose Waterfall Braid Over Bare Shoulders
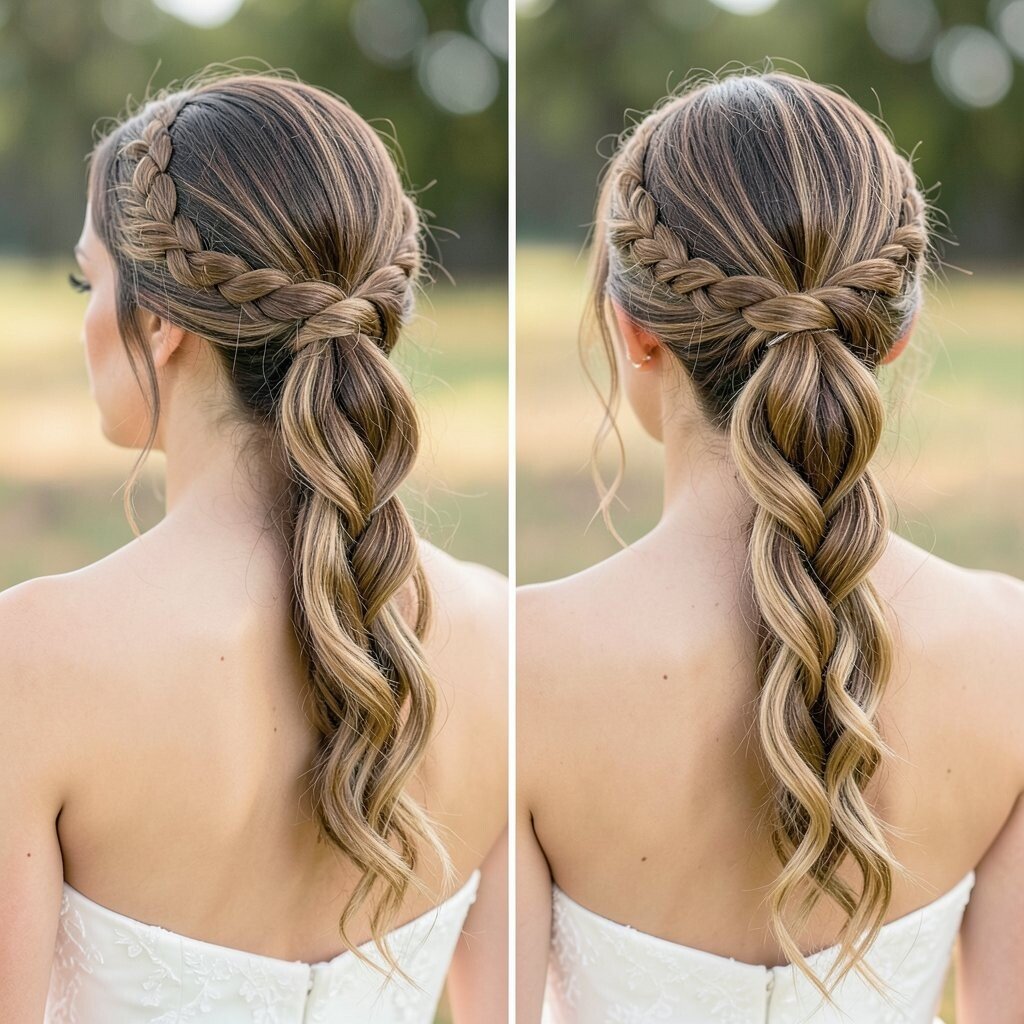
Before, your braid plan might get tangled when you move your head during portraits. After, a waterfall braid creates a soft ribbon effect that looks delicate and stays comfortable.
The key is to braid loosely through the waterfall sections while keeping the base secure. Apply a curl-enhancing mousse before styling so the “falling” strands have bounce instead of looking flat.
This style benefits you by adding detail without making your hair feel heavy. It also looks great with off-shoulder dresses because the braid frames your neckline like a gentle border.
For personalization ideas, weave in a tiny ribbon or add a single floral pin at the low end. Consider cost by choosing one statement piece rather than multiple accessories that can add time and styling charges.
5. Classic French Twist With a Fresh Center Part

Before, your hair may be hard to pin because it slips from smooth roots. The after makeover uses a French twist that feels secure while still looking effortless, especially with a crisp center part.
Use a grip spray or light styling powder at the roots, then gather hair and twist upward with steady hand pressure. A hidden bobby pin pattern at the base helps you avoid the “twist that shifts” problem.
This hairstyle is unique because it looks structured yet romantic, and it makes your face look longer in photos. It’s also a practical choice for ceremonies with tight veils, since the twist gives the veil a stable anchor.
For personalization, add a soft strand tucked at the side to soften the look. If you have thick hair, ask your stylist to leave a slightly fuller back section so it looks intentional instead of tight.
6. Soft Glam Curls With a Side Clips Moment
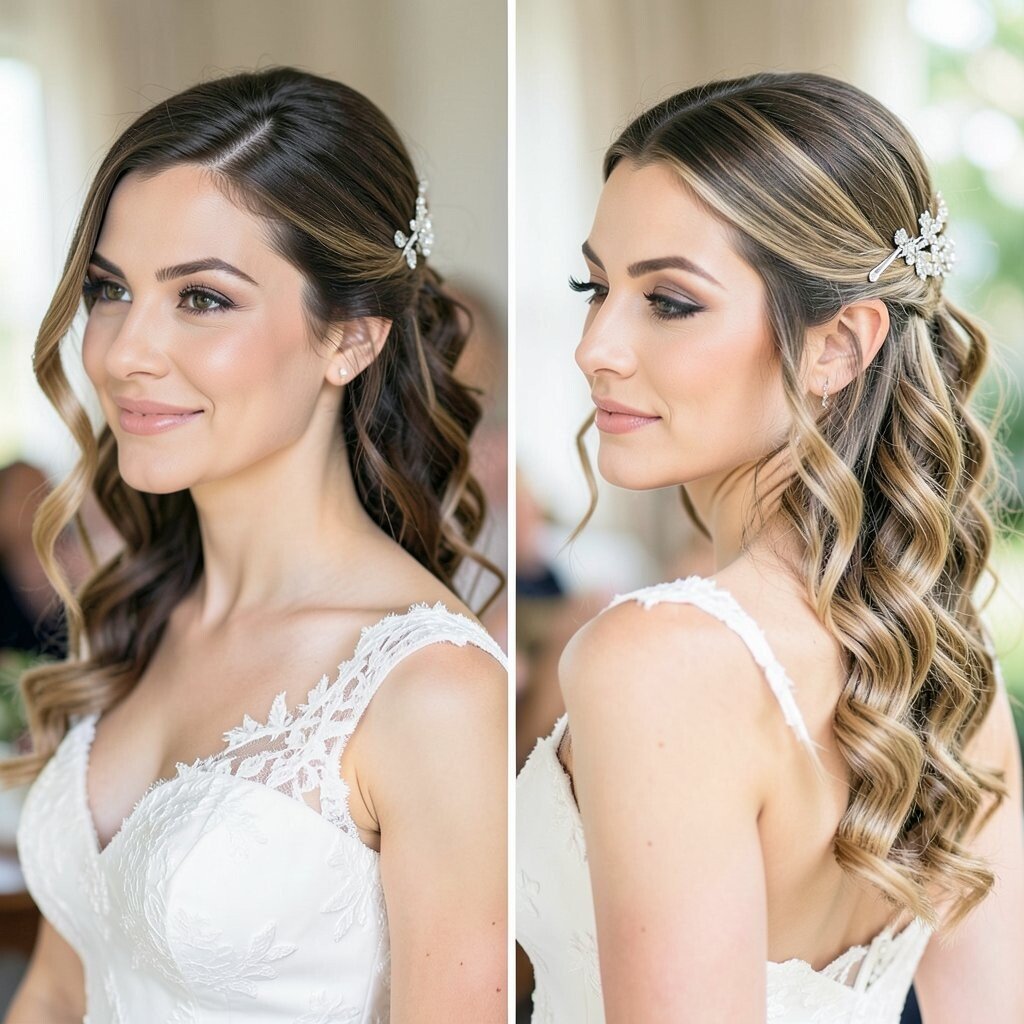
Before, big curls can turn into volume that tangles and blocks your earrings. After, you keep the glam curls but add side clips for controlled shine and a photo-ready profile.
To make it work, style with a medium-barrel iron and cool the curls before touching them. Then gently sweep one side back with clips, leaving the rest of the curls free and bouncy.
This makeover benefits you because it keeps hair from covering your cheek while still letting your hair look full. It also adds uniqueness since the side clips create a modern “off-duty” bridal vibe.
For practical tips, choose clip size based on your hair thickness, not just your outfit. Smaller clips feel subtle on fine hair, while bigger clips help thick hair stay in place.
7. Sleek Ponytail With a Wrapped Tie and High Gloss

Before, your ponytail might sag after the first hour or look messy at the base. After, a wrapped ponytail with high gloss makes it look intentional and high-end.
Start with a blow-dry that smooths the hair shaft, then use a strong-hold gel along the sides. Wrap a thin strand around the elastic to hide it, and add a light hairspray finish to keep flyaways calm.
This is a practical, trendy choice when you want your face to stay open and your neckline visible. It’s also budget-friendly because a ponytail can look luxury with minimal accessories.
Personalize by adding a bow-like scrunchie at the base or using a ribbon wrap that matches your wedding colors. If your hair is short, ask about extensions for length control so the ponytail looks proportional.
8. Classic Dutch Braid Into a Low Bun

Before, a Dutch braid may look beautiful at first but feel too loose for long events. The after look combines a Dutch braid with a low bun so the style stays secure and regal.
Begin by braiding with sections that are even, then braid all the way down before wrapping into a bun. Use pins that match your hair color and place them behind the braid so the bun stays clean from the front and sides.
This makeover benefits you by giving a sturdy hairstyle that works in wind and movement. It’s unique because it mixes sporty texture with bridal elegance.
For personalization ideas, add a few thin braid pins near the top to create a slightly fuller crown shape. Keep cost in mind by choosing either flowers or pearls, not both, since too many pieces can add styling time.
9. Boho Floral Crown With Textured Waves

Before, you may have tried floral accents but they looked heavy or didn’t blend with your hair texture. After, textured waves pair with a lightweight crown for a free-spirited, natural finish.
To set the foundation, use a sea salt spray lightly and scrunch while drying. Leave your roots slightly airy so the crown sits comfortably and doesn’t flatten your volume.
This style benefits you because texture makes the whole look more forgiving and less “perfect,” which feels romantic. It also feels unique because the flowers look like they belong, not like they were placed last minute.
Personalize by matching flower tones to your bouquet, or choose greenery if you want a modern woodland feel. For practical tips, secure the crown at two points only, so it doesn’t tug when you turn your head for photos.
10. Elegant Veil-Friendly Updo With Pin Curls
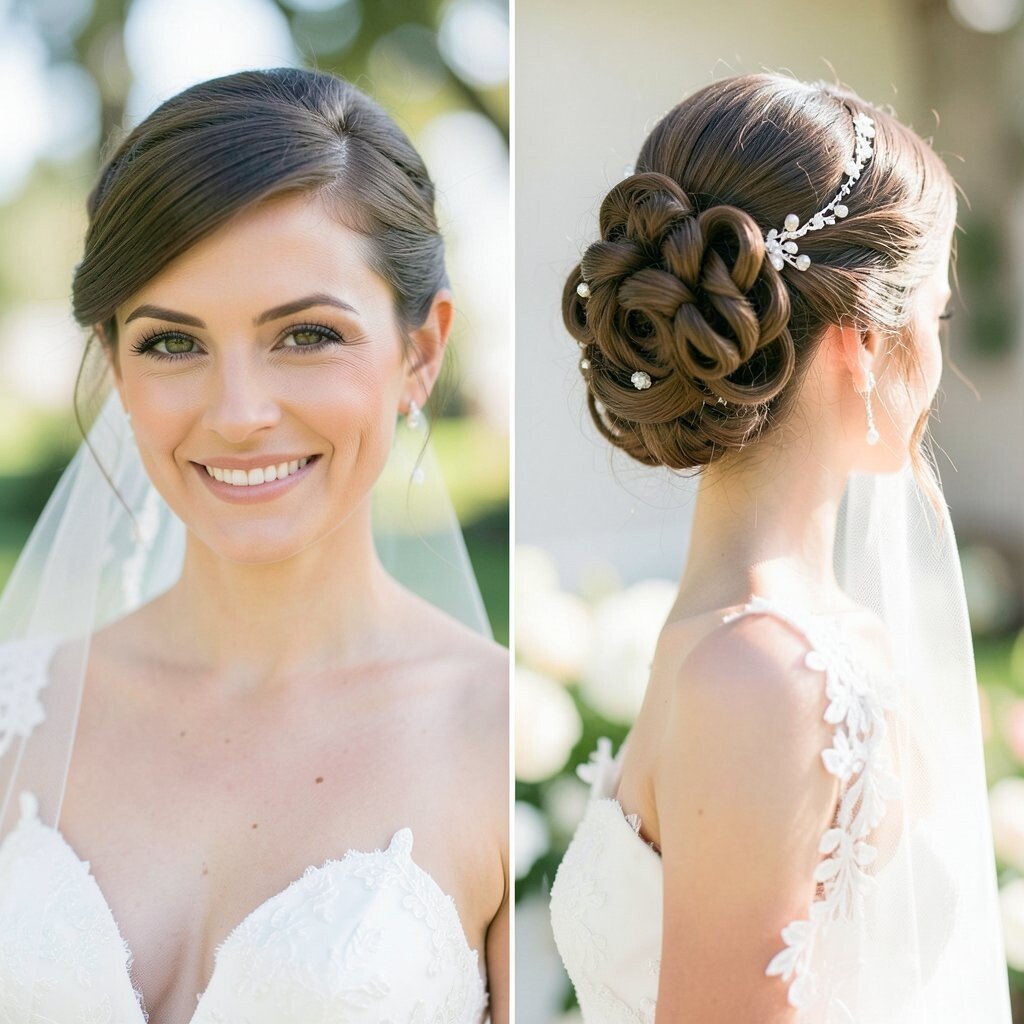
Before, your hair may tangle when you try to pin the veil, making the back look uneven. After, pin curls give a soft, sculpted base so the veil sits beautifully and evenly.
Make pin curls with small sections and let them set fully, then brush lightly so you get gentle waves. Plan your veil placement early, then pin the veil into the updo rather than into loose hair.
This makeover benefits you because pin curls hold shape, which means the veil stays aligned throughout the ceremony. It’s also unique because the back looks lush without feeling bulky.
For personalization, add a comb with crystals under the veil for a subtle sparkle at eye level. If you worry about cost, consider a simple veil and spend your budget on quality pins and a hairstylist who understands veil anchoring.
11. Soft Side Bun With Braided Detail

Before, a regular bun can feel plain and might not flatter your hairline. After, a side bun with a tiny braided detail adds charm and directs attention to your cheekbones.
Form your bun slightly lower and to one side, then braid a small strand and wrap it around for a gentle accent. Use a smoothing mist on the outer layer so the bun looks polished, even if your hair is naturally wavy.
This style is beneficial because the side placement can balance asymmetrical features and looks great with strapless dresses. It’s unique too, since the braided accent gives interest without taking over the whole look.
12. Hollywood Waves With a Deep Glossy Part
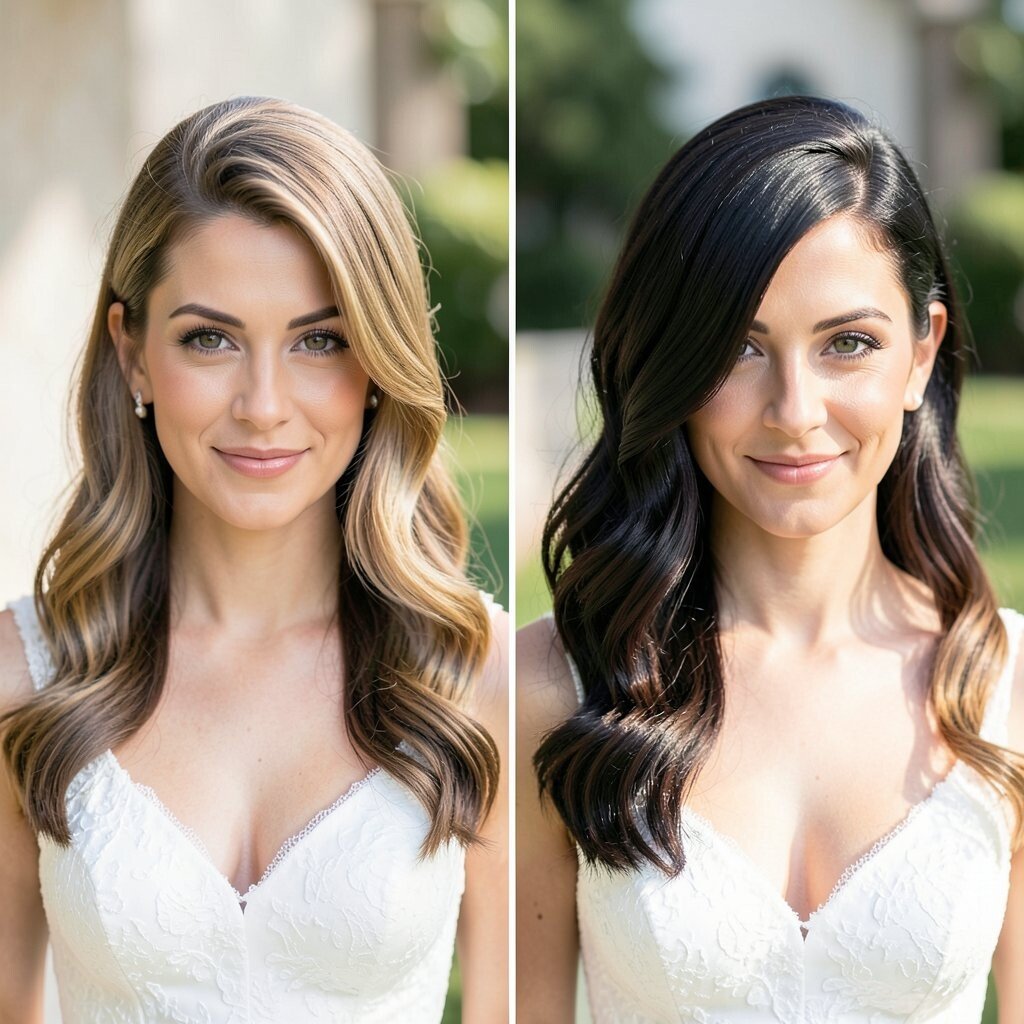
Before, curls might look soft but not shiny enough, leaving your hair dull in bright wedding lights. After, deep glossy waves with a defined part bring that classic old-movie glow.
Use a shine spray after styling and brush the front part with a light hand so it stays crisp. Keep the waves uniform by using a consistent iron direction and spacing for each section.
This makeover benefits you because it creates a strong photo silhouette, especially with a veil or statement earrings. It also feels personalized when you match the part style to your makeup, such as choosing a slightly straighter part for a bold lip look.
For practical tips, schedule hair timing so your curls fully set before you add accessories. If you’re cost-conscious, you can rent or borrow a styling tool rather than buying multiple irons that you’ll use only once.
13. Curly Half-Up Crown With Tiny Puff Pads

Before, your natural curls might be beautiful but hard to manage around the temples. The after makeover uses a half-up crown with small puffed sections that shape your curls without flattening them.
Apply curl cream and define your curls, then choose a top section to lift and pin. Add small padding under the puff area using teasing or light roll techniques so your crown looks lifted but still soft.
This style benefits you by keeping your natural texture while still looking styled for a formal setting. It’s unique because the crown feels like a soft halo instead of a tight updo.
Personalize by adding a satin ribbon pinned across the crown or using pearl pins for a classic twist. For cost considerations, plan to invest in quality pins and a good hold spray since curls can soften during humid hours.
14. Minimalist Slick Bun With a Feathered Clip
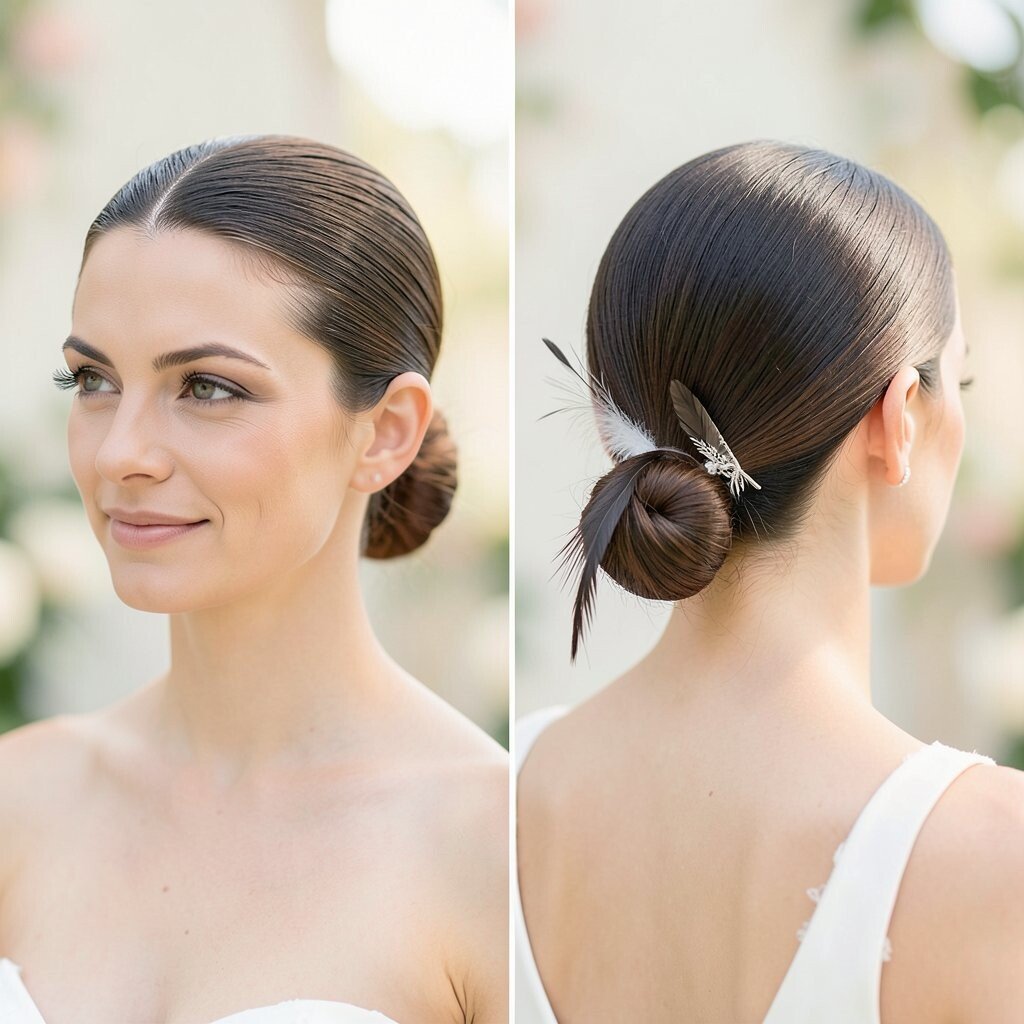
Before, you might think “slick” will look harsh, but hair can actually look smooth and gentle with the right finish. After, a minimalist slick bun plus a feathered clip creates a modern bridal statement.
Start by blow-drying with a nozzle attachment for extra smoothness, then use gel on the surface for a sleek finish. Brush carefully until you get that polished, clean look, and secure with pins under the bun.
This makeover benefits you because it keeps everything off your face, making it perfect for active ceremonies or outdoor photos. It’s unique because the feathered clip adds motion and softness that still feels bridal.
For personalization ideas, match feather tone to your bouquet or choose a clip with small crystal edges. If your hair is thin, a donut pad or light volume insert helps the bun look full without adding a lot of bulk.
15. Braided Crown With a Low Chignon

Before, you might wear braids only on the side, but the crown idea can make the whole look feel intentional. After, a braided crown blends into a low chignon for a regal, tidy finish.
Create the crown by braiding two sections and crossing them across the top of your head. Then gather the remaining hair into a low chignon, keeping the braid anchor secure so it doesn’t slide.
This hairstyle benefits you by creating a balanced frame for your face while still keeping the back elegant. It’s unique because the braid-to-bun transition looks detailed without needing a lot of extra accessories.
Practical tips include using styling spray at the crown area and hiding pin ends inside the chignon. For cost, you can get a high-impact look by choosing one braid-related accessory, like a pearl pin near the side, instead of multiple jewels.
16. Classic Side Part Updo With Blossom Pins
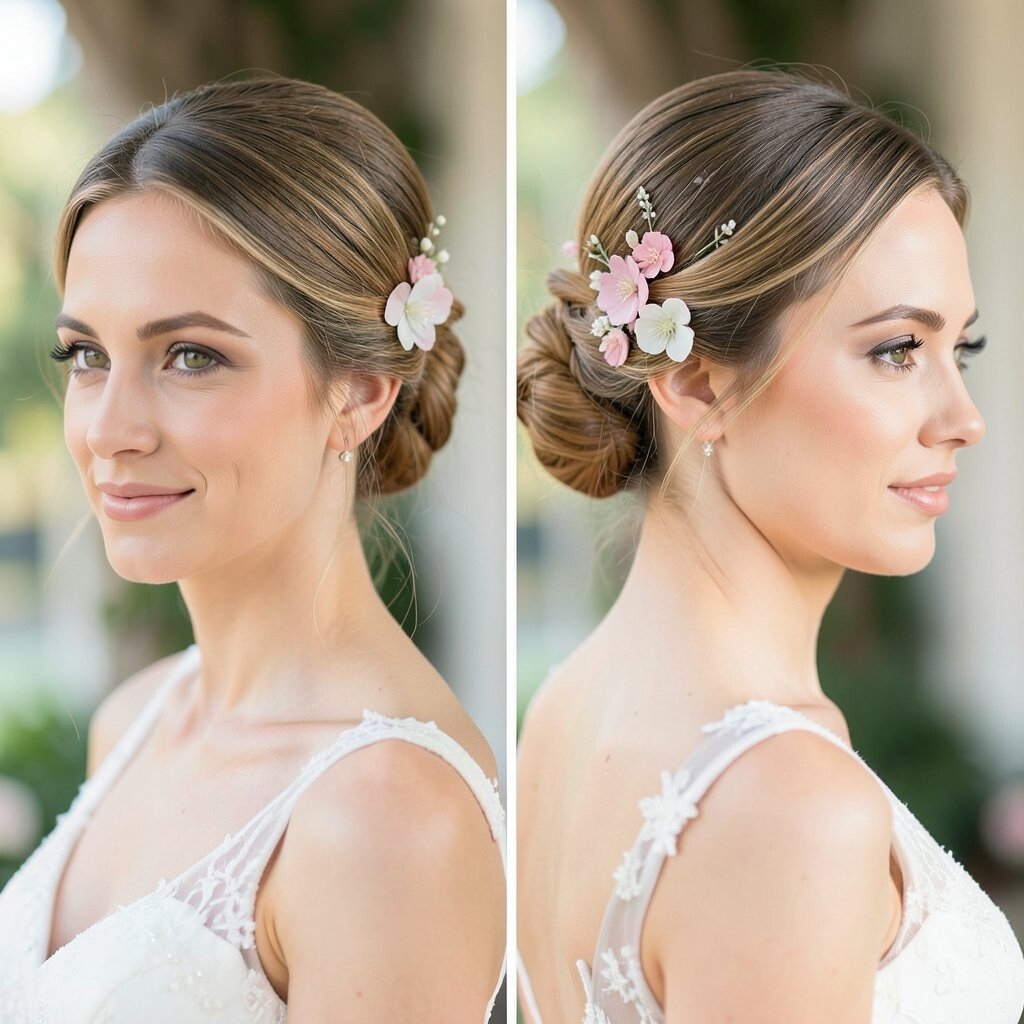
Before, your updo might look uneven at the nape, especially if your hair grows fast between wash days and styling. After, a side part sets a flattering shape, and blossom pins add a sweet, springy touch.
Set your style with a light hold mist, then twist or roll sections toward the back. Place blossom pins where hair catches the light, like near the ear and along the upper back.
This makeover benefits you because side-part updos can flatter many face shapes and work well with both veils and statement earrings. It’s unique because the floral pins create a gentle “after” moment even if your dress is minimal.
For personalization, coordinate pin colors with your bouquet or wedding palette. To keep cost controlled, consider pins you can reuse later for anniversaries or photo shoots.
17. Elegant Top Knot With Loose Tendrils
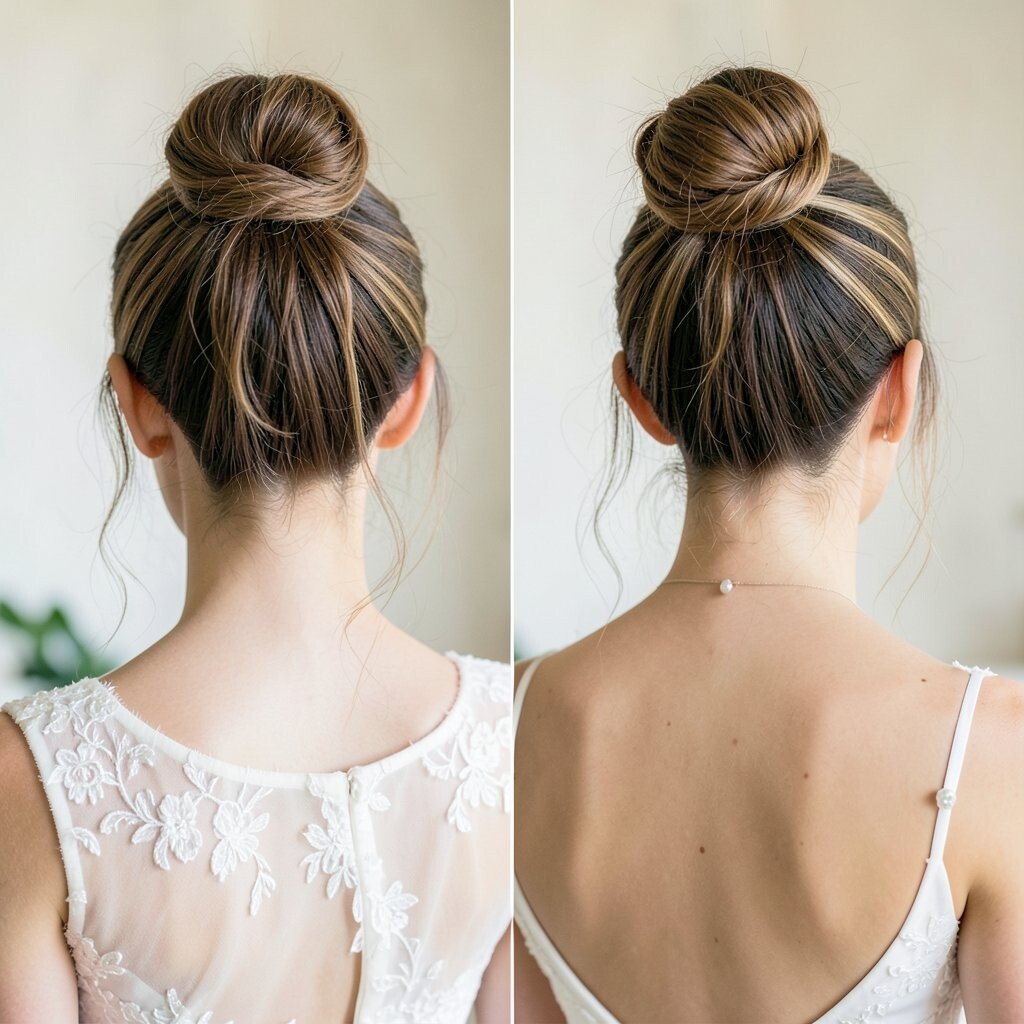
Before, a top knot might feel too tight and pull at your scalp after a long day. After, the look softens with loose tendrils framing your face while the knot stays secure.
Make the knot at the crown for lift, then pull two thin strands near your temples before pinning everything down. Use a heat protectant if you curl the tendrils, then finish with hairspray that won’t weigh them down.
This style benefits you by giving modern height and keeping hair off your shoulders. It’s unique because it balances a clean knot with a romantic, lived-in frame.
Practical tips include testing tension in a mirror and making sure the knot doesn’t tug when you sit. For cost considerations, you can achieve a fuller top knot with a simple hair pad or extensions if needed.
18. Boho Braid Ring With Waterfall Effects

Before, you might struggle to keep a circular braid tidy, especially if your hair is fine or slippery. After, a braid ring with waterfall elements creates a dreamy loop that looks intricate but still manageable.
Start at one side, braid around the head, and let select strands fall like a waterfall as you go. Secure carefully with pins hidden near the braid’s center so the ring stays intact.
This makeover benefits you by keeping hair gathered while still giving airy texture. It’s unique because the ring shape looks sculpted, and the waterfall bits add motion that feels very bridal.
For personalization ideas, add small pearls spaced along the ring or tuck in one larger flower pin for a focal point. Keep cost in mind by choosing accessories that are easy to place, so hairstylist time stays efficient.
19. Vintage Finger Waves With a Soft Ribbon Band

Before, your front pieces might not hold their shape, especially if humidity changes the day. After, finger waves create a smooth, vintage pattern, and a soft ribbon band keeps the look sweet.
Use a setting gel and comb to form waves, then let them dry fully before you brush or release. The ribbon band can sit over the waves to blend texture into a finished style.
This hairstyle benefits you because waves look sleek and intentional in close-up photos. It’s unique because it mixes structured vintage texture with a gentle ribbon accessory that feels personal and playful.
Personalize by choosing ribbon color that matches your bouquet wrap or your bridesmaid dresses. For practical tips, plan for touch-ups by bringing a small comb and hairspray for quick front smoothing.
20. Braided Updo With a Hidden Hair Flower

Before, your braided updo might look pretty, but accessories can steal attention too early or feel disconnected. After, the braided structure carries the style, and the hair flower appears like a secret detail when you turn.
Build the updo with a few braid sections, then tuck a flower near the inner crown or slightly under the top braid. Use pins that secure the braid first, then pin the flower so it doesn’t shift as you move.
This makeover benefits you by giving depth and movement without adding weight. It’s unique because the hidden flower creates a “before and after” surprise effect across photos and video.
For personalization, match the flower style to your bouquet, such as silk petals for a long-lasting option. Cost can be managed by using a hair flower that you can reuse, rather than a custom piece that’s made only for one day.
21. Sleek Curl-Set With a Low Side Crown Clip

Before, curled hair might fall flat near one side, especially if you prefer sleeping with your hair off one shoulder. After, a low side crown clip adds a lifted line and keeps curls looking even.
Set curls with rollers or a curling iron, then brush them into a soft, uniform shape. Place the crown clip low enough to feel natural, but high enough to pull attention upward on camera.
This style benefits you because it creates balance and keeps your hair from spilling into your face during the ceremony. It’s unique because the clip placement feels subtle yet modern.
For practical tips, make sure the clip matches your hair thickness so it grips securely. If you want cost flexibility, consider a clip you can rent or buy in a neutral tone that works with multiple outfits.
22. Soft Bridal Scrunch-Effect Bun With a Pearl Scatter
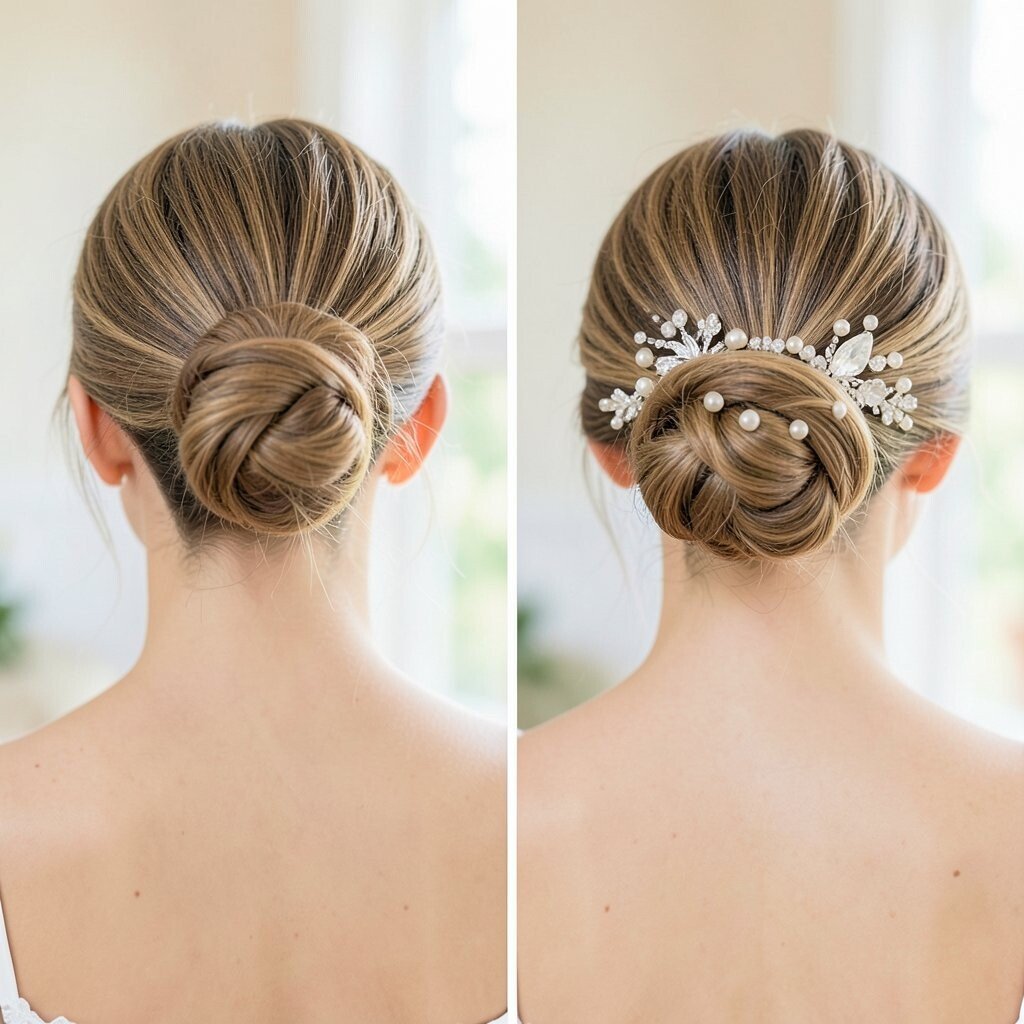
Before, your bun might look pretty but lacks texture, which can make it look flat in photos. After, a scrunch-effect bun adds gentle volume, and a pearl scatter gives a romantic sparkle without feeling loud.
Lightly scrunch sections before gathering, then pin into a bun with intentional, loose texture on top. Add pearls in small clusters so they look like they’re part of your hair rather than stuck on last minute.
This makeover benefits you by adding interest even if your dress is simple, because the hair becomes the focus. It’s unique because the scrunch texture creates softness while pearls keep it bridal.
Personalize by using pearls that match your earrings or choosing a smaller scatter for a minimalist look. For cost considerations, you can control expenses by limiting the pearls to key zones, like one side of the bun and a small line at the back.