Your hair can look put-together in minutes, even on busy school mornings. Try these bun styles that feel fun, practical, and totally doable.
1. The Classic High Bun With a Smooth Edge
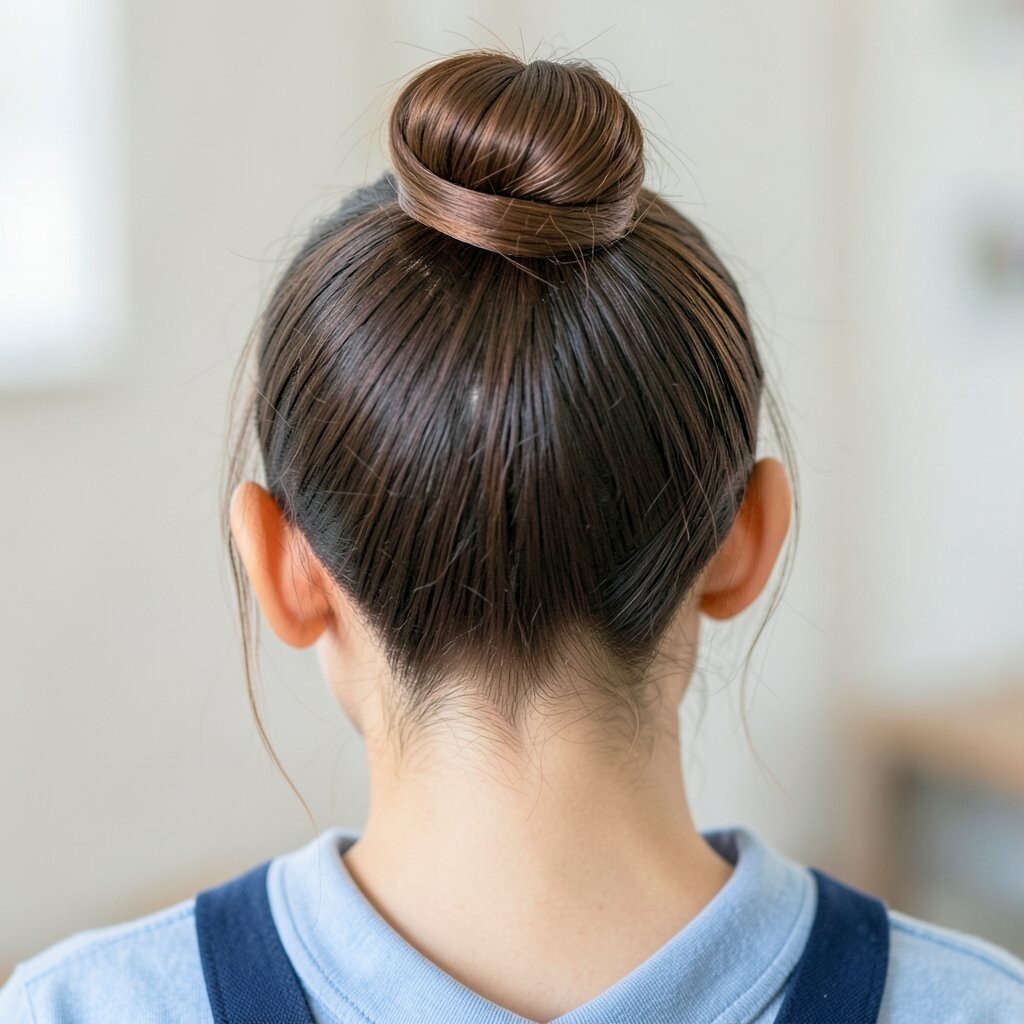
Gather your hair at the crown and twist it into a neat rope. Secure it with a band so it sits tall like a tidy little helmet.
Use a soft brush or a damp toothbrush to smooth flyaways along your hairline. This style is fast, comfortable, and keeps hair off your face during class. If you want it to look extra polished, finish by lightly spraying a little mist on your hands and pressing it over the top.
2. The Messy Low Bun With a Feathery Volume
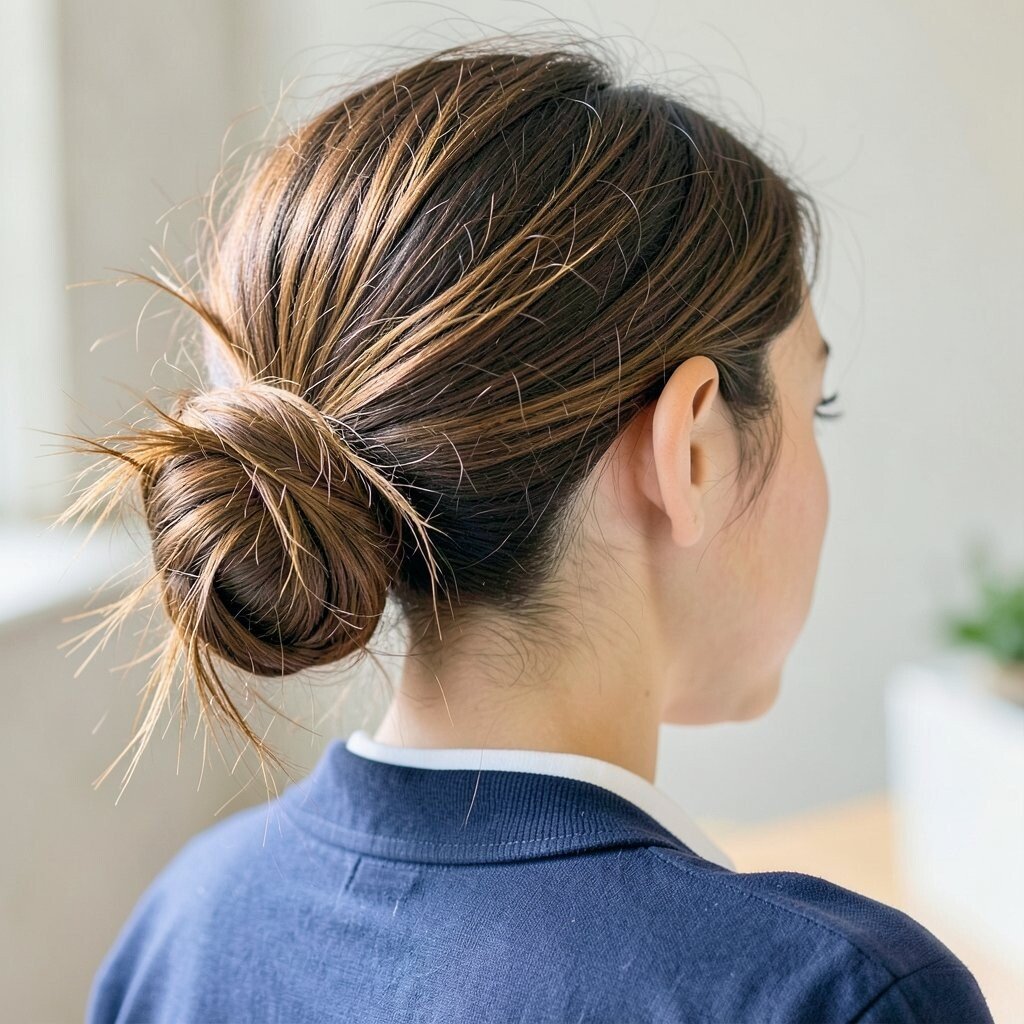
Pull your hair into a low pony, then twist and wrap it loosely for a relaxed shape. Let a few strands fall around your ears so it looks effortlessly cool.
To get that airy, messy look, gently pull at the bun after you clip it. This bun works great when you need speed but still want style. For a budget-friendly upgrade, skip extra tools and use a plain hair tie and a couple of bobby pins.
Pair it with a headband or a small scarf for a trendy school vibe. Choose looser twists for thick hair and tighter twists for thinner hair so the bun stays secure. Your uniqueness can show through in where you let the stray pieces sit.
3. The Twisted Side Bun With a Soft Sweep
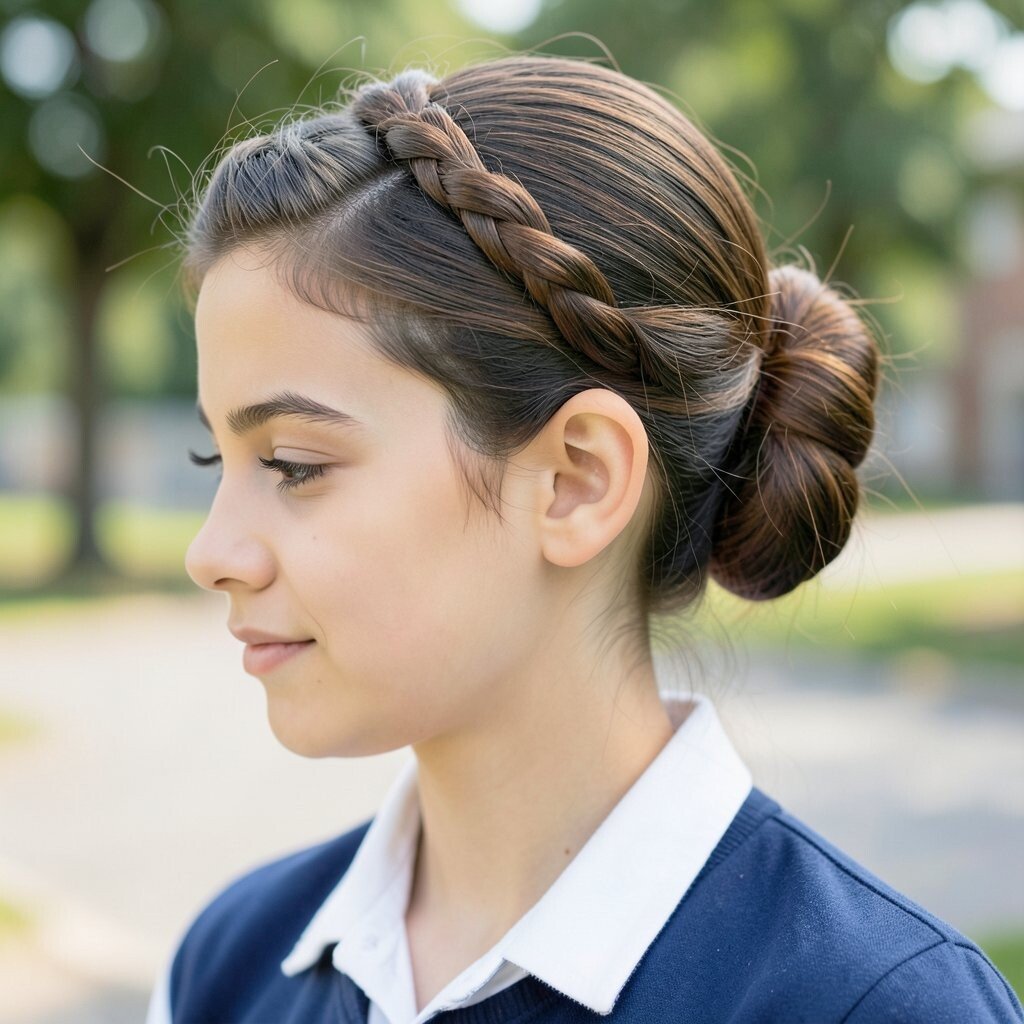
Part your hair to one side, gather it, and twist it as you gather. Wrap the twist into a bun near your ear for a sideways look.
Secure it with pins that match your hair color so they blend in. This hairstyle keeps one side open and looks great with earrings. It is also helpful on days when bangs need a little support.
For practical comfort, tuck any loose ends under the bun instead of letting them swing. Try a slightly lower bun for a calmer look and a higher bun for more drama. You can personalize it by adding a tiny hair clip just above the bun.
4. The Two-Bun Half-Up Style
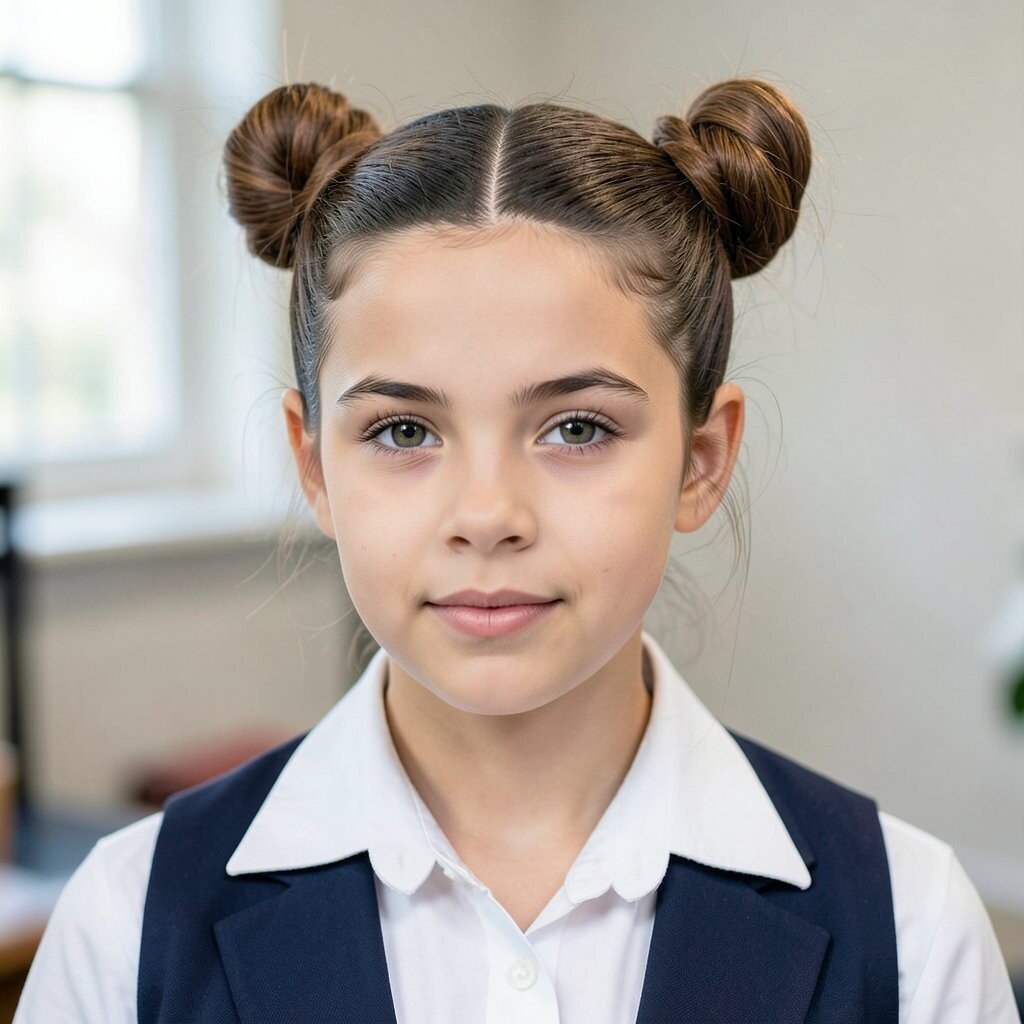
Take the top section of your hair only, then split it into two parts. Twist each section and clip or pin it into small buns on either side.
Leave the rest of your hair down for an extra bounce when you walk. This is perfect for students who want face-framing movement without sacrificing comfort. It also helps hair stay neat during windy outdoor recess.
5. The Braided Bun Knot in the Back
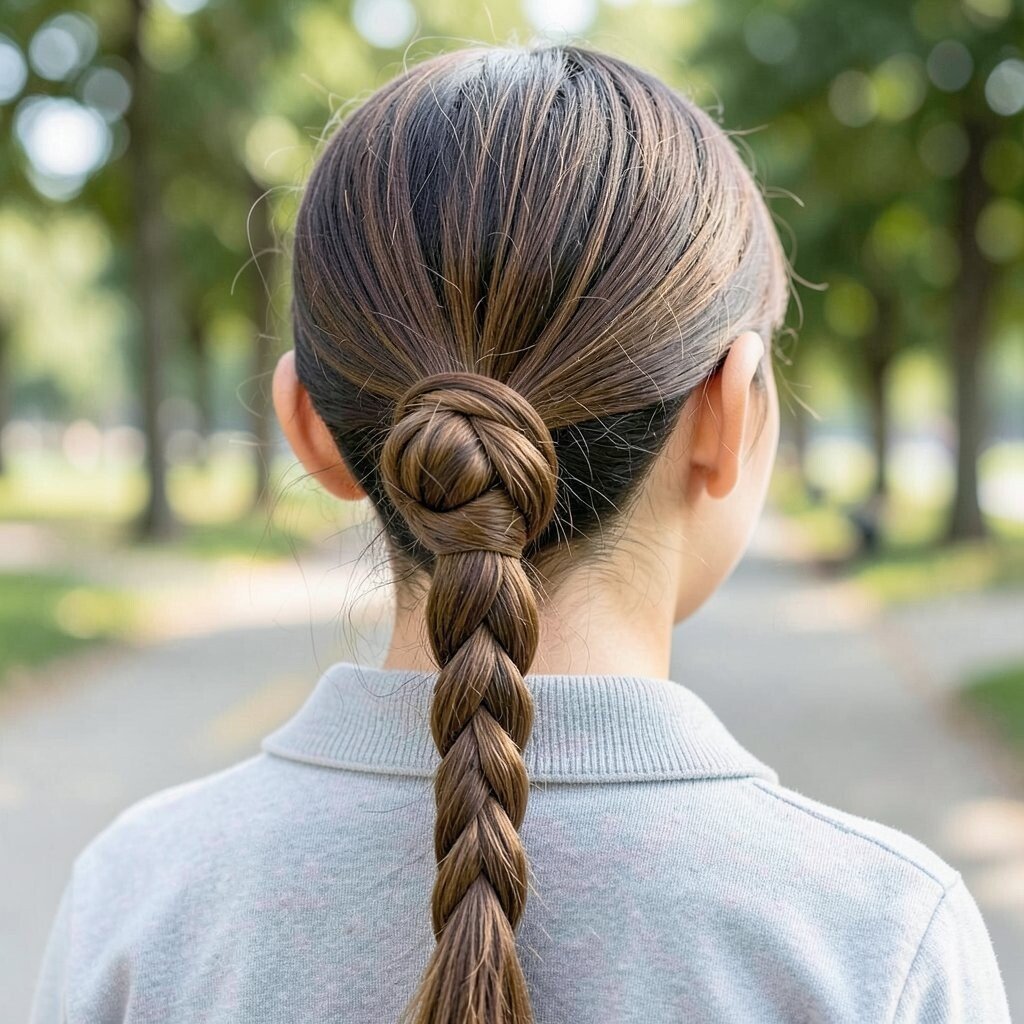
Start with a quick braid, even a simple three-strand one, and then wrap it into a bun at the back. Pin it in place so the braid sits like a textured ribbon.
That braided texture makes your bun look special even if you do not have much time. Keep a few braid pieces slightly puffed so the bun looks full. For a smooth finish, wrap a tiny elastic around the base before adding pins.
Personalize it with color by using a small elastic that matches your outfit. This style also feels current because braided details are popular in school-chic looks.
6. The Space-Bun Style With Small Top Knots
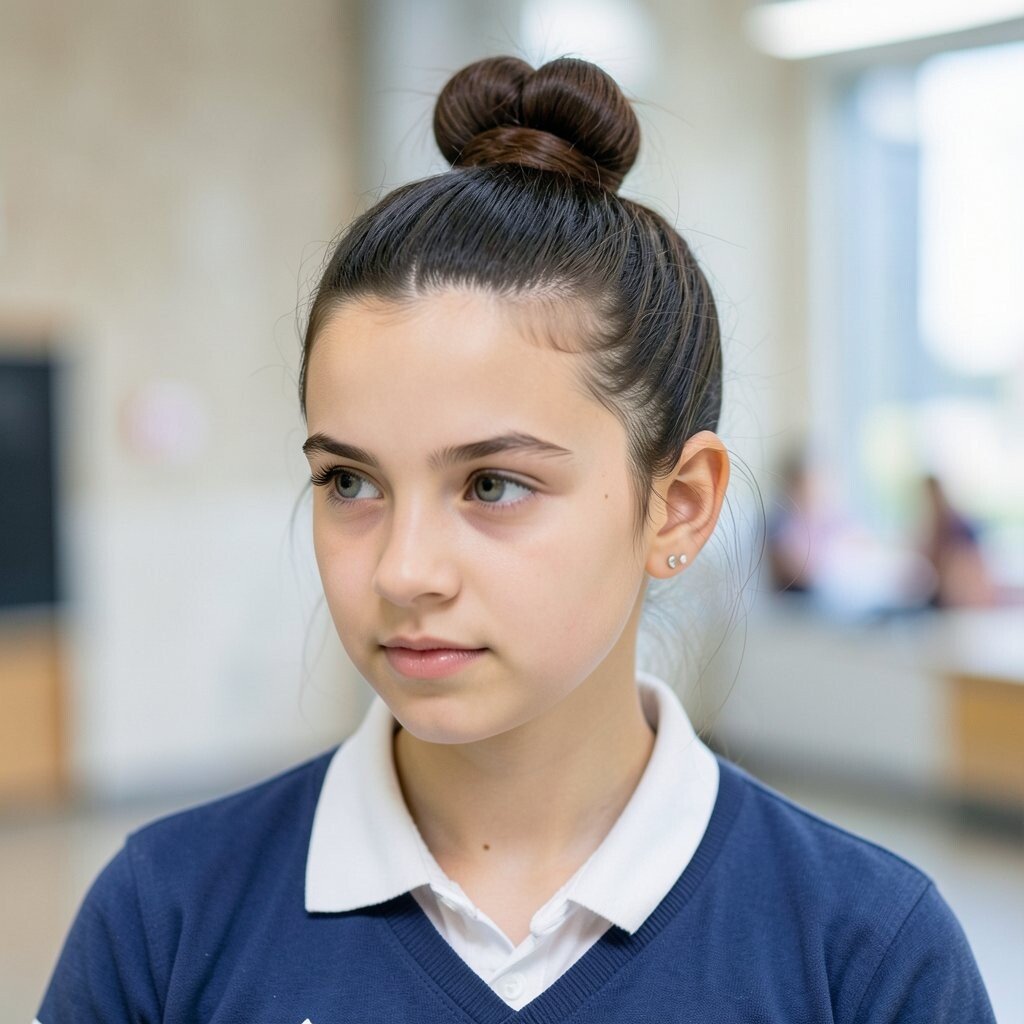
Part your hair down the middle, then create two small high ponytails. Twist each ponytail and wrap it into a compact bun, then secure firmly.
The visual bounce of space buns is playful and confident, and it keeps hair up during active days. If your school dress code is strict, you can make the buns smaller and tidier. Use a light gel or smoothing cream for a clean, cute finish.
For uniqueness, try leaving a thin front strand to frame your forehead. When your hair is slippery, add one extra bobby pin at the base of each bun to prevent shifting.
7. The Low Bun With a Center Twist Crown
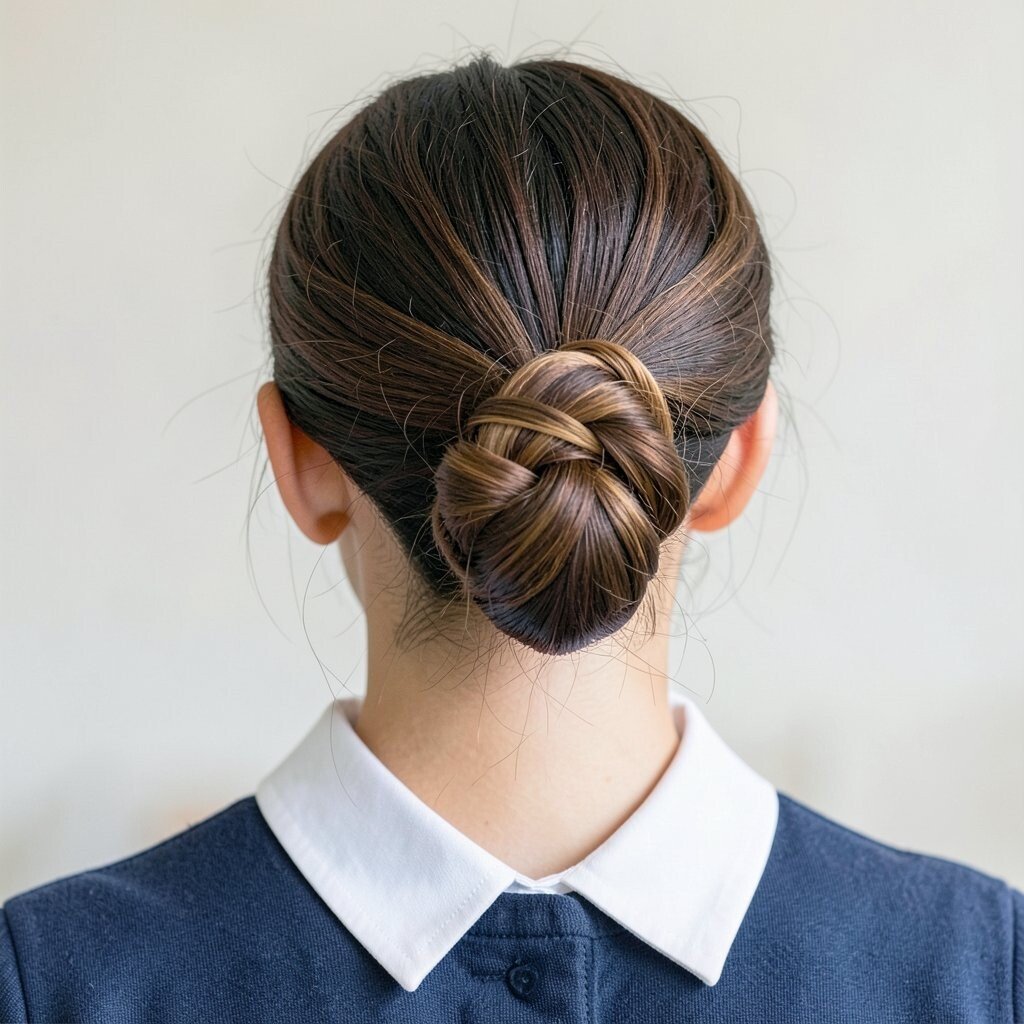
Create a center part, then take two front sections and twist them toward the back. Wrap those twists around the base of a low bun so they look like a little crown.
This style looks soft and thoughtful, with a visible twist that adds charm. It is great for straight hair that needs gentle structure without feeling tight. Use bobby pins angled downward to hold the twist where it meets the bun.
8. The Bun With a Ribbon Wrap for Instant Cheer
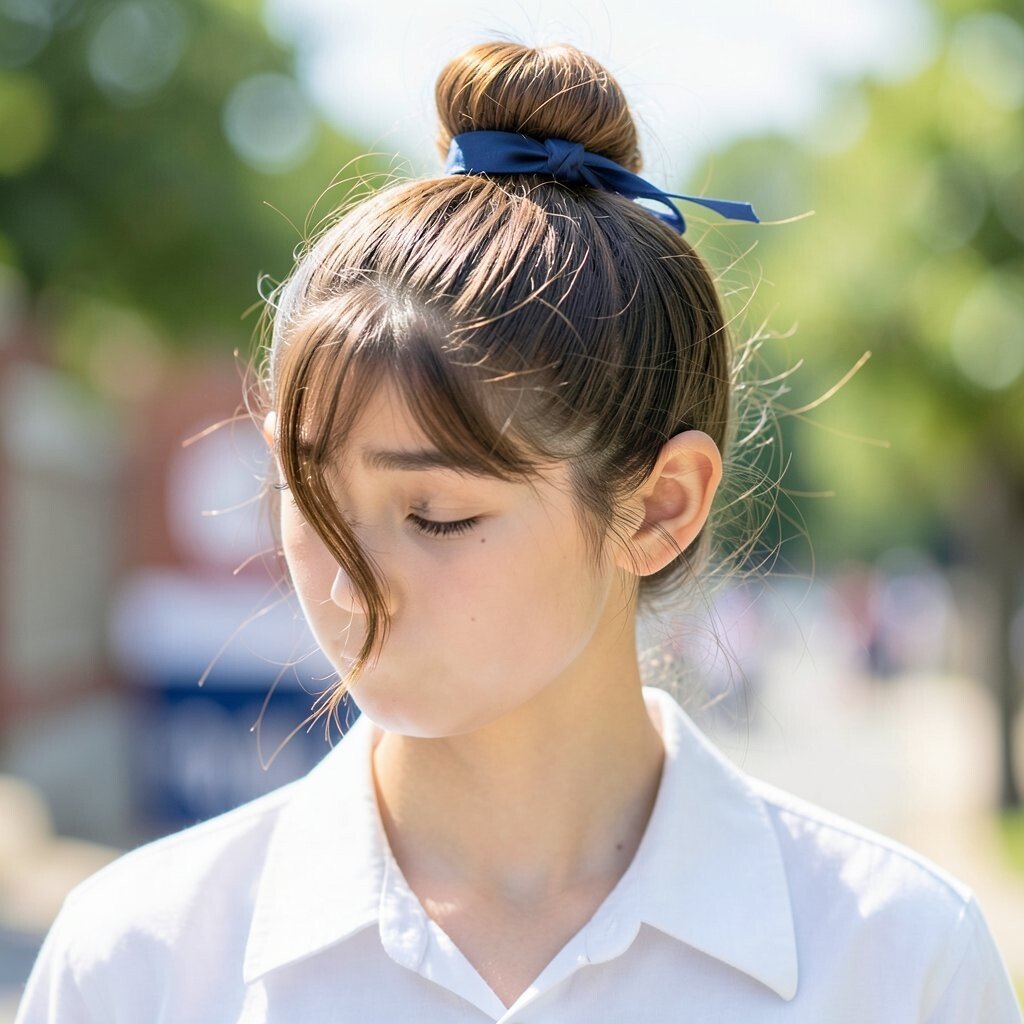
Make a regular bun, then wrap a ribbon around the base where the band sits. Tie it in a simple knot or bow that sits flat against your hair.
The ribbon adds a bright pop that feels fun for school photos and everyday days. Choose a ribbon that matches your hoodie, sweater, or backpack. This is also a cheap way to look styled because you can reuse one ribbon all year.
If you want it to stay put during gym, secure the bow with a small hidden pin under the knot. For personalization, try different ribbon textures like satin for shine or cotton for a softer look.
9. The Rope-Twist Bun With Glossy Texture
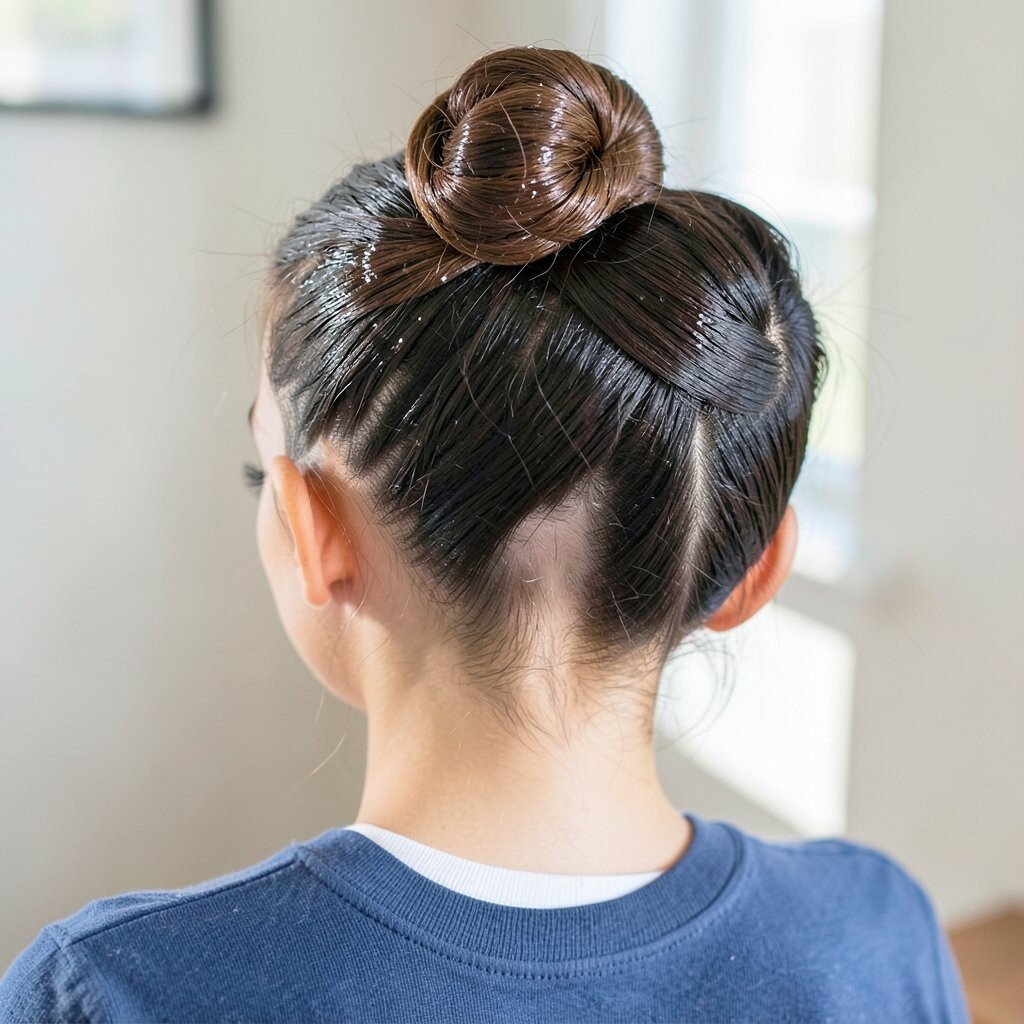
Gather hair into a ponytail, then twist it into a rope shape and wrap it into a bun. Secure with pins so the rope pattern shows clearly on the top.
A rope-twist bun looks elegant because the twist lines catch light and add depth. For visual polish, lightly smooth the hair with a tiny amount of hair oil on your palms. Keep the bun a bit higher if you want a longer look, and a bit lower if you want a relaxed vibe.
This style is unique because it looks like effort even when you only spend a few minutes. If you have fine hair, use a thicker elastic and add one small puff of teased hair at the ponytail base.
10. The Wrapped Bun With the Hair Loop Technique
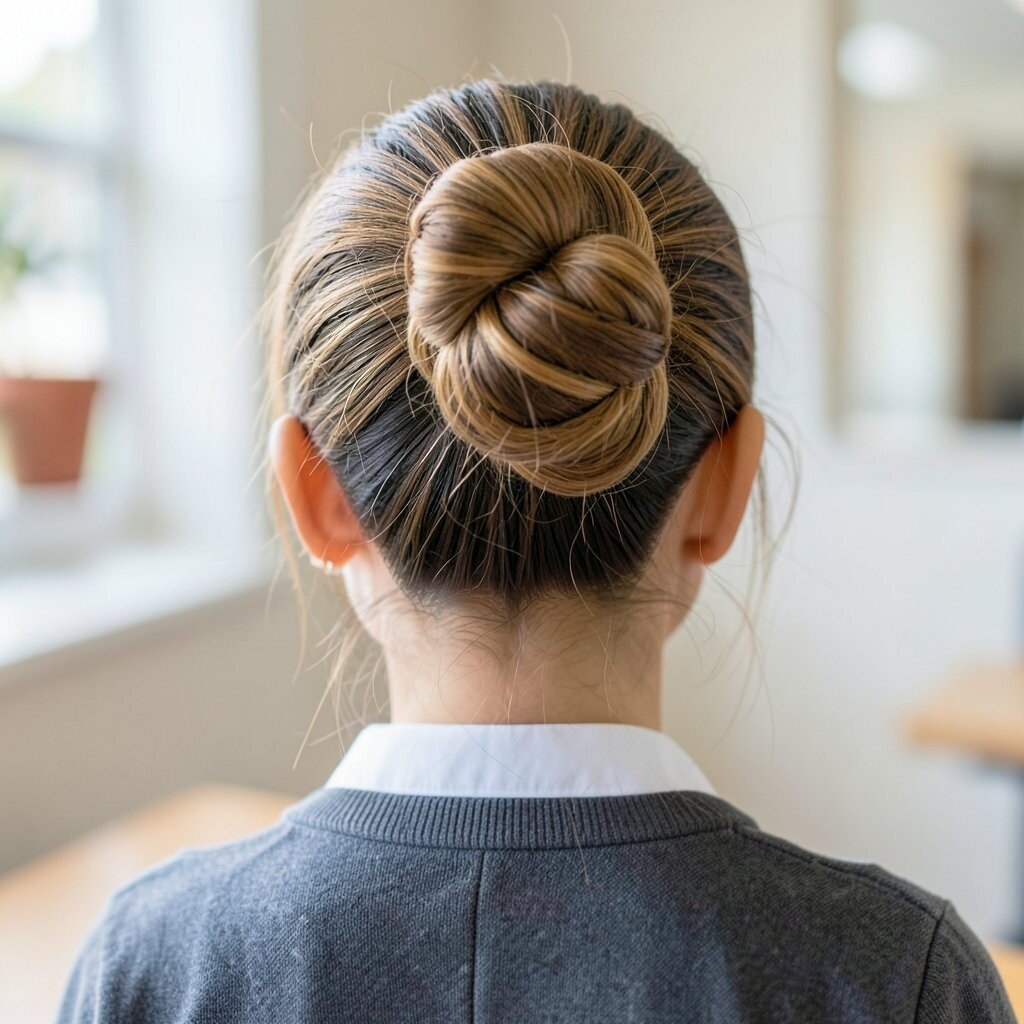
Take your ponytail and split it into two sections. Twist one section around the other like wrapping thread, then tuck and pin the ends into the bun.
This wrapped look stays secure and feels more durable than a basic twist for busy days. It is also a nice option when your hair is not cooperating because the wrapping grips better. Use a few pins at different angles so it holds even during running to the bus.
For personalization, keep the wrap tight for a sleek trend or loosen it slightly for a cozy, soft appearance. You can also add a mini clip near the side to match your accessories.
11. The Half-Up Dutch Braid Into a Bun
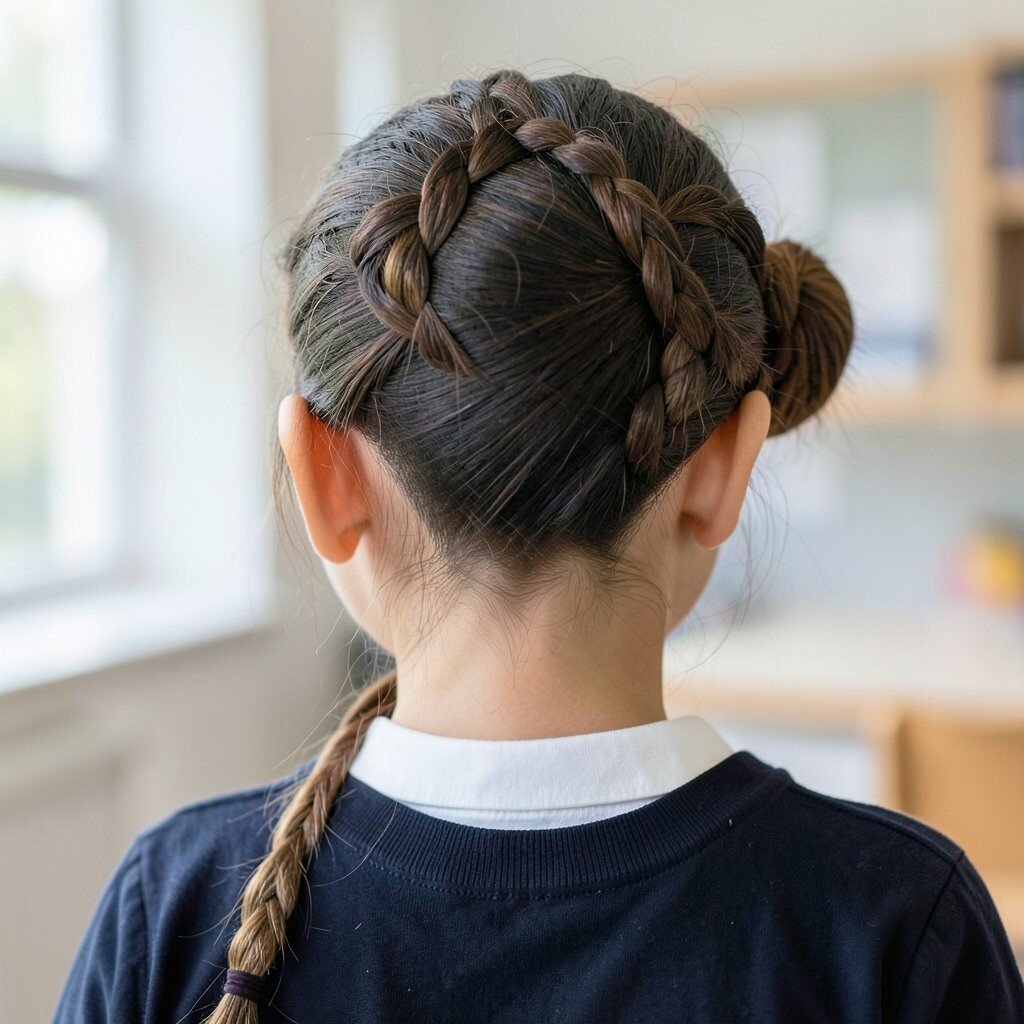
Make a Dutch braid from the front section, braiding toward the back. When you reach the midline, stop the braid and twist the rest into a bun.
The visible braid makes this style look fancy, but the steps are still simple. It is a great choice for school because the braid holds hair near the scalp and reduces tangles. If your hair frizzes, use a little leave-in conditioner before you braid for a smoother finish.
12. The Crown Bun With a Simple Scarf Band
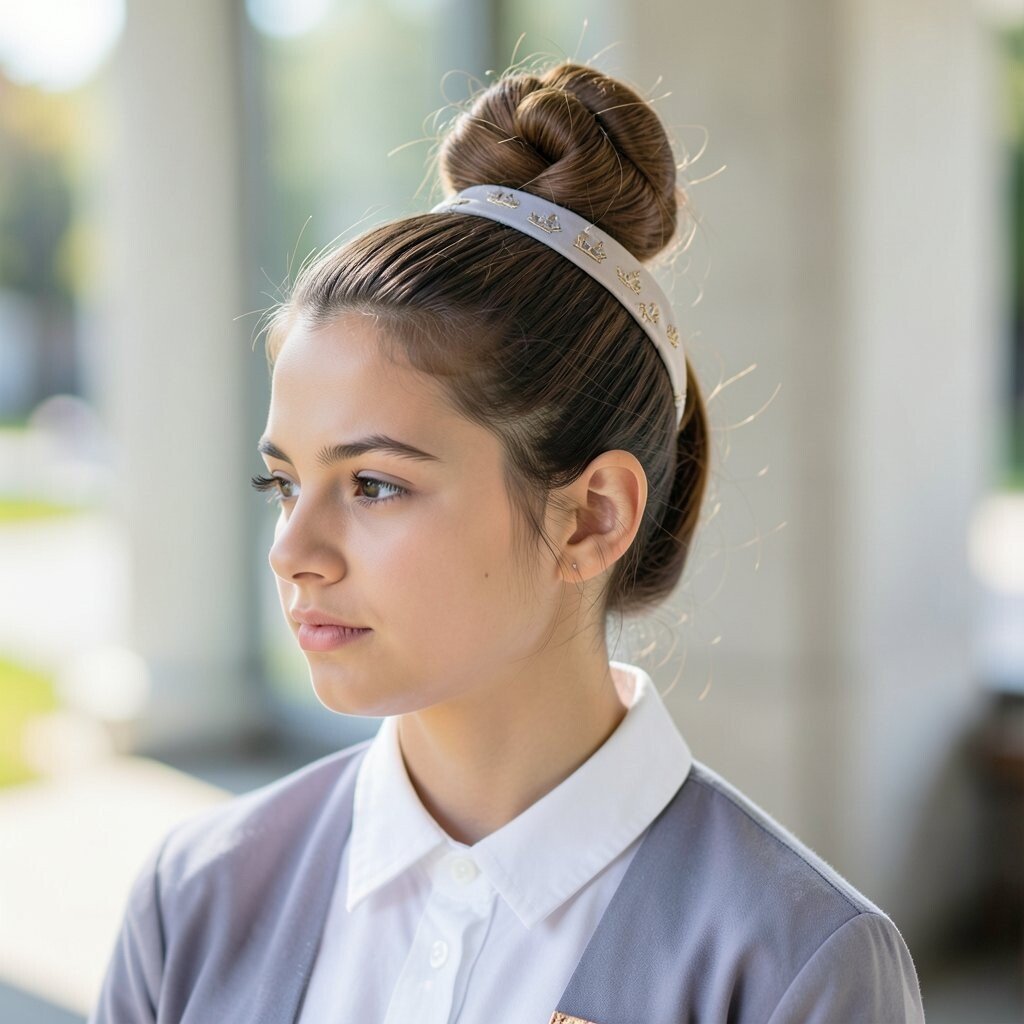
Pull hair into a bun near the top and wrap a scarf band around the base. The scarf can be tied in front for a cute focal point or tied in back for a cleaner look.
This creates a crown-like shape that feels stylish and practical at the same time. Scarves are easy to swap, so you can match school events or outfits without buying new hair tools. Keep the scarf knot flat and secure with one pin tucked under the knot.
For uniqueness, pick a scarf pattern that shows your personality, like tiny dots or bold stripes. If you want less bulk, use a thin scarf and fold it before wrapping.
13. The Bun With a “Hidden” Ponytail Base
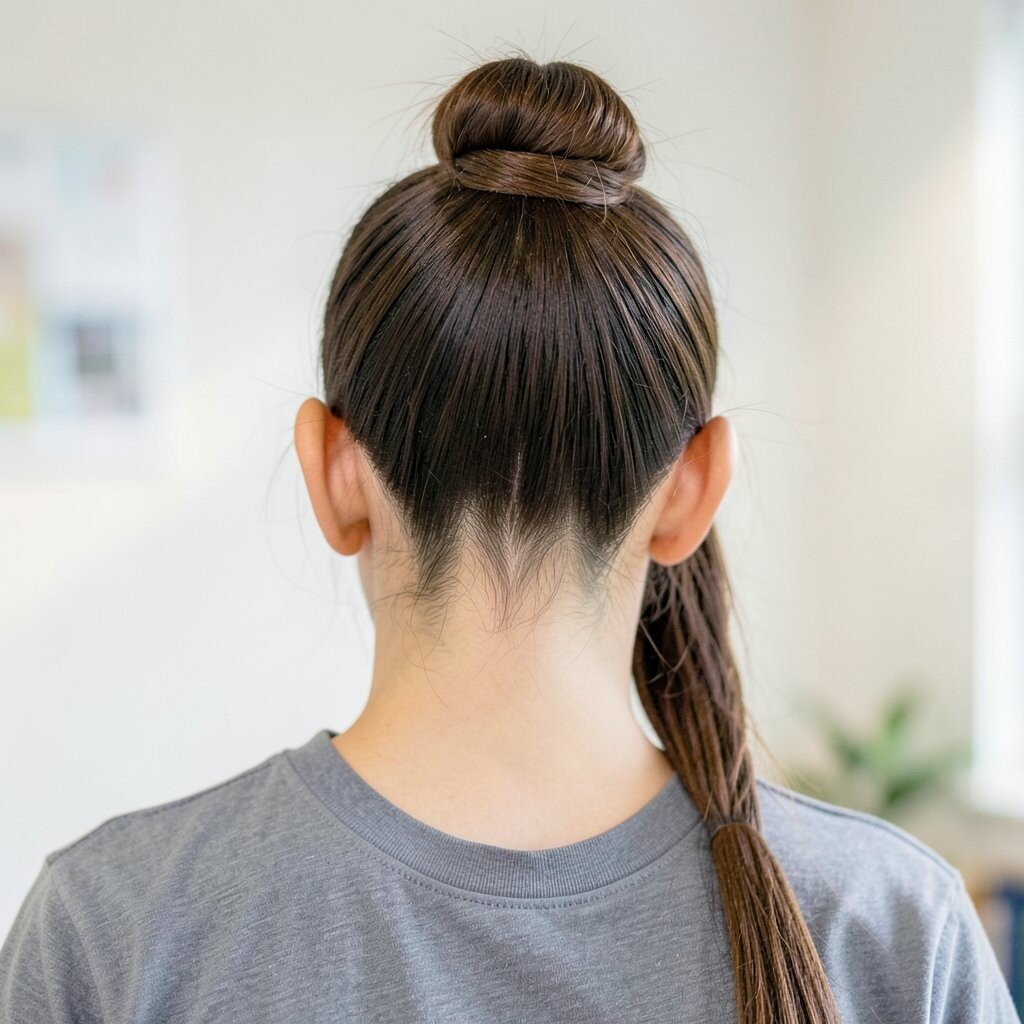
Start with a ponytail, then take a small strand to wrap around the base before you make the bun. Pin the wrapped strand so it hides the elastic and looks extra neat.
This hairstyle looks expensive because it cleans up the base area where most styles show ties. It is also a good trick for hair that slips, since the wrapped strand helps grip. For personalization, use a strand from the front hairline so it frames your part beautifully.
Cost-wise, you only need a hair tie and bobby pins, which you likely already have. Keep the wrapped strand tight and smooth to get that sleek, current look.
14. The Bun With Curly Texture and Strategic Fluff
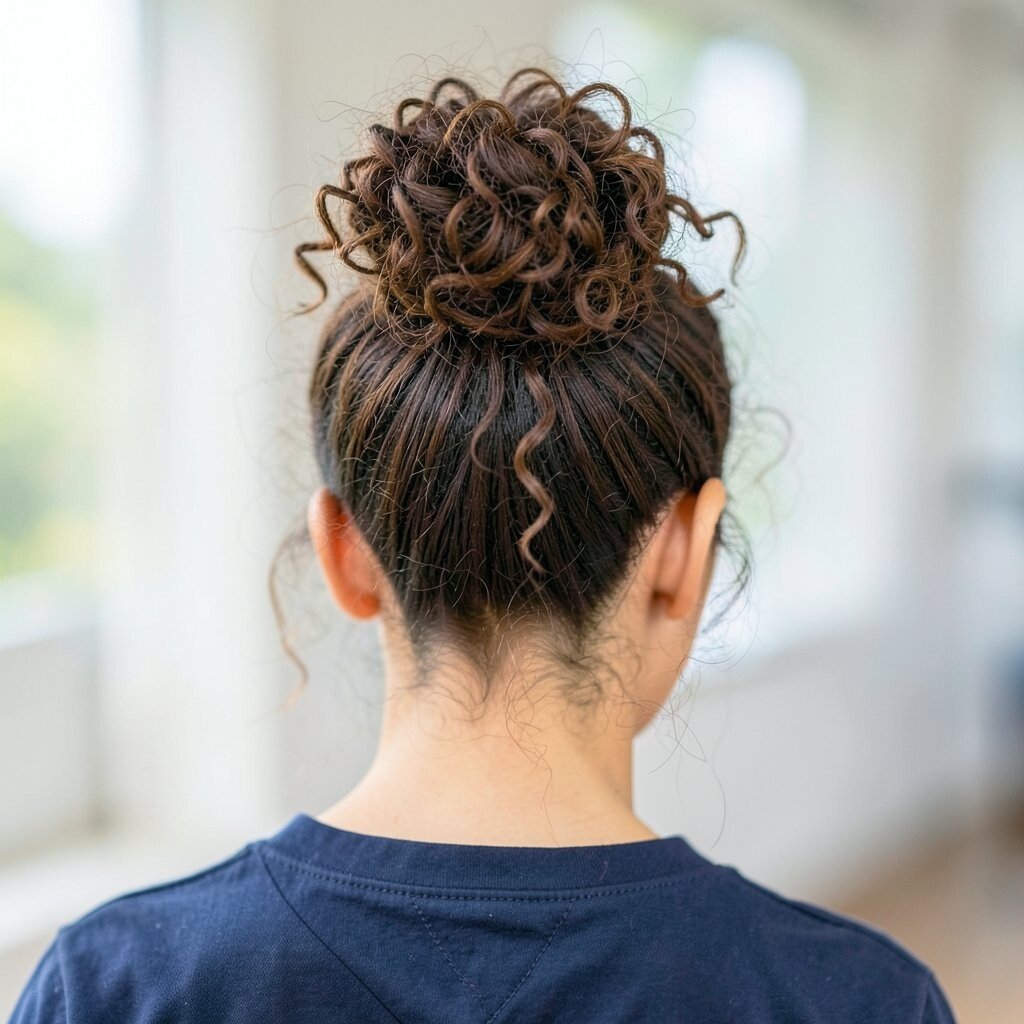
If your hair holds waves or curls, add gentle texture before styling. Create a loose bun and avoid pressing everything flat so the curls stay bouncy.
Strategic fluff means you can pull the bun edges slightly for volume while keeping the base secure. This gives a soft, friendly vibe that looks great for school and sports days. Use a lightweight styling spray so your curls do not crunch or become stiff.
To personalize, place the bun slightly off-center for a fun asymmetry. If your hair is straight, you can fake texture by braiding damp hair briefly and letting it set before bun time.
15. The Half-Up Bun With a Side Pin Twist
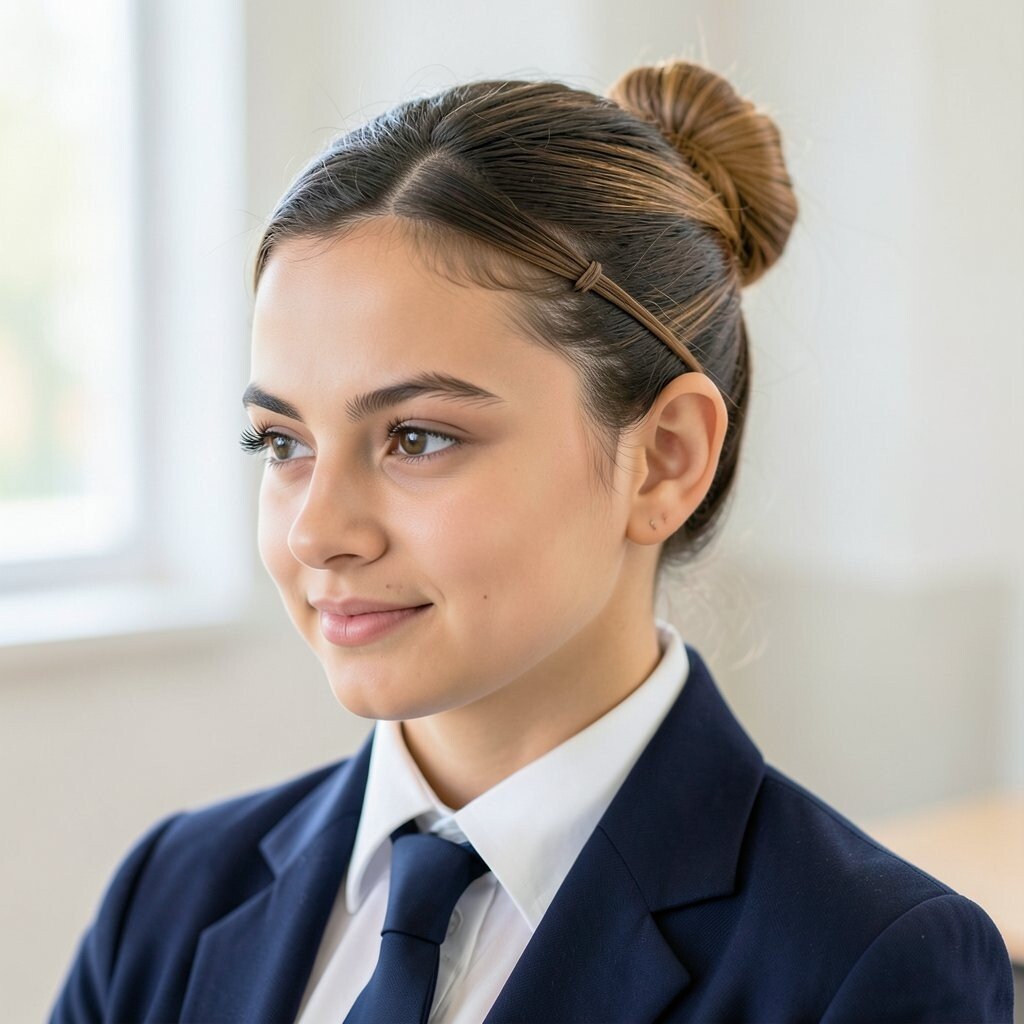
Clip or twist the top half of your hair into a small bun, leaving the bottom half free. Sweep a small front section to the side and pin it so it meets the bun.
This creates a playful silhouette where the bun looks tidy and the bottom hair moves. It is perfect when you want a break from full updos but still want your face uncovered in a controlled way. Add shine with a tiny bit of serum on the side pieces so they look smooth.
16. The Fast Bun With a Sock Donut Replacement
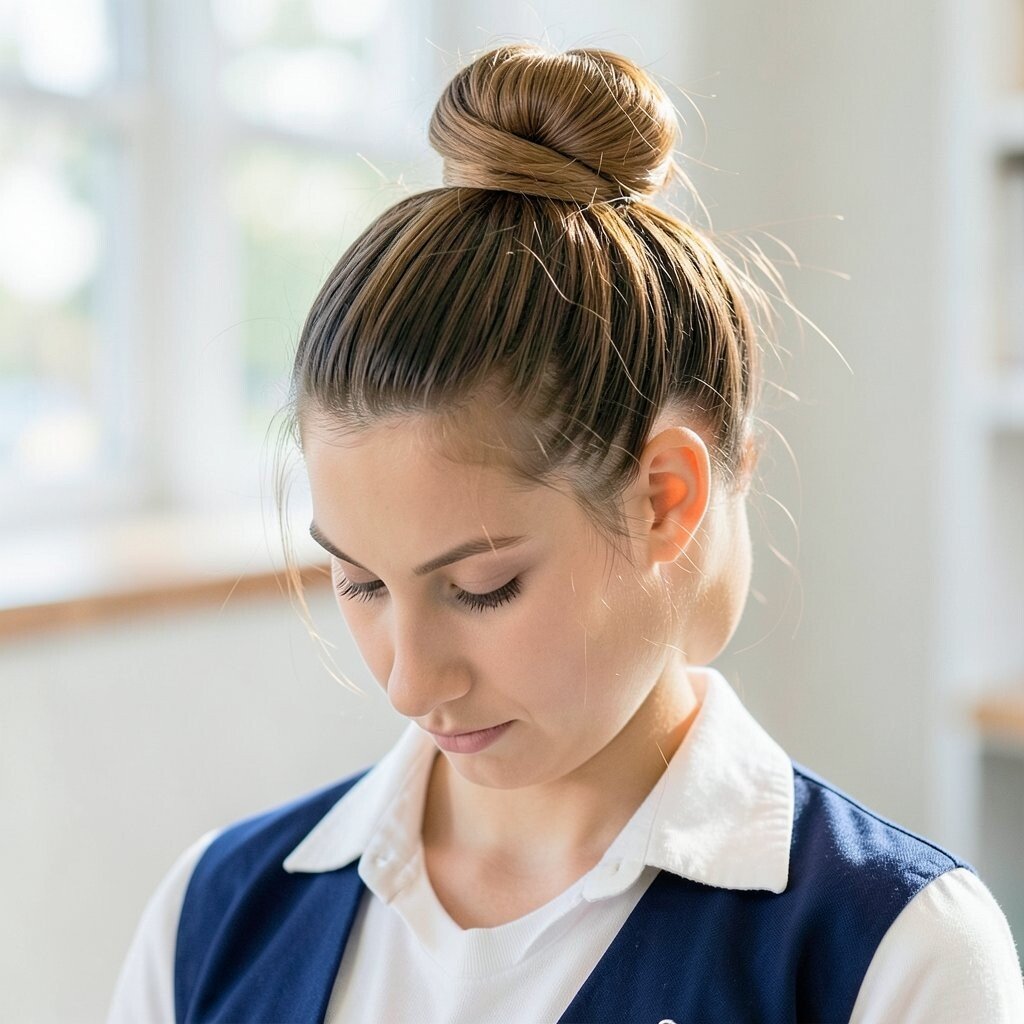
Roll a clean sock or use a slim donut tool to create a bun base, then wrap your hair around it. Secure the ends and adjust the bun so it looks even from all angles.
This method gives a full, rounded shape that can last through the entire school day. It is especially helpful for creating a polished look on mornings when you need results fast. For budget ideas, a sock is a great alternative that costs less than many hair gadgets.
Personalize the look by leaving a few soft layers on top or adding a ribbon to the base. If your hair is short, use fewer sections and pin edges down gently to prevent gaps. You will love how this bun instantly makes your hairstyle look deliberate and stylish.