
The right display can make your jewelry feel like part of your home’s style. It also helps you grab the perfect piece fast, without the usual tangle.
From simple DIY setups to bold statement stands, these ideas are made for real life and real budgets.
1. Shadow-Box Necklace Gallery

Picture a clear-front shadow box hung like wall art, with necklaces arranged by length and color. You get a neat, picture-ready view that still feels personal.
Choose a backing color that matches your room, like cream for warm metals or deep navy for silver. Use soft fabric strips or small hooks inside the box so chains won’t knot. Add a tiny label card with a handwritten date or event so each piece tells a small story.
2. Pegboard With Color-Coded Hooks

A pegboard panel can look both modern and playful when you use hooks in different colors. Each morning you’ll see exactly what’s available at a glance.
Paint the pegboard a matte shade, then group items by type, like rings on one side and earrings on another. Use small clips for lightweight necklaces and stronger hooks for heavier pieces. To keep it practical, measure your largest pendant first so everything hangs with breathing room.
For cost control, buy hooks in a mix pack and start with your top favorites. Swap items as seasons change, and you’ll feel like you’re styling your space all year.
3. Vintage Window Frame Earring Display
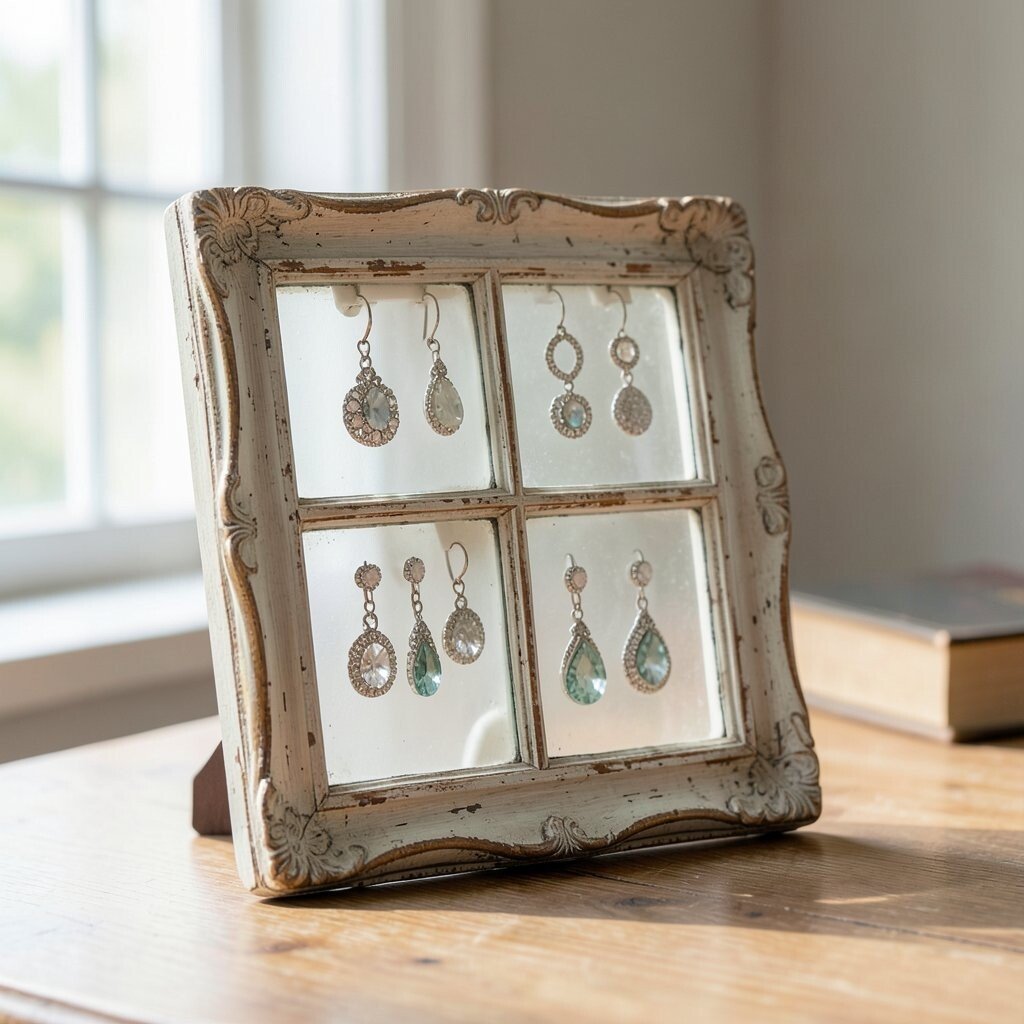
Find an old window frame from a thrift shop and hang it like a decorative panel. Stretch thin wire or add netting across the panes so earrings sit like little ornaments.
This setup is unique because it turns a forgotten architectural piece into a daily jewelry home. Use small clothespins for lightweight studs and tiny S-hooks for dangly shapes. It also helps prevent “lost pair” moments since every style has a visible spot.
To personalize it, lightly distress the frame for a farmhouse vibe or paint it glossy for a glam look. Keep the wire tension gentle so stones and delicate backs stay safe.
If you’re working on a budget, start with one panel and add more panes later as your collection grows.
4. Floating Shelf With Mini Trays
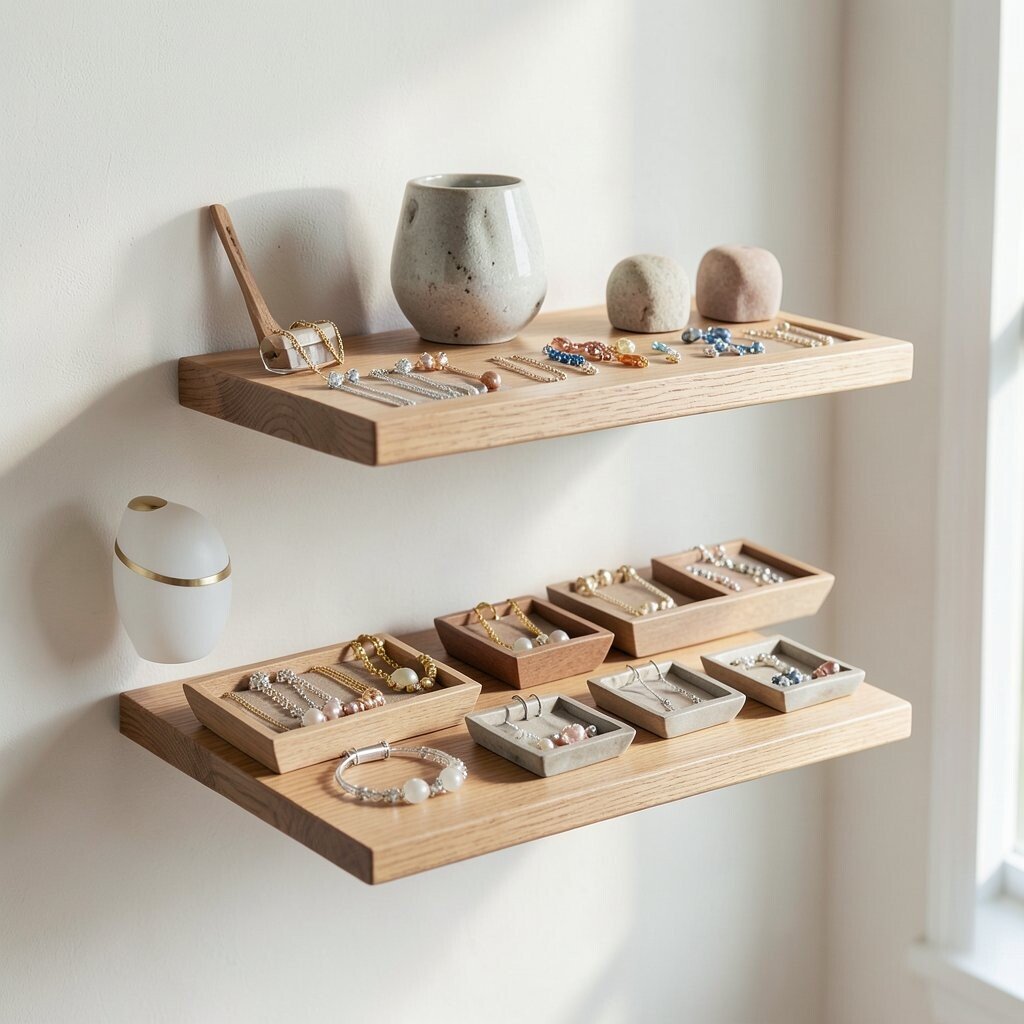
A floating shelf with small trays turns your dresser or vanity into a clean jewelry station. You’ll love how easy it is to stack rings, place bracelets, and set earrings down without searching.
Pick trays in different textures, like wood, ceramic, or matte metal, so the display looks styled but still organized. Use a shallow tray for daily wear and a deeper one for special pieces. Add a small velvet strip inside a tray for comfort where bands rest.
5. Geometric Standing Earring Rack
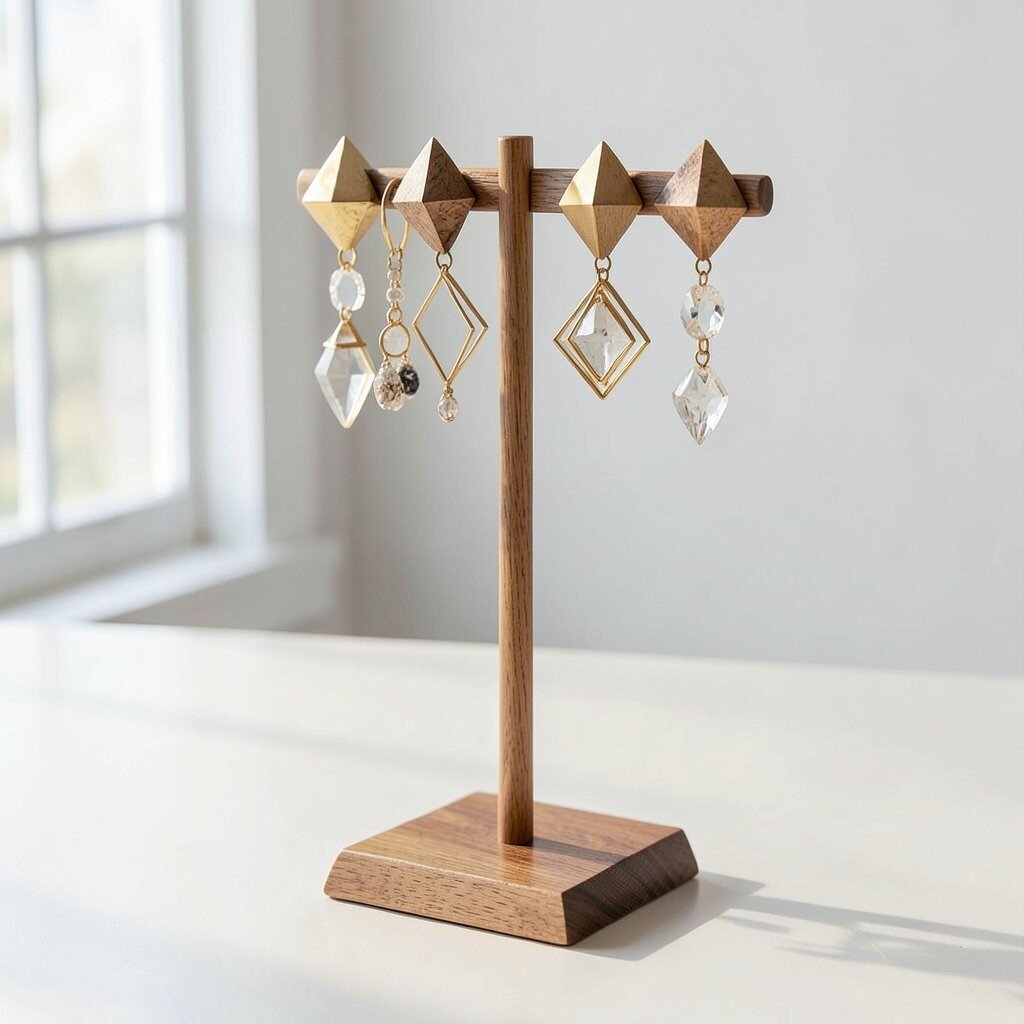
Set up a standing rack shaped like triangles or hexagons to give earrings a bold visual grid. Even on a small countertop, it looks curated and modern.
This display is practical because each earring pair can match by shape and length. Choose a rack with rotating arms or adjustable pegs so you can change the layout anytime. Use tiny tags behind the openings with discreet handwriting so you remember which pair goes where.
To keep costs reasonable, buy a basic stand and decorate it with paint pen dots or foil decals. If you like current trends, lean into clean lines and minimal colors that match your room’s palette.
6. Curtain Rod and Sash Necklace Hanger

A slim curtain rod can become a necklace hanger when you attach small rings or clasps along the length. The necklaces drape neatly like a fashion rack, which makes choosing jewelry feel fun.
Mount the rod on a wall near your mirror so it acts like a quick outfit accessory zone. Use ribbon or thin fabric ties between necklaces so strands don’t tangle. If you wear longer chains often, space hooks further apart for better protection and easier styling.
For personalization, tie a decorative sash on the rod ends in your favorite color. This is also a budget-friendly way to display without buying many separate pieces.
7. Ceramic Plate Wall for Statement Pieces
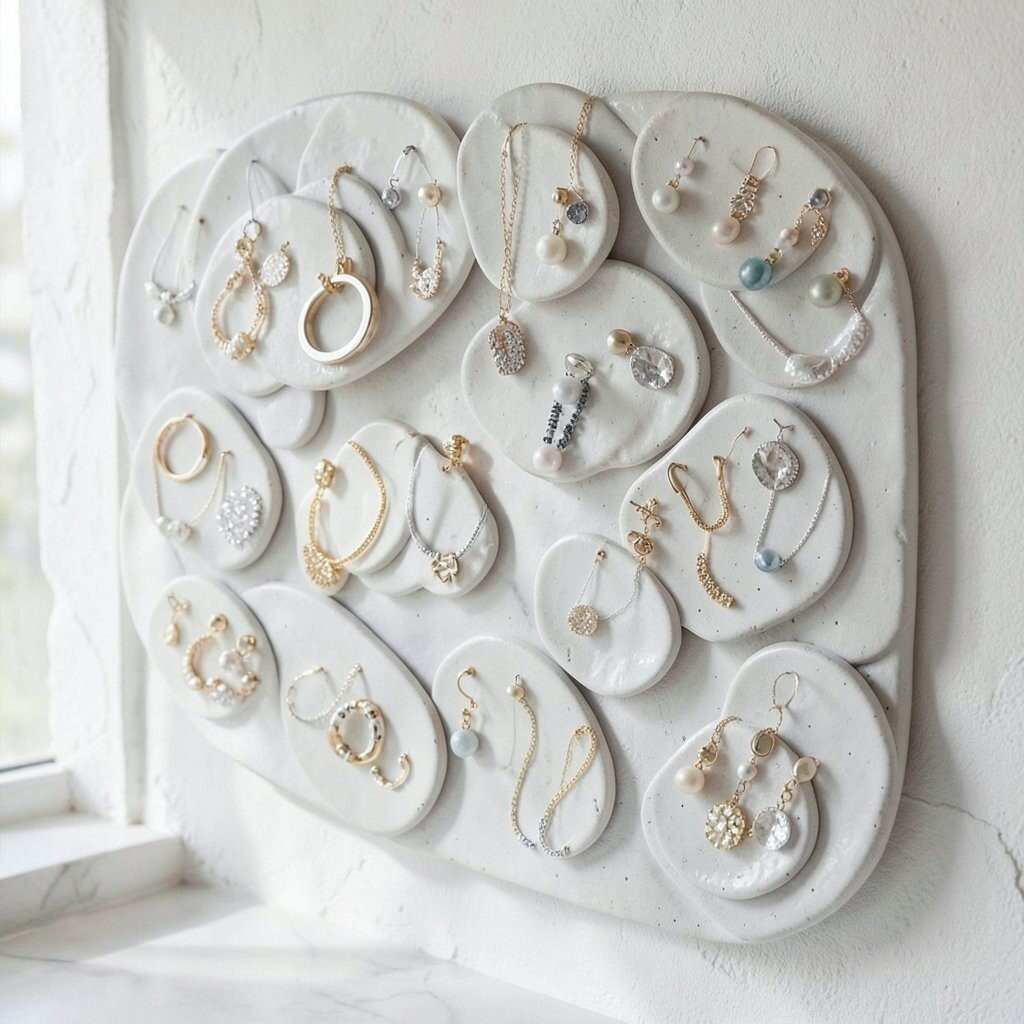
Hang a few ceramic plates in a staggered pattern, then place brooches, cuffs, or pendants across them. The display feels like art and gives chunky pieces extra attention.
Choose plates in coordinated tones, such as pastel blues, warm terracotta, or classic white. You can set items on the plate edges using museum putty or small hidden adhesive pads. This helps prevent sliding while keeping the look clean.
8. Clear Acrylic Jewelry Drawer Display

A clear acrylic drawer system lets you see your jewelry without opening anything. It’s perfect for people who love instant visuals when they’re rushing out the door.
Stack compartments for studs, rings, and earrings, then label by color with tiny stickers on the side. Use anti-tangle dividers for chains so they stay smooth. The transparency gives your collection a sleek, boutique look.
To control cost, choose a smaller acrylic organizer first and upgrade pieces as your favorite styles grow. Current trends favor minimal, see-through storage, especially in neutral rooms.
9. Bookcase Backboard With “Brushed” Highlights

Use the back of a bookcase as your jewelry stage by adding a long board or canvas panel behind it. Lay chains across the surface and pin earrings in rows like a display wall.
This idea is unique because books stay front-and-center while jewelry adds a fashion layer. Try using craft mesh for earrings and small magnets behind the pendants. It also helps you protect jewelry because you can keep it away from high-touch areas.
For personalization, paint the board with a soft gradient or add a gold accent line. Keep your most worn pieces closest to the middle shelves for quick access.
10. Mirror With Hooked Chain Detail
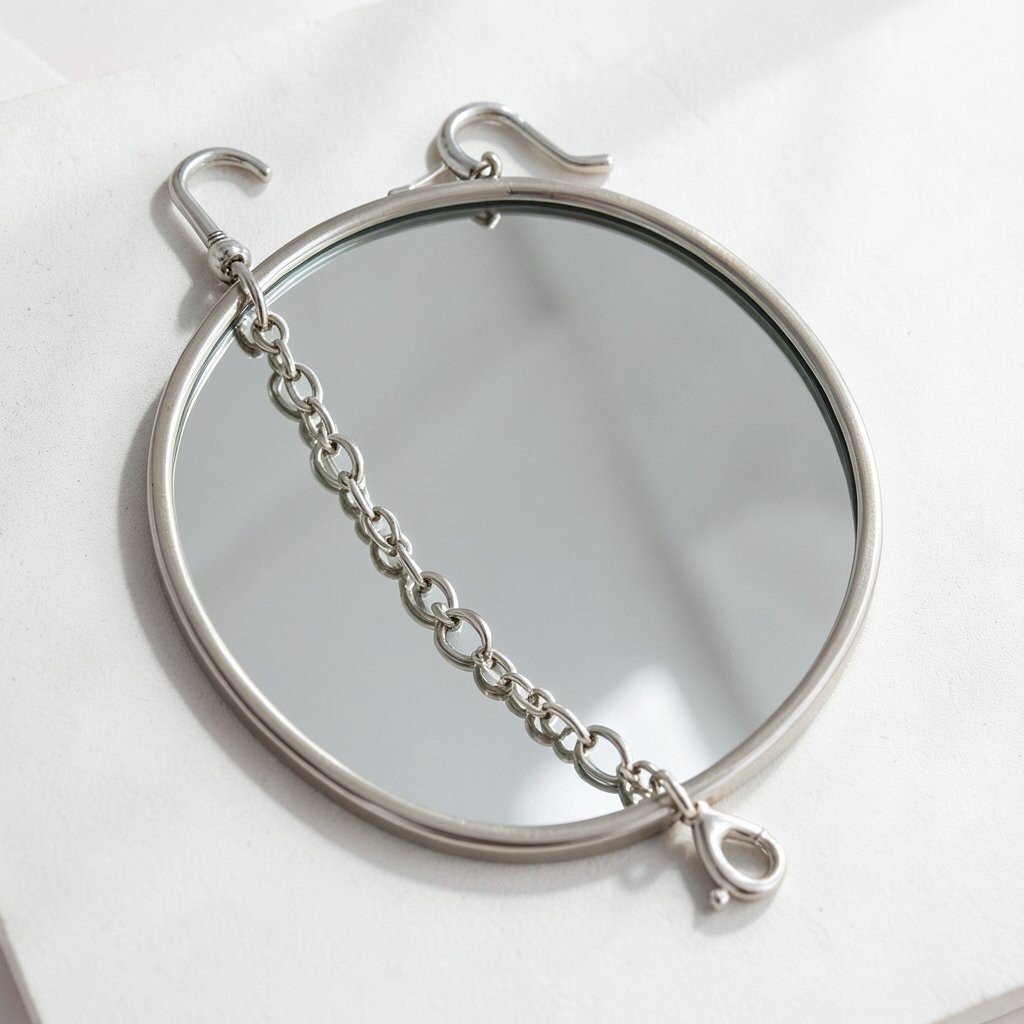
Mount a small mirror and hang a few hooks underneath for chains, charms, and even scarves. The reflective surface makes everything look brighter and more coordinated.
Install hooks at different heights so necklaces and bracelets don’t crowd each other. Use small clear guards behind hooks for delicate metal to avoid scratches. This display looks good during the day and also helps you choose matching pieces while checking your outfit.
11. Floating Nail Polish-Style Pegs for Rings
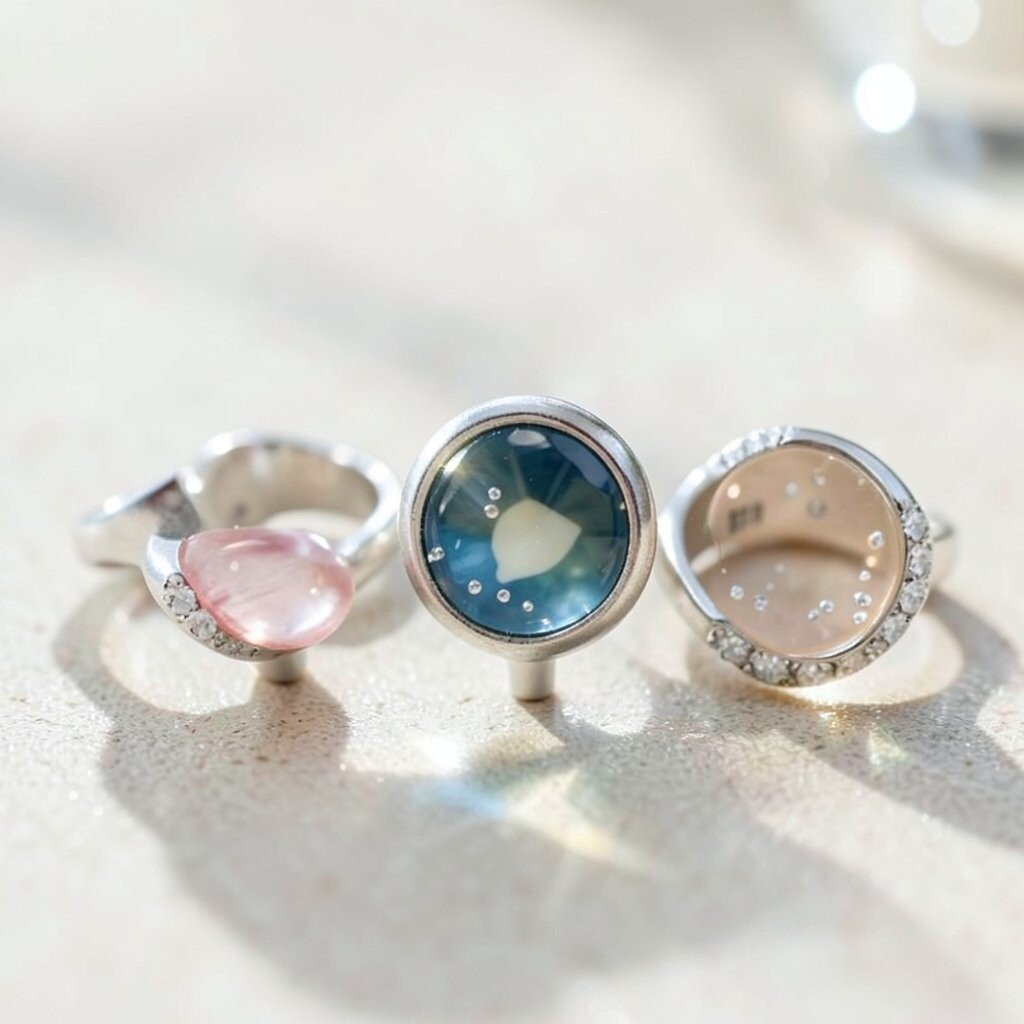
Use a pegboard or wooden board with small pegs sized for rings. It’s a simple way to make rings feel intentional, like miniature sculptures.
Arrange rings by metal color, then add a few favorite stone shapes in the center. Using foam-backed pegs can help keep bands secure and reduce scuffs. You’ll also save time because ring shopping becomes visual, not search-based.
To personalize, paint the board and pegs in a soft monochrome that matches your vanity. If you want trend energy, choose warm metal tones and avoid overly bright colors.
12. Woven Tray With Bracelet Stacks
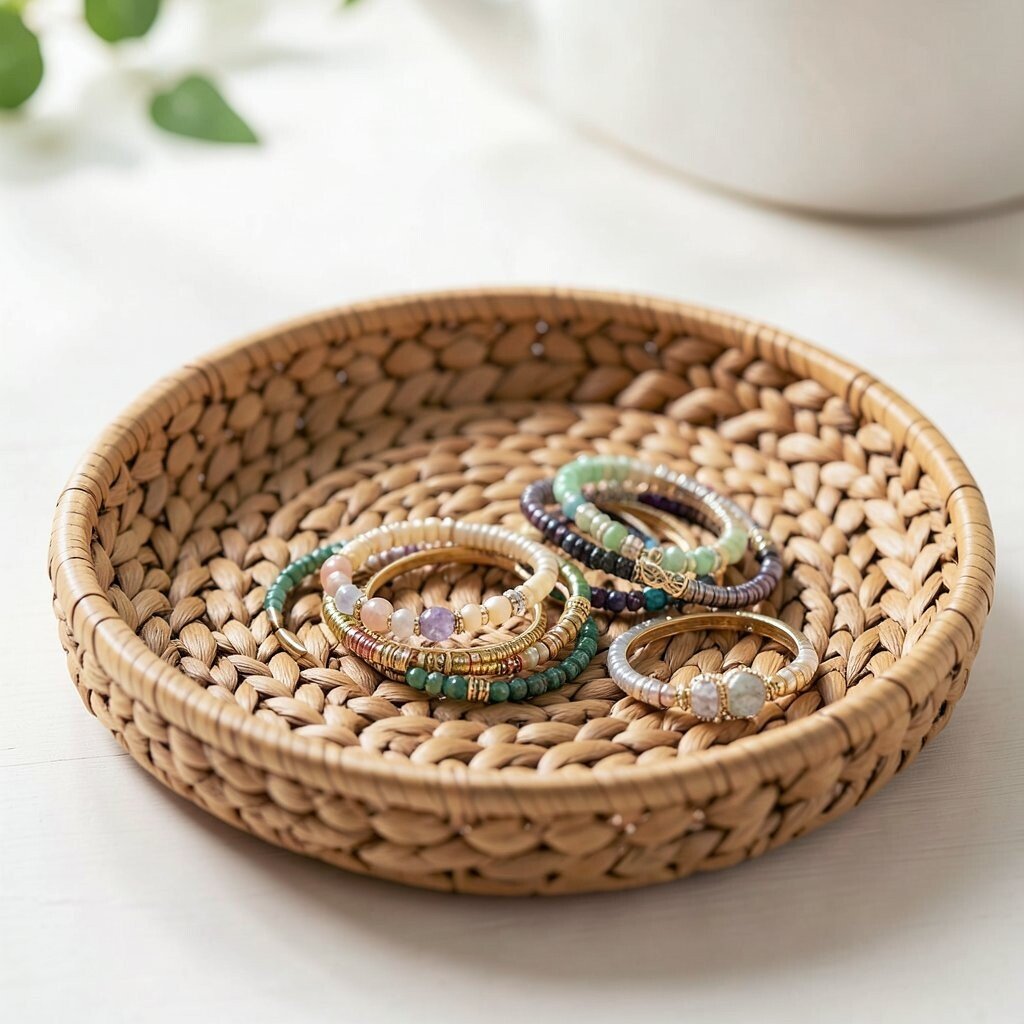
A woven tray placed on a dresser gives bracelets a warm, cozy home. Stacking multiple bangles in one area looks styled, even when you’re keeping it casual.
Line the tray with felt so metals won’t scratch and closures won’t snag. Keep one section for daily bracelets and another section for special keepsakes. This helps your collection feel easy to manage without constant re-sorting.
For cost considerations, you can repurpose a basket or serving tray from home rather than buying jewelry-specific organizers. It’s a smart way to keep the display looking fresh while spending less.
13. Tabletop Jewelry Stand With Color-Theme Base

Choose a stand shape like a bust or branching tree, then paint or wrap the base in your favorite fabric. The display becomes a centerpiece that looks great even when you’re not wearing anything.
A themed base helps you feel organized because you’ll start pairing jewelry with your outfit colors. Use a matte sealant on painted parts so it wipes clean. Store rings on the top arm and earrings along the branches for quick matching.
14. Curtain Rod Shelf for Long Tassel Earrings
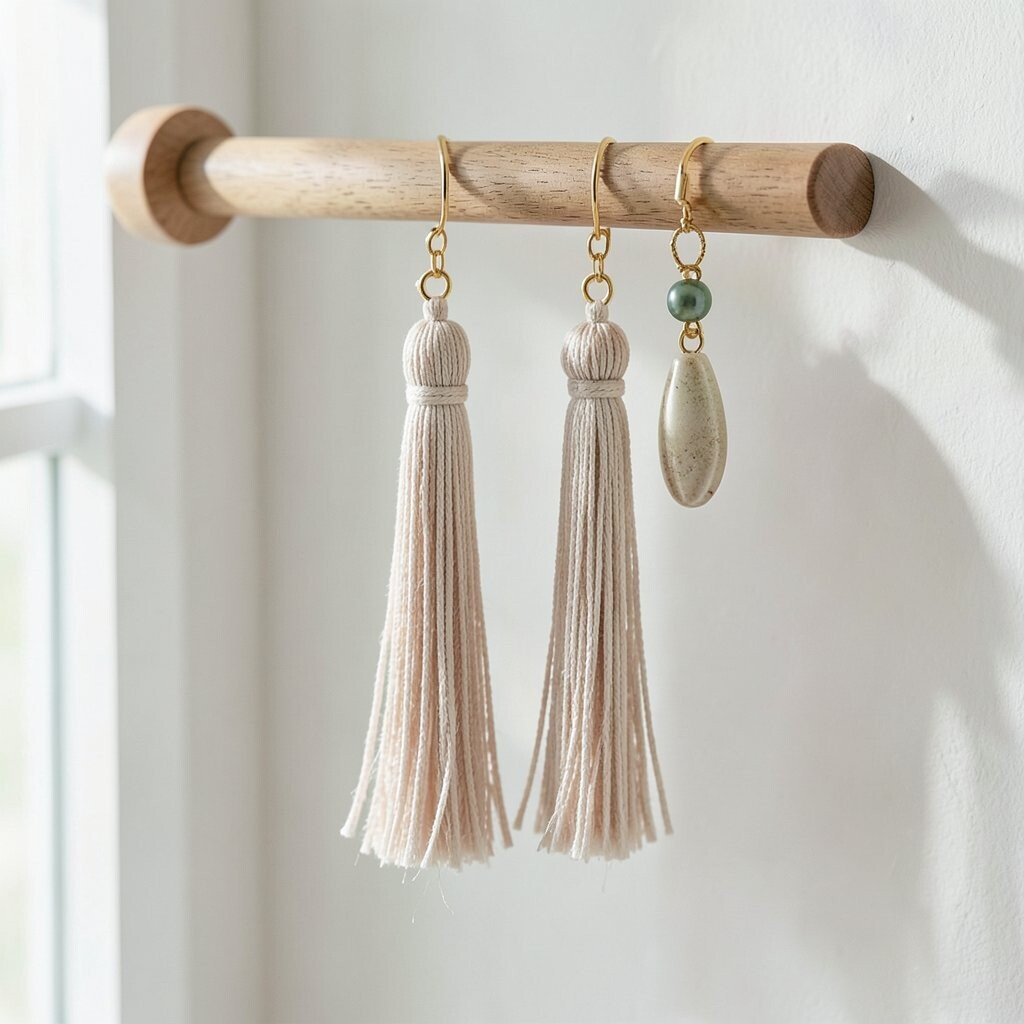
For tassel earrings, build a long hanging display using a curtain rod and small cloth sleeves. Earrings slide into the sleeves so they don’t twist and tangle.
This setup is practical because long pieces stay straight and you can see the full shape at once. Add small clips for the bottoms so the weight doesn’t pull the top wire out of place. Personalize by choosing sleeve colors that match your earrings’ dominant tones.
If you want a budget approach, sew sleeves from leftover fabric scraps or use clean microfiber strips cut into equal lengths.
15. Picture Frame With Mesh for Studs
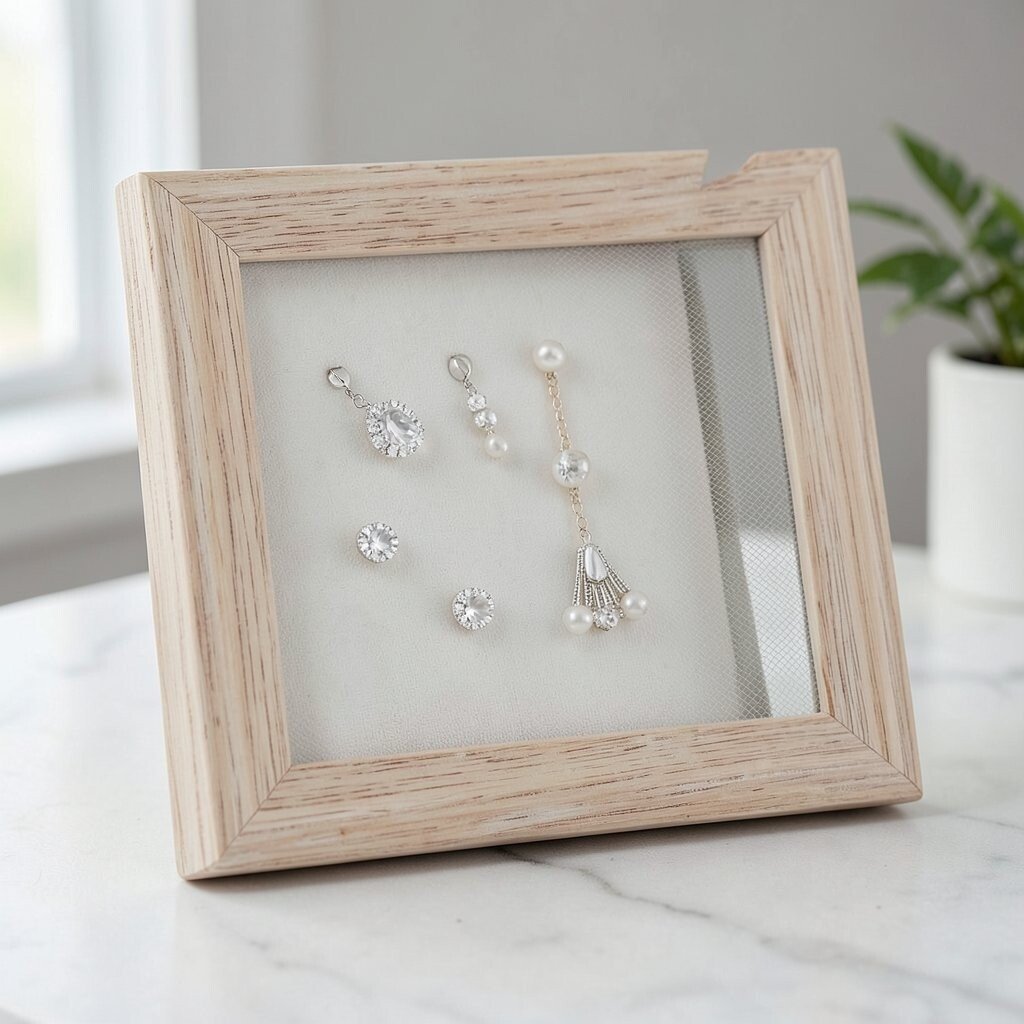
Turn a simple picture frame into a stud and charm display by adding fine mesh across the center. It looks crisp and helps you arrange earrings in rows like a mini fashion grid.
Use small push pins or tiny hooks to hold backs and chains in place without bending them. This display is unique because it combines wall art with everyday function. Keep the frame near your entryway so earrings are ready when you’re heading out.
To personalize, use paint on the frame edges and add a small seasonal charm at the bottom. This idea fits current trends toward mix-and-match textures and tidy, gallery-style layouts.
16. Floating Wall Magnets for Metal Pendants
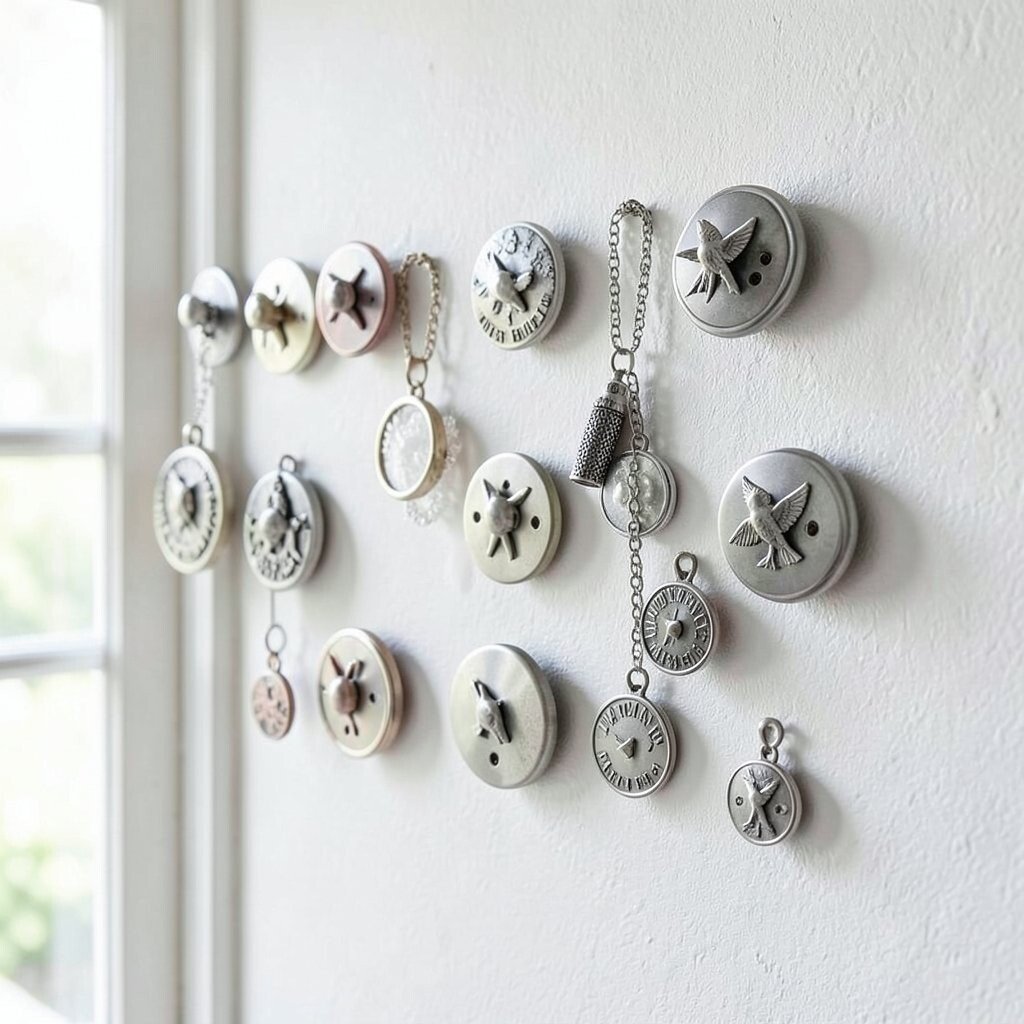
Metal pendants can look sleek when you mount small magnetic dots on a decorative board. Place a piece of thin fabric over the magnets and let the pendants rest like they’re floating.
This is practical because you can reposition items quickly and avoid chain tangles. Use strong magnets only for heavier pieces, and rely on lighter clips for delicate charms. For personalization, cover the board with a fabric in your room’s accent color, like sage green or soft gray.
17. Ladder Shelf With Hinged Clips
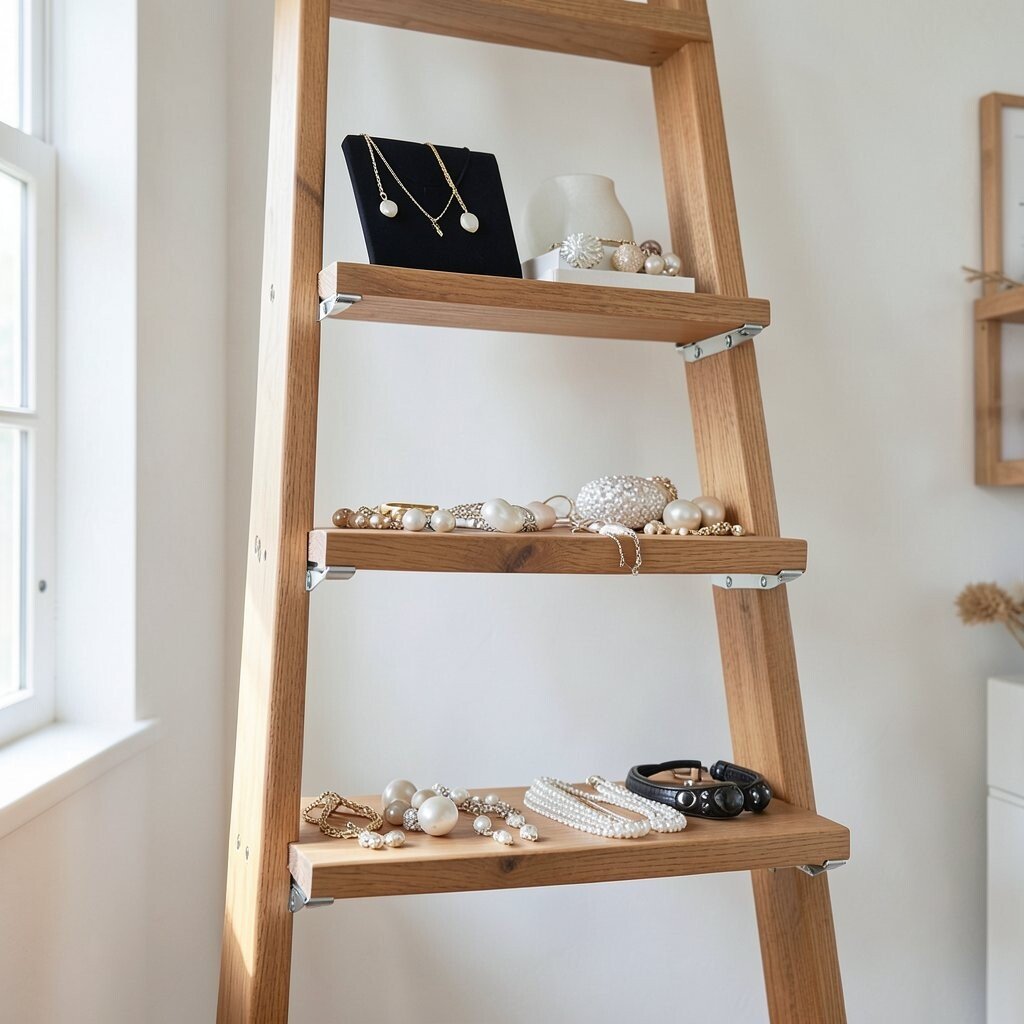
A small wooden ladder shelf instantly adds height and charm to any corner. Clip necklaces and bracelets along the rungs using hinged jewelry clips or cloth clips.
The visual benefit is big because you get layers, like a mini boutique display. Keep pieces grouped by length and bulk so heavier necklaces stay lower and closer to the wall. This also makes it easier to protect items from accidental bumps.
For cost considerations, use a thrifted ladder or a basic folding ladder and keep it simple with clean paint. If you love trends, style the look with neutral metals and warm wood tones.
18. Apothecary Jars for Small Earrings and Charms
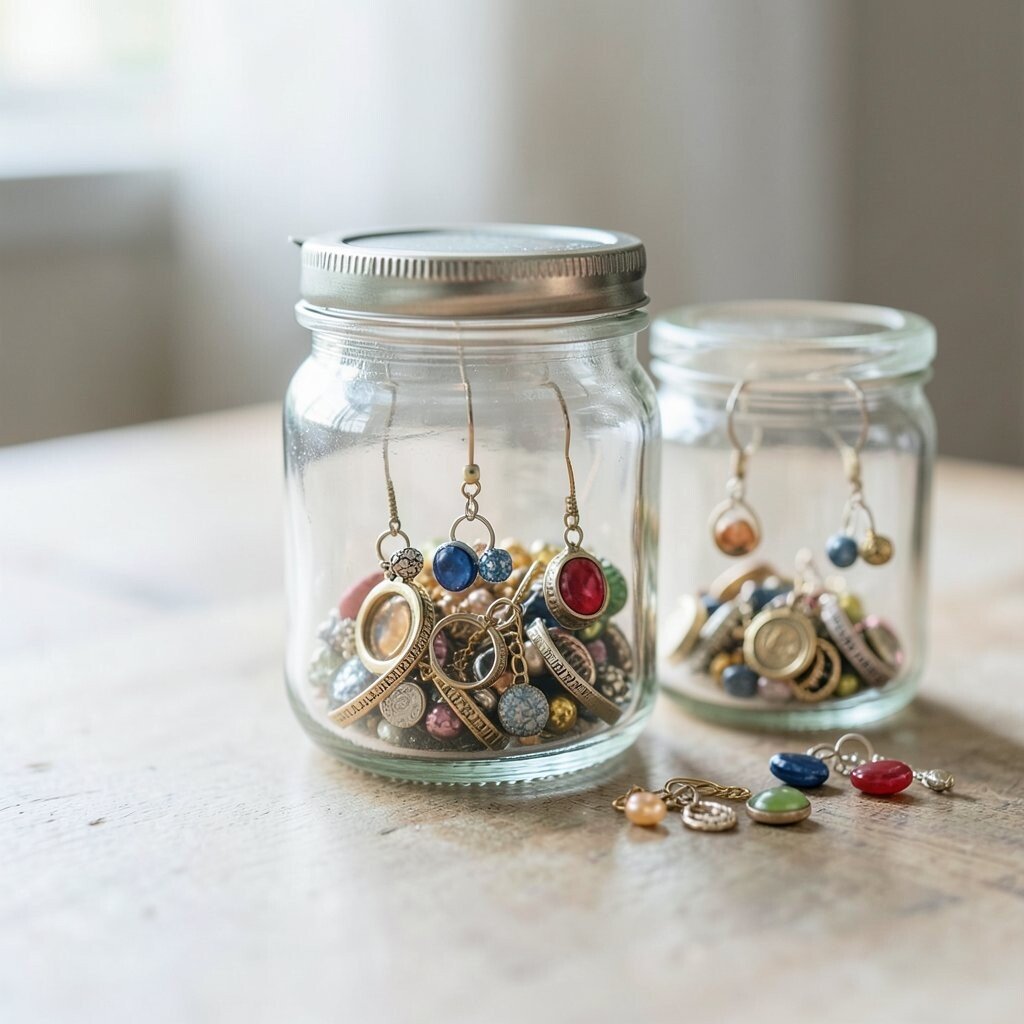
Repurpose apothecary jars by filling them with small earrings, charms, and mini pendants. The glass makes everything look vintage, and the lids keep dust away.
Sort by type so you can grab quickly, like stud jars, charm jars, and ring jars. Add paper labels on the outside using a soft handwriting style, so the labels don’t feel too formal. For personalization, tie ribbon around the jar necks in different colors.
To manage cost, use jars you already have and add only matching lids or tags. This is especially helpful for people who rotate jewelry often because you’ll always know what’s inside each jar.
19. Hanging Ribbon Board With Pin-Back Earrings
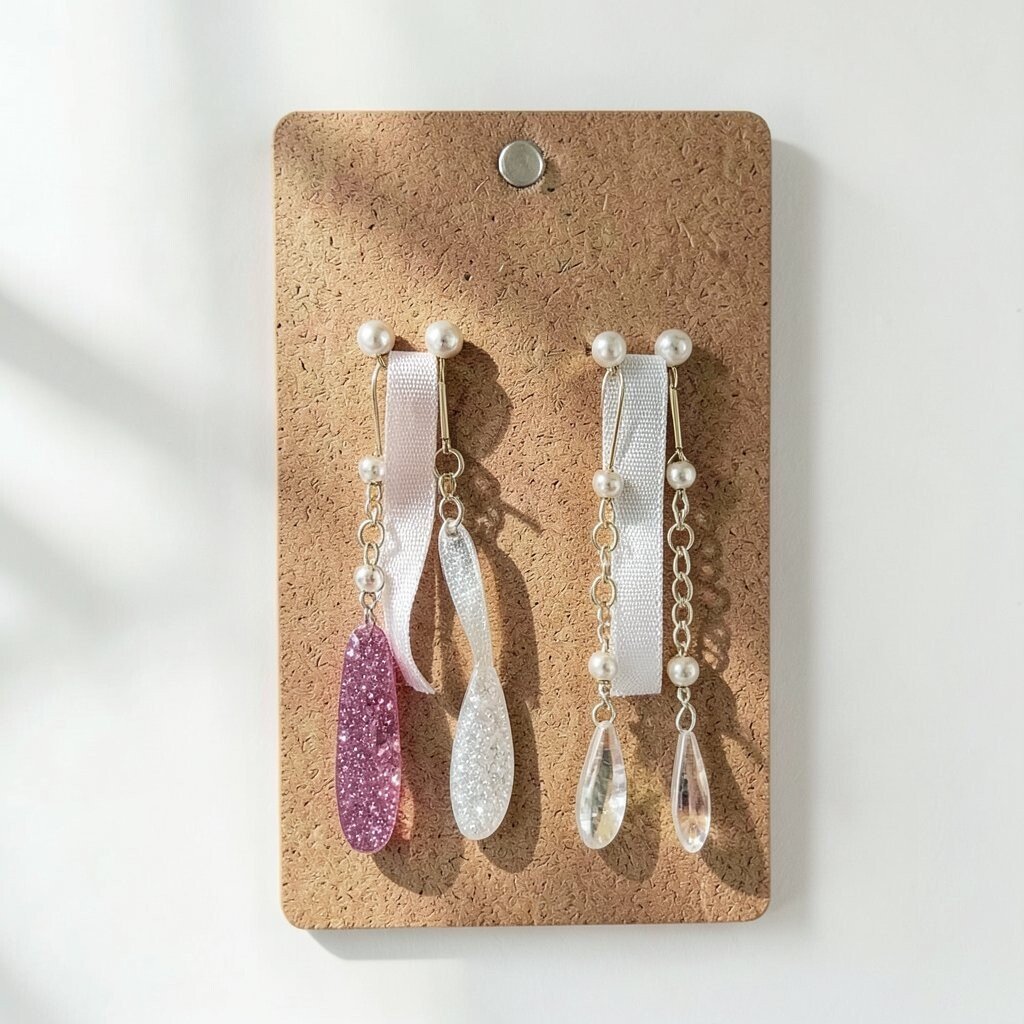
Stretch ribbons across a board and pin earrings onto the fabric so they hang gently. The ribbons add movement and make the whole display feel light and airy.
Use different ribbon widths to guide how you place pieces, with wider ribbons for heavier items. Add a thin layer of batting behind the ribbon if you want extra cushion for delicate studs. This setup is unique because it blends sewing craft with jewelry styling.
20. Tree Branch Stand for Rings and Necklaces
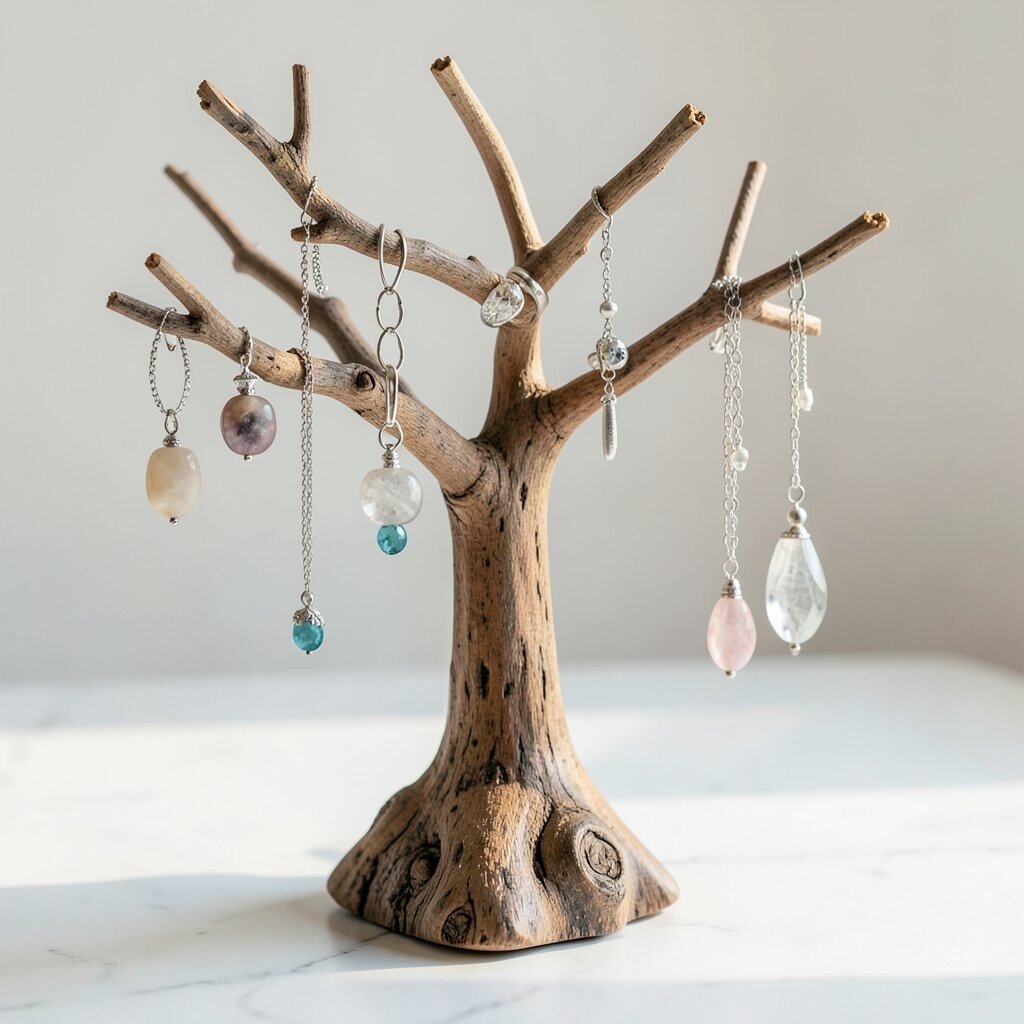
A smooth tree branch stand with small hooks can look natural and elegant on a console table. Rings can rest on hooks or tied fabric loops, while necklaces hang below for a cascading look.
This display feels special because it brings an outdoor vibe indoors without being overly rustic. Sand the branch and seal it so it won’t snag jewelry. Pair it with a shallow tray underneath to catch rings and protect surfaces from scratches.
To personalize, wrap the branch with fairy lights or twine, but keep lighting subtle so it doesn’t overpower your jewelry. For cost, use a branch found responsibly outdoors, then spend on sealant and hooks.
21. Wall-Mounted Peg Rail for Everyday Sets
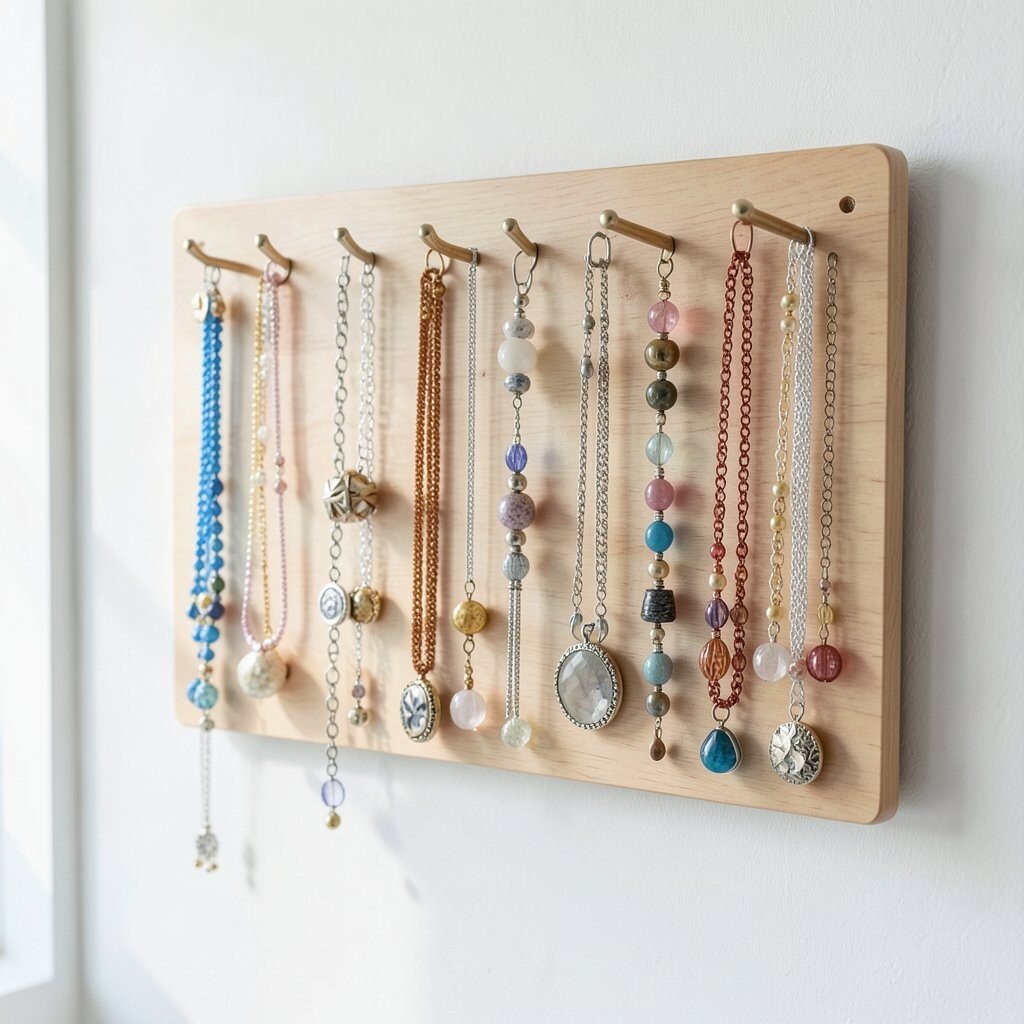
Mount a peg rail along your wall and hang complete jewelry “sets” on matching pegs. This turns the display into a routine tool because each set is ready to wear together.
Group by outfit style, like a casual set for daily tops and a glam set for events. Use small hooks for earrings and a wider hook for a necklace so pieces don’t rub. Personalize by choosing a consistent color for each set’s backing card or small cloth tag.
If you’re mindful about cost, start with fewer sets and expand over time. Trends right now encourage organized, lifestyle-ready storage that looks intentional and not cluttered.
22. Desk Organizer With Removable Foam Inserts
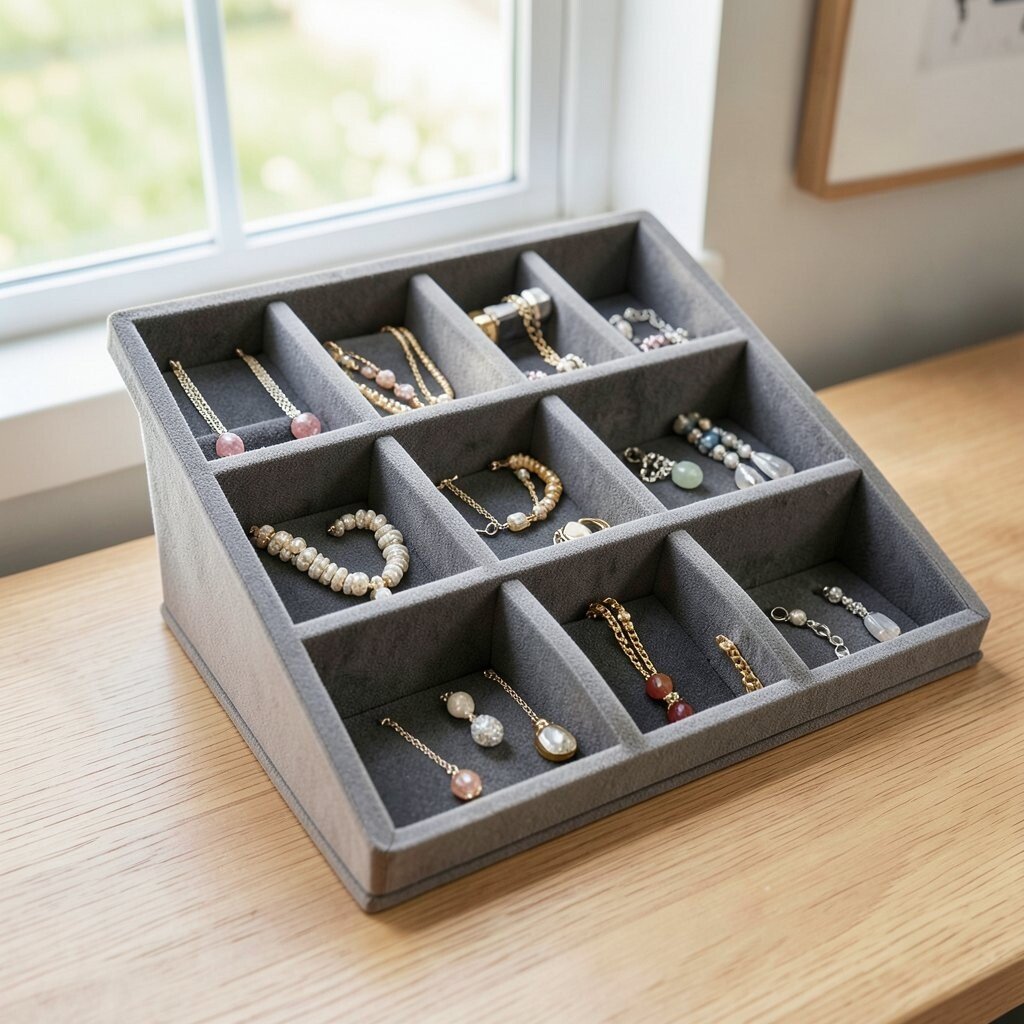
A desk organizer with removable foam inserts is great for people who like to switch their display often. Push pins or small dividers hold jewelry in place while keeping each piece secure.
The practical advantage is that you can tailor the foam shapes to your exact favorites, including rings, earrings, and bracelets. Create custom cutouts by tracing each item and cutting carefully so nothing sits too loosely. This display is unique because it behaves like a flexible map for your collection, not a fixed storage box.
For cost considerations, look for organizers at home supply stores and customize them with foam from a craft shop. To keep it current, choose a sleek organizer in black or warm white and let your jewelry colors become the main visual pop.
When you personalize it, you’ll also feel more confident wearing pieces you tend to forget.