Choppy layered fringe can make your hair feel fresh without starting over. It adds movement, frame, and personality in a way that looks styled even on busy mornings.
From soft curtain vibes to bold short bangs, these ideas help you tailor your fringe to your face and your everyday routine.
1. Wind-Swept Micro Layers
Picture super short, uneven fringe pieces that look like they’ve been lightly tousled by wind. The texture gives you instant lift at the forehead and makes your hair look thicker.
To keep it easy, ask your stylist for micro layers that are blended into the top, not cut in a harsh line. Use a pea-sized amount of lightweight mousse or sea salt spray, then scrunch while hair is damp for a natural, separated finish.
2. Side-Swept Choppy Curtain Fringe
Imagine fringe that starts shorter near the cheekbone and flows outward like a soft curtain. This style flatters lots of face shapes because it creates an angled frame and gentle movement.
For a practical routine, part slightly off-center and blow-dry the bangs with a round brush just at the roots. Finish with a flexible hairspray so the front stays airy rather than stiff.
It feels unique when you add a few extra choppy ends around the jawline, especially if you already have layered hair. If you want a budget-friendly approach, ask for fewer slices and let the shape grow out gradually.
3. Blunt Base With Feathered Fringe Tips
Think of a clean, slightly blunt base that instantly reads polished, then switches into feathered tips. That contrast helps your fringe look bold up close while staying soft around the edges.
Ask for a fringe that’s cut straight first, then point-cut at the bottom so the ends separate. A small flat iron pass on low heat can help the tips flick outward for a cute, youthful look.
If you have fine hair, the feathery ends can make it look fuller without adding bulk. Consider a regular trim every few weeks because blunt bases hold their shape best when maintained.
4. Curly Girl Choppy Bangs With Defined Shrink
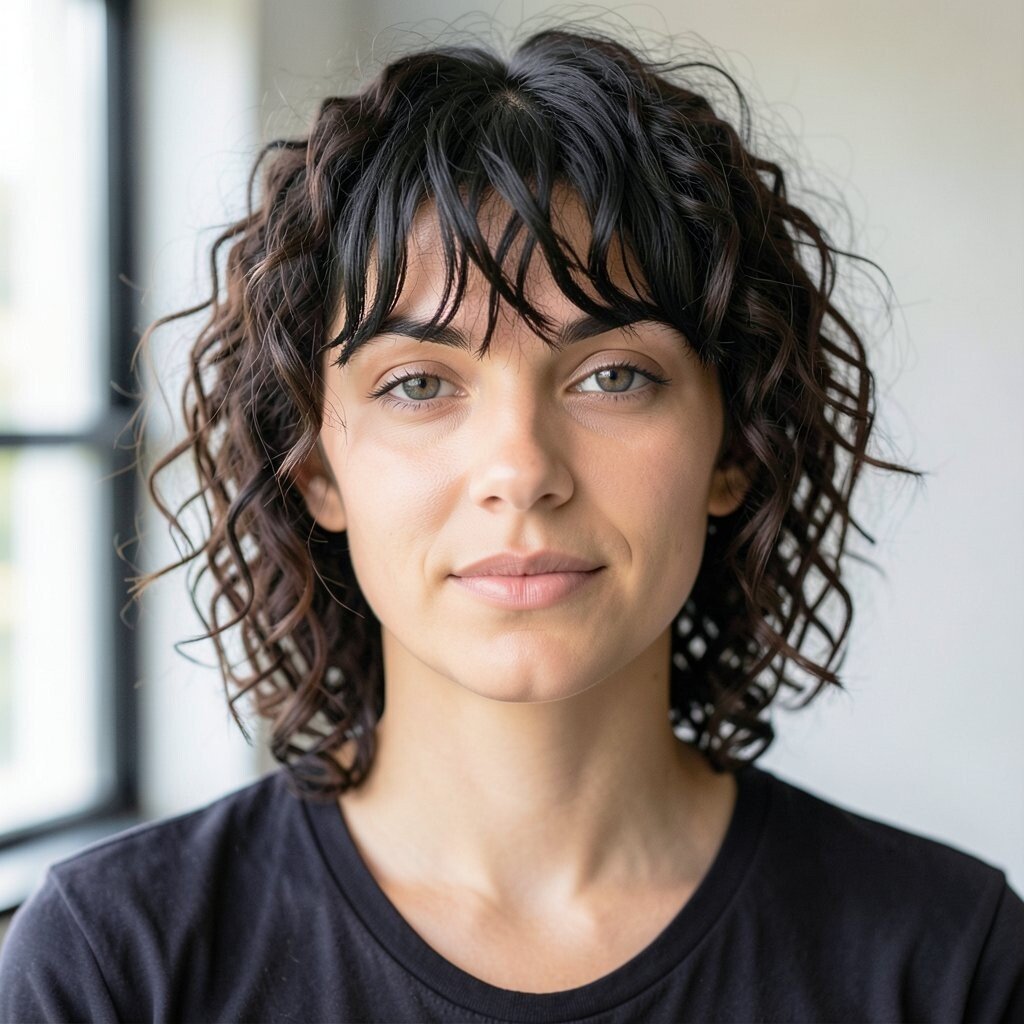
Picture bouncy curls where the fringe pieces sit at different lengths like mini ringlets around your eyes. The choppiness adds playful texture and prevents the front from falling flat.
Use curl cream and a light gel to shape the fringe while your hair is soaking wet. Let it air-dry or diffuse gently, then break up clumps with your fingers for a soft, natural finish.
5. Straight Hair Razor Fringe With Soft Ends
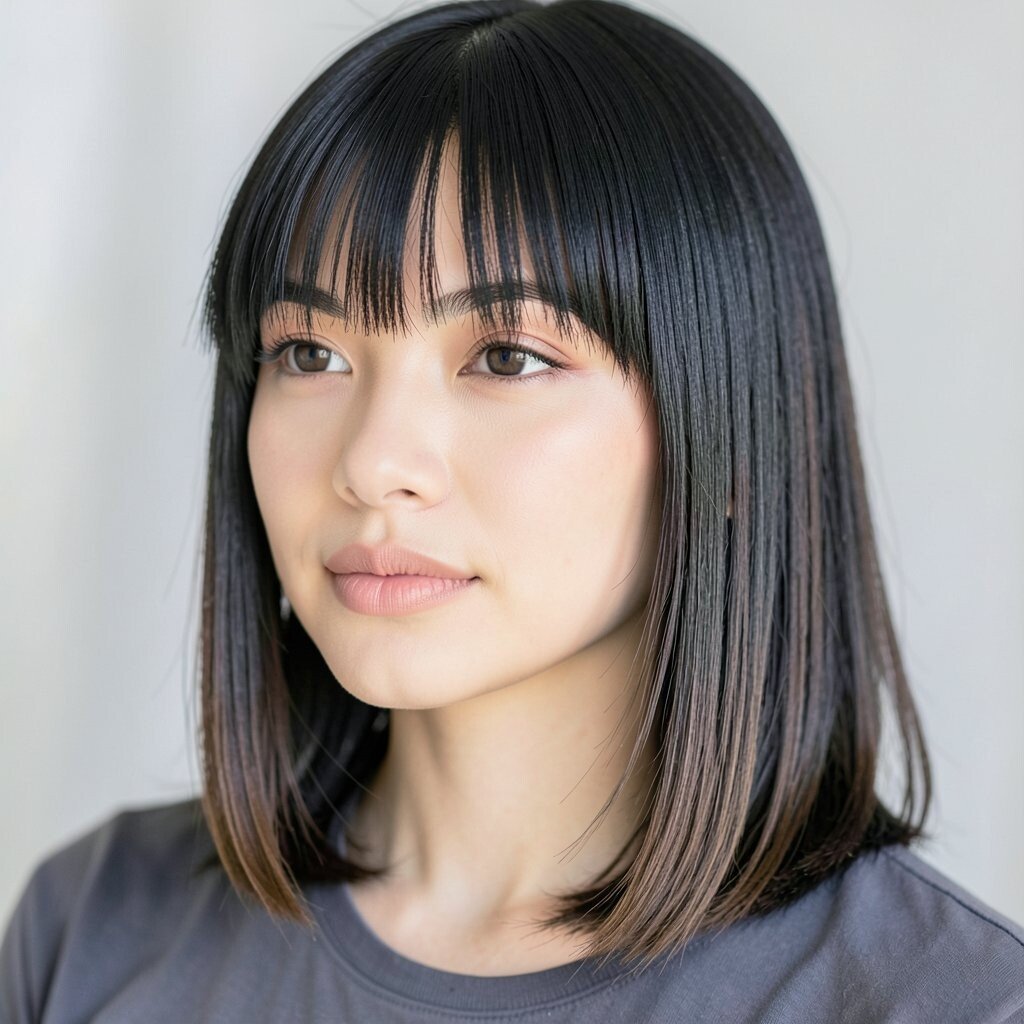
Visualize straight fringe that’s cut with a razor technique for thin, airy slices. The movement looks modern and can reduce that heavy, one-length feeling.
For styling, keep the rest of your hair sleek and let the fringe do the work. A tiny dab of smoothing serum on dry hair helps the pieces land neatly without losing the choppy texture.
This idea is especially great for people who want a trend-forward look but still need something office-friendly. For cost, you can ask for a fringe-only visit, since most salons can refresh the cut without touching the full head.
6. Jaw-Length Blended Fringe for Round Faces

Imagine fringe that reaches just near the jaw and blends into cheek and side layers. The added length helps elongate the face and balances rounder features with a gentle diagonal line.
Ask for longer side pieces and a shorter center that falls like a soft triangle. When styling, use a blow-dryer to guide the front slightly downward and outward so it frames without puffing.
7. Tiny Asymmetry With Longer Side Piece
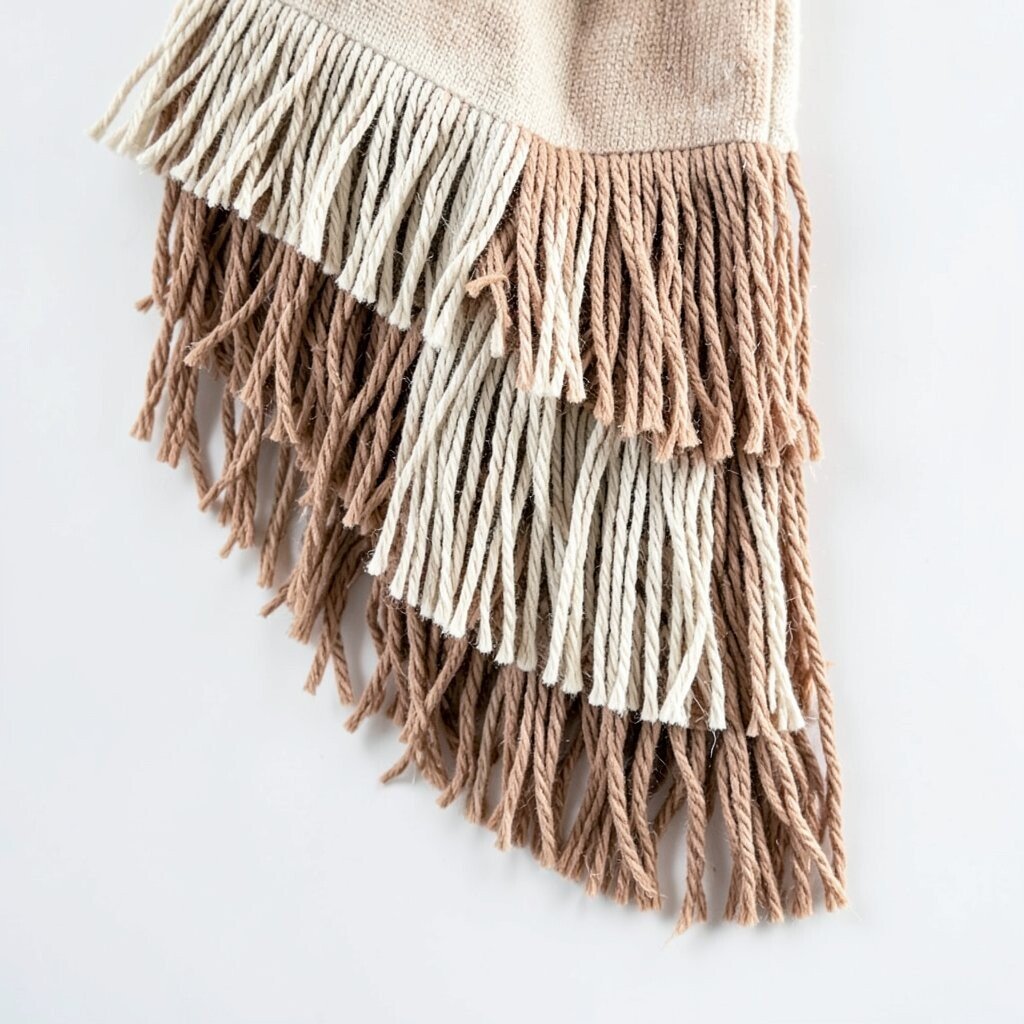
Picture fringe that’s slightly shorter on one side and longer on the other, creating a subtle, fashion-forward tilt. That asymmetry looks intentional even when you’re wearing minimal makeup and casual clothes.
To personalize it, tell your stylist how far you want the longer side to reach, like hitting the cheek or hovering near the lips. Keep the rest of your layers light so the fringe stays the star.
For styling, tuck the longer piece behind one ear sometimes for a different look. You can also use a curling wand to bend just the ends on the longer side, which adds a quick “done” vibe.
8. Layered Fringe With Face-Framing Top Layers
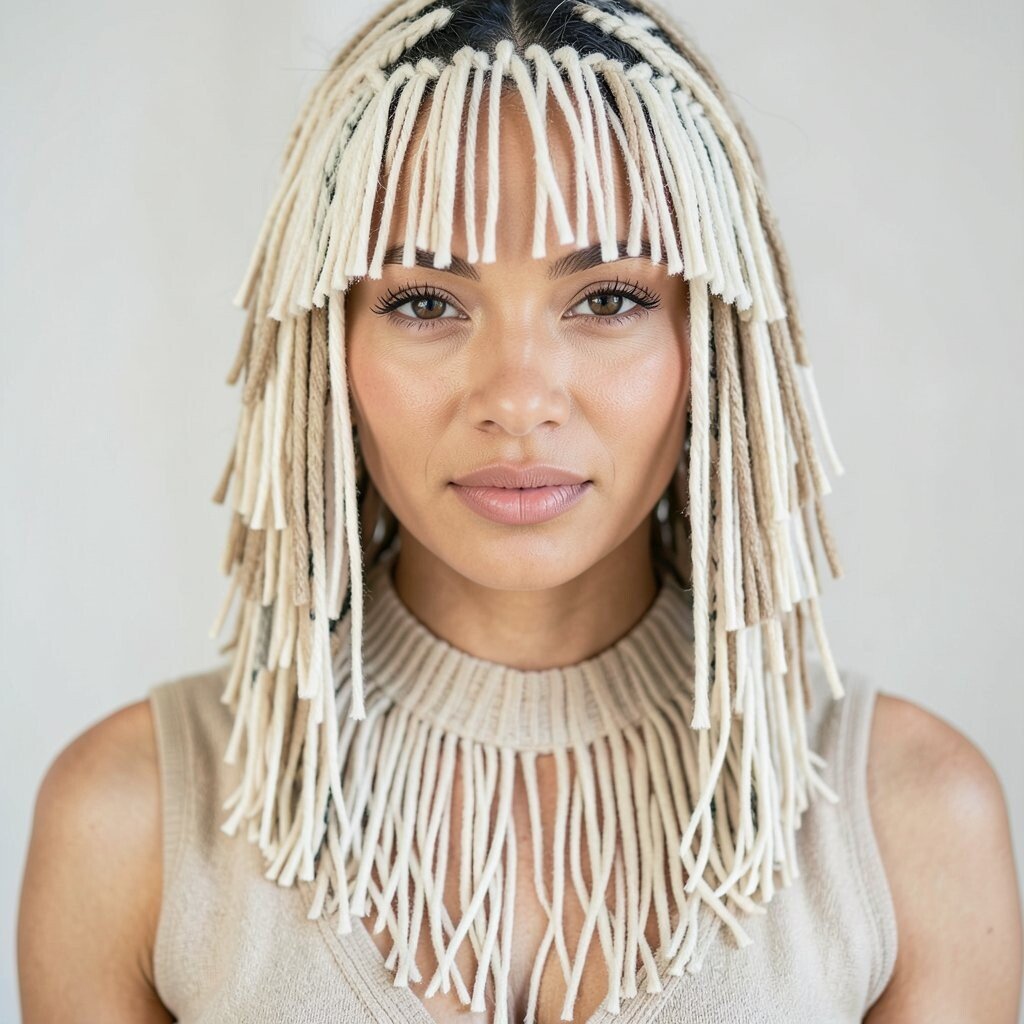
Think of fringe connected to face-framing layers so everything flows as one shape. This creates a cohesive look where the bangs don’t feel separate from the rest of your cut.
Ask for face-framing sections that start at the crown and blend down into the fringe. Use a round brush to lift the roots lightly, then let the tips fall with a soft bend.
9. Shag-Inspired Choppy Bangs
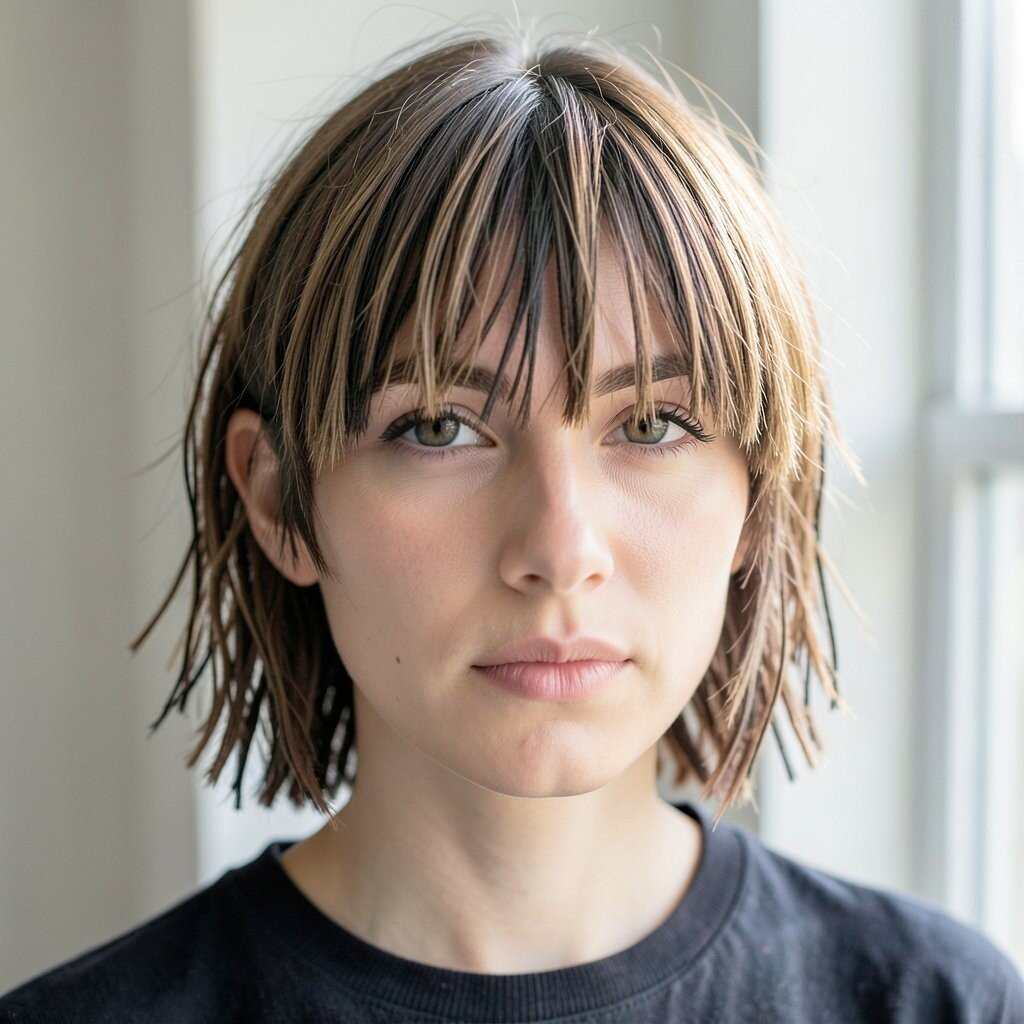
Picture shaggy texture up front, where the fringe is cut with many short slices for that unmistakable rock-and-roll energy. This look pairs perfectly with shag haircuts and layered bobs.
To get the right shape, you’ll want your stylist to include the fringe in the overall texture plan. Use a matte styling paste and finger-tease the pieces for separation, then tap the fringe into place with your hands.
It’s unique because it feels carefree, yet the choppy pieces still make your face look framed and bright. If you’re worried about maintenance, request slightly longer lengths so you can stretch trims longer.
10. Wispy Choppy Fringe With Glassy Middle Part
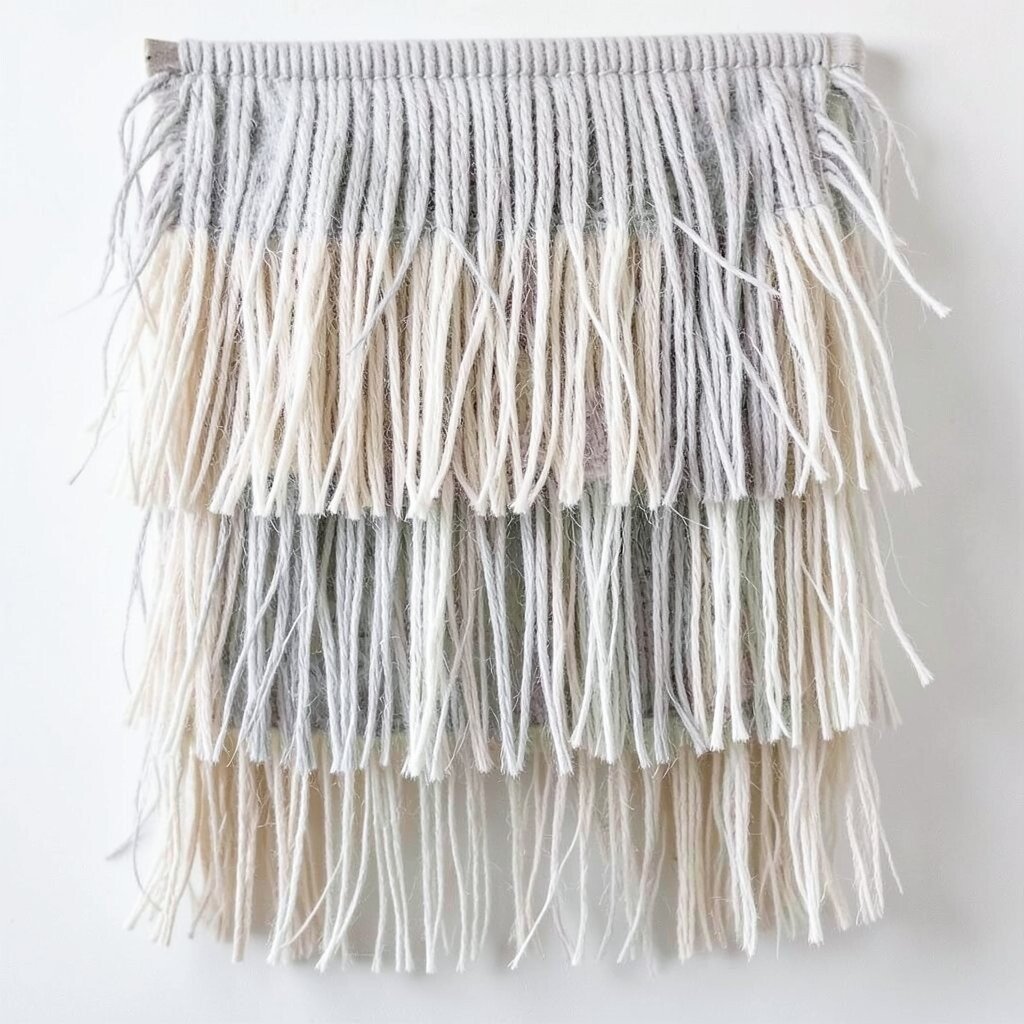
Imagine wispy, uneven fringe that looks delicate but still moves when you turn your head. Pairing it with a glossy middle part makes the whole look feel sleek and modern.
For styling, use a shine serum at the roots and blow-dry the fringe flat for a tidy start. Then use your fingers to lift a few pieces at the tips so the fringe stays airy instead of stringy.
11. Short Taper Fringe for Thick Hair
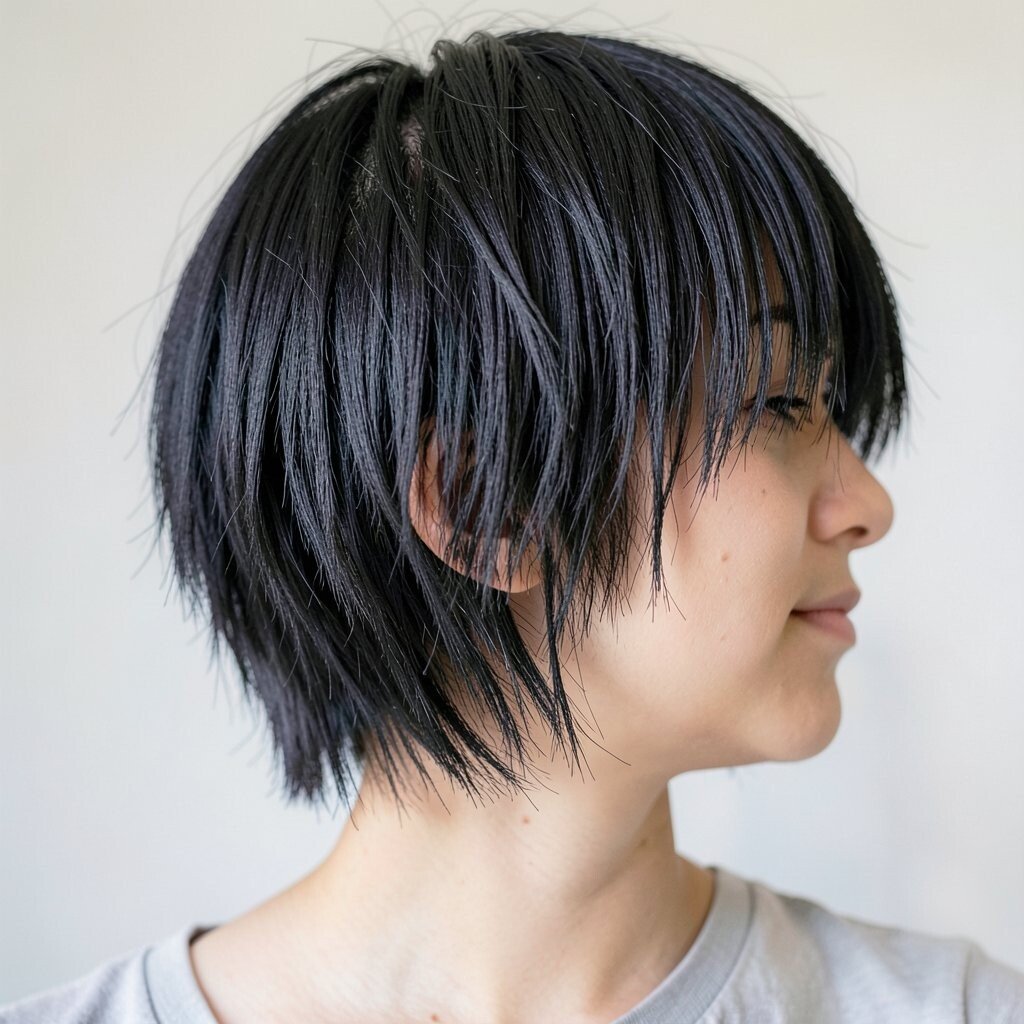
If your hair is thick, picture a short fringe with choppy tapering that removes weight from the forehead area. The result is bounce and control without that heavy, bulky feeling.
Ask your stylist for thinning at the top and point-cut ends so the fringe breaks into texture. During styling, use a smaller brush and focus on smoothing the root before letting the ends separate.
This is a practical choice because it reduces frizz and helps your fringe stay in place for longer. It can cost a bit more if your stylist needs extra time to layer properly, but it saves time later since your hair behaves faster.
12. Long Choppy Fringe With Soft Flip Ends
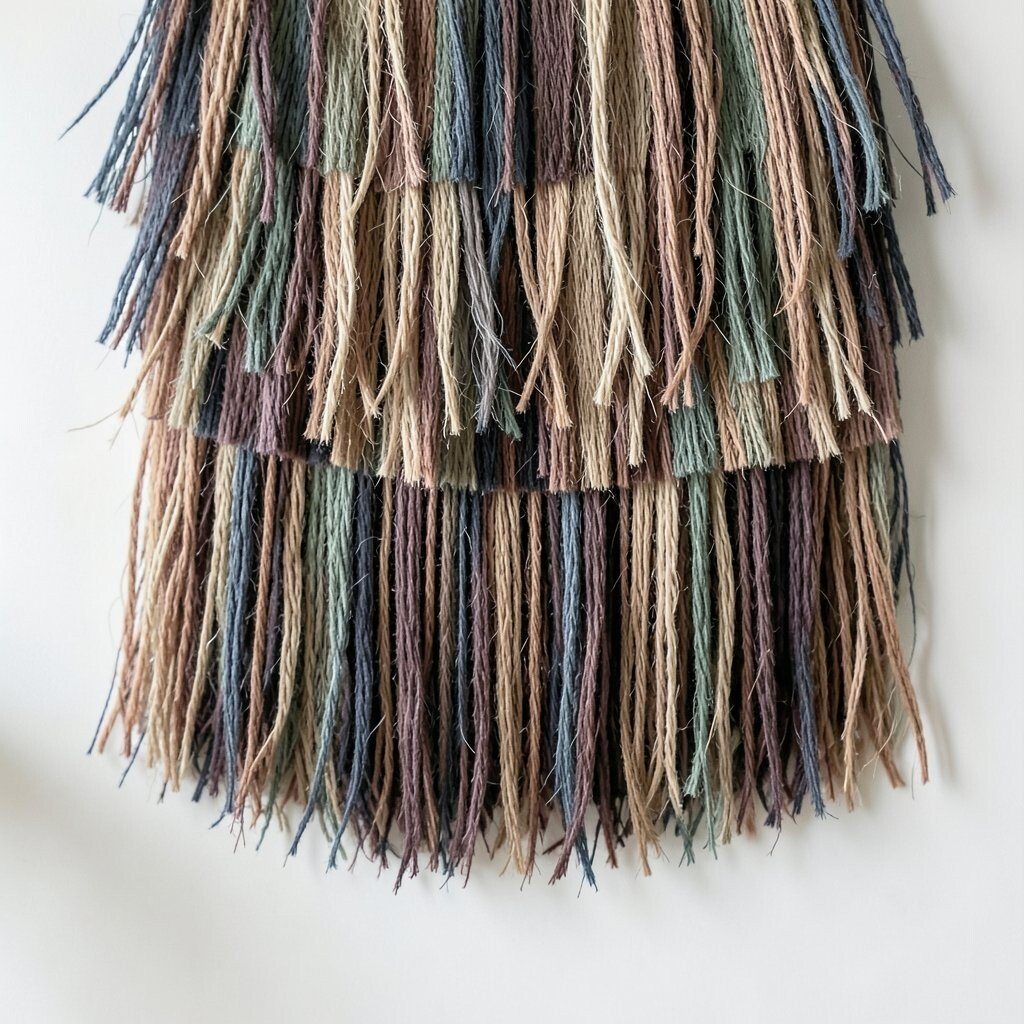
Picture long fringe that stays near the cheek, with choppy pieces that flip slightly at the ends. This gives your hair a lively, playful rhythm and keeps the front from looking flat.
To style it, direct the blow-dry so the ends roll outward a little, then switch to low heat to set. A light hair wax can help you pick out a few flips without making the fringe greasy.
13. Scissor-Cut Micro Bangs Over Layers
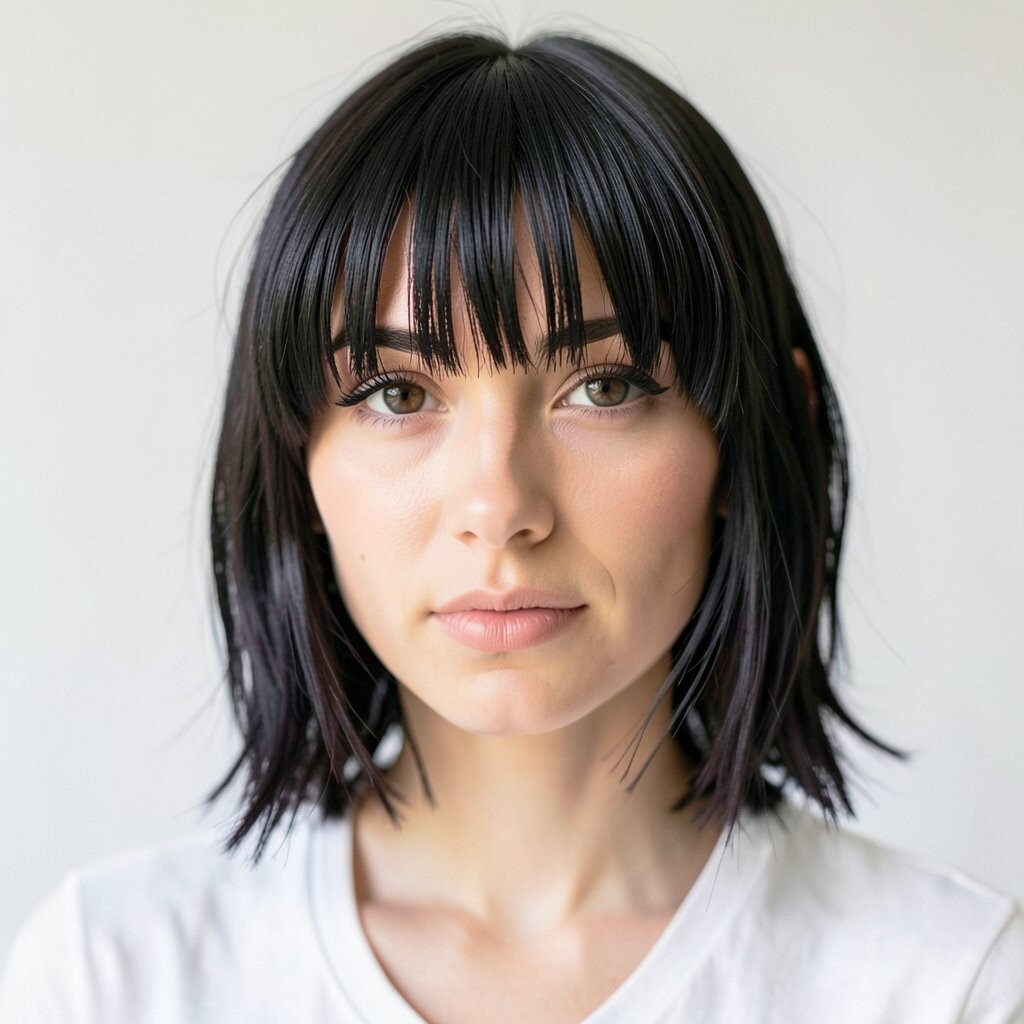
Imagine micro bangs that are not perfectly even, sitting on top of longer layers. The contrast makes your eyes pop and adds a bold signature look.
Keep personalization in mind by deciding how textured you want the ends, from barely choppy to very separated. For a quick routine, dry your bangs with your head tilted forward, then use a comb to place the pieces.
Micro bangs are trending because they look editorial, especially in photos. If you’re cost-conscious, choose a fringe refresh instead of a full cut, since the impact is strong even with minor changes.
14. Curved Choppy Fringe That Follows Your Brows
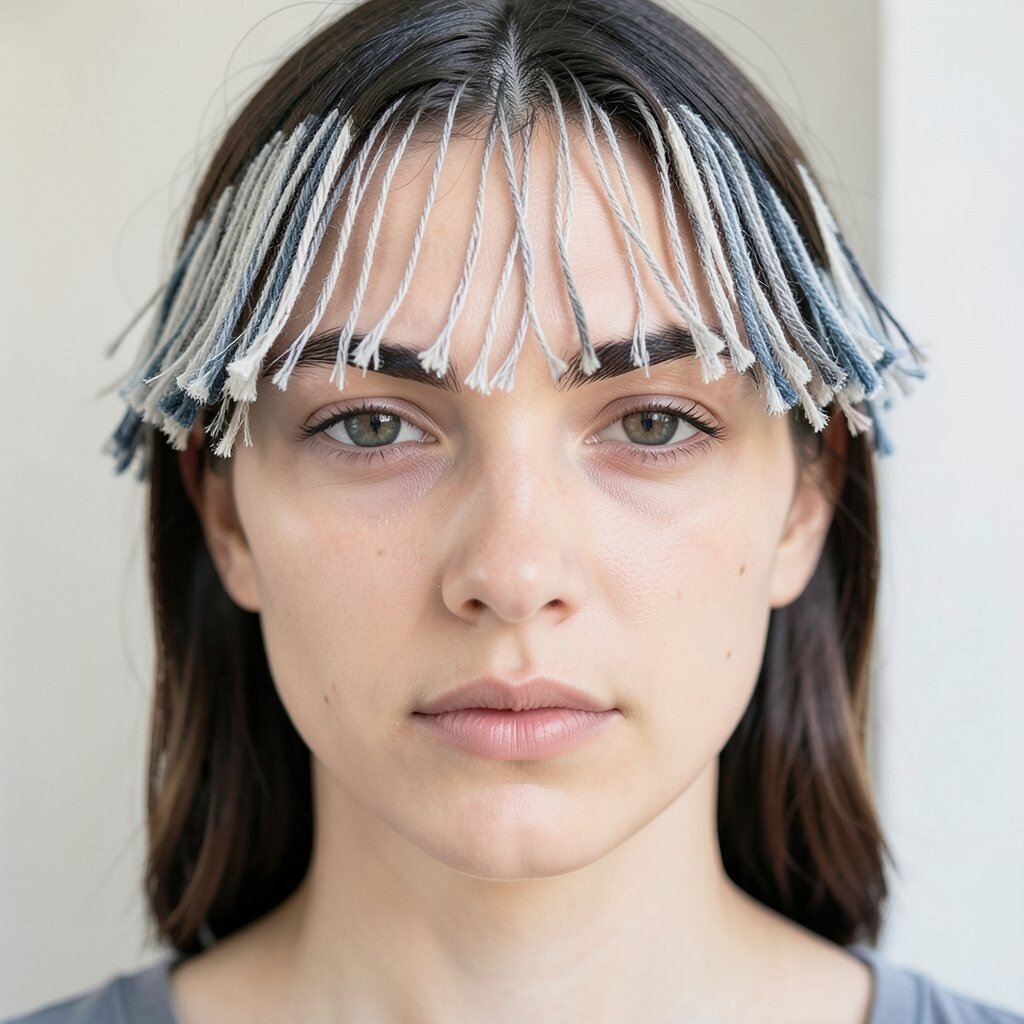
Think of a fringe cut that mirrors your brow line, but with jagged, choppy edges for extra character. The curved shape keeps it flattering while the irregular texture keeps it from looking too strict.
Ask for a gentle arch rather than a straight bar, and make sure the shortest pieces are not too short. Use a small round brush to curl the ends slightly toward your face, which makes your features feel framed.
This style is unique because it blends the classic brow area with a modern texture pattern. It also works well with many hair colors since the piecey ends catch light differently in different lighting.
15. Blended Choppy Fringe for Middle-Part Layers
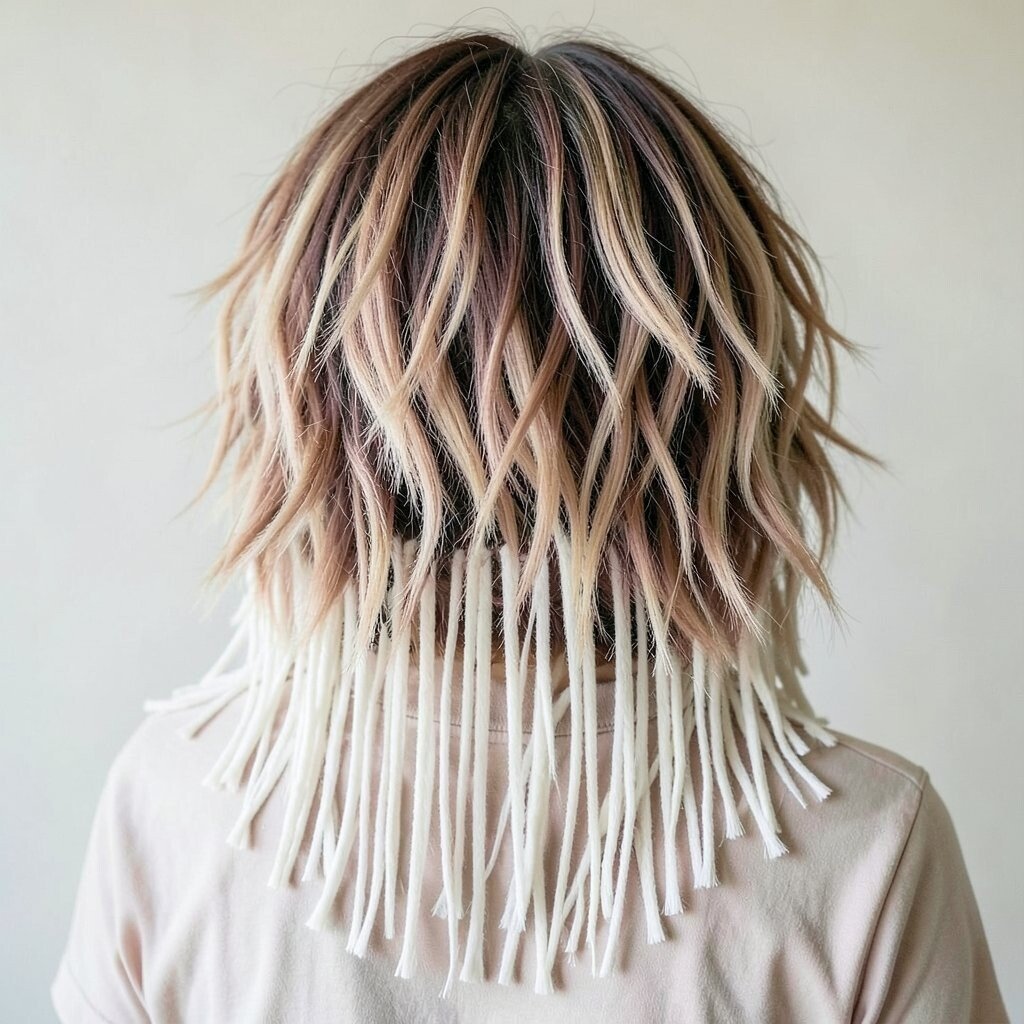
Imagine a middle part where the fringe breaks into soft, choppy pieces that sit neatly on both sides. This idea balances symmetry and keeps things interesting at the forehead.
When cutting, request a blend that connects the fringe to your front layers so there’s no gap. Use a fine-tooth comb on damp hair, then dry with a brush that smooths the root and lightly fans the tips.
16. Reverse Taper Fringe With Shorter Outer Pieces
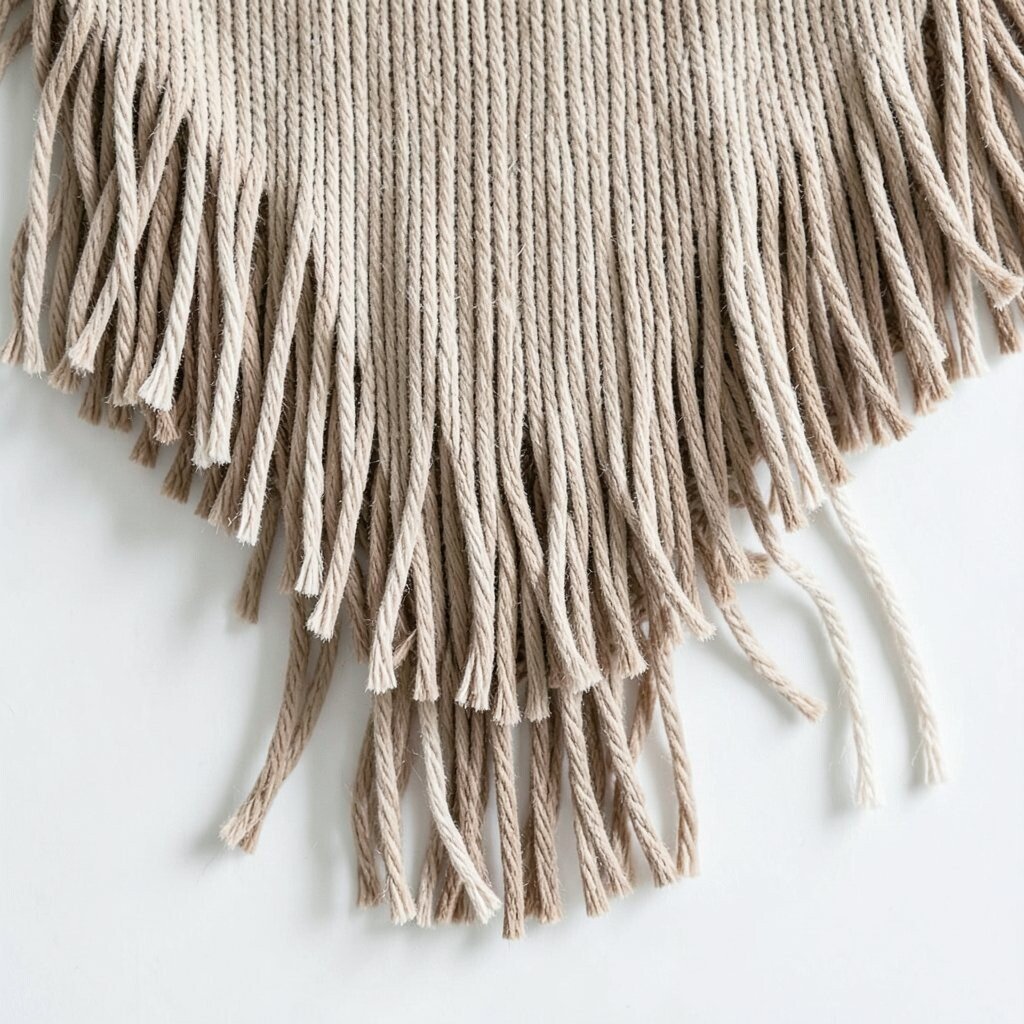
Picture fringe that looks longer near the center and shorter on the outer edges. This reverse taper frames your eyes and creates a flattering focal point without covering your face.
For best results, tell your stylist the center length you want and how much you want the corners lifted. Styling is easy when you blow-dry the outer pieces upward slightly, then let the middle settle naturally.
This option feels unique because it creates a subtle “spotlight” effect on your eyes. If you want to try it without commitment, go for a slightly longer cut so you can adjust as it grows.
17. Soft Chunky Chops for Thick, Wavy Hair
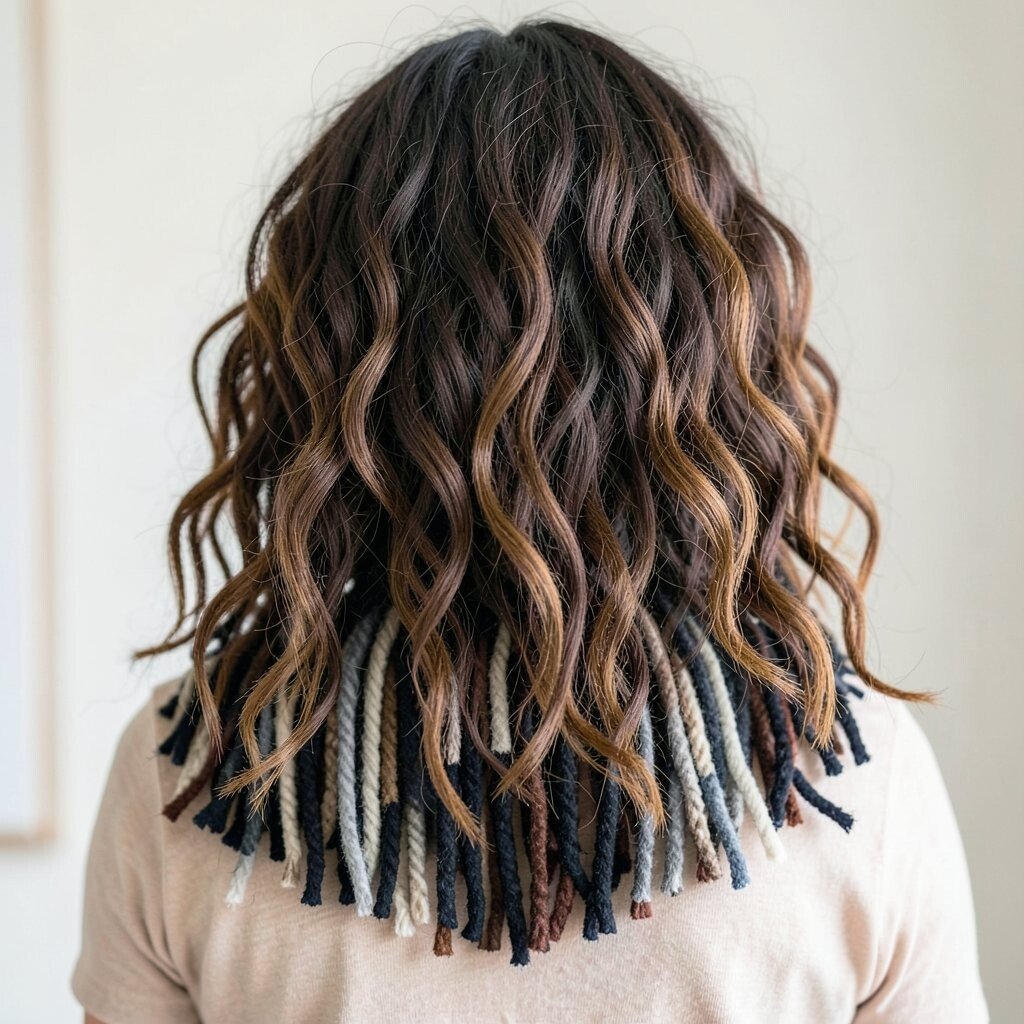
Visualize fringe with noticeable chunks that still look soft because the waves break them apart. The wavy texture does half the styling work, and the choppy cut makes it feel intentional.
Use a curl spray or wave foam, then scrunch the fringe gently to encourage definition. If your waves get frizzy, use a light leave-in conditioner and avoid heavy oils that weigh the front down.
Personalize it by choosing chunk size, like small pieces for subtle texture or bigger chops for a bold look. For cost considerations, maintain with targeted trims rather than reshaping the whole cut every time.
18. Fringe With Underlayer Texture Peek
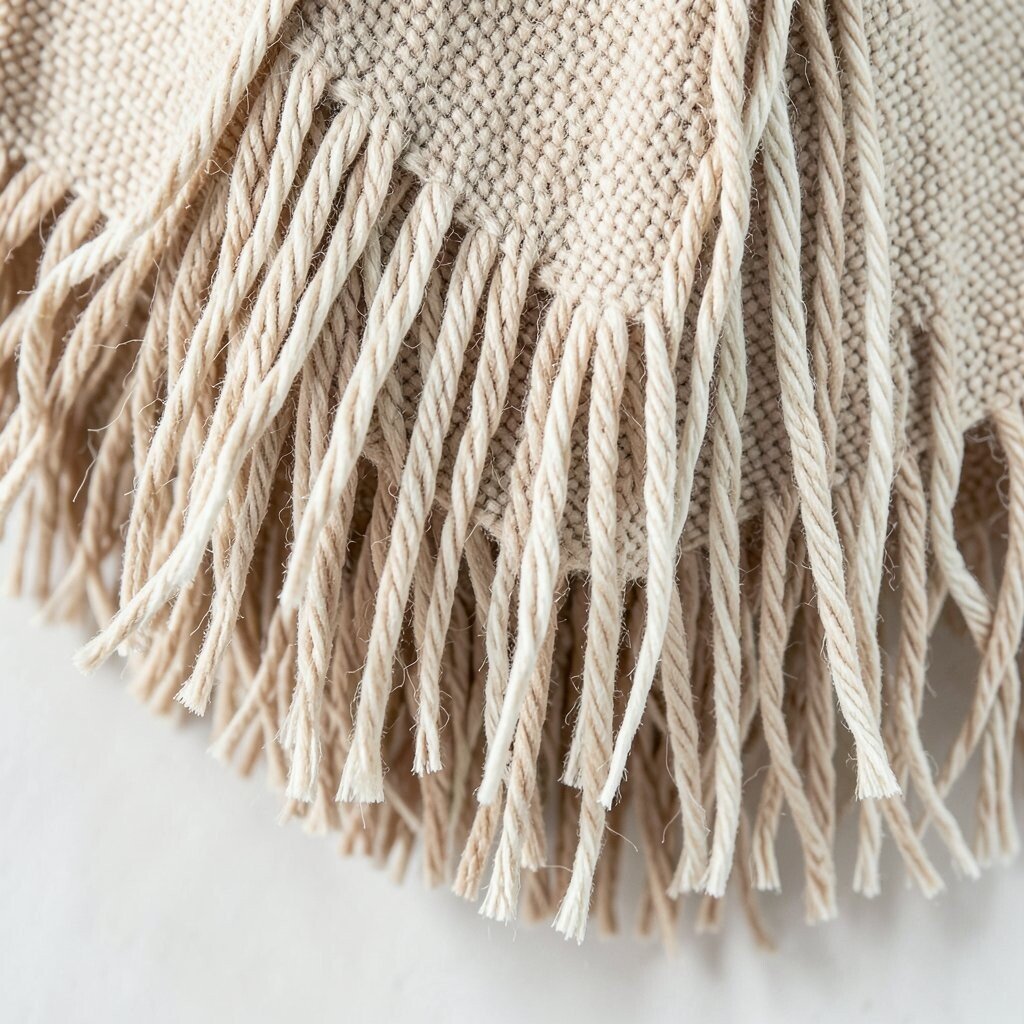
Imagine a fringe where the top layer looks smooth while the underneath pieces show a bit of choppy texture. That “peek” creates depth and adds a hidden style detail that looks cool when you move.
Ask your stylist for a slight underlayer section that’s cut shorter or more textured than the top. When styling, lift the front at the roots and let the top layer fall, so the peek shows only when you turn your head.
19. Shorter Center Bang With Longer Side Pieces
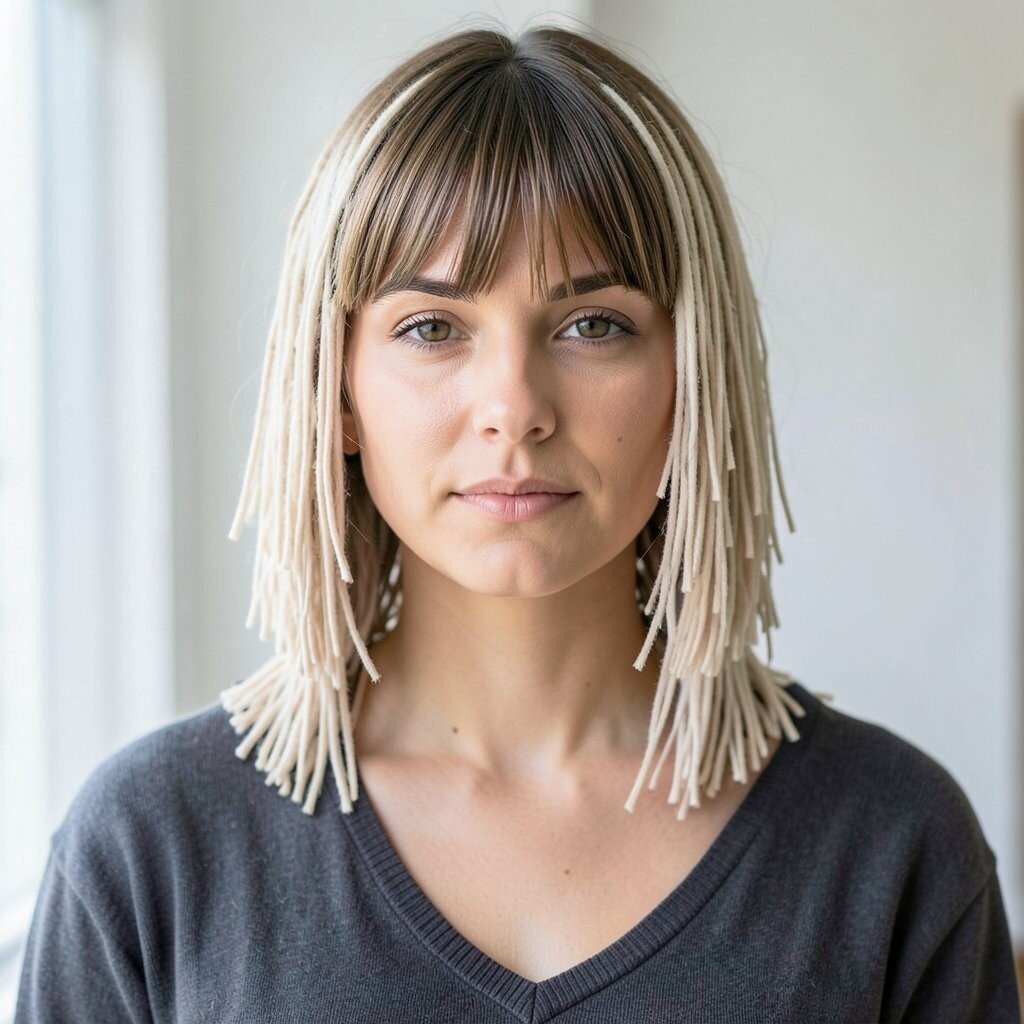
Picture a fringe where the center sits a little higher and the sides extend outward like soft parentheses. This shape adds dimension and can make your hair look fuller at the crown.
To personalize, decide how long the sides should be based on your cheekbone area. Use a brush and blow-dry the center up first, then guide the sides outward for a balanced frame.
This idea feels unique because it blends a flattering lift with the playful choppy ends. It’s also practical since the center tends to stay lifted, helping your fringe last through the day.
20. Retro-Modern Choppy Fringe With Graduated Ends
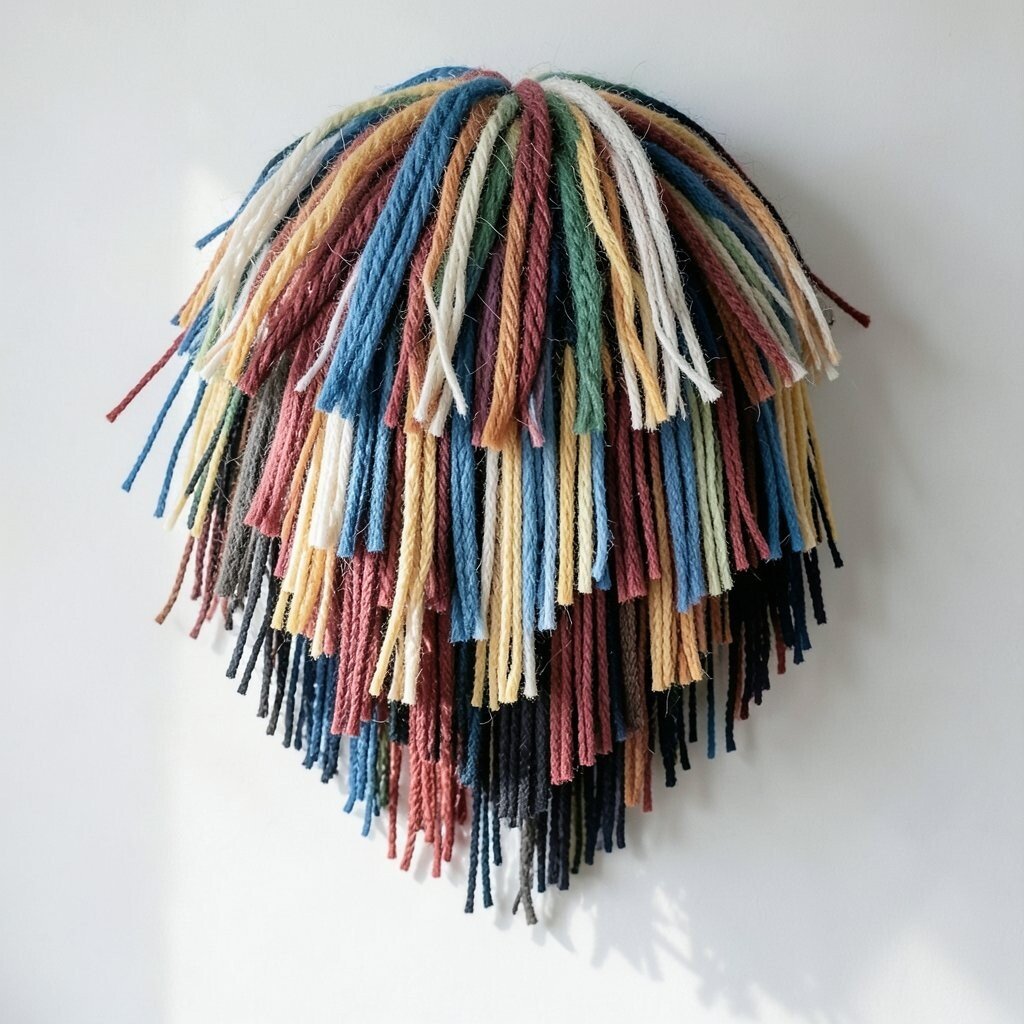
Think of a retro vibe with a modern edge, where the fringe gradually changes length across the cut. The graduated ends give a lively look that works great with both bobs and shoulder-length hair.
Ask for graduation that’s visible but not extreme, so the fringe still feels wearable. Apply a heat protectant, then use a blow-dryer or brush to set the graduation, finishing with a light mist to hold the shape.
21. Feathered Choppy Fringe for Fine Hair
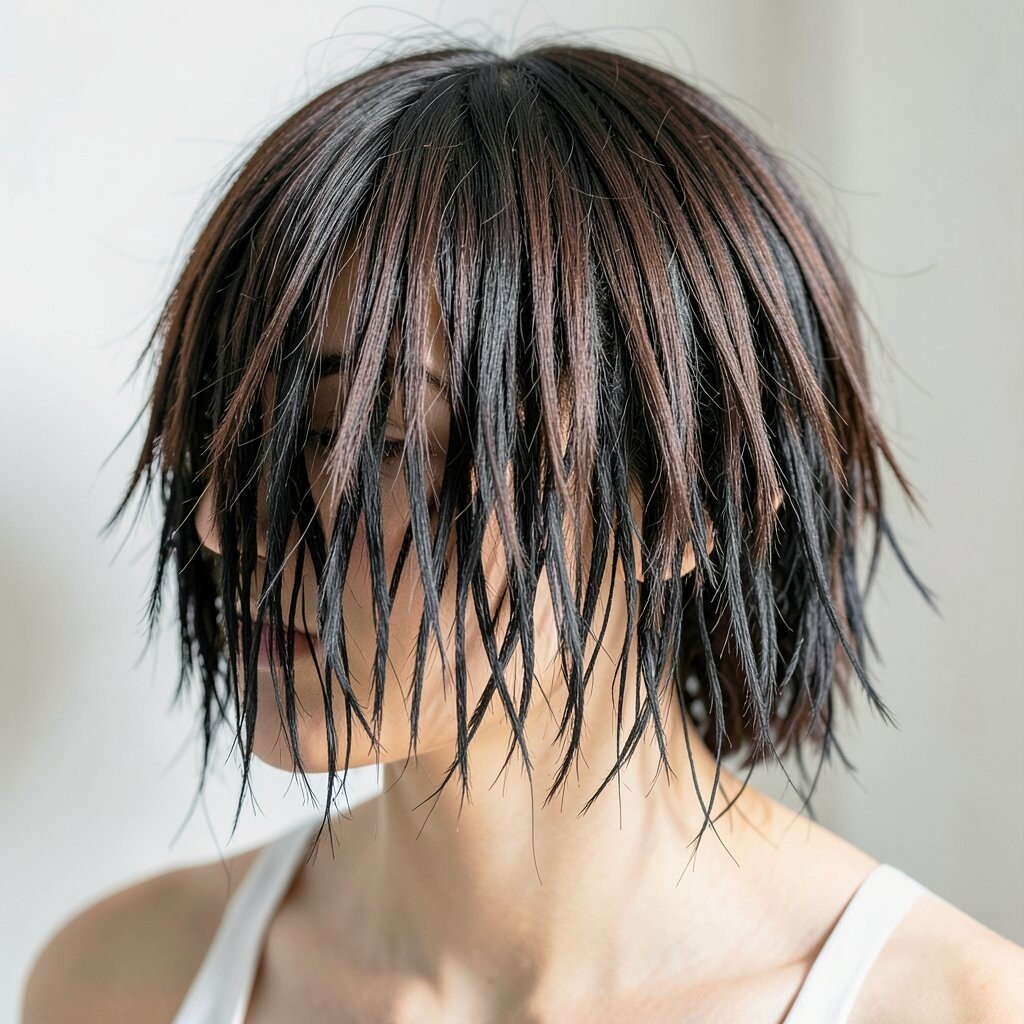
Imagine fringe that looks light and airy because it’s feathered and point-cut, not blunt. Fine hair can look flat, but feathered choppy pieces bring movement without bulk.
For styling, use a volumizing spray at the roots and dry with a focus on lift. Then use a tiny amount of texturizing powder on the fringe ends so they separate instead of clumping.
This is a cost-smart idea because it often needs only simple refreshes, not full reshapes. Keep it personalized by matching the fringe length to your usual styling habits, like letting it reach just above your brows for low effort.
22. Color-Ready Choppy Fringe With Highlights
Picture choppy fringe that’s perfectly set up for highlights or lowlights, making every slice catch the light. The texture becomes even more visible when color is placed to follow the layering.
When planning color, consider placing lighter tones along the fringe ends so the choppy tips look brighter and more dimensional. Use a color-safe shampoo and a gentle conditioner, then refresh the fringe with a quick blow-dry and a soft styling spray.
This idea feels trend-forward because dimensional hair color is popular, and fringe adds extra “surface area” for color to show. For cost considerations, you can start with a fringe-focused highlight placement, which can be less expensive than full coverage depending on your salon.