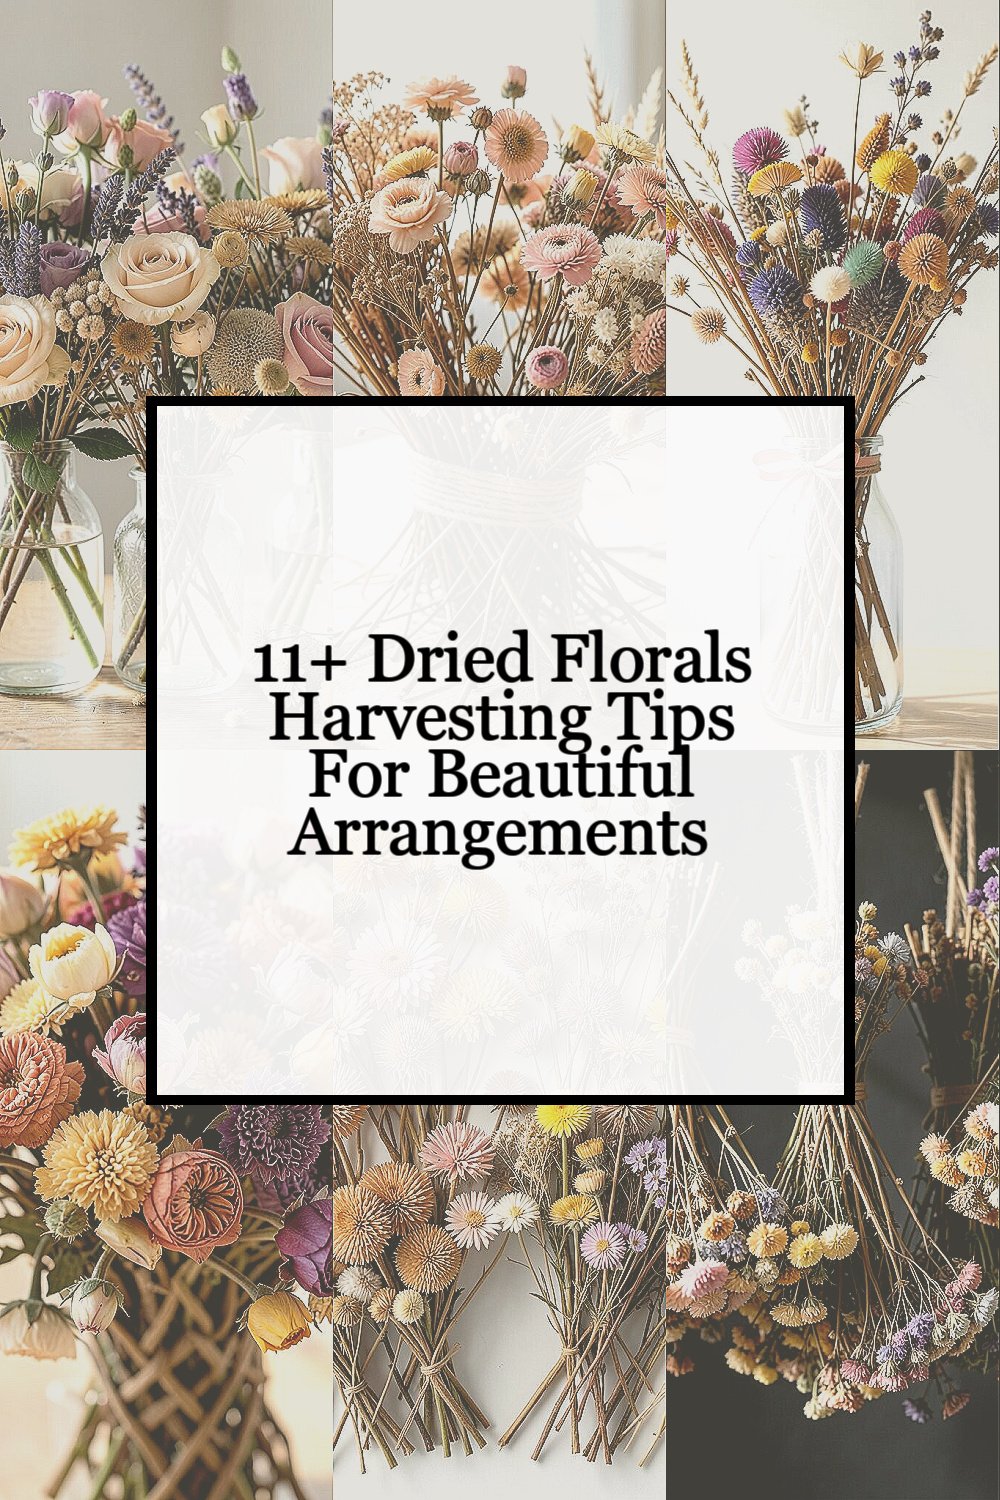
Dry flowers can hold a quiet kind of magic. Their colors, shapes, and textures can make any space feel warm and special.
1. Pick Flowers at the Right Stage
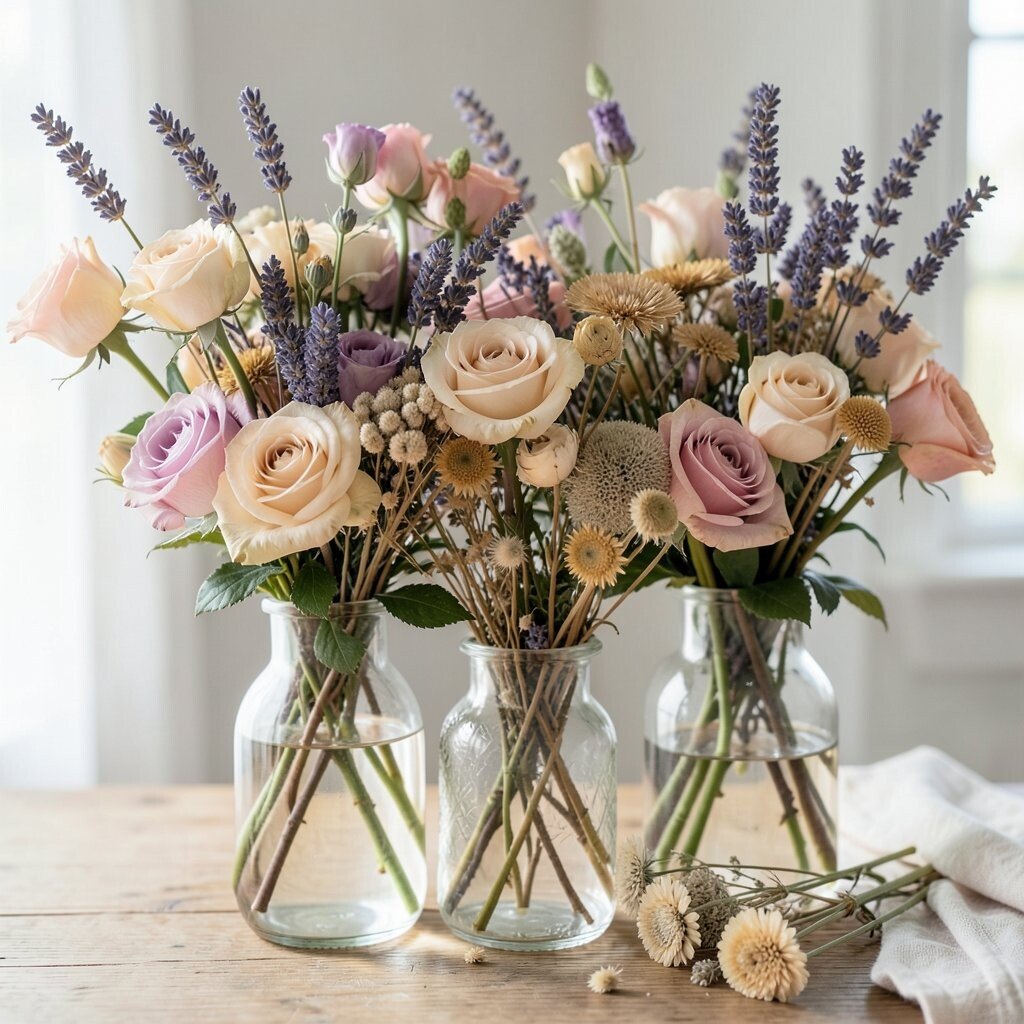
Choose blooms that are just shy of full open, with petals still firm and fresh-looking. They will keep more shape and color after drying, which makes them lovely for vases, wreaths, and wall art.
Soft roses, lavender, strawflowers, and statice are popular because they dry well and look graceful for a long time. For a personal touch, match your picks to your home colors or a favorite event theme, and keep an eye on cost by using flowers from your own garden or a local market.
2. Harvest in the Cool Part of the Day

Morning is often the best time to cut dried florals because the stems are full of water and the blooms look lively. The petals often feel stronger then, which helps them hold their beauty during the drying process.
Use clean, sharp scissors so the stems stay neat and do not crush. This small habit can save money by reducing waste, and it also fits the current trend of using simple, garden-fresh materials in natural arrangements.
If you want a softer, airy look, choose stems with open space between blooms. For a bolder style, gather fuller flowers and mix them with feathery grasses for contrast.
3. Cut Long Stems for More Styling Options
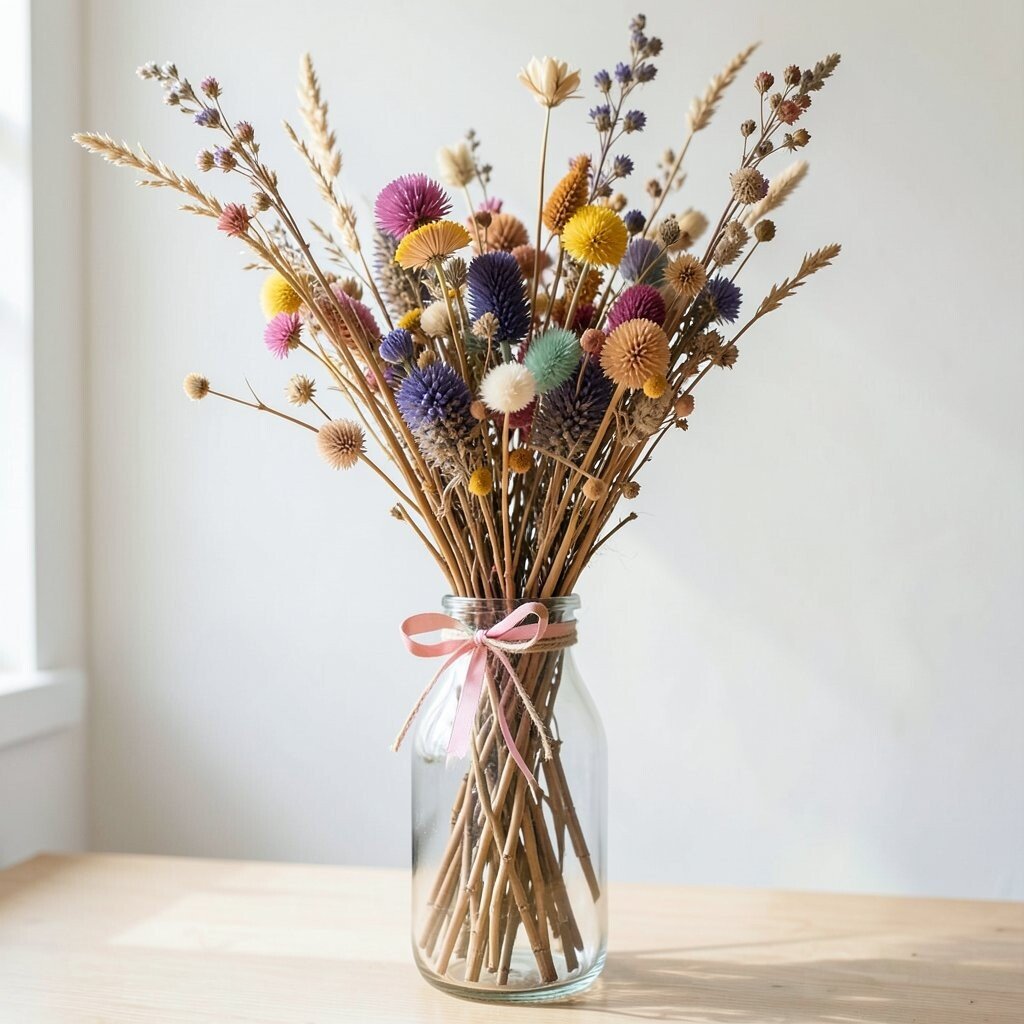
Long stems give you more freedom when arranging dried florals later. They can be trimmed down, bent into shape, or tied into bundles for many uses.
Keep the cut angled so the stems can dry faster and look tidy. This also helps with budget-friendly planning, since longer stems can be used in many projects instead of just one.
Try saving a few extra inches on each stem if you want a loose, flowing design. That little bit of length can make a bouquet feel taller, fuller, and more graceful in a tall vase.
People often like this method because it works for both simple home decor and special gifts. It also makes it easier to personalize each piece with ribbons, twine, or colored paper wraps.
4. Remove Damaged Petals Before Drying

Look closely at each bloom and gently remove petals that are bruised, brown, or torn. Cleaner flowers dry into prettier pieces and help the whole bunch look more polished.
This step can make a big difference in the final arrangement because even small flaws stand out once flowers are dried. It is also a smart way to avoid spending money on blooms that will not hold their charm.
5. Group Flowers by Size and Shape

Mixing flower sizes can create a rich and layered look, but sorting them first makes the design process easier. Round blooms, spiky blooms, and wispy stems each bring a different feel to the final piece.
Try making small groups of similar flowers before drying so you can plan your arrangement style. This is a handy way to follow current trends like calm neutral palettes or wild meadow looks without buying extra supplies.
For a more personal arrangement, pair flowers that remind you of a garden walk, a family memory, or a favorite season. That simple choice can make the finished piece feel one of a kind.
6. Dry in Small Bundles for Better Airflow
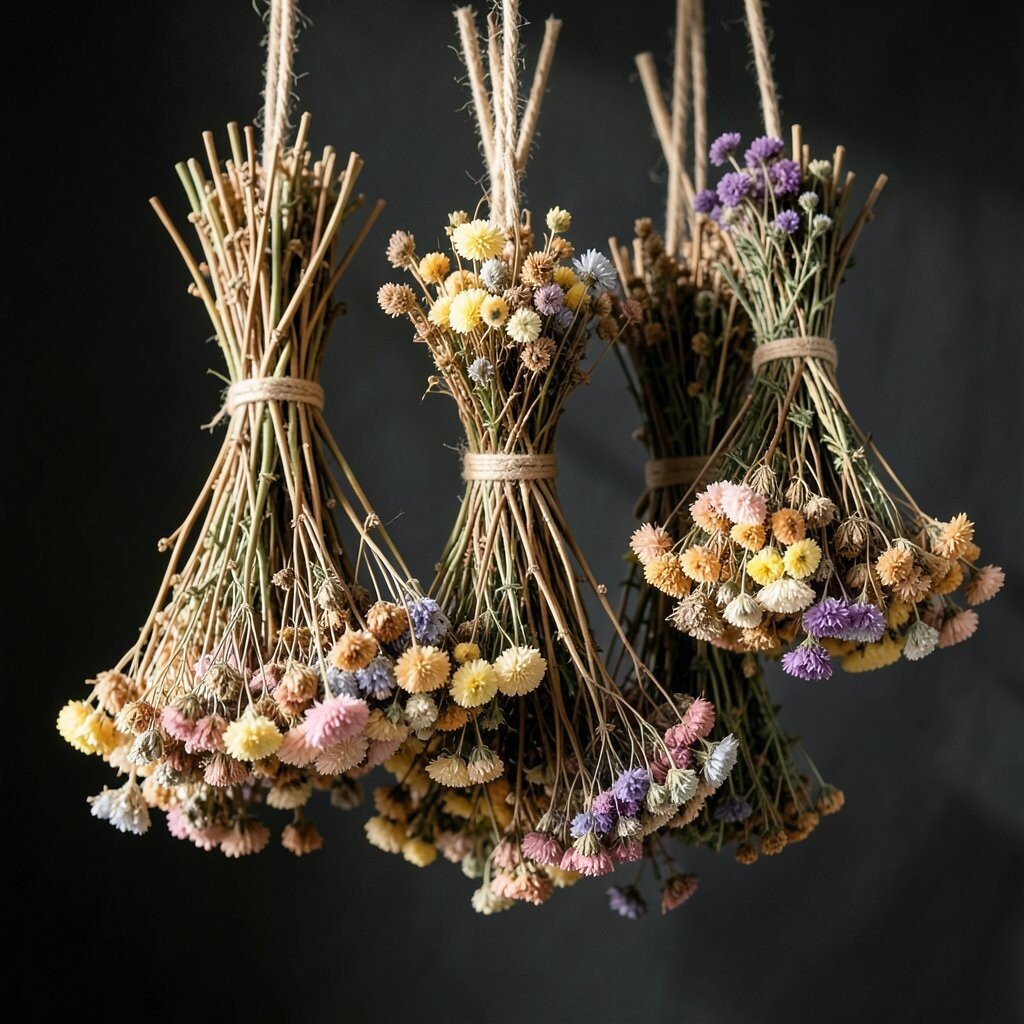
Small bundles dry more evenly and help flowers keep their shape. When stems are packed too tightly, they can trap moisture and lose some of their beauty.
Tie each bundle with string or a rubber band, then hang them upside down in a dry, dark place. This method is low-cost and popular because it needs very few tools and works well for many flower types.
If you want a fuller display, make several small bundles instead of one large one. You can later combine them in a vase, basket, or hanging frame for a custom look.
Airflow also helps with scent, especially for herbs and fragrant blooms. A light, natural smell can make the arrangement feel fresh and cozy.
7. Choose Flowers with Strong Color

Bright colors often stay more cheerful after drying than pale ones, though soft shades can look dreamy too. The best choice depends on the mood you want in your room or event.
Sunset tones, dusty pinks, golden yellows, and deep reds are often loved in dried floral design. These shades fit modern styles and can make even a simple jar arrangement feel special.
If you want to save money, try drying flowers from one color family at a time. That keeps your supplies simple while still giving you a finished look that feels planned and stylish.
Color can also be personal. Pick tones that match your home, your favorite clothes, or the season you love most.
8. Handle Delicate Blooms with Care

Some flowers have thin petals that can bruise very easily. A gentle touch keeps them looking neat and helps them dry into soft, pretty shapes.
Hold each stem near the base and avoid squeezing the bloom itself. This careful habit can protect your effort and reduce the need to buy replacements, which is always helpful for the budget.
9. Save Interesting Seed Heads and Pods

Not every dried floral piece needs to be a flower. Seed heads, pods, and grasses can add texture, movement, and a natural wild feel to an arrangement.
These parts are often low-cost or free if you grow them yourself, and they pair well with current earthy decor styles. Their shapes can make a bouquet look fuller without needing many extra blooms.
For a custom touch, mix smooth petals with rough pods or fluffy grasses. That contrast gives the arrangement more personality and helps it stand out in a room.
You can also spray a few pods with soft paint or leave them natural for a rustic look. Either choice can fit a table centerpiece, shelf display, or gift bundle.
10. Keep Stems Clean and Trimmed

Clean stems dry better and are easier to work with later. Remove leaves that would sit below the flower head or crowd the bundle, since they can hold moisture and make the bunch look messy.
Fresh cuts and tidy stems also make the final arrangement look more polished. This simple habit saves time and helps each stem fit neatly into a vase, wreath, or wall hanging.
11. Plan for the Final Design Before You Harvest

Think about the final arrangement before you cut anything. A tall bouquet, a low table piece, and a hanging bundle all need different stem lengths and flower styles.
This kind of planning can help you avoid waste and keep costs under control. It also makes it easier to follow the latest styling ideas, like loose garden bouquets or simple monochrome groupings.
If you want a more personal result, sketch your idea or lay out a few flowers on a table first. That small step can help you choose the right mix of shapes, colors, and textures for your space.
Planning ahead also makes harvesting feel calmer and more fun. You can cut only what you need and save the rest for another project or another season.
12. Store Harvested Florals the Right Way

Once your flowers are cut, keep them in a cool, dry place until you are ready to dry or arrange them. Good storage helps protect the color and shape, which means a prettier final display.
Use paper, boxes, or simple hanging space instead of plastic bags, which can trap moisture. These low-cost storage choices are practical and fit the simple, handmade look many people love right now.
Label your bundles if you are drying many kinds at once. That makes it easy to build a custom arrangement later with the exact flowers you want.
Stored well, dried florals can be ready for wreaths, gifts, table decor, and room accents. Their long life is part of what makes them so appealing for creative home styling.