A suitcase can feel empty the moment you unpack. Your memories deserve a place on the wall.
Gallery walls turn small finds into a daily smile.
1. The “Ticket Stub Timeline” Collage
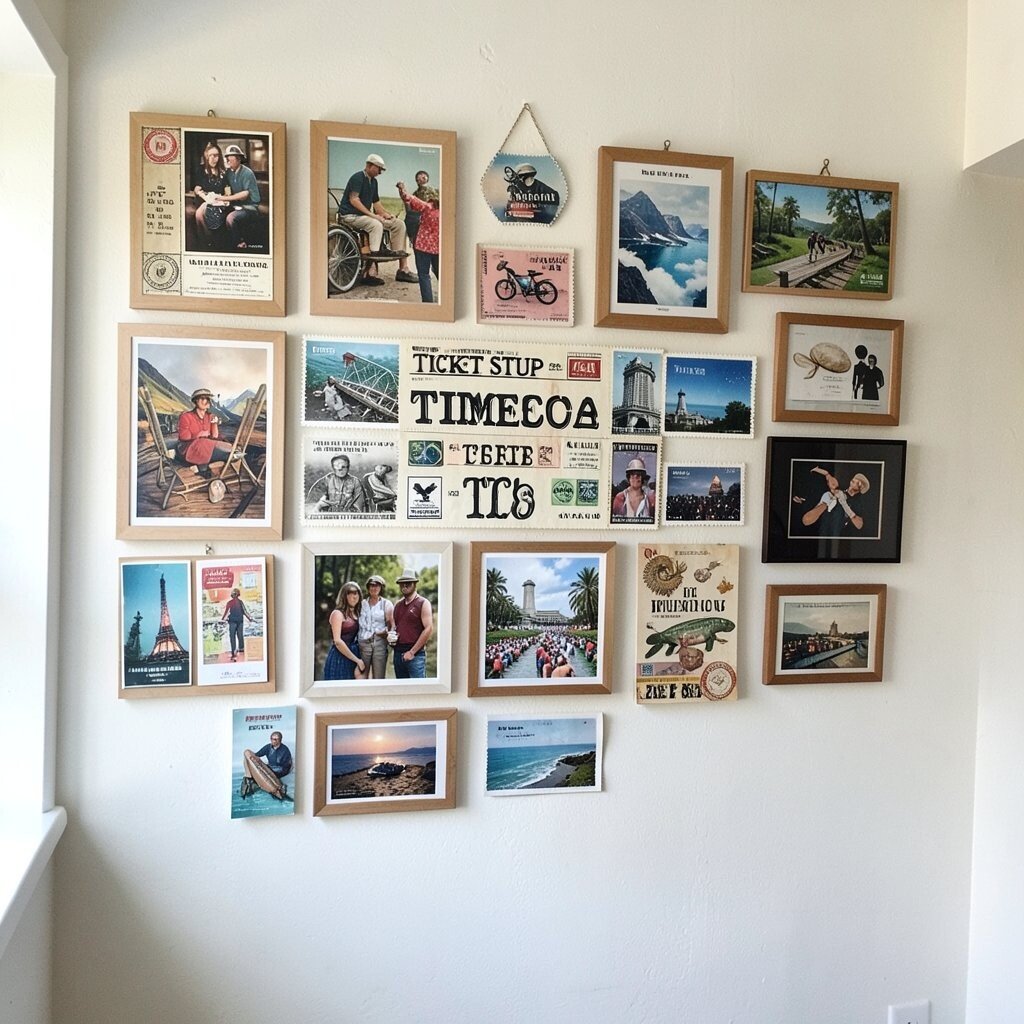
Lay your old tickets, boarding passes, and museum receipts in a loose date order. Watch how the wall turns into a mini story you can read with your eyes.
Use lightweight frames or clear sleeves so the paper looks crisp instead of crushed. Match each piece with a tiny label written in neat handwriting, like the city name and the month. For a clean look, keep similar sizes together and leave a little breathing space between clusters.
2. Shadowbox Icons With Tiny Souvenir Collections
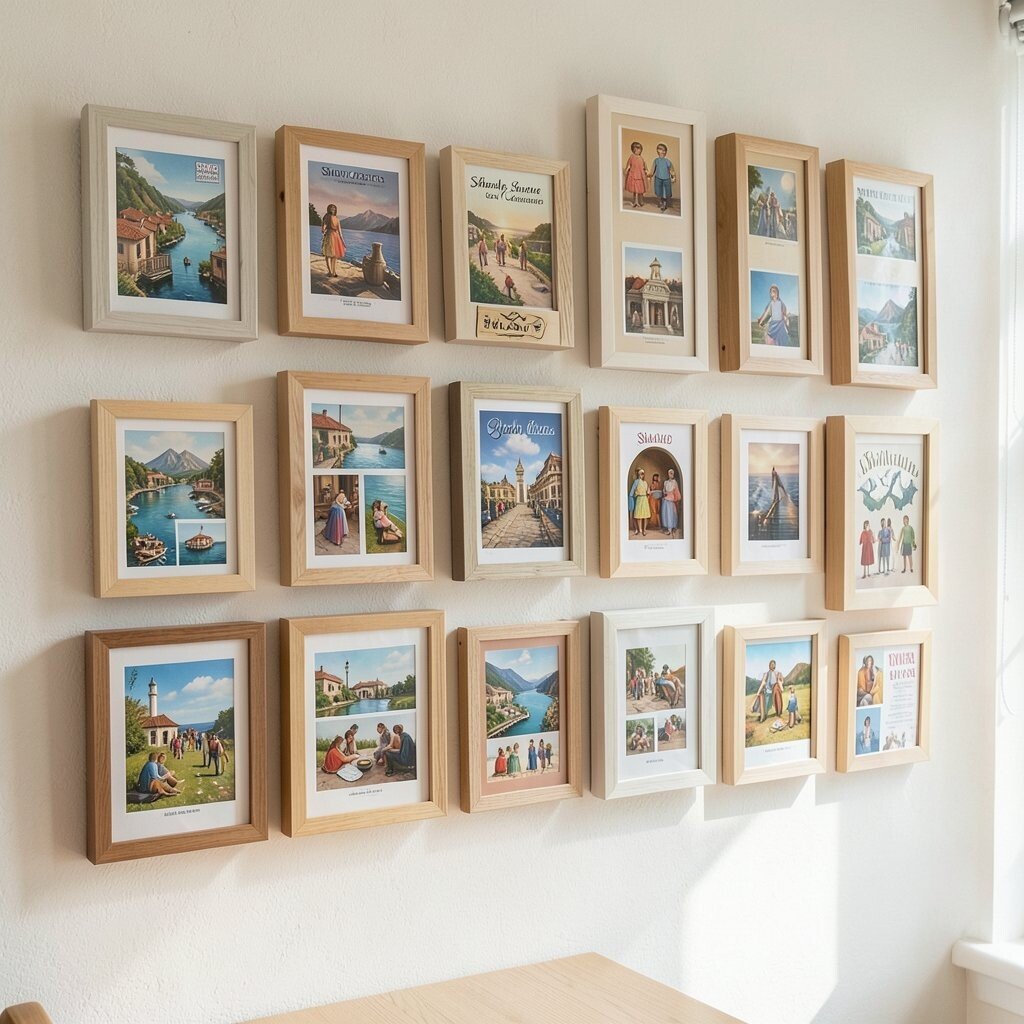
Pick one meaningful item type, like sea glass, matchbooks, or keychains, and group them inside shadowboxes. Seeing each piece lit from behind makes even small objects look special.
Use removable backing and arrange items on felt so they don’t rattle. Try placing a postcard or short note at the back for context, and vary heights so the display feels lively.
To keep costs friendly, search thrift stores for mismatched frames, then paint them the same color. Personalize it by adding a mini “favorite moment” note for each box using a black fine-tip pen.
3. The Map Line With Pins and Thread Coordinates
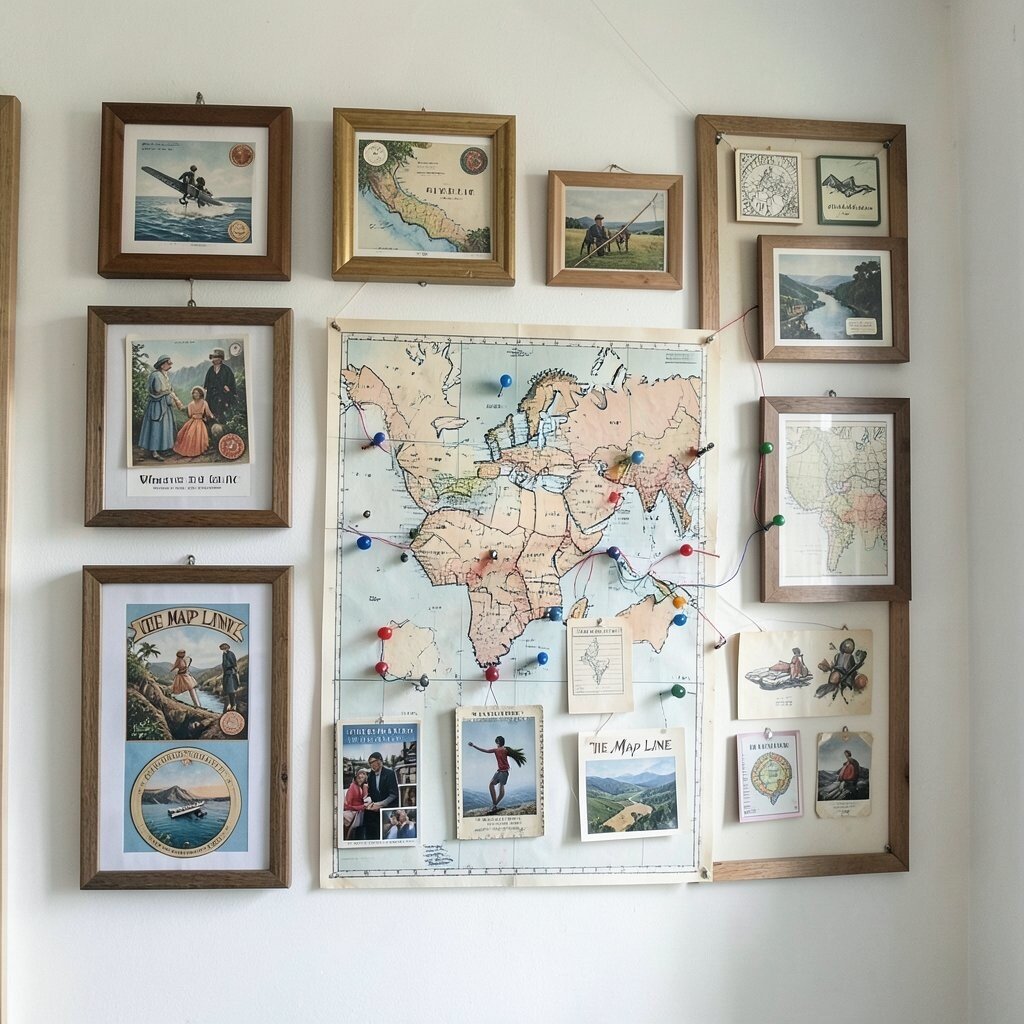
Stretch a simple string line along the wall and pin it to places you’ve visited. When you add small pushpins like stars, the whole layout becomes a playful map drawing.
Use a thick paper map print as the base, or skip the map and use only coordinates written in small neat lettering. Tie the thread into gentle curves so it looks like a travel path rather than a straight road.
For a practical setup, measure spacing first and keep pins away from the edges of frames or shelves. If you want a current trend vibe, try a muted palette and slim black pins for a modern look. Add a small wooden tag near the end point to show what you brought back from that city.
4. Labeled Postcards in a “Weather Report” Layout
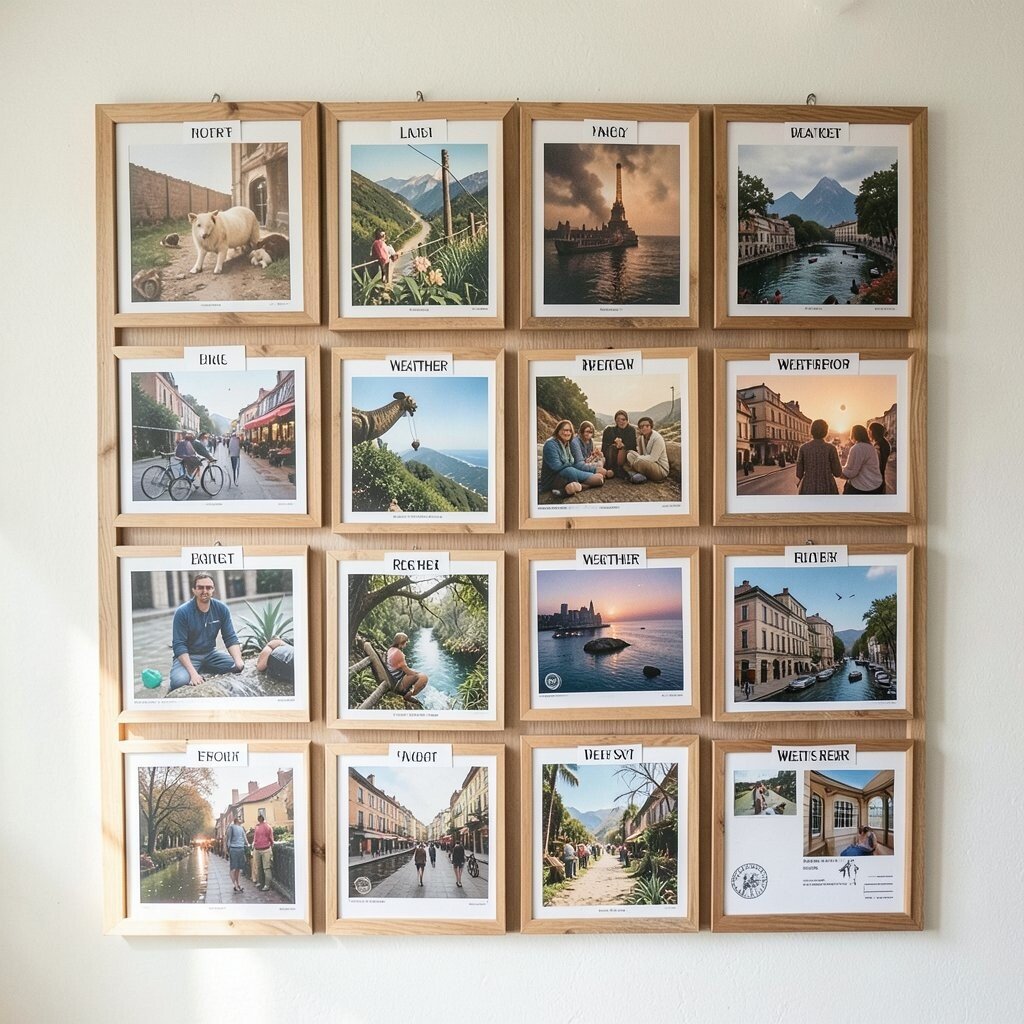
Arrange postcards by season, not by destination, for a fun twist. You can group warm weather scenes together and cool weather scenes into another block.
Write simple weather notes on the back and place them in front using tiny clips or clear photo corners. This makes the wall feel personal and helps you remember what the day felt like.
5. Washi Tape and Fabric Banner Hanging Gallery
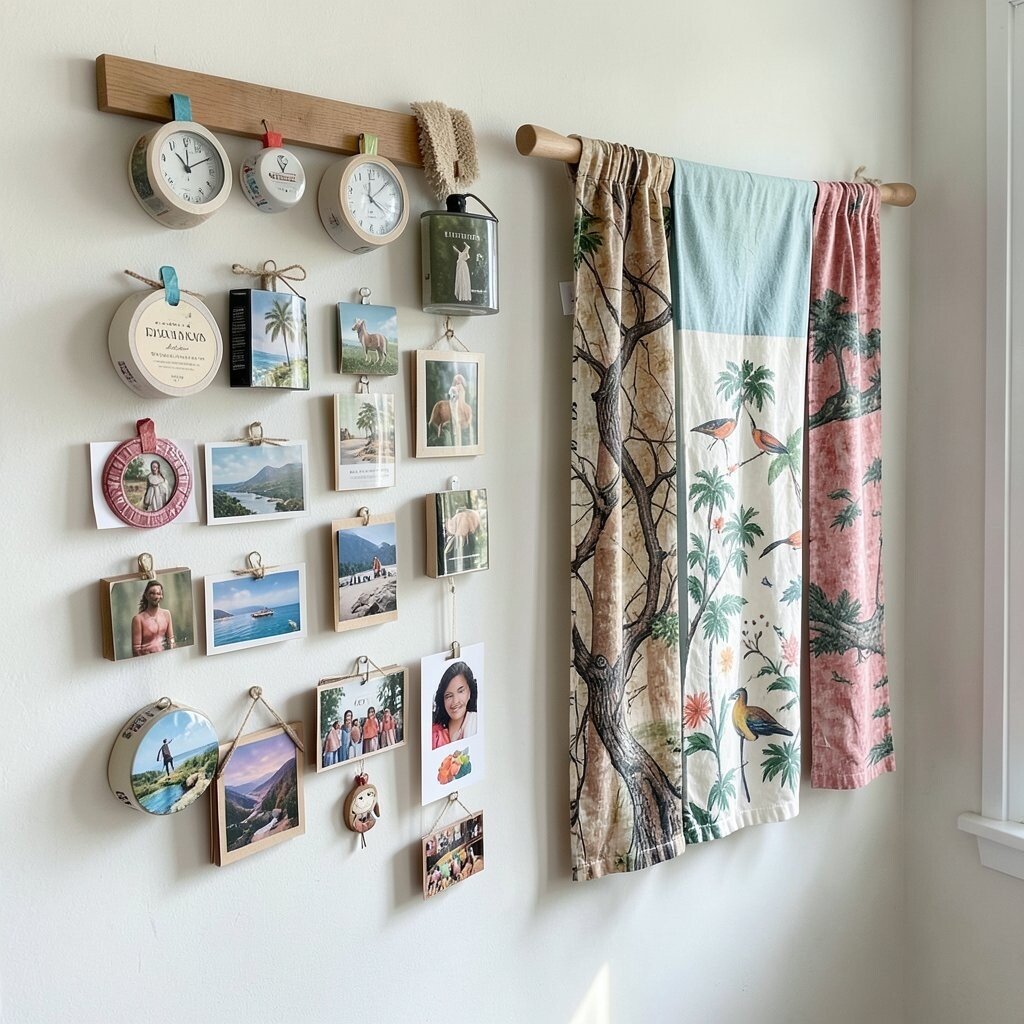
Use washi tape to make tidy rectangles on a fabric panel, then attach photos and small souvenir cards. The wall instantly looks cozy, like a craft corner turned into a memory hub.
Choose fabric in a neutral color so the travel pieces stand out without feeling messy. Keep edges clean by folding fabric tightly around a frame or using a stretched canvas.
If you want budget options, reuse old scarves or bargain thrift fabric and focus money on a few nice photo prints. Personalize the banner by weaving in a small charm from each trip and placing it where the tape meets the photo.
6. Recipe Cards From Every Place You Ate
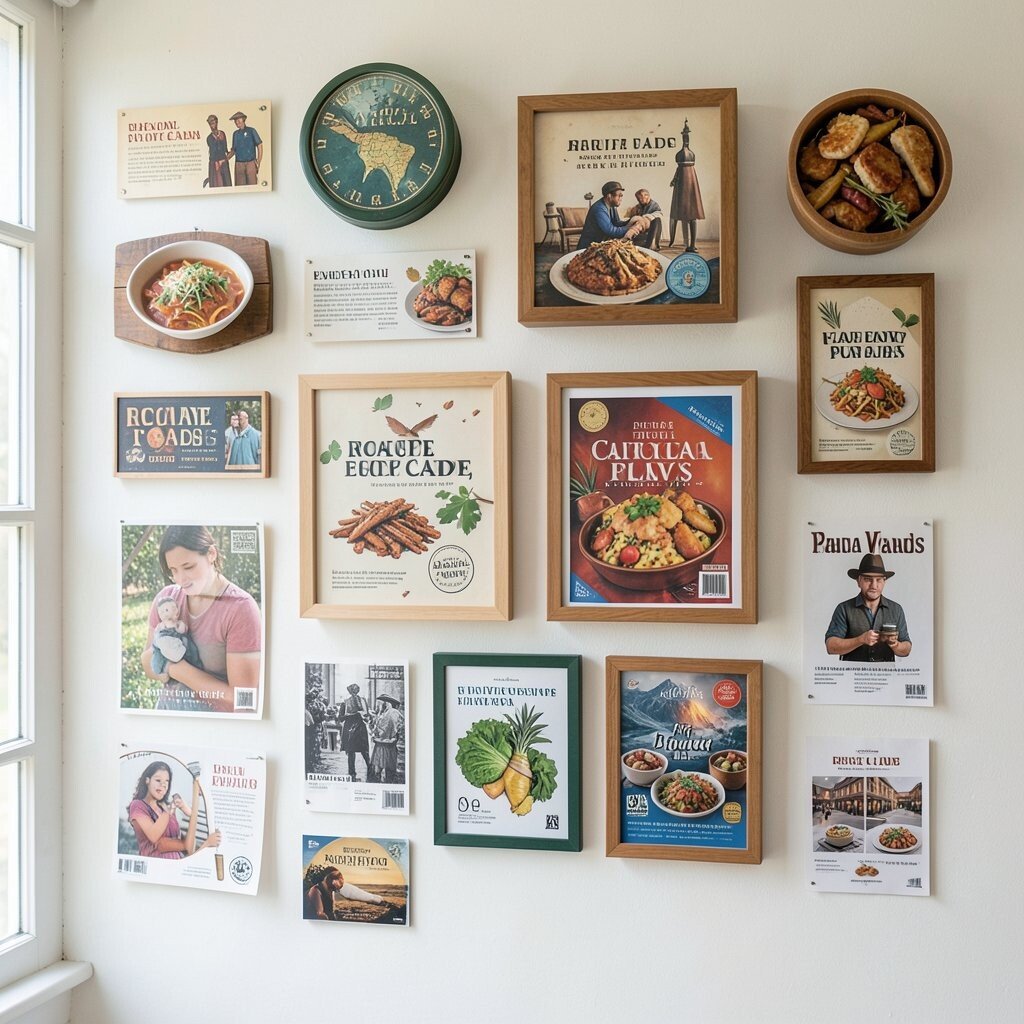
Hang recipe cards that match your travel food memories, even if they’re handwritten. The display feels warm and useful because it’s tied to taste, not just sight.
Print or write each card with the dish name and the place you found it, then slide cards into matching card holders. Mix photos of the food with small ingredient sketches so the wall looks like a friendly cookbook preview.
To keep it practical, use a consistent font style and keep card sizes similar. For cost control, print recipes at home and use a few affordable frames or clipboards instead of expensive artwork.
7. Vintage Frame Swap With Modern Photo Prints
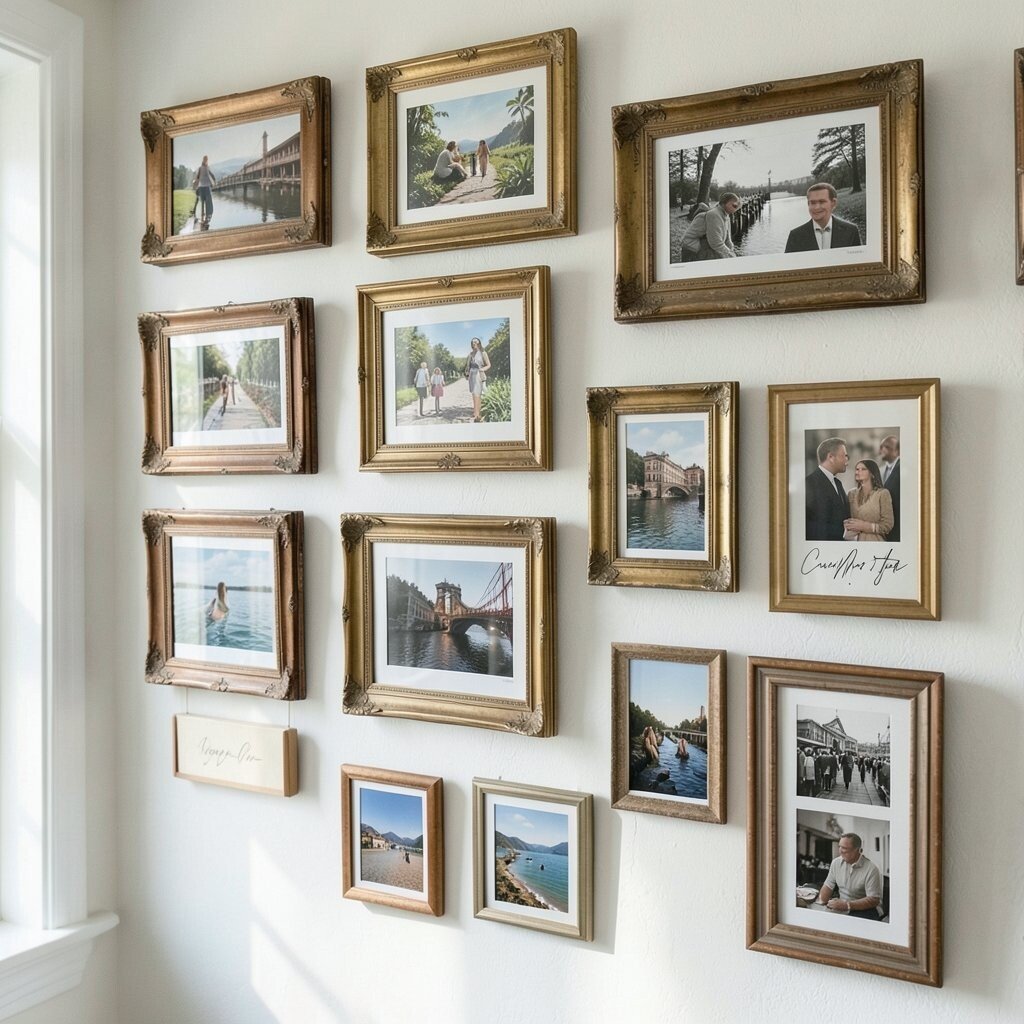
Hunt for mismatched vintage frames at flea markets and then pair them with modern photo prints. The contrast gives your souvenirs a gallery feel, not a clutter vibe.
Pick a unifying color, like cream, black, or muted gold, and paint every frame that needs it. That one step makes the whole wall look curated even when the frames came from different eras.
Keep the glass clean and use thin spacers so postcards don’t curl. If you enjoy current trends, consider a slightly wider mat border for that crisp, editorial look.
8. Coin and Medal Display With Brushstroke Background
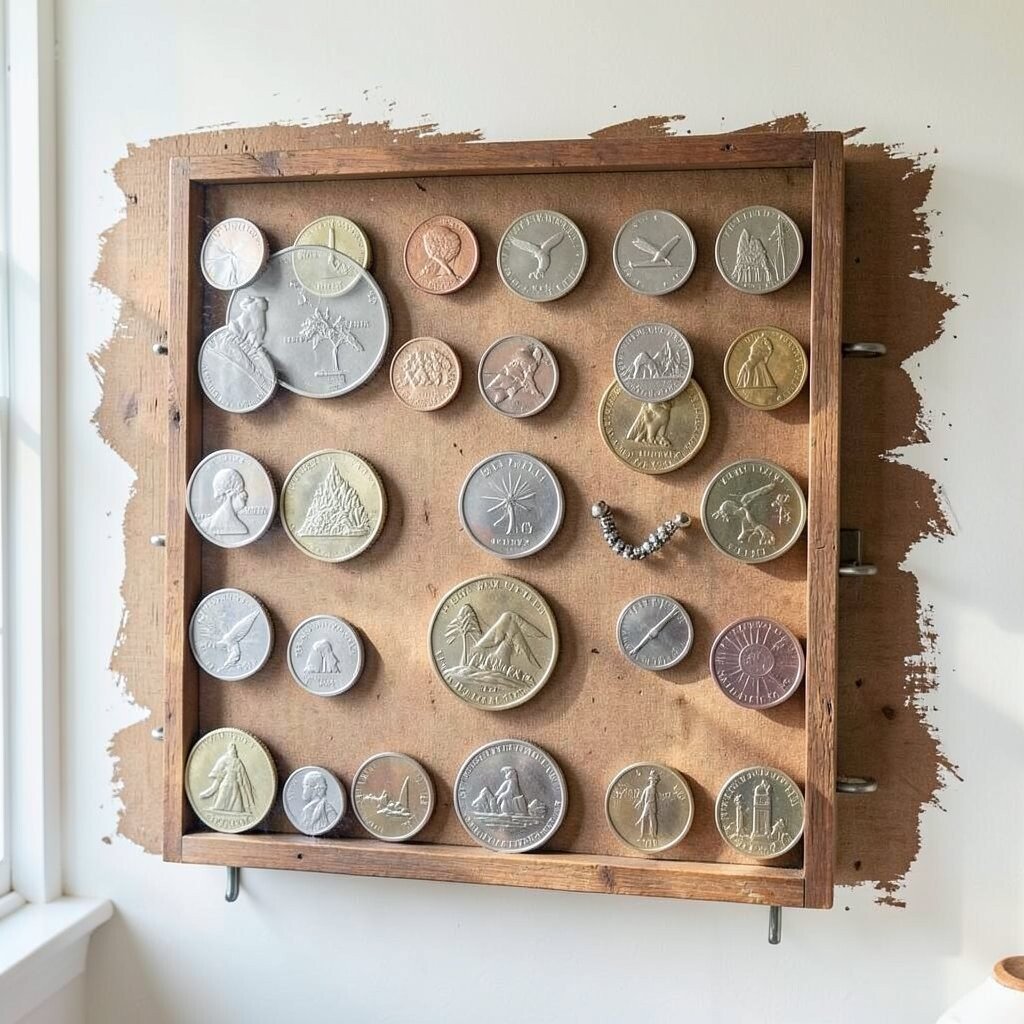
Mount coins, medals, or commemorative tokens in a grid and place them on a canvas with a bold brushstroke background. The shiny items catch light and add instant sparkle.
Choose a background color that matches your home style, like deep navy for drama or warm terracotta for cozy warmth. If the coins are precious, use clear removable holders so you can adjust them later without stress.
9. Lettered “Map Moments” Using Scrap Wood Frames

Turn small souvenirs into lettered map moments by combining wooden scraps with framed photos. Write the city or region in big friendly letters, then tuck a small souvenir beside the photo.
Keep it light by using very small frames and clustering them like a constellation. Arrange them around a center photo so your eyes have a starting point and a finishing point.
For personalization, add a tiny arrow drawn on the frame backing that shows where the photo was taken. If you’re watching cost, focus on one good wood frame style and make every other piece with thrift materials. This also makes the display feel like a real collection, not one-off decorations.
10. Polaroid-Style Clip Lines With Keychains and Tags
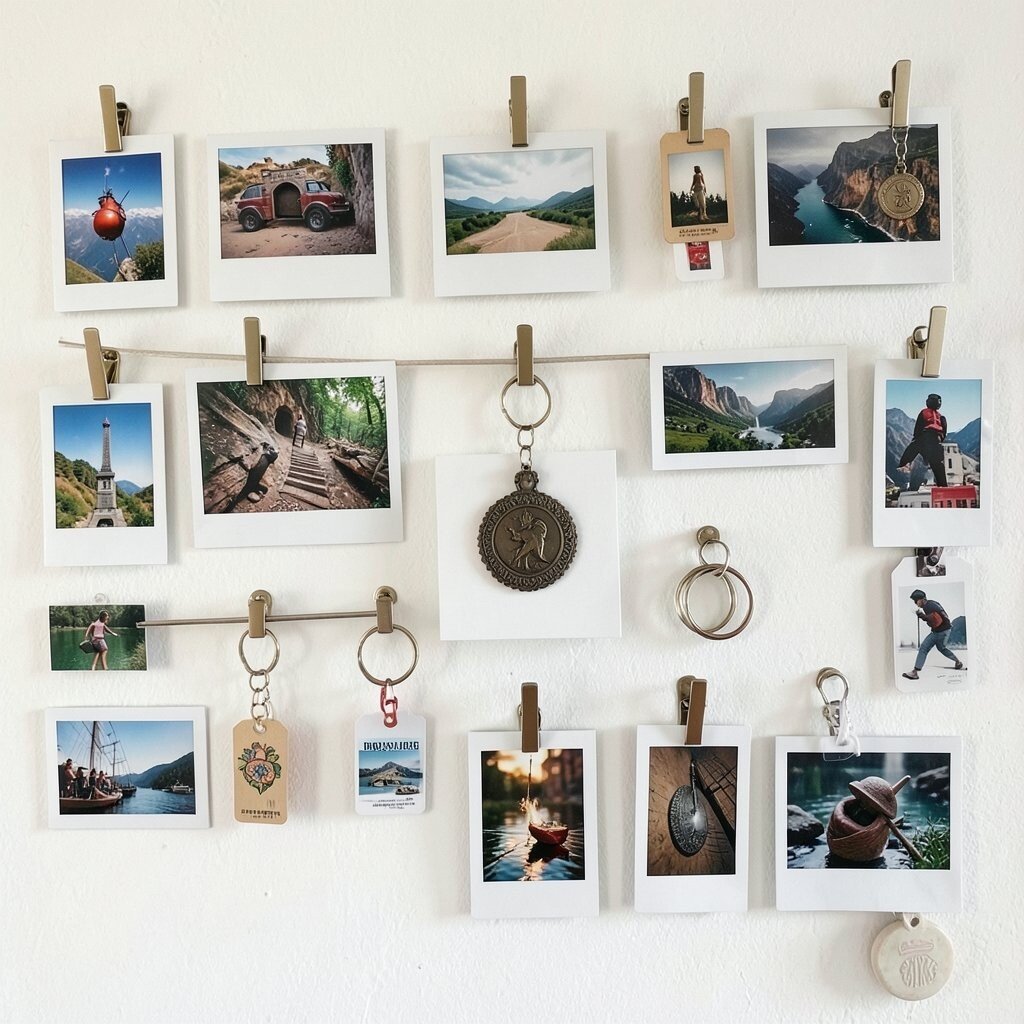
Hang a thin metal or string line and clip photos in polaroid style. Add keychains, luggage tags, or small metal charms right alongside so the souvenirs feel like part of the photo story.
Use mini clothespins or binder clips in a matching finish so it looks intentional. Keep each clip area balanced by placing heavier items near the line supports.
11. Book Spine Travel Highlights With Mini Titles
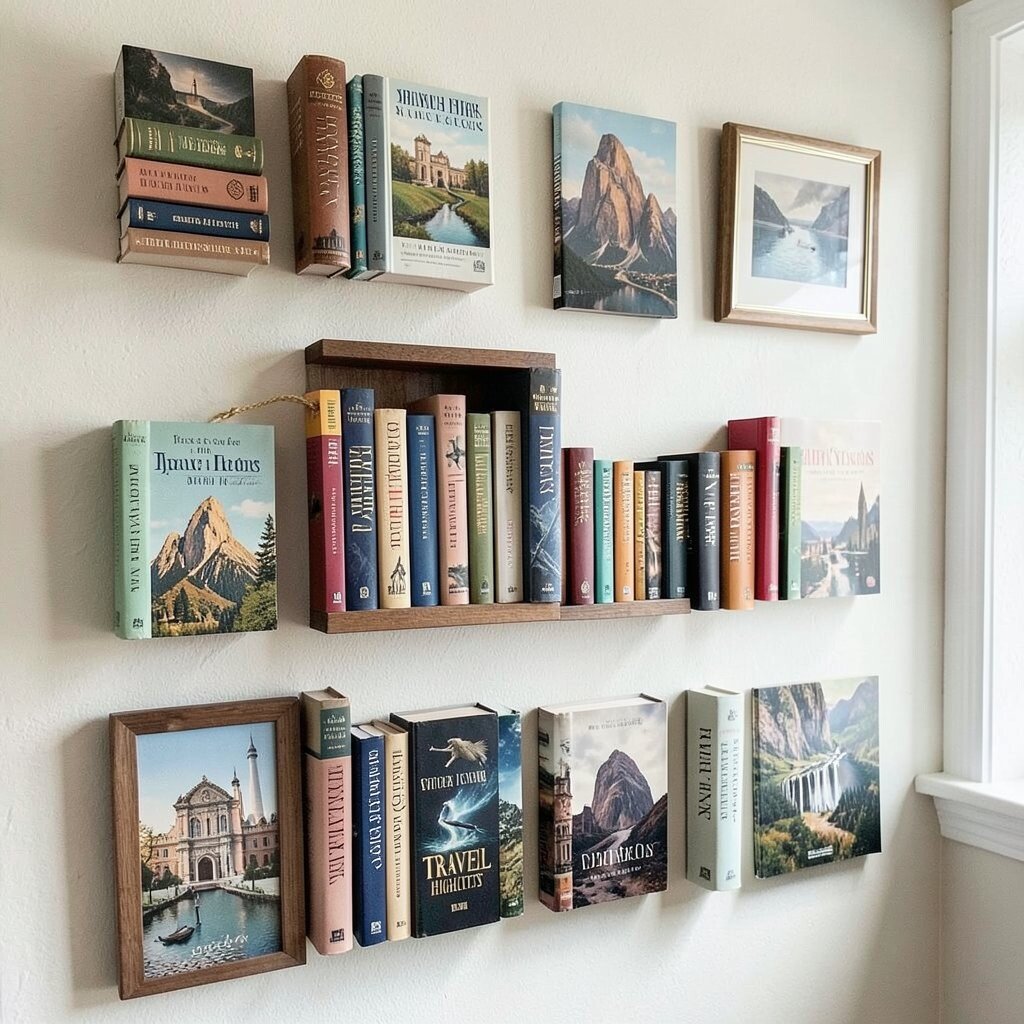
If you’ve kept travel books, guides, or photo albums, use their spines as part of the gallery. You can frame the spines like a “reading shelf” on the wall, with cover photos layered behind them.
Attach a small slip of paper under each spine with the trip highlight, like “First sunrise” or “Best street market.” This turns the wall into a gentle memory trigger every time you pass by.
For practical handling, remove any fragile pages from the books and just use photo copies or simple cuts. Keep costs down by using printables for covers and using inexpensive poster frames for the rest.
12. Ceramic Tile Squares With Hand-Drawn Destination Icons
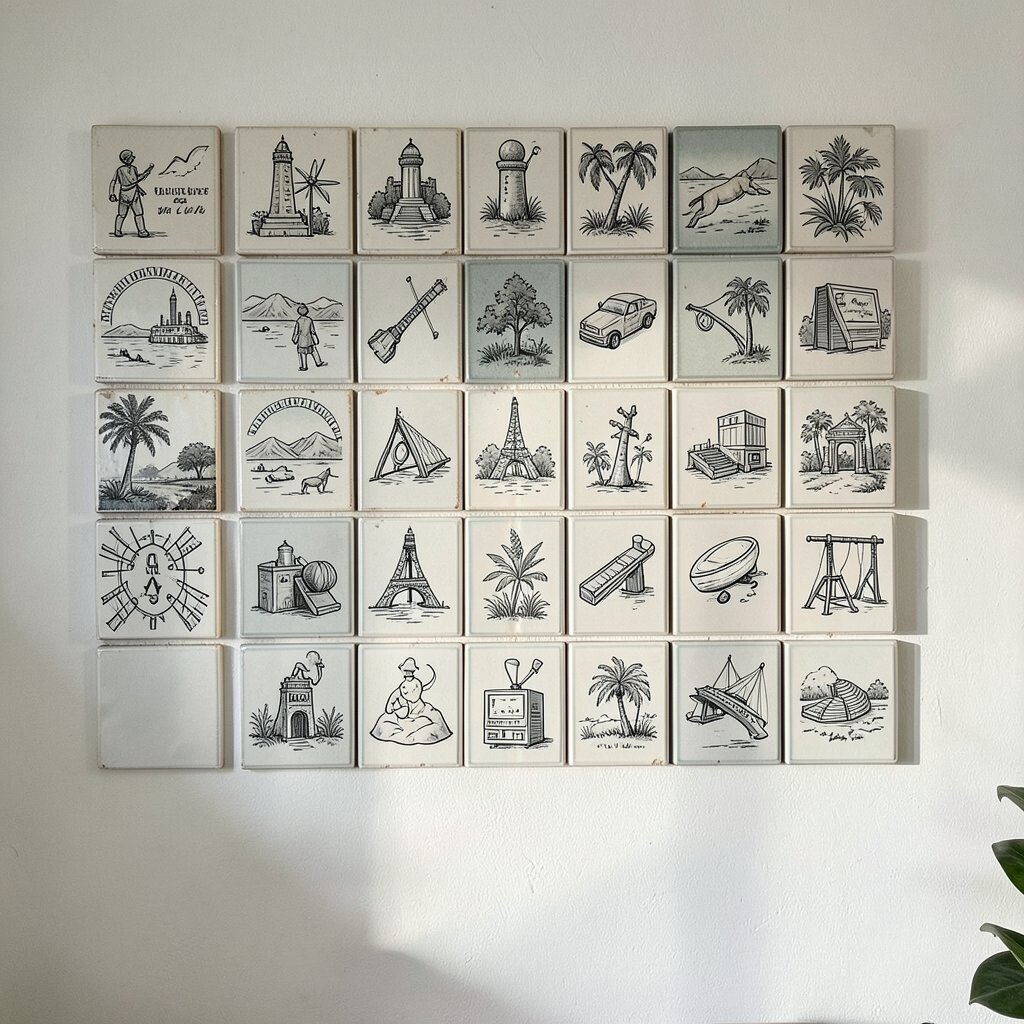
Collect small ceramic tiles or tile-like coasters and mount them in a grid. Add simple hand-drawn destination icons like a wave, mountain, or palm to connect each tile to a place.
Use a grout-style background or a neutral board behind the tiles so everything looks neatly placed. The benefit is that tiles hold up well and keep your souvenirs looking clean and fresh.
To keep it wearable with your style, paint only the icons and leave the tile texture visible. For personalization, add tiny dates under the icons using a paint pen and seal it so it lasts.
13. Instagram Photo Strip With “Backstage” Ticket Notes
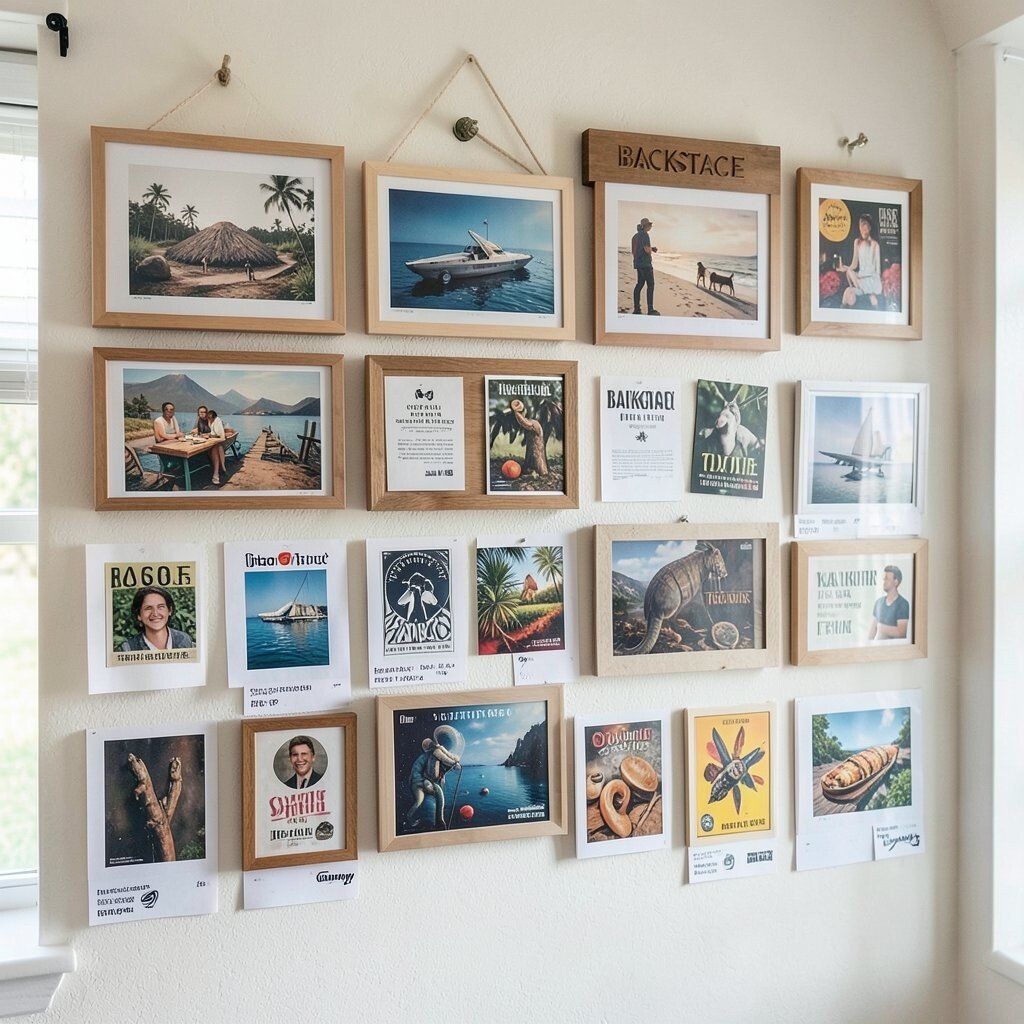
Print a thin photo strip, like a long row of mini pictures, and tuck small ticket notes behind certain photos. When the light hits the notes, it feels like secret backstage information.
Use a mix of close-up shots and wide scene shots so the strip has energy. You can also include a tiny map thumbnail near the start so the wall feels like a guided mini route.
Keep the strip readable by limiting the number of tiny items per section. For a current trend feel, use black-and-white photos with one accent color from a souvenir, like teal ink or a red stamp. This helps the wall look stylish instead of busy.
14. Fabric Swatches and Embroidered Travel Patches
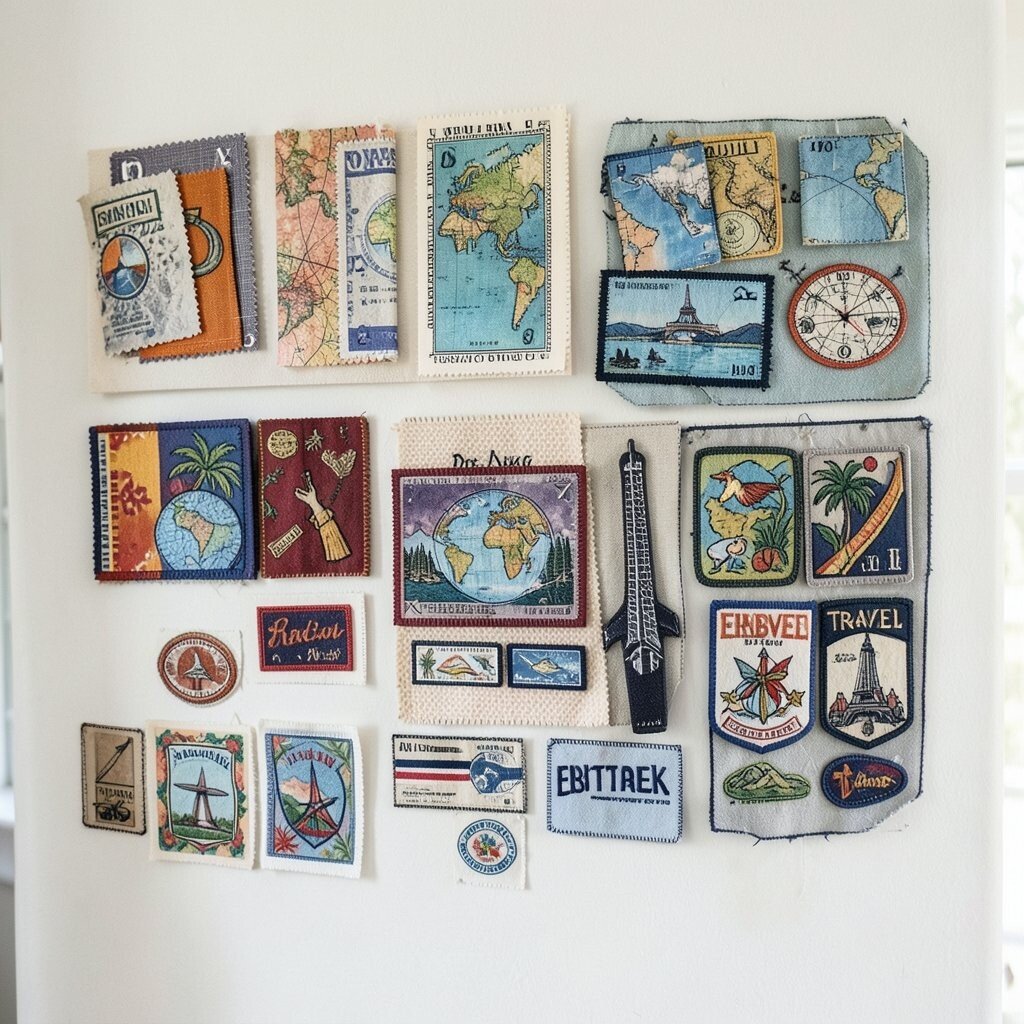
Frame fabric swatches you bought abroad, like scarf pieces or textile samples, and add embroidered patches where they match. The wall looks soft and rich, like you’re hanging tiny pieces of culture.
Stitch or pin the fabric into archival backing so it stays flat over time. Pair each swatch with a small photo of the market stall or street where you found it.
If you’re aiming for practical display, use UV-protective sleeves or glass to reduce fading. Personalize the set by writing one sentence about how the fabric felt in your hands and the reason you loved it.
15. Framed “Souvenir Weather” Letters With Stamps
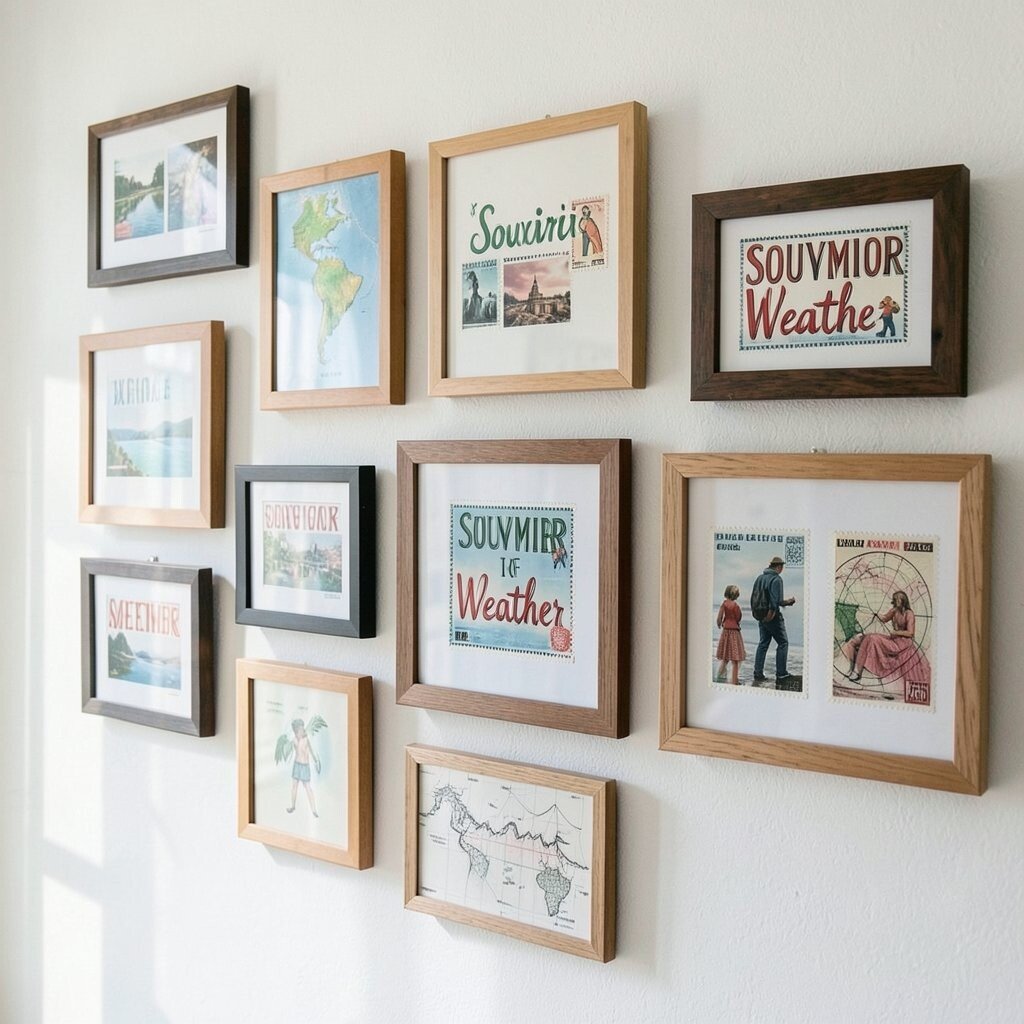
Turn letters, postcards, and stamped envelopes into a themed display about everyday weather. Place each piece in a frame with a simple mini line of handwriting that matches the season or forecast you remember.
Use stamps as visual accents by placing them near corners or along a small border. This gives the whole gallery a consistent rhythm and makes each piece look placed, not randomly collected.
For cost considerations, use print shop copies for any originals you’d rather not risk. Choose a matching frame finish and keep the layout airy so the wall stays elegant even when it holds many small items.
16. The “Museum Labels” Approach With Clear Acrylic Frames
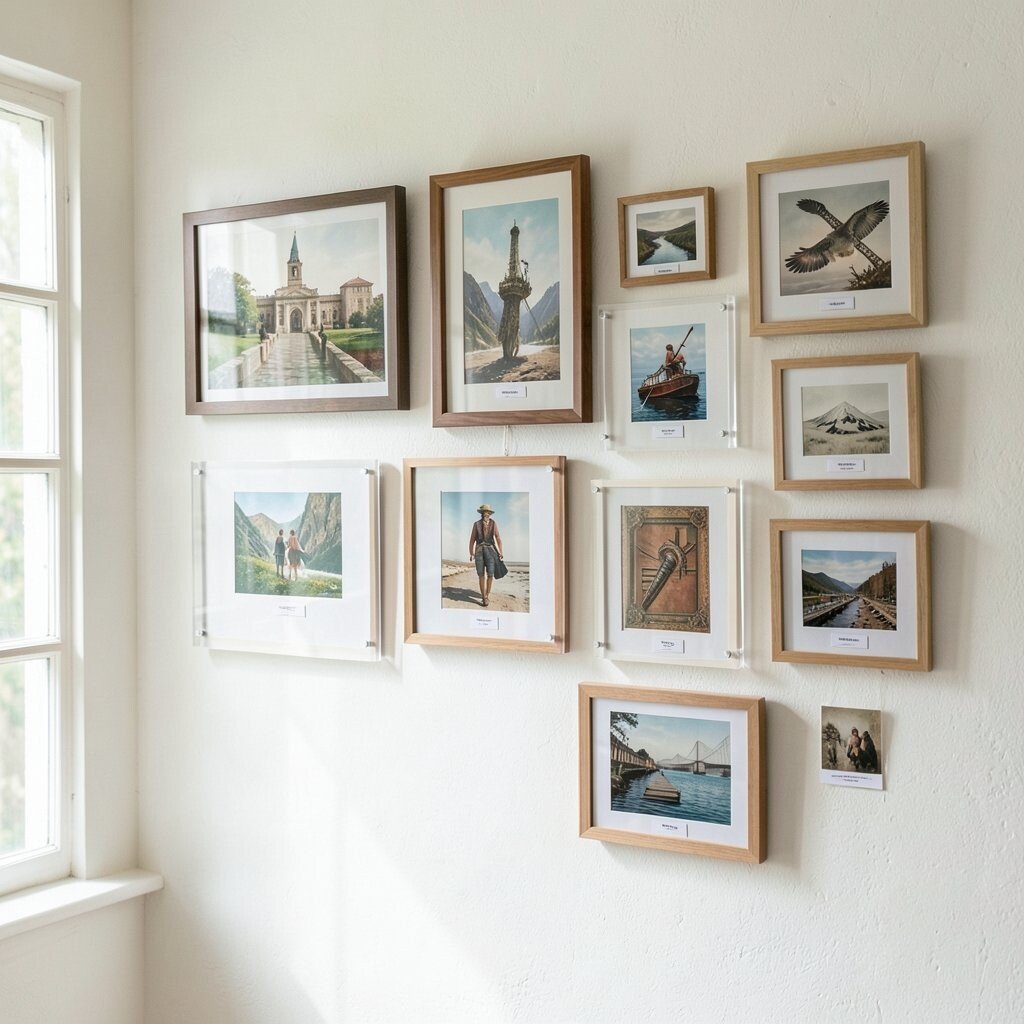
Style your travel souvenirs like mini museum exhibits using clear acrylic frames and crisp label cards. The clean look makes tiny items feel curated, not tossed in a drawer.
Place labels beside each object, but keep them short and handwritten for warmth. Use clear tape or museum putty to secure items gently so you can swap things as your collection grows.
To personalize, add a small drawing of what you remember most, like a skyline silhouette or a snack wrapper pattern. If you want a modern trend vibe, use consistent typography and leave generous margins for a gallery-lounge feel. Consider starting with a small cluster first, so you can test the look before buying more frames.