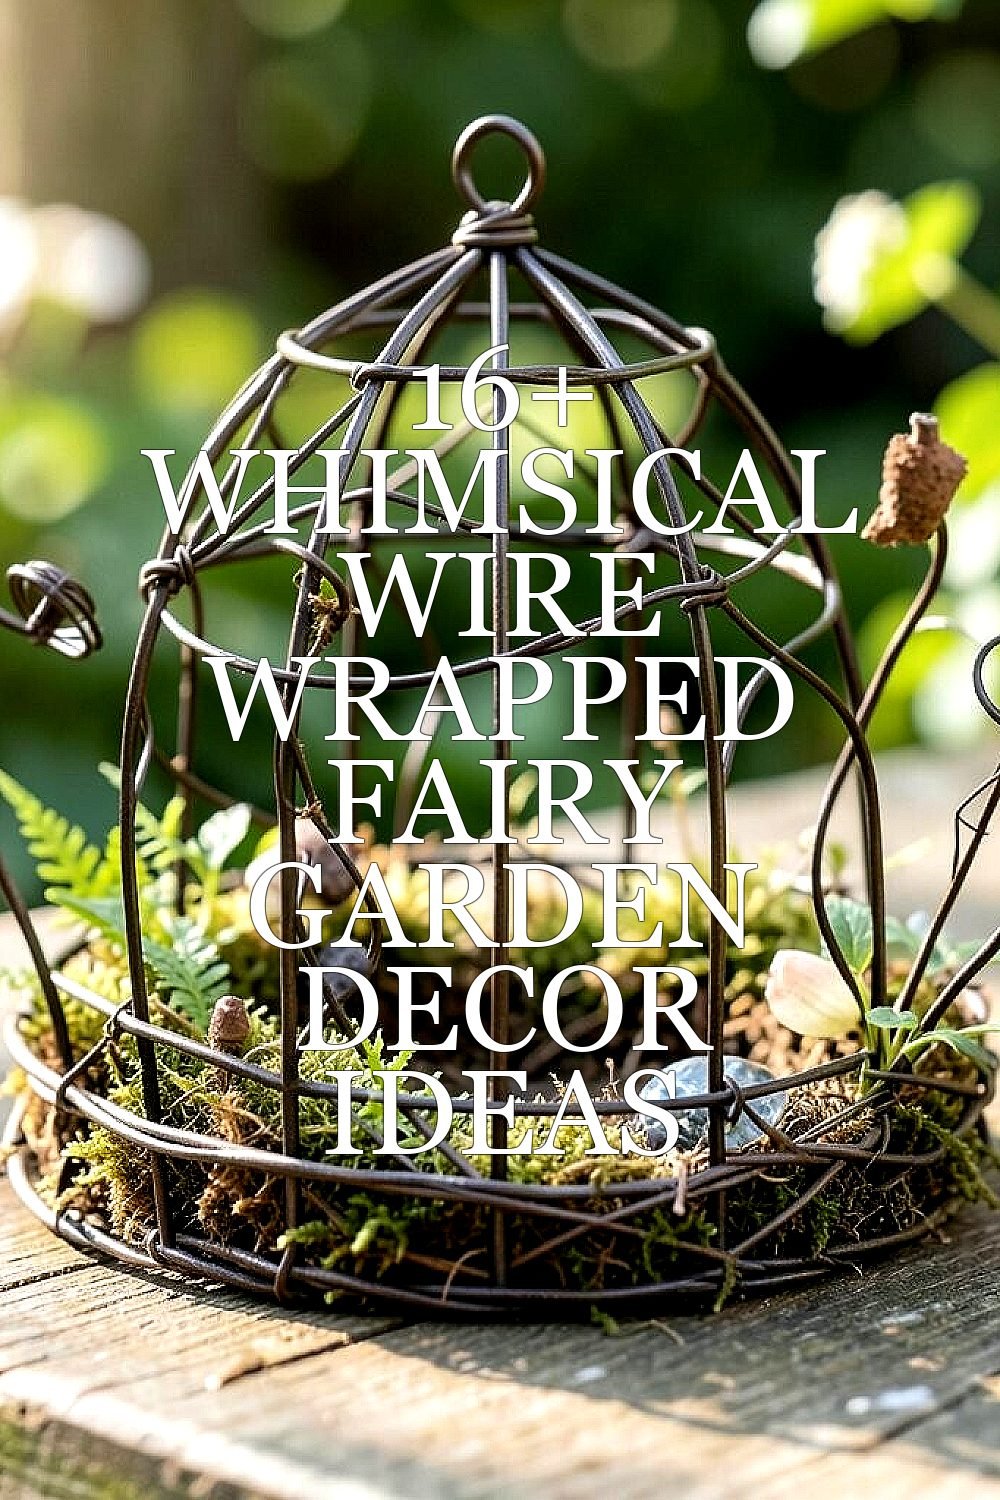
Small details can make a yard feel like a storybook. A little wire work goes a long way for magical charm.
These ideas show how simple materials can create sweet, whimsical accents. You’ll find practical ways to personalize each piece so it fits your space perfectly.
1. Cloud-Crowned Wire Fairy Lanterns

Wrap thin copper or aluminum wire into a lantern cage, then add a tiny wire “roof” that looks like a fluffy cloud. Finish with a small bead for a glowing dot so it feels like fairies are guiding the way.
These lanterns look great near pathways and entry steps, and the open design keeps them lightweight. Use waterproof clear sealant if you plan to leave them outside, and gently twist the hanger loop so it sits steady.
2. Nestle-a-Bird Wire Perches for Tiny Companions
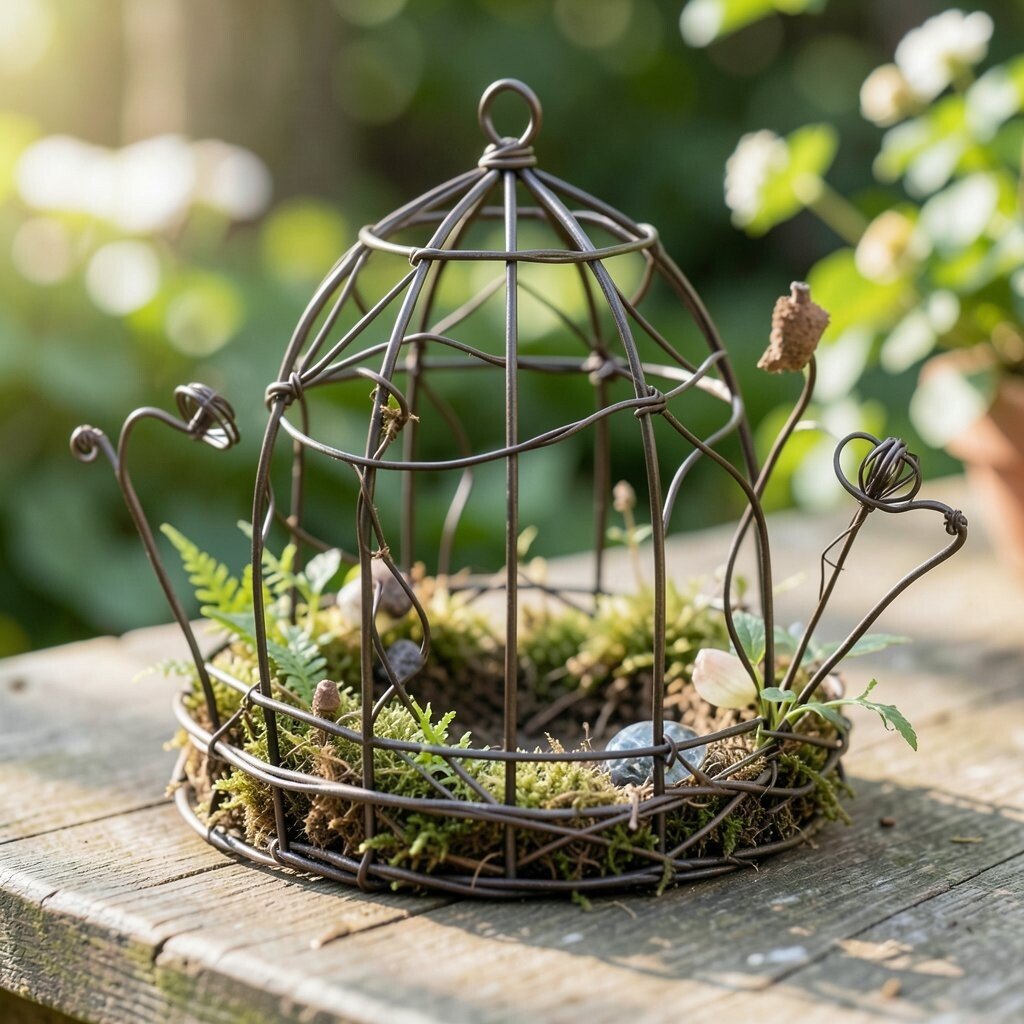
Bend wire into a delicate branch shape, then twist in two curved “feet” so it resembles a perch. Add a small wrapped bird body using contrasting beads for eyes.
Place the perch beside a miniature mushroom or near a mossy rock so it looks like the scene has residents. For durability, smooth the wire ends and add a base loop that can be anchored in soil or gravel.
If you enjoy seasonal swaps, choose bead colors that match your garden palette. This piece is budget-friendly since a single spool of wire can make several birds and branches.
3. Teacup and Spoon Mini Wind Chimes

Twist wire into a small frame shaped like a teacup, then wrap a tiny spoon handle beneath it. Attach three short wire strands with beads that catch light when they move.
Hang it from a fairy garden stake so a light breeze creates gentle movement. The best part is how unique it feels because you can pick bead shades like sea glass, rose gold, or starry blue.
To keep it from getting tangled, space the bead strands evenly and trim them to different lengths. A clear coat helps resist weather, and you can store the chimes quickly if winters are harsh.
4. Wire Wrapped Fairy Doorframes with Shimmer Edges
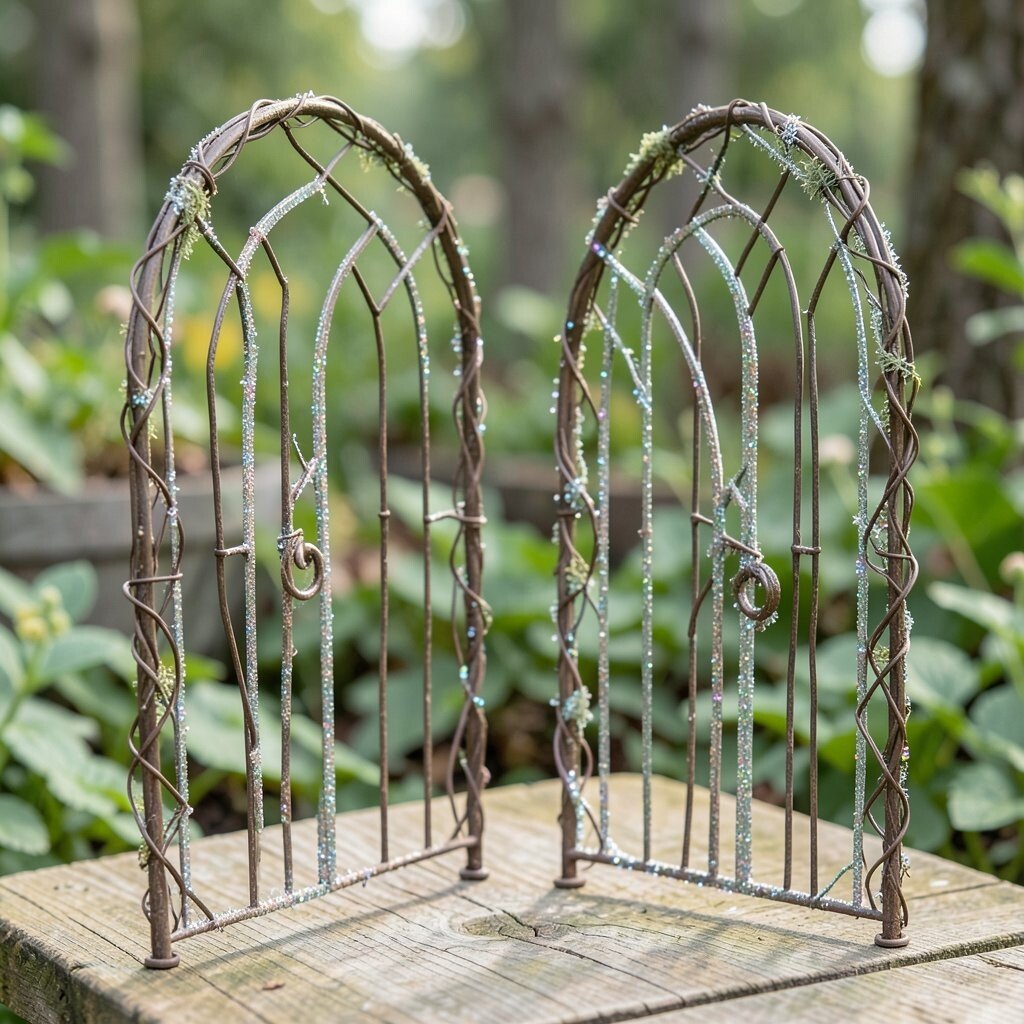
Create a doorframe from sturdy craft wire, then wrap thin wire around the sides like a ribbon border. Add a small “doorknob” bead at the height you want the door to feel inviting.
These frames look adorable on plant stakes, miniature houses, or even a flat rock painted like wood. Use a slightly thicker wire for stability, and keep the edges rounded so they won’t snag fingers or fabric.
5. Moonlit Spiral Path Markers

Bend wire into short spirals that resemble tiny moon halos, then flatten the back with gentle pressure. Dot the center with a bead that looks like a soft glow.
Set markers along your fairy path to guide the eye through the garden vignette. They’re useful because they also help define where one “scene” ends and another begins.
For personalization, vary the bead sizes and metal tones so some moons feel bright while others feel subtle. Using flat-base spirals can reduce wobbling in soil.
6. Acorn Cap Hanging Planter Charms
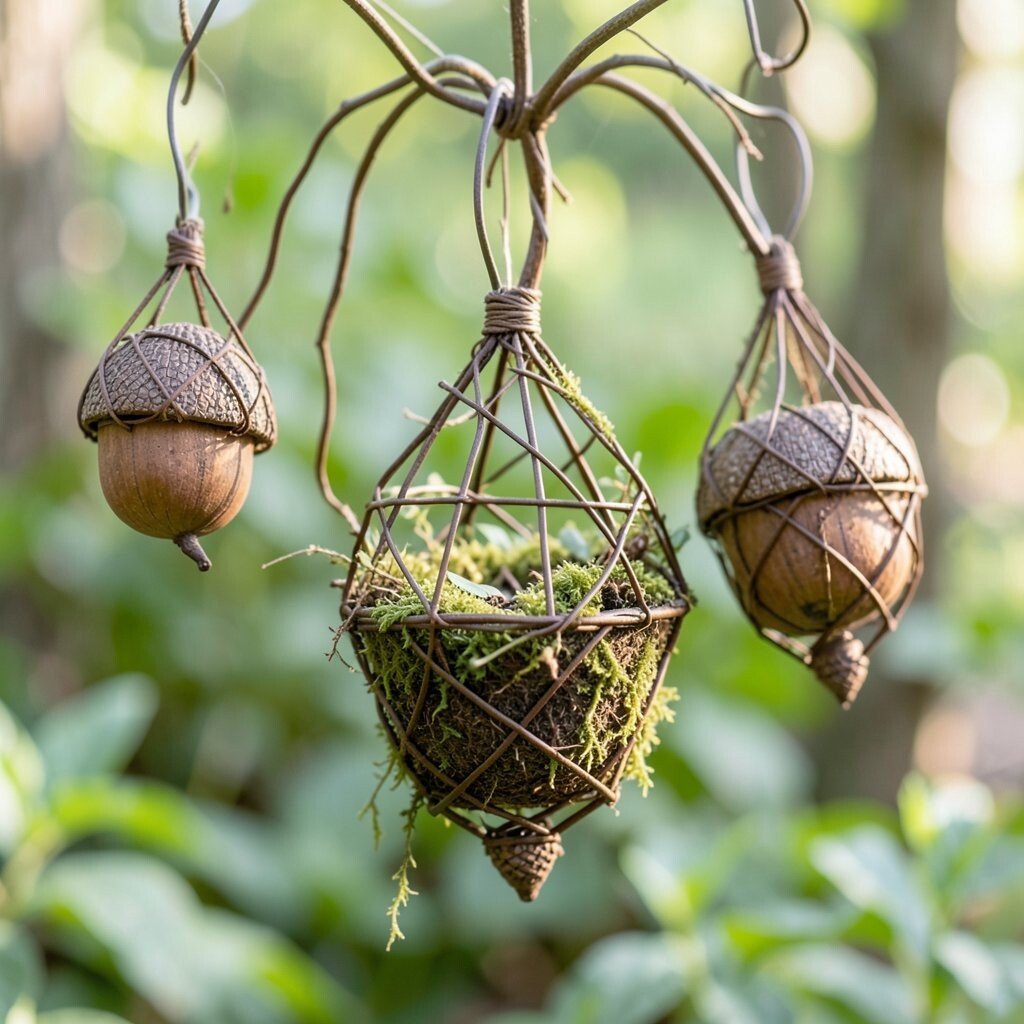
Wrap wire into a small cap shape with ridged twists, then add a loop so you can hang it from a planter hook. Glue or wrap a tiny “stem” piece at the top and finish with a cap bead that resembles an acorn.
Hang these charms near your fairy garden so they catch droplets and sparkle after rain. They’re easy to reuse across planters and window boxes, making them practical for gardeners who like to change layouts.
Choose warm brown and gold beads for a fall vibe, or switch to green and silver for a spring look. If you’re working on a tight budget, repurpose old bead strands from broken jewelry.
7. Tiny Dragonfly Wire Suncatchers
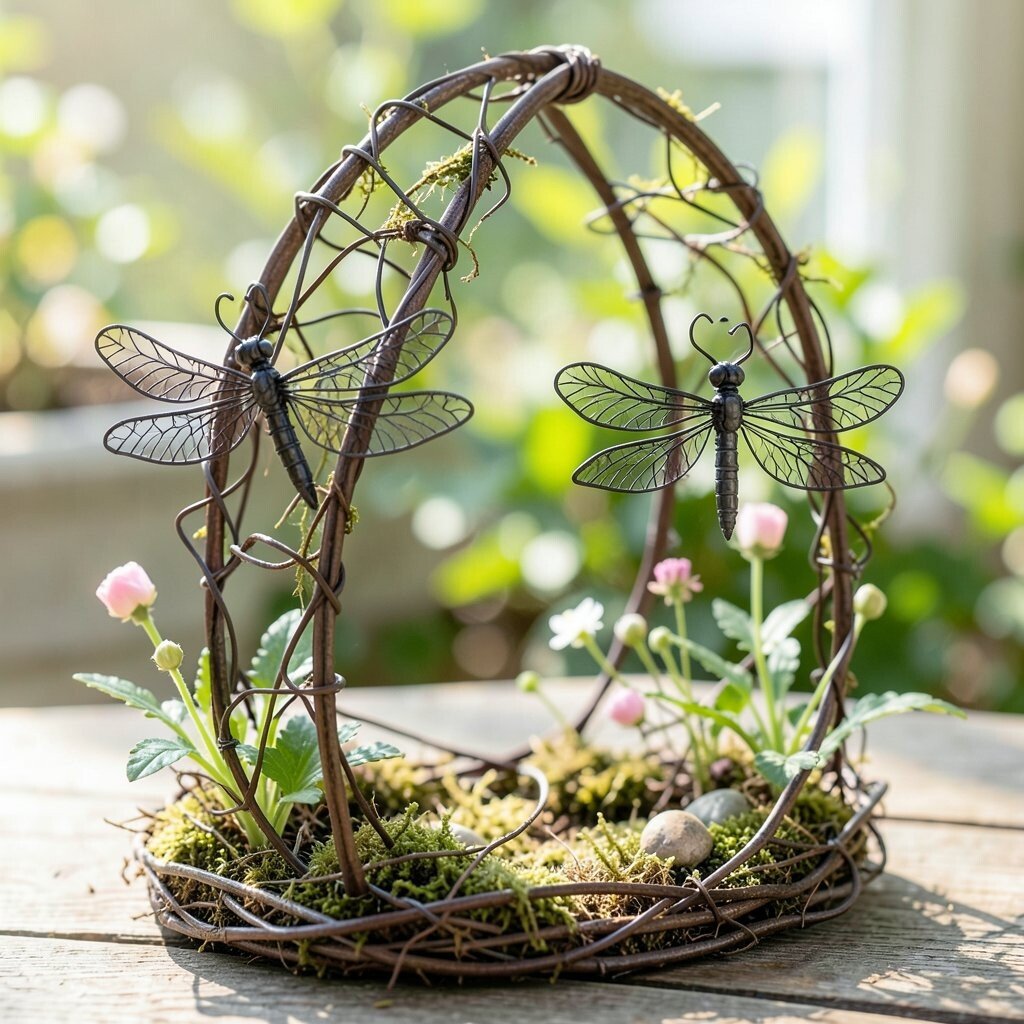
Create dragonfly wings by making two wire loops, then add a body twist in the center. Wrap smaller wire segments for the tail and use translucent beads for a wing-like glow.
Attach the dragonfly to a garden stake or hang it from a branch so sunlight passes through it. This decor stands out because wire creates crisp lines, and beads add a soft, moving shine.
Keep wings from bending by using slightly thicker wire for the main loops. A quick test outdoors will help you see how it catches light from different angles.
8. Rosebud Wire Vines for Blank Spots
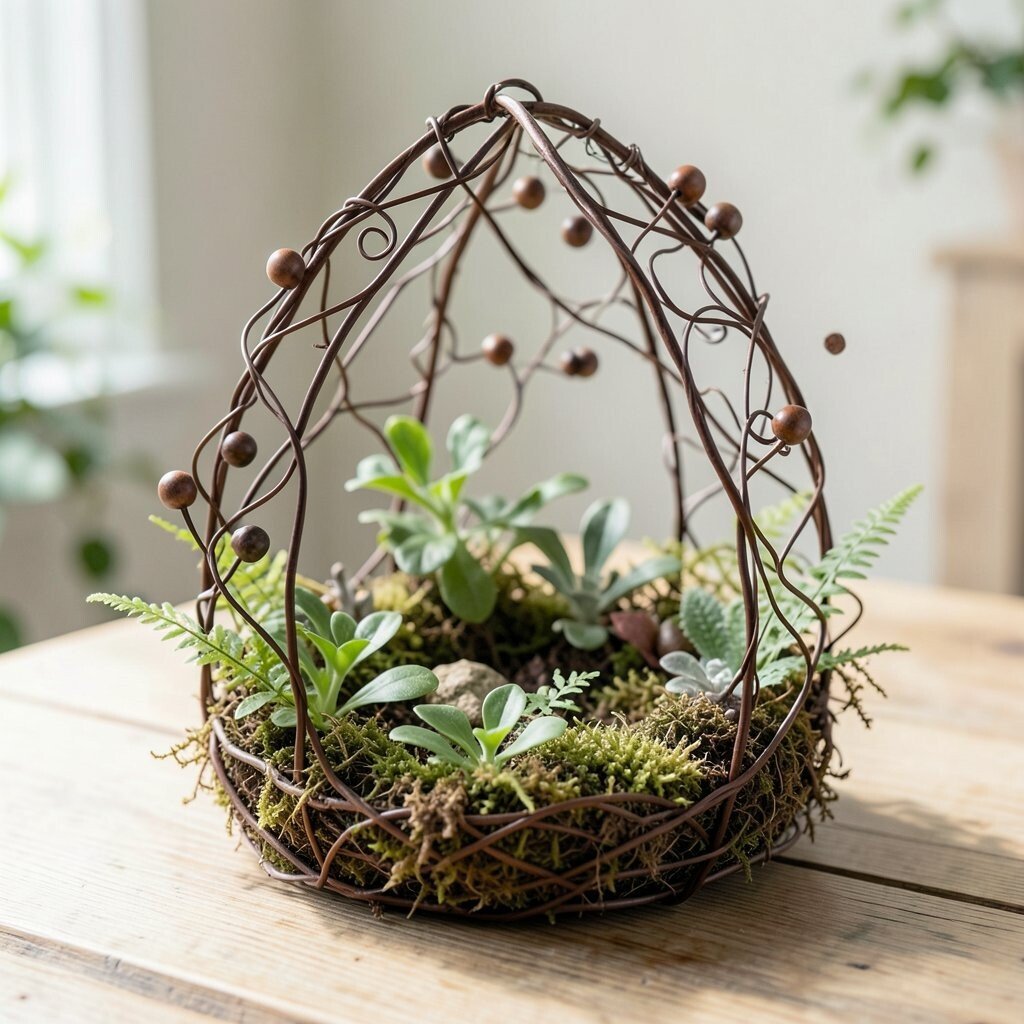
Wrap wire into a gentle curling vine, then form small rosebuds using tight coils. Add mini leaf loops using flatter wire so the flowers look airy, not bulky.
Use these vines to fill empty corners around pots, planters, or the base of a larger fairy sculpture. The benefit is that the vine can be shaped to fit awkward spaces, which makes it perfect for small yards.
9. Fairy Star Stake Toppers

Bend wire into a simple five-point star, then wrap additional wire around the points for a raised, twinkly look. Thread a bead at the center so it resembles a bright spark.
Push the star onto a stake and pair it with miniature lanterns or painted stepping stones. Since the silhouette is bold, it stays noticeable even when your plants grow taller.
For cost control, use one star shape and make several variations by swapping bead color and wire thickness. This keeps your craft consistent while still feeling custom.
10. Waterfall Wire Rill with Bead-Trail Flow

Twist wire into a short “rill” that can sit over a planter edge or against a small rock. Add bead strands along the wire so they look like falling water.
Place the piece near mossy textures, tiny bridges, or a small pond bowl for a natural scene. It’s unique because the bead line creates a flowing effect even without electronics.
To prevent beads from sliding off, secure them by wrapping wire loops at intervals. A water-safe sealant keeps the finish looking fresh, especially in wet climates.
11. Wire Wrapped Mushroom Caps with Speckled Beads
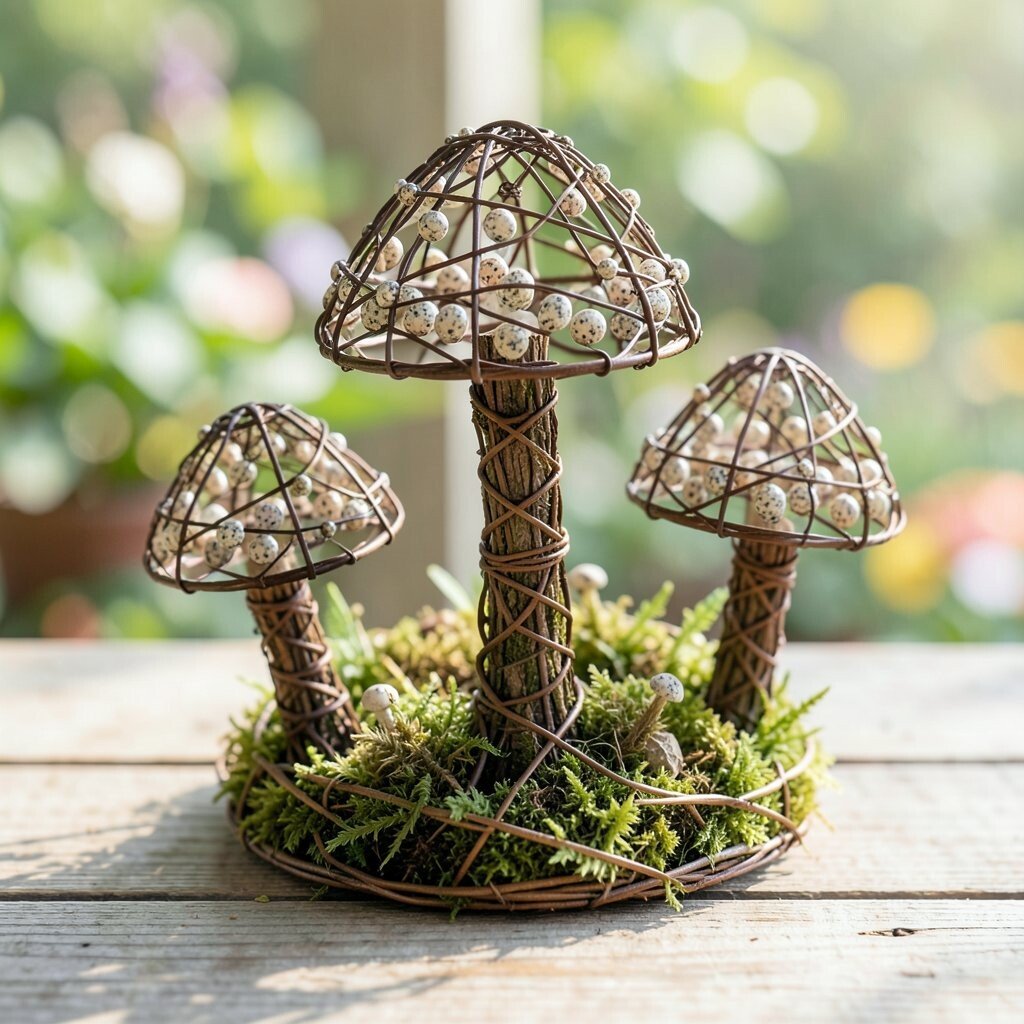
Form a mushroom cap by curving wire into a dome, then add tiny bead “speckles” across it. Use a second wire band below the cap to mimic the underside edge.
Set the mushroom near your fairy pathway so it becomes a cozy stop in the story. This decor is helpful because it adds height and texture without needing a lot of space.
Personalize by choosing bead colors that match your miniature theme, such as white-and-red for classic charm or muted pastels for modern whimsy. If you’re working with limited materials, a few beads and one wire dome can still create a full look.
Keep the wire tension firm so the cap holds its shape when exposed to outdoor air. A smooth finish also makes it safer to place among kids and pets.
12. Enchanted Clockwork Gears on Stakes
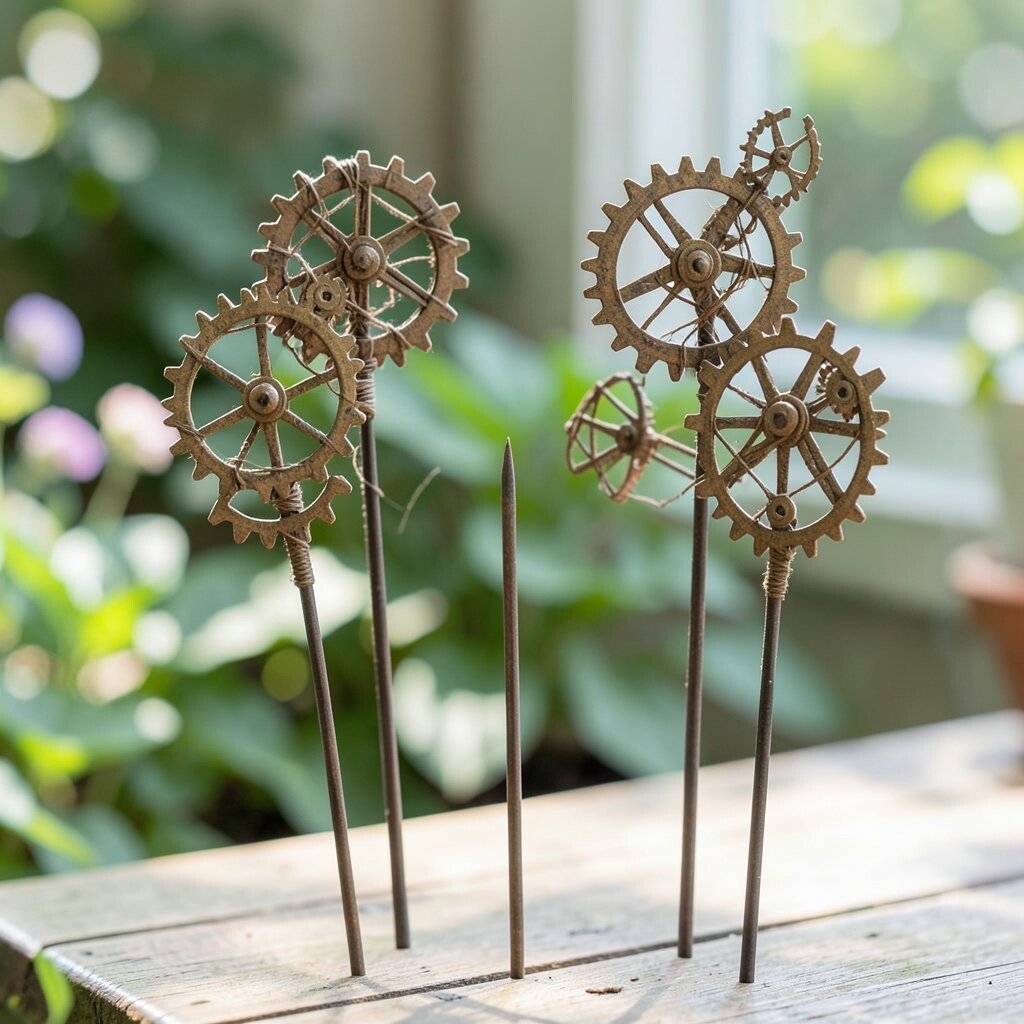
Use craft wire to make gear-like circles, then add tiny spokes and a bead “center” that looks like a clock face. Leave small wire tails to suggest movement without needing any moving parts.
This style fits current garden trends that lean toward steampunk-lite, where whimsical nature meets metal art. Pair the gears with neutral stones and dark green moss for a balanced, curated look.
For practicality, attach the gear to a sturdy stake so it won’t wobble as the garden shifts. If you want to control cost, reuse bottle caps or old metal rings as the base shape and wrap wire only on the visible areas.
13. Wire Wrapped Butterfly Wing Frames for Any Plant
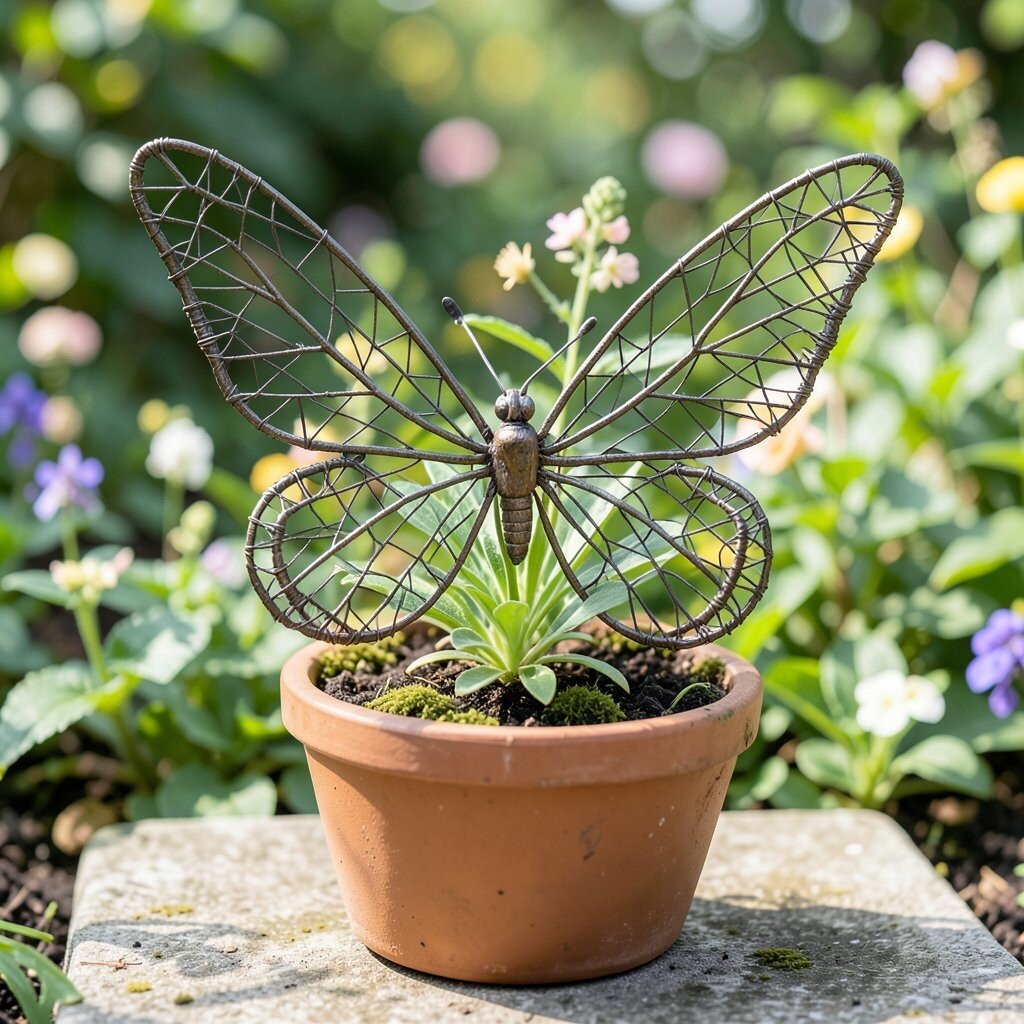
Shape two symmetrical wing outlines from wire, then bridge them with a small body twist. Thread tiny beads along the wings to create a speckled effect that looks like scales.
Gently tuck these frames into planters, or tie them to a trellis so they float above leaves. The benefit is that the butterfly can be moved easily to highlight new blooms across the season.
Personalize with bead gradients, such as soft pink to lavender, for a gentle modern look. Choose weather-tolerant beads and consider sealing the wire if you live where rain is frequent.
14. Fairy Swing Bridges from Twisted Wire Loops
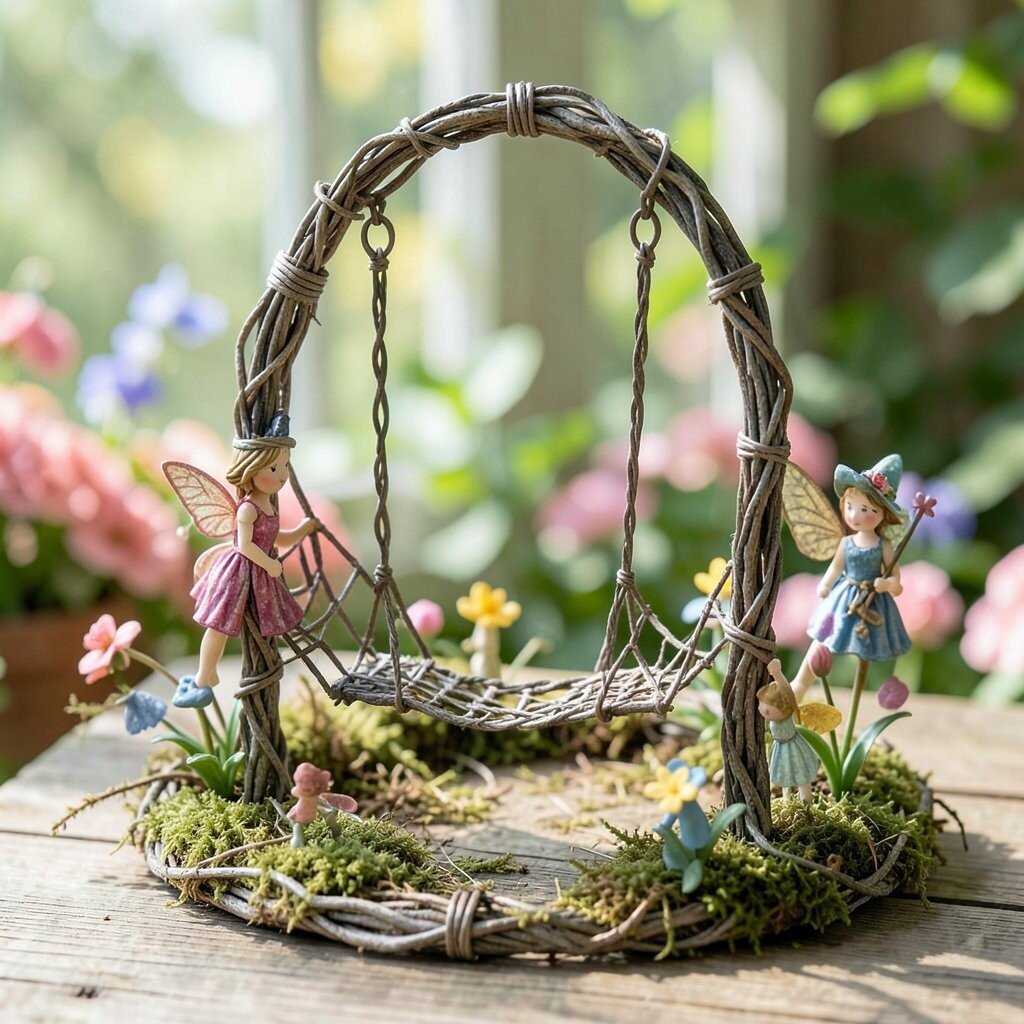
Create two matching loop supports, then connect them with shorter wire bars that mimic a tiny bridge or swing frame. Add two “chains” made of thin wire and top them with bead seats.
Place this near a small bench stone, a miniature hammock, or a plant cup so it feels like a functional place for your characters. It looks whimsical because the open wire design leaves space for light and shadows.
For better stability, press the loop supports into the ground and add a second anchor wire if your soil is loose. Keep the chains short enough that they won’t snag when you move the garden around.
15. Wire Wrapped Pearl Raindrops on a Garden Hook
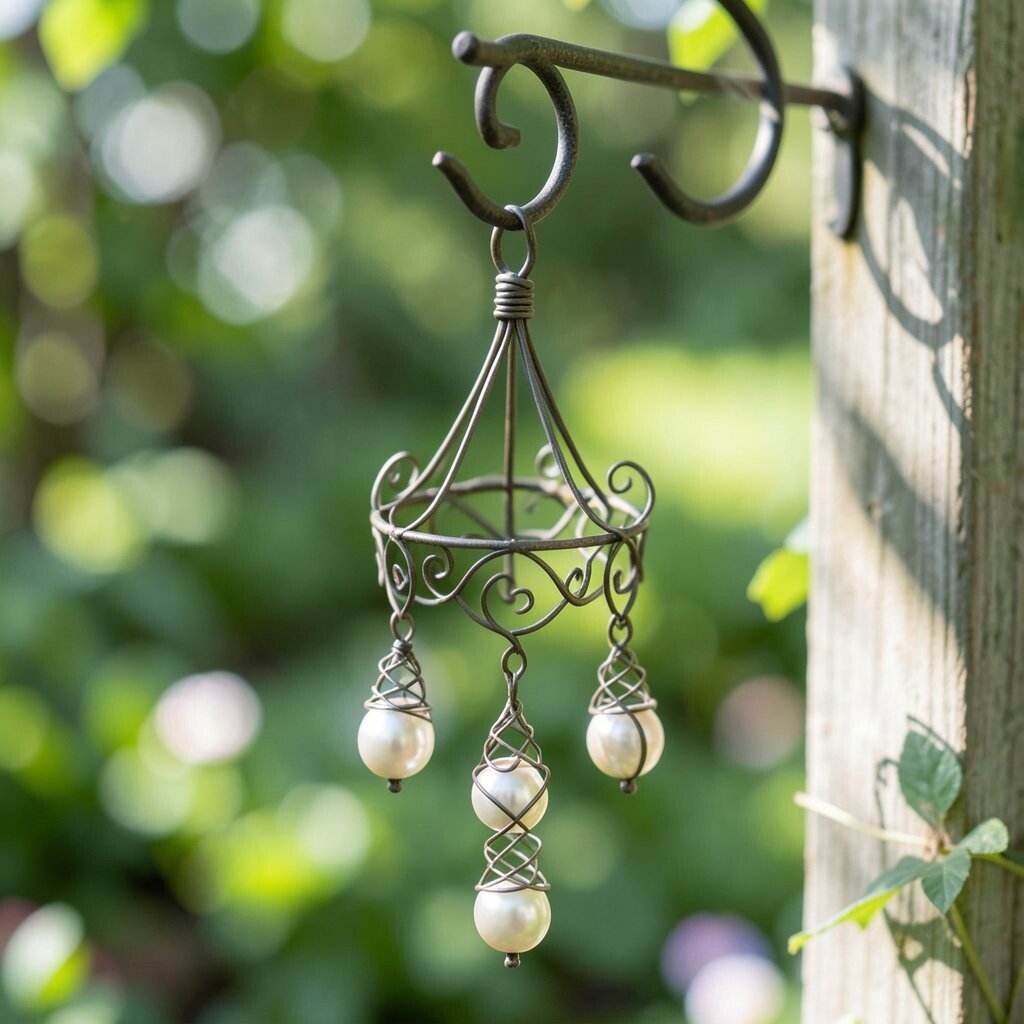
Wrap wire into a hook-shaped hanger, then create a set of teardrop loops using thin wire. Thread beads into each drop so they dangle like raindrops catching morning light.
Hang it on a fence post, pot handle, or fairy gate where it can sway gently. This type of decor is unique because the drops change how the yard looks as the sun shifts during the day.
To personalize, mix pearl-like beads with clear glass beads for an extra sparkle effect. If you’re aiming for a simple budget, use fewer drops and make each one slightly larger for impact.
Seal metal if needed, but keep bead holes dry so nothing becomes cloudy over time. A light spray and proper drying will help your finish stay clean.
16. Little Lighthouse Wire Towers with Faux Lantern Light
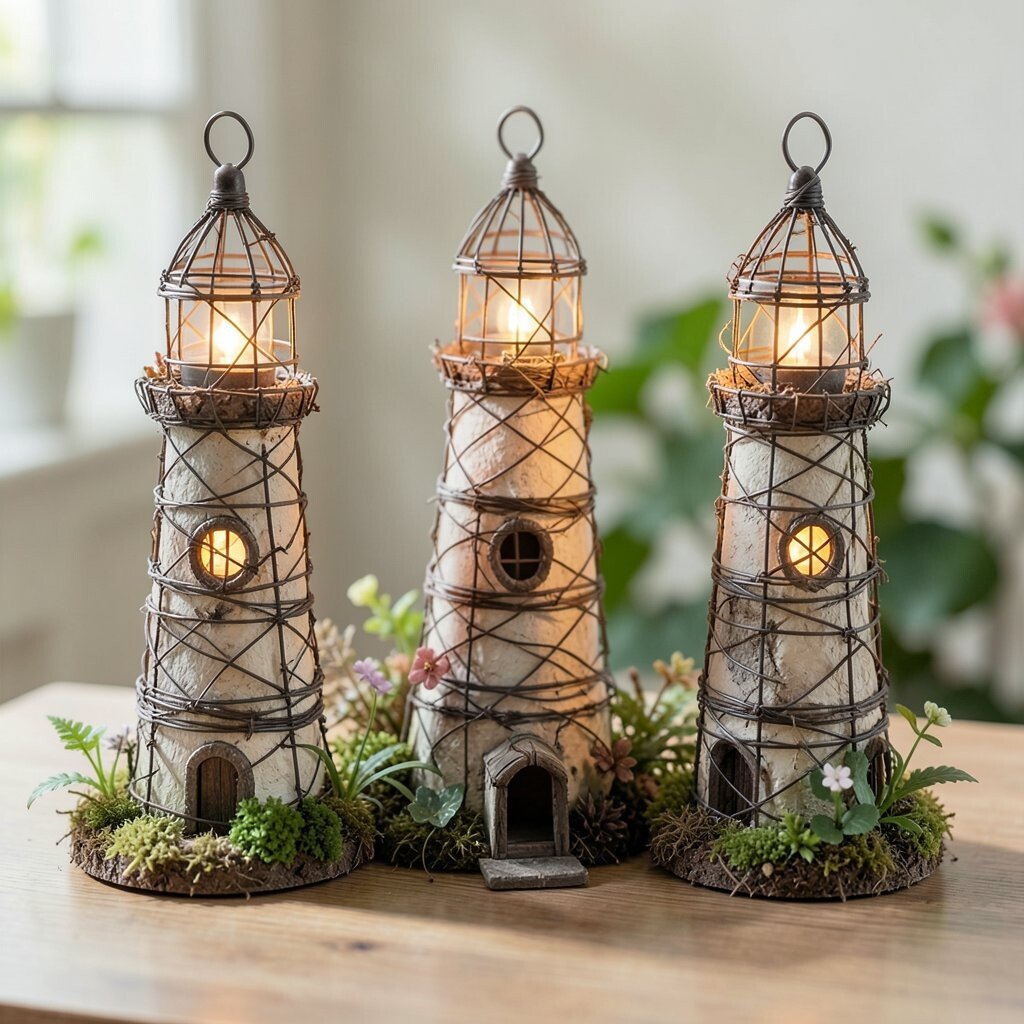
Build a mini lighthouse using wire rings for the tower, then add a small cage railing around the top. Place a bead or tiny LED tea light inside the lantern cage for a gentle glow effect.
Set the tower by a miniature “shore” made from pebbles or blue glass stones. It’s beneficial because the tower creates a focal point, helping your fairy garden look organized and intentional.
Choose colors based on current garden trends, like coastal blue and seafoam green, or go classic with warm whites and gold accents. Use thicker wire for the base rings so the tower doesn’t bend when you handle it.
17. Wire Wrapped Mermaid Tail Edges for Curvy Pots
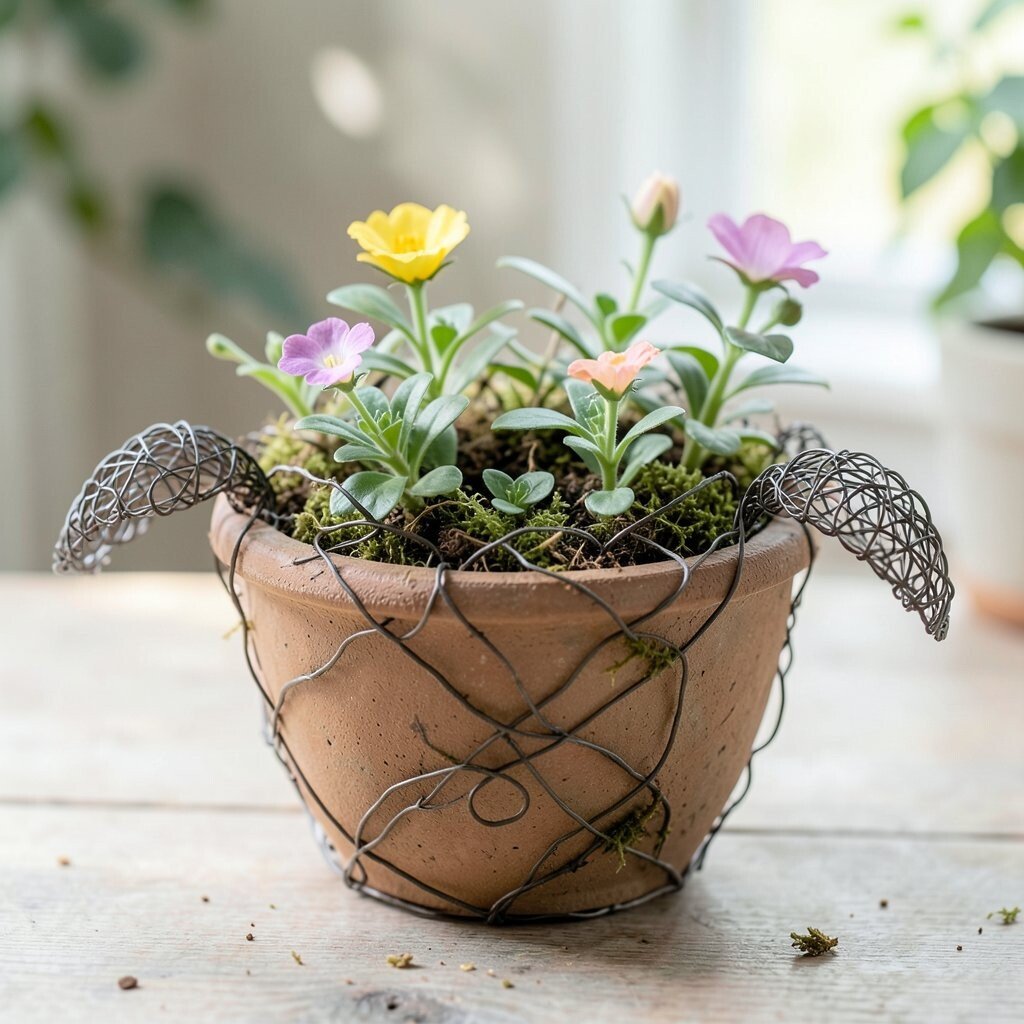
Wrap wire into a flowing tail shape that curls along the rim of a planter, then add small fin-like bends. Thread a few shimmering beads near the fin to mimic scale highlights.
This decor is perfect when you want to personalize store-bought planters, especially those with plain rims. The uniqueness comes from the way the wire traces curves, giving even a simple pot a character of its own.
To keep it practical, measure the planter diameter first and bend the tail sections in stages so they match the curve. If you want a cost-effective approach, add wire only where it shows most, like the front-facing arc.
When the garden feels too busy, this gentle mermaid accent can calm the scene by adding one consistent theme. Seal and smooth all wire ends so it stays safe to touch when you adjust plants.