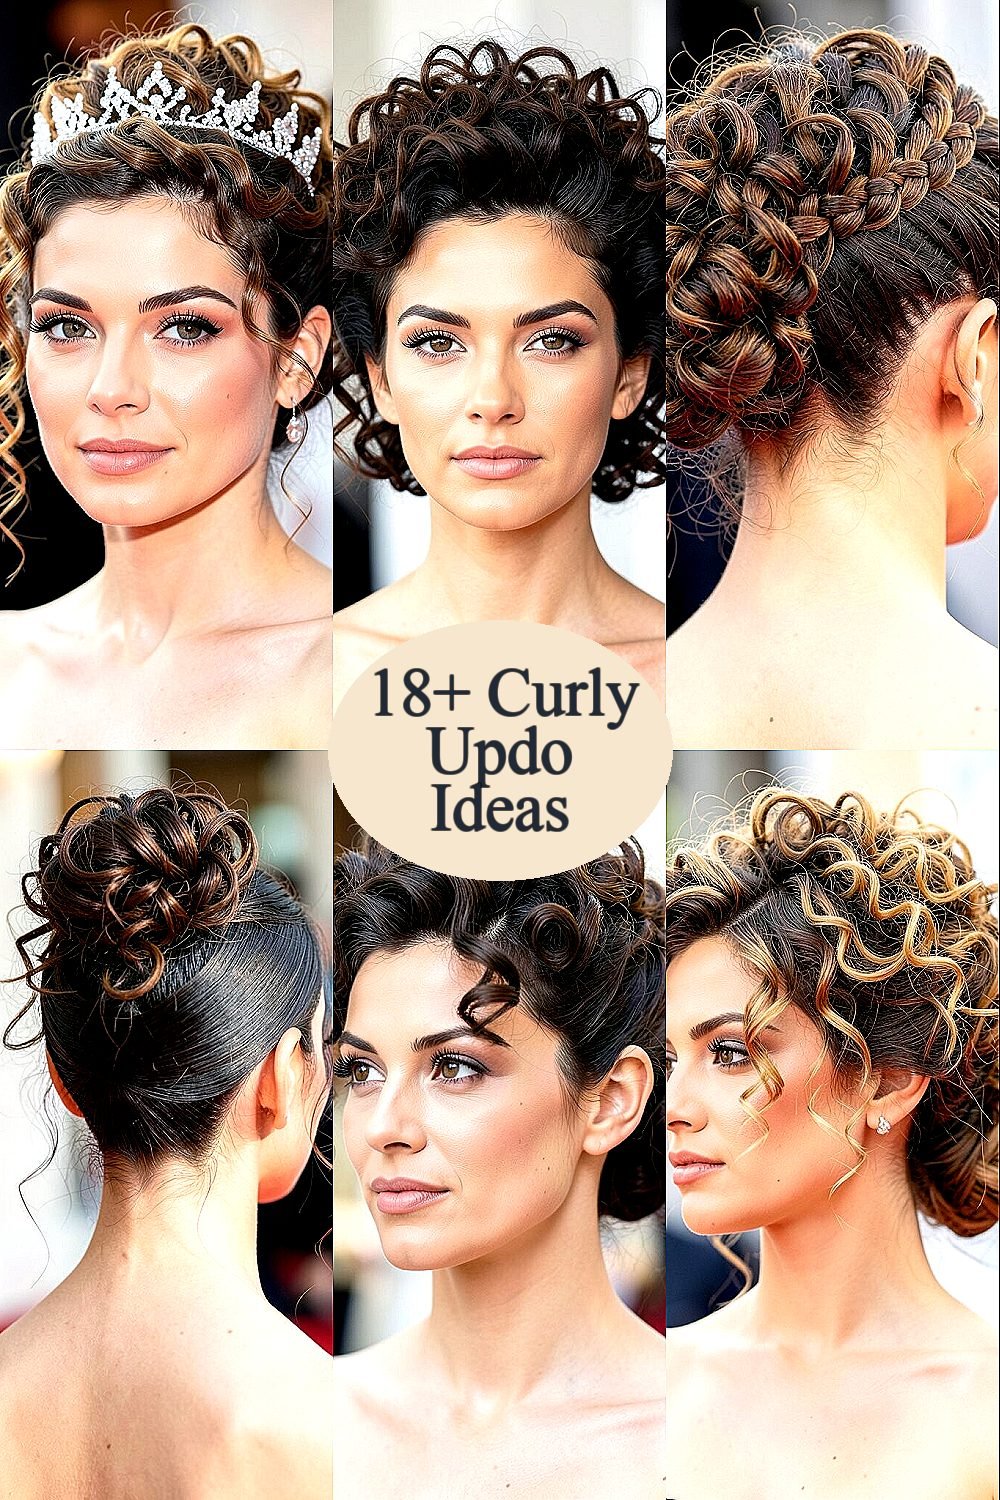
Curly hair can look bold, soft, and expensive all at once. The trick is choosing an updo that makes your curls feel like the star of the night.
Below are red-carpet style ideas you can actually wear, with practical ways to make them hold, flatter your face, and fit your budget.
1. Romantic Twisted Crown
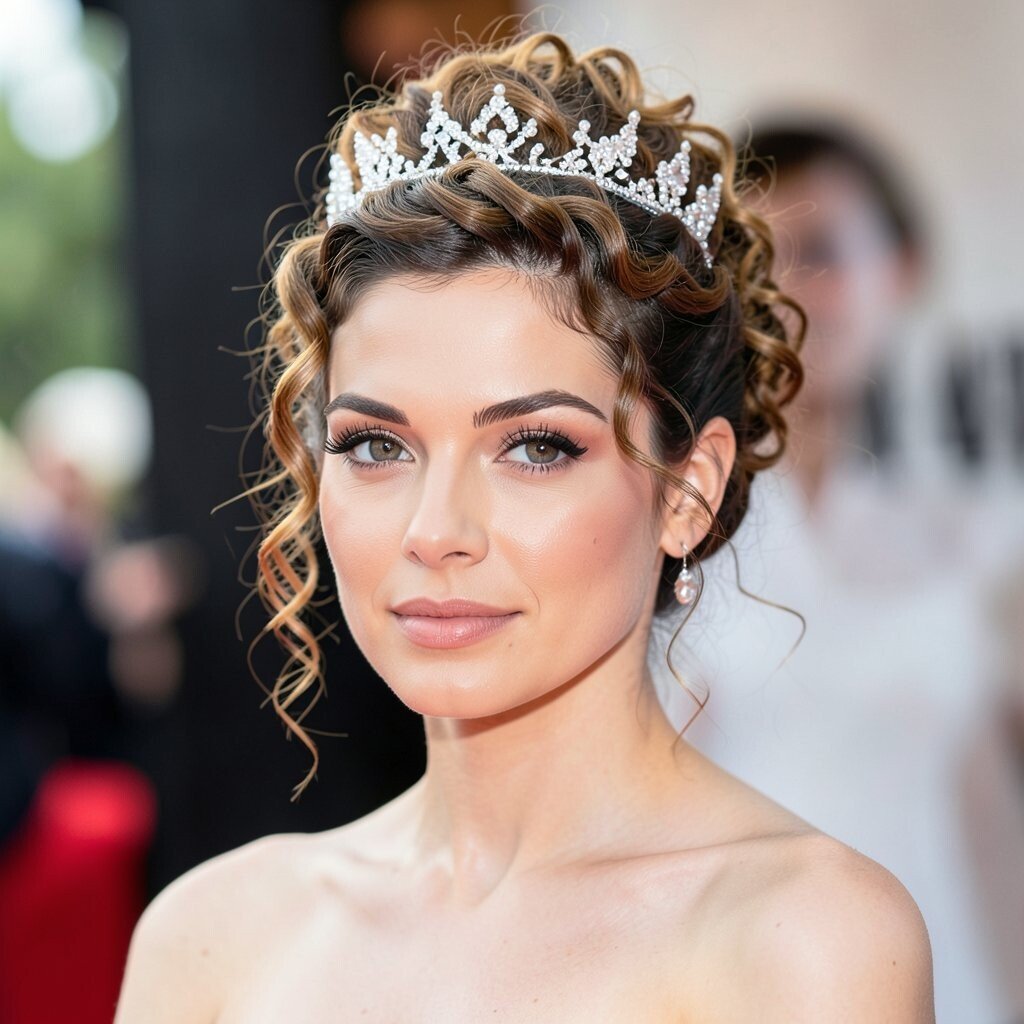
Imagine your curls sitting like a halo, with neat twists that frame your face. Soft pieces fall at the temples, so the whole look feels romantic and grown-up.
This style helps keep curls off your neck, which makes it great for long events. Use a light curl cream first, then twist sections back and pin them close together for extra grip.
If you want uniqueness, try mixing tight twists with looser ones so the crown looks naturally full. For personalization, tuck tiny hair jewelry near the top or add a thin satin ribbon that matches your dress.
It can be budget-friendly because you only need pins, a basic styling gel, and your usual leave-in conditioner. A current trend is “touchable volume,” so avoid over-smoothing and let some curl texture peek through.
2. High-Volume Curly Pompadour Updo
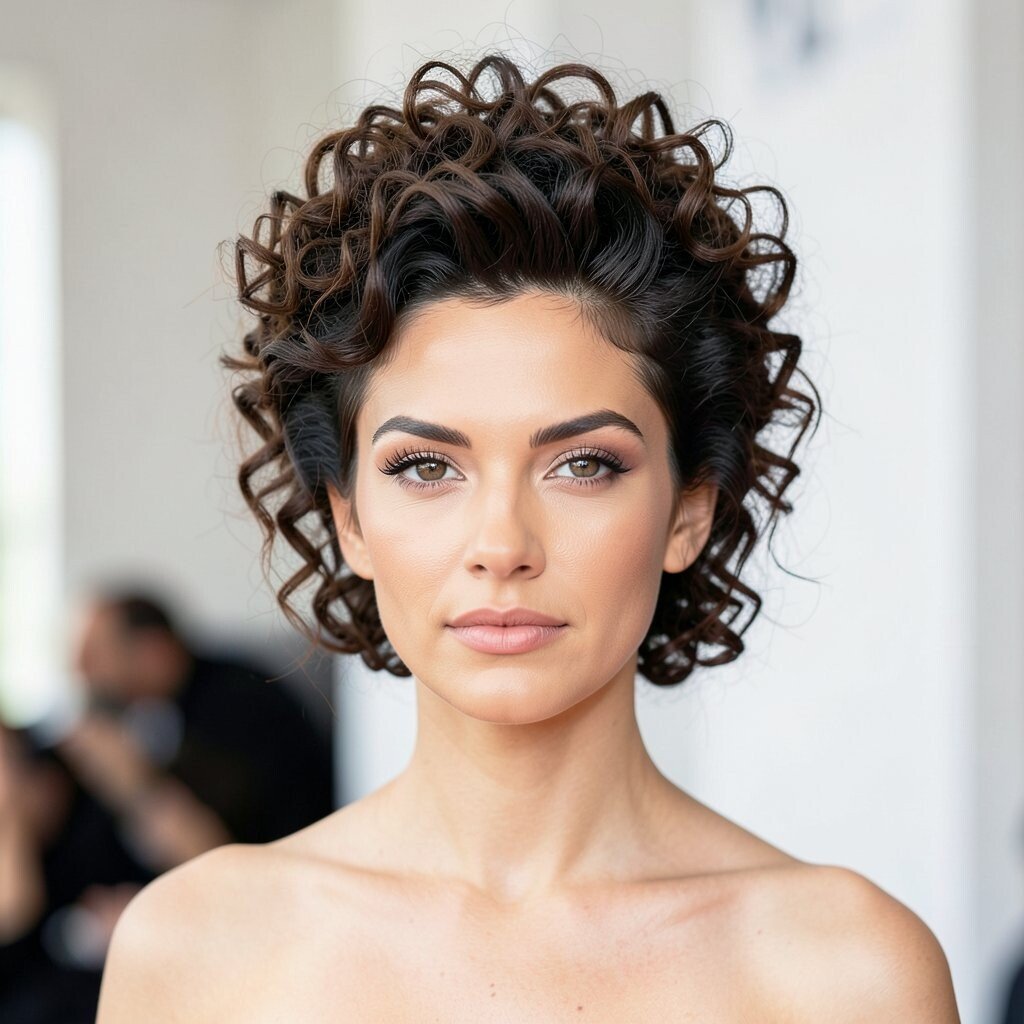
Go big with a lifted curly pompadour that looks like it belongs on a show poster. Your crown gets height, while the sides stay sleek and controlled.
This updo gives major face-lifting energy, especially with statement earrings. Start by teasing the roots gently, then smooth the surface with a curl-friendly mousse.
To make it personal, place the updo slightly off-center for a playful editorial vibe. You can also add a thin braided cord around the base for a detail that feels custom.
For cost, it’s mostly time and technique, not expensive products. If you want it to stay through photos, finish with a flexible hairspray that won’t turn crunchy.
3. Side-Swept Curly Chignon with Braided Accent

Picture your curls gathered into a chignon that sits to one side like a soft sculpture. A small braid threads through the curl mass, adding movement every time you turn your head.
This is a flattering option for almost any face shape because it creates diagonal lines. Keep the braid thin and tidy, then let the rest of the curls look plush and effortless.
For uniqueness, try a “mixed texture” look by combining defined curls with a few lightly brushed waves. Personalize it by matching the braid color with a ribbon, headband, or even a metallic clip.
This style can be budget-friendly since you can build it with pins and a simple elastic foundation. A current trend favors soft glamour, so leave a few wisps loose near the cheekbones for that lived-in shine.
If your curls are fine, add a bit of volumizing spray at the roots before styling. If your curls are thick, use fewer pins but anchor each one deeply so the chignon doesn’t shift.
4. Sleek Curly Bun with Draped Fringe
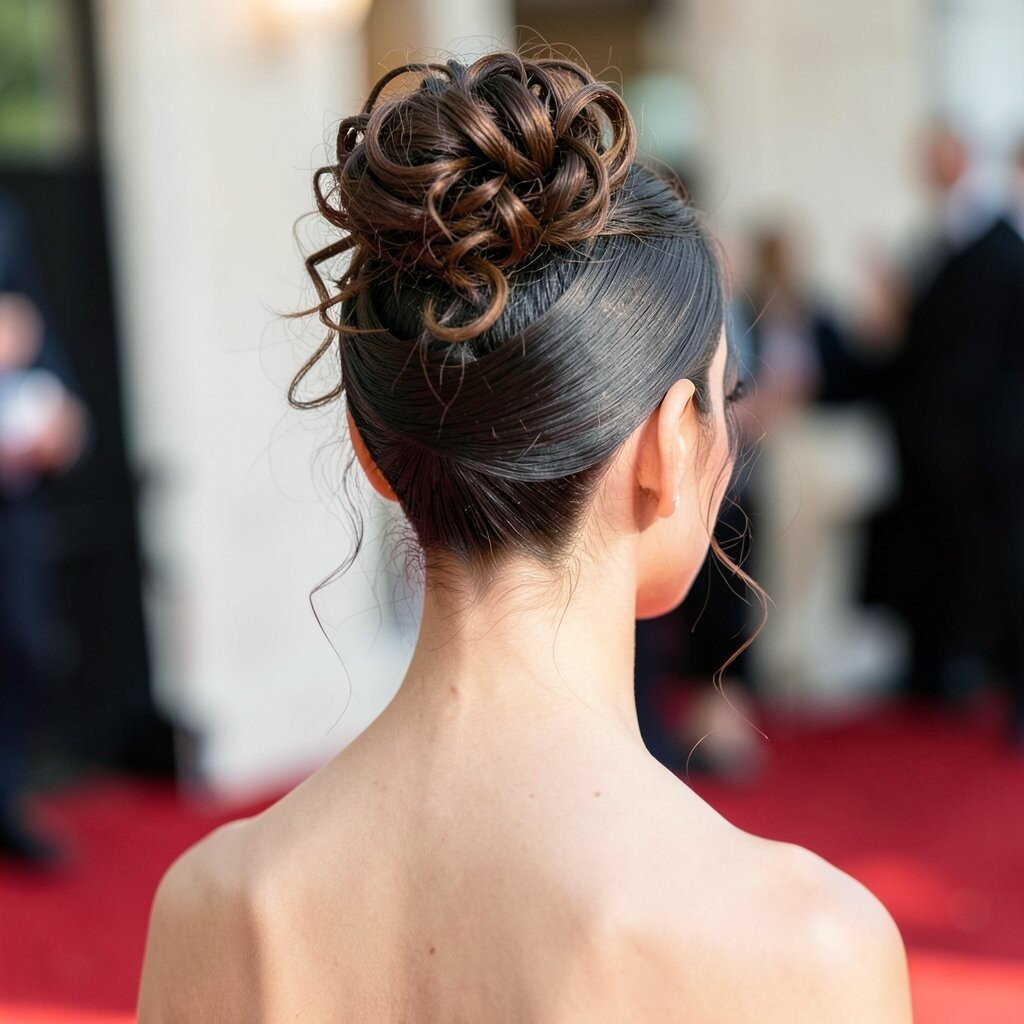
Think smooth, shiny curls gathered into a bun, with a draped fringe that looks like couture. The contrast between polished shape and airy curl texture is what makes this feel red carpet.
This style keeps everything neat while still showing off your natural curl pattern. Use a smoothing cream on the outer layer, then pin curls in layers so the bun stays tight but not stiff.
To personalize, ask your stylist to leave longer fringe pieces that blend into the bun. Add a tiny pearl pin set for a classic vibe, or choose a chrome clip for a modern look.
Cost-wise, you can get this effect with one styling cream and a strong bobby-pin strategy. The trend right now is gloss without crunch, so choose a finishing spray that keeps curls touchable.
5. Vintage Curly Rolls Updo
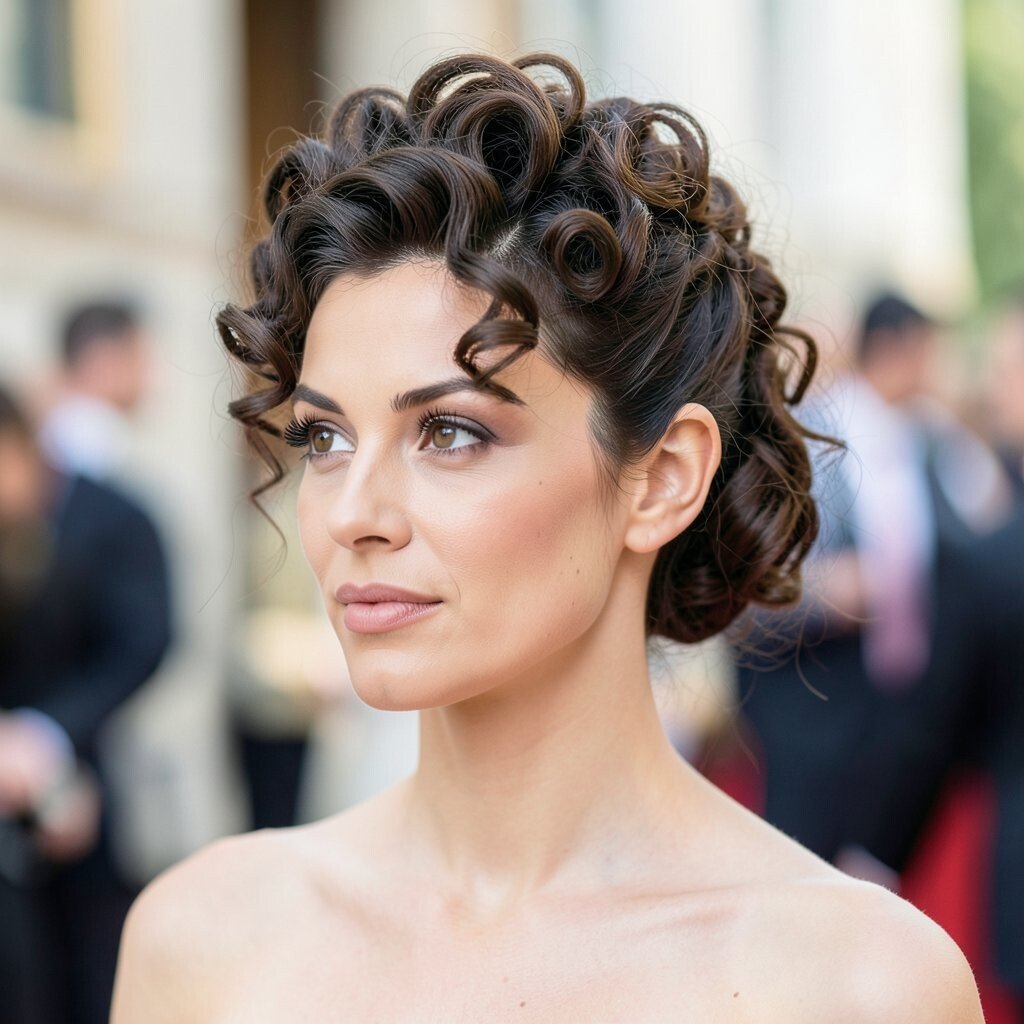
Close your eyes and picture retro rolls formed from curly sections. The result looks vintage, elegant, and surprisingly light once it’s pinned in place.
This updo is great for events because it holds shape while your curls keep moving. Start with slightly damp hair, apply a setting mousse, and roll sections in the same direction for a clean pattern.
To make it unique, vary the roll size, with a few larger rolls at the front for drama. Personalize it by tucking a thin headband over the rolls or adding a vintage-style hair pin.
It’s not expensive since you’re using technique more than tools. If you want a current twist, keep the back curls a bit looser so the look feels fresh and less stiff.
For best results, let the hair set fully before pinning, especially if you need strong hold. Finish with a mist of flexible hairspray, then gently tug one roll at a time to soften the edges.
6. Twisted Waterfall Curly Updo
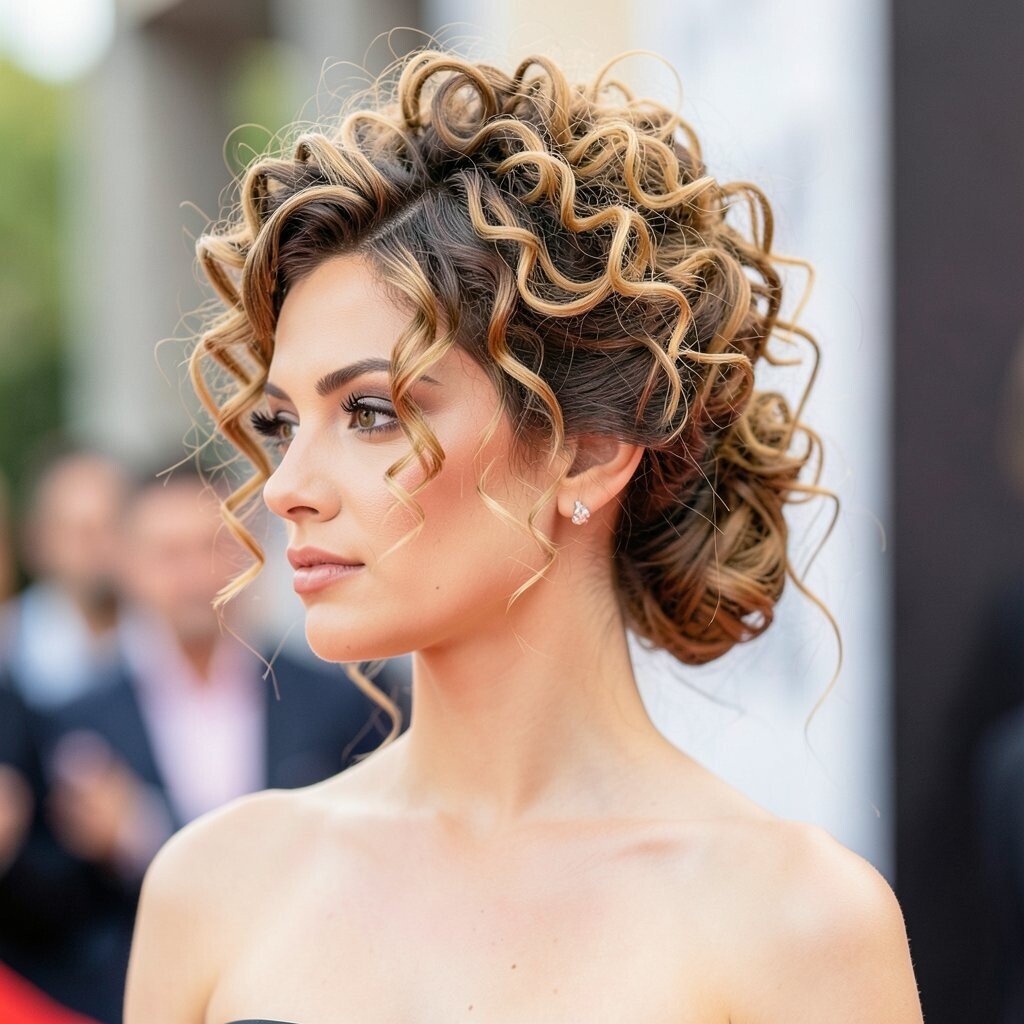
Picture twists that spiral upward while a waterfall of curls drops down the side. It looks intricate, but you’re really building it with a simple twist-and-pin rhythm.
This style makes curls look layered and dimensional, perfect for flash photography. Begin with a leave-in conditioner, then twist small sections and pin them to secure the “waterfall” effect.
For personalization, choose the side where the waterfall falls to match your dress neckline. You can also add a few “hidden” pins beneath the curls so the front stays smooth and uninterrupted.
Cost is usually low because you can use basic pins and an elastic base. A current trend is “soft architecture,” so keep the twists neat while letting some curls pop out for texture.
7. Braided Halo Curly Updo
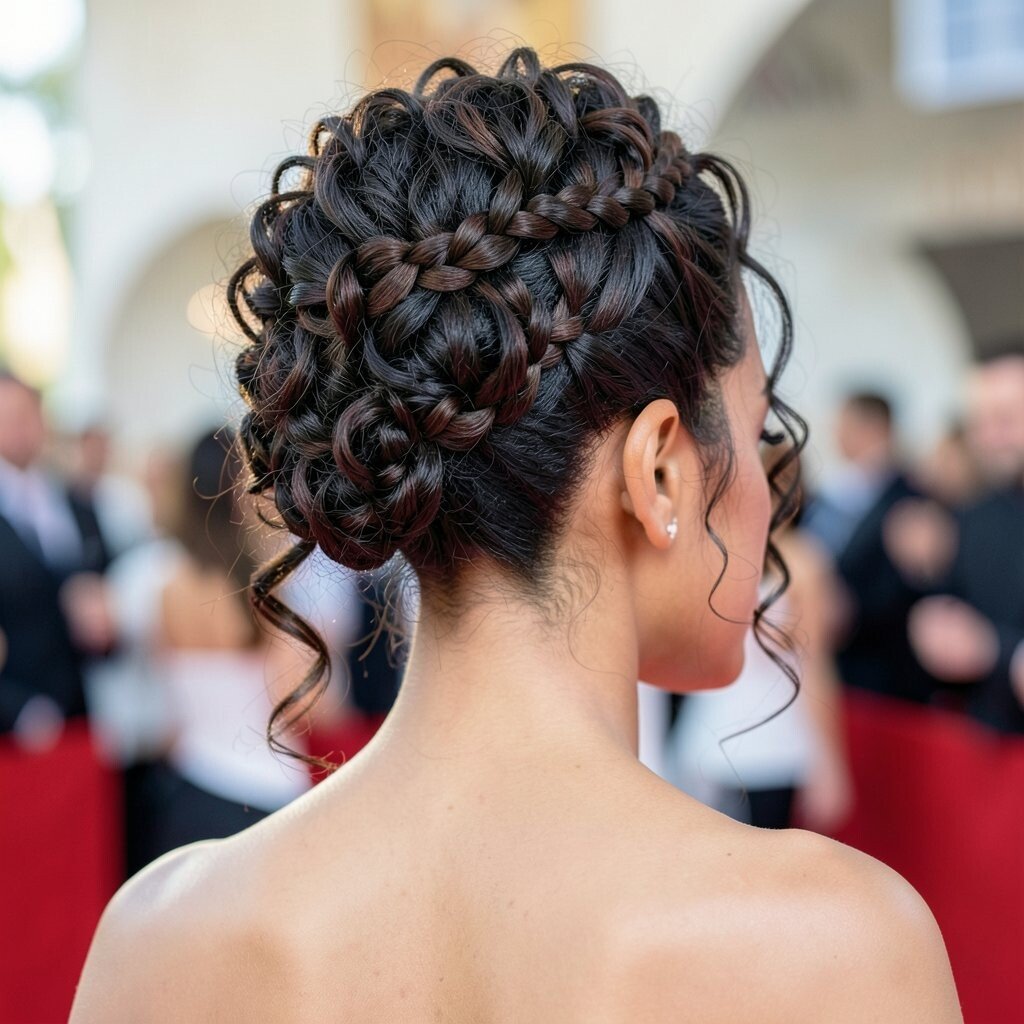
Imagine a halo made from braids, filled with bouncy curly texture. The crown sits evenly around your head, giving you a polished, angelic glow.
This updo keeps your curls secure without flattening them. Start with a braid around your head, then tuck curls into the braid line so each section looks intentional.
To make it unique, try a double halo by adding a second thin braid slightly above the first. Personalize it with color by weaving in a discreet ribbon or using a hair jewelry pin that matches your outfit.
Budget-wise, it’s great because braided looks don’t require expensive extensions. For trends, aim for slightly messy polish, where the halo looks styled but still natural.
8. Wrap-Around Curly Twist Ponytail Updo
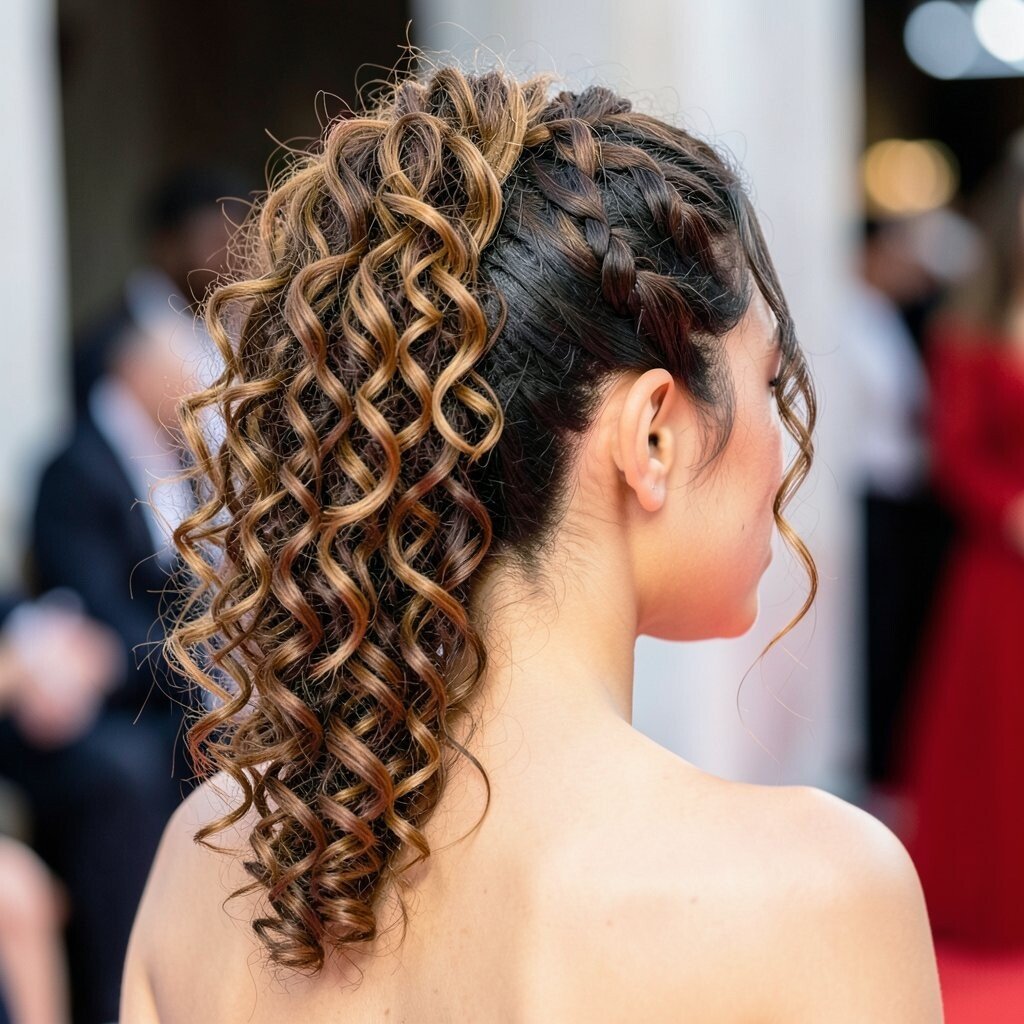
Your curls can look like a ponytail that got dressed up into an elegant updo. Think wrap-around twists that start low and spiral upward into a secure bun.
This style is ideal if you like movement, because your curls stay lively even when pinned. Start with a ponytail foundation, then twist the length and wrap it around the base.
For personalization, add a sleek head-scarf bow at the side or tuck in a glittery clip where the twists meet. If your hair is longer, leave a small curl tail for a playful finishing touch.
It can stay within a budget because the structure is simple and your curls do the glam work. A current trend is “high-impact texture,” so keep curls defined rather than totally smoothed.
9. Loose Curls in a Sculpted Low Updo
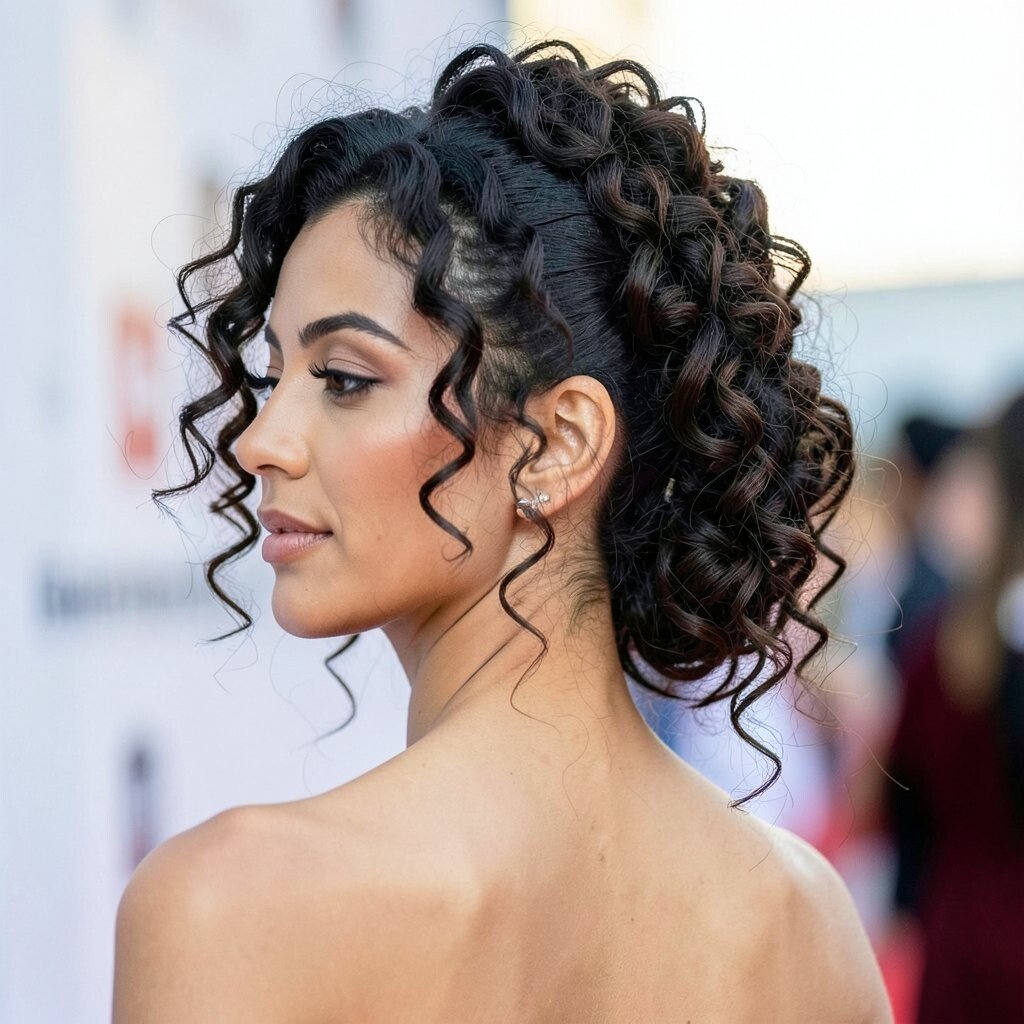
This look feels airy but still camera-ready, with curls clustered at the nape. Instead of tight wrapping, you sculpt loose sections into a soft low shape.
The benefit is comfort, since your neck and shoulders can still breathe. Use a medium-hold gel or cream to define curls, then pin them in small bunches so the overall shape stays controlled.
To keep it unique, create a little “gap” near the center where you let a few curls fall forward. Personalize it with a delicate chain accessory that drapes across the back.
Cost considerations are gentle here because you rely on styling and pinning more than extra accessories. For trend relevance, go for shine and movement, not tight stiffness.
10. Curly Top Knot with Feathered Sides

A top knot can look glamorous when your curls are fluffed and arranged on purpose. Add feathered sides for that soft, red-carpet frame around your face.
This style helps elongate your silhouette, which is great for evening outfits. Start by gathering hair high, then twist curls into a knot and anchor with plenty of pins.
For personalization, keep the knot slightly messy so curls look effortless, not rigid. You can also add a satin scrunchie base that matches your dress for a small luxury touch.
Cost is low to moderate since most of the “wow” comes from curl volume. A current trend is playful polish, so use a shine spray and keep stray curls intentional.
11. Classic Curly French Roll with Modern Lift
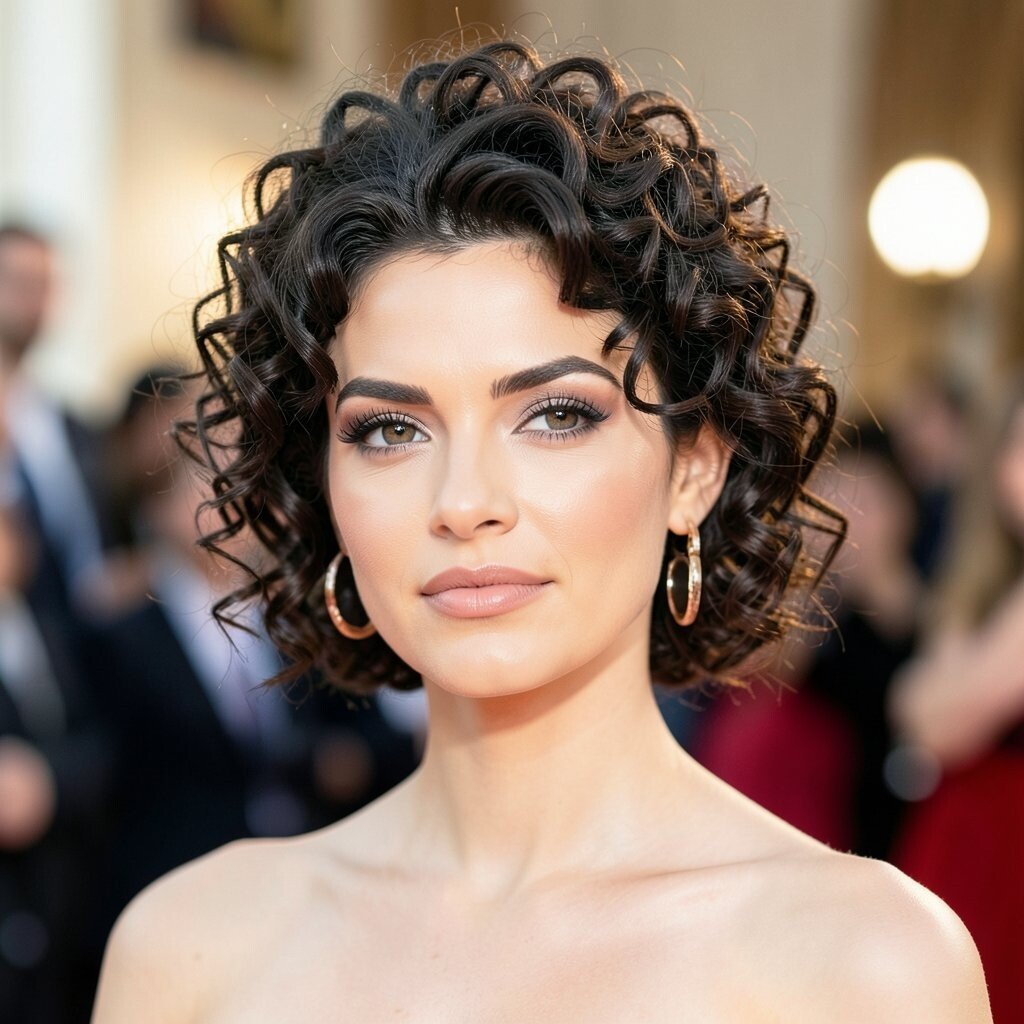
Turn a French roll into a curly masterpiece by letting your curls add height and softness. The front stays smooth, while the curls create a plush roll texture.
This updo works well because it looks formal and clean for black-tie events. Use a smoothing product for the surface, then pin curls into the roll layers so it feels secure.
For uniqueness, keep the roll slightly higher than you expect for a modern, lifted look. Personalize it with a sleek barrette or a bold gemstone pin at the side.
Cost is usually friendly because you’re not relying on extra hair. For trends, combine classic structure with fresh texture, meaning the roll should look polished but never flat.
If your curls shrink when dry, stretch a bit with gentle tension while styling so the roll holds its shape. Finish with a strong-hold spray focused on the pin points.
12. Curly Claw Clip Updo with Statement Sparkle
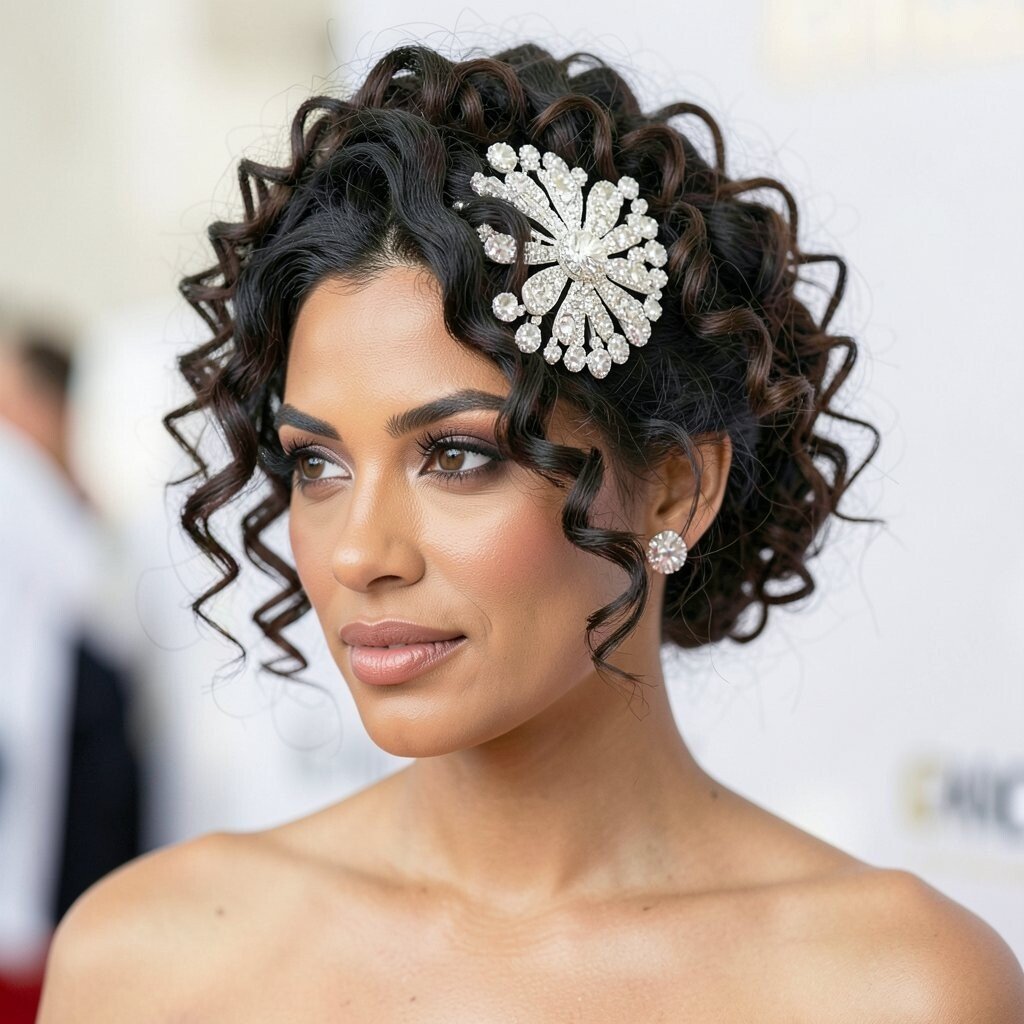
Yes, a claw clip can look high-fashion when you style it with intention. Gather your curls into a chunky twist, then lock them with a decorative clip near the crown.
This option is perfect when you want quick glamour without sacrificing hold. Start with defined curls, gather them loosely, and twist just enough so the clip grabs securely.
To make it unique, choose a clip with a bold color or metallic finish that matches your accessories. Personalize it by placing the clip slightly lower for a softer, romantic vibe.
Cost considerations are flexible since many statement clips are affordable and reusable. Current trends include “instant outfit” details, so treat the clip as your hero accessory.
For best results, use a few hidden bobby pins under the clip so it doesn’t slide. Add a light mist of hairspray at the gathering point to lock everything in.
13. Waterfall Braided Curly Crown Bun
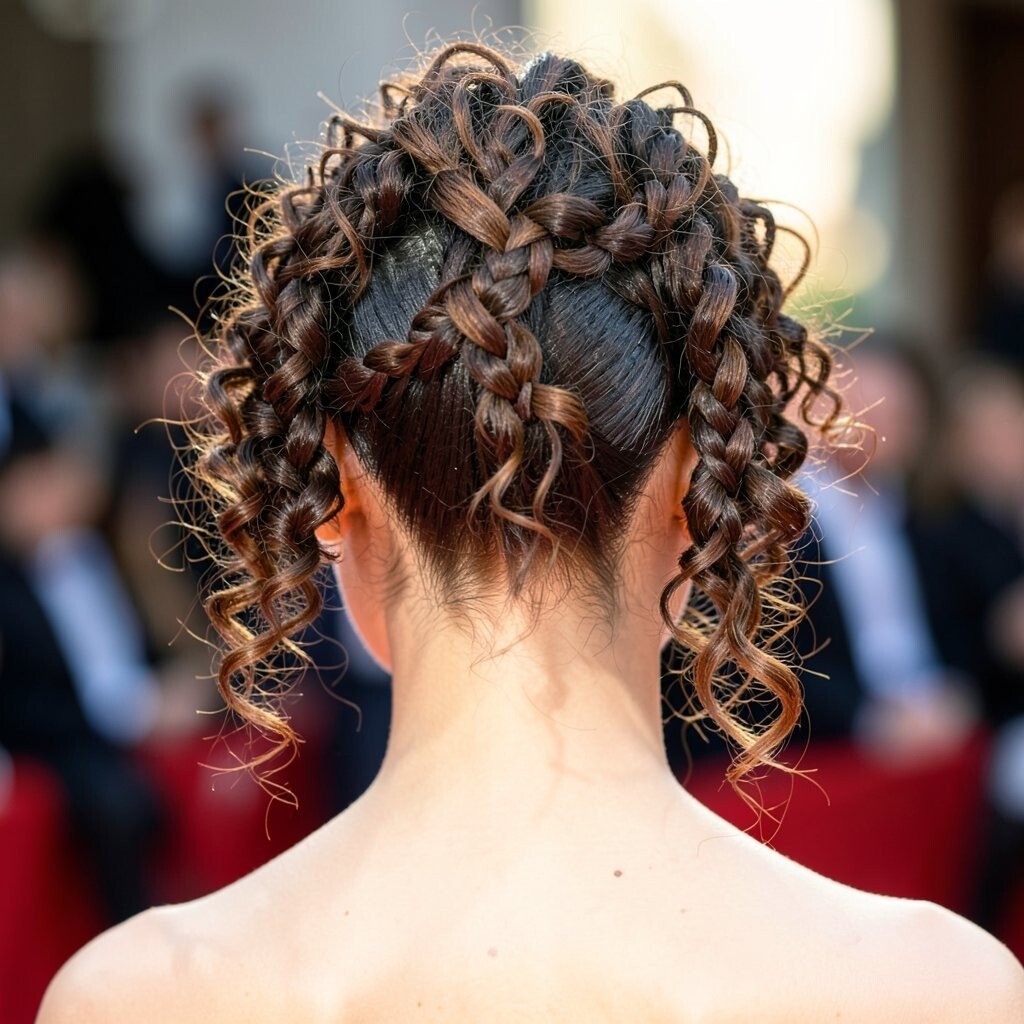
This style combines braided crown energy with a bun made from voluminous curls. The waterfall braid adds a flowing rhythm, while the bun anchors the look for red carpet formality.
It’s beneficial because it looks complex while still being wearable for normal planning. Begin by braiding around the top, then tuck curls into the bun so the braid blends seamlessly.
For personalization, vary the braid thickness, using thinner sections near the front for delicate detail. You can also add small shine beads at the braid ends for a glimmer effect.
Cost is manageable because your hair does most of the work, and you only need basic styling supplies. Trend-wise, braided textures are everywhere, especially when they look glossy and airy.
14. Curl-Swathed Low Side Bun
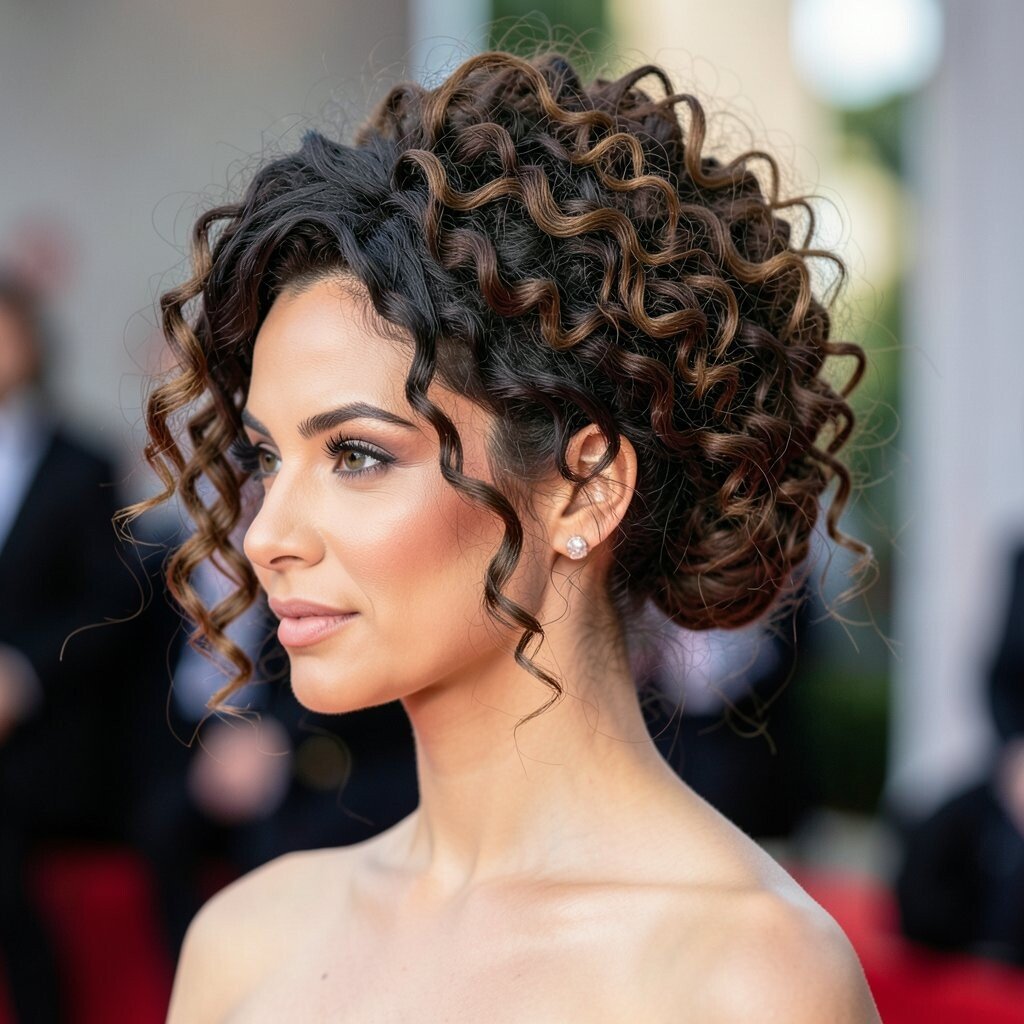
Imagine a low bun that looks wrapped in curls like a soft blanket. The curls hug the bun, giving a sculpted yet cozy shape that photographs beautifully.
This updo is great if you want coverage at the back while keeping one side elegantly framed. Pin a base bun low, then wrap curls around it in overlapping layers for a natural finish.
To make it unique, leave a longer curl strand to sweep across the shoulder. Personalize it by adding a single floral pin or a metallic wave clip near the crown.
Cost considerations are simple, since you can achieve the effect with pins and a curl-defining product. For current trends, aim for “covered but breathable,” meaning your bun should look full without feeling heavy.
15. Curly Halo Bun with Center Flower Pin

A halo bun already feels romantic, and a center flower pin makes it feel like a true event piece. Your curls form a ring around the head, while the focal accessory sits like a centerpiece.
This is a flattering style because it emphasizes the face and highlights your eyes. Start by creating a circular shape with a bun base, then pin curls around it so the ring looks even.
For uniqueness, use two curl textures, like slightly tighter curls at the top and looser ones at the sides. Personalize it by choosing a flower clip in the exact color family of your outfit.
Cost can be budget-friendly if you use an affordable flower pin that you can reuse later. Trend considerations include floral glam and soft sparkle, so keep the rest simple and let the curls shine.
16. Curly Bow-Style Updo
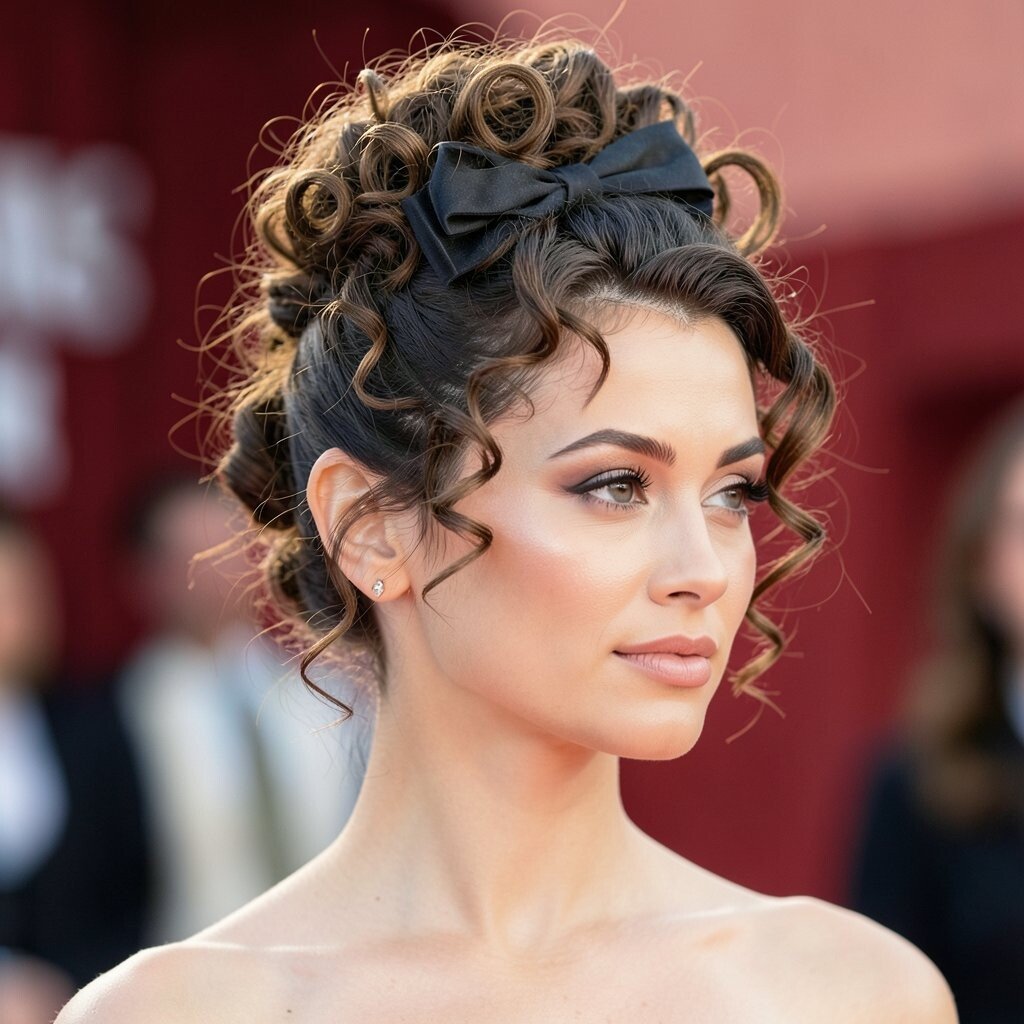
Think of a bow formed from curls, stacked and pinned so it looks playful yet elegant. The shape gives big style energy while your curls provide the softness.
This updo is beneficial for making your hairstyle feel like part of your outfit design. Create a base at the back, then build two “bow sides” by pinning curl sections into rounded loops.
For uniqueness, add a small twist at the bow knot area so it looks dimensional. Personalize it by choosing a bow hair accessory, like a satin ribbon wrap, in a color that complements your lip or nails.
Cost considerations are good because you likely have the needed tools already. Current trends like whimsical glam make this a great pick for fashion-forward red carpet moments.
If your curls are short, use a few strategically placed extensions or thicker hair pieces hidden under the bow base. Finish with strong hold at the center so the loops stay round.
17. Curly Sleek Half-Up with Knotted Back
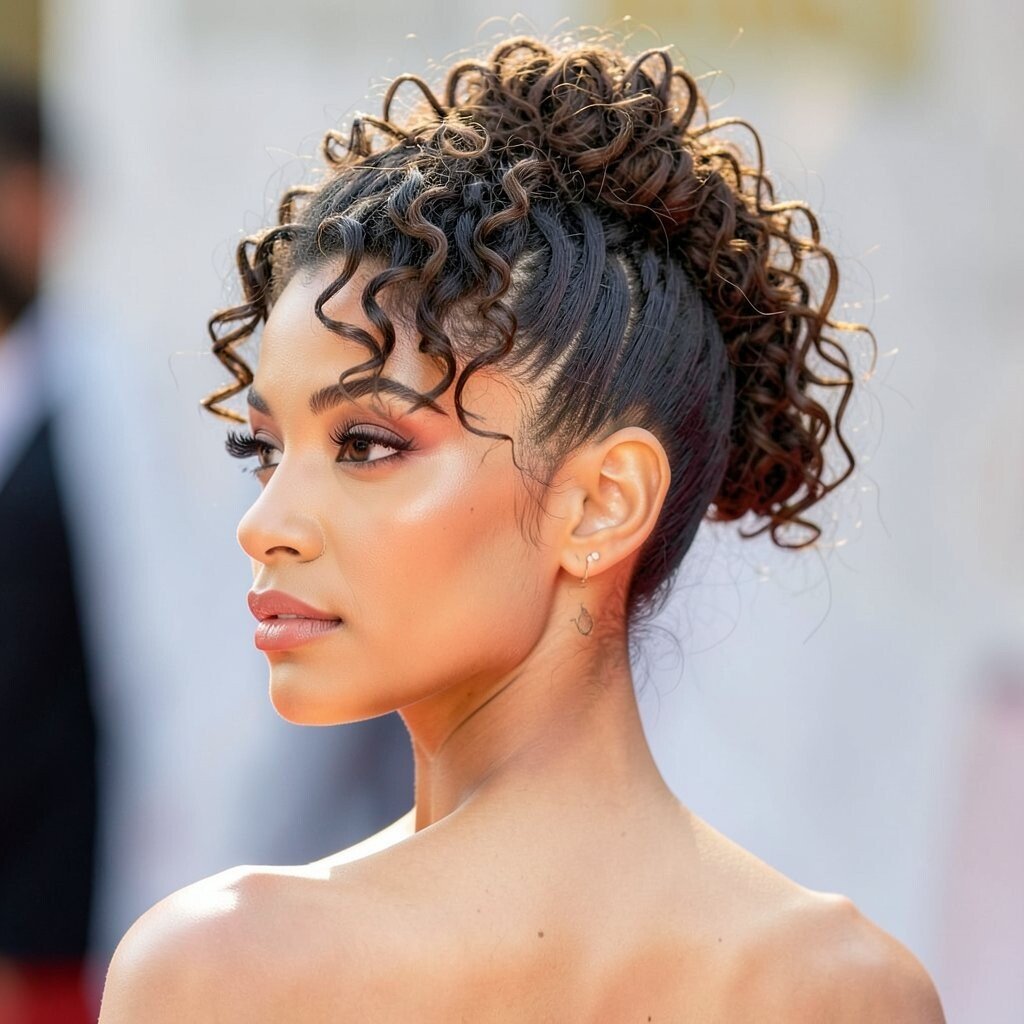
This look combines smooth half-up elegance with a knotted back made from curls. The front feels polished, while the back shows off your natural texture.
It’s beneficial because it keeps hair out of your face but still gives you that curly drama. Apply a smoothing product to the top section, then knot the remaining curls into a low pinned shape.
For uniqueness, add a small braid through the knot so it looks like a hidden detail. Personalize it with an elegant hair pin tucked near the twist line for subtle sparkle.
Cost is usually affordable since you’re using regular pinning techniques rather than heavy structures. For trends, keep the top shiny and the knot airy so the overall vibe feels modern.
18. Curly Crown French Twist with Side Glimmer Pin
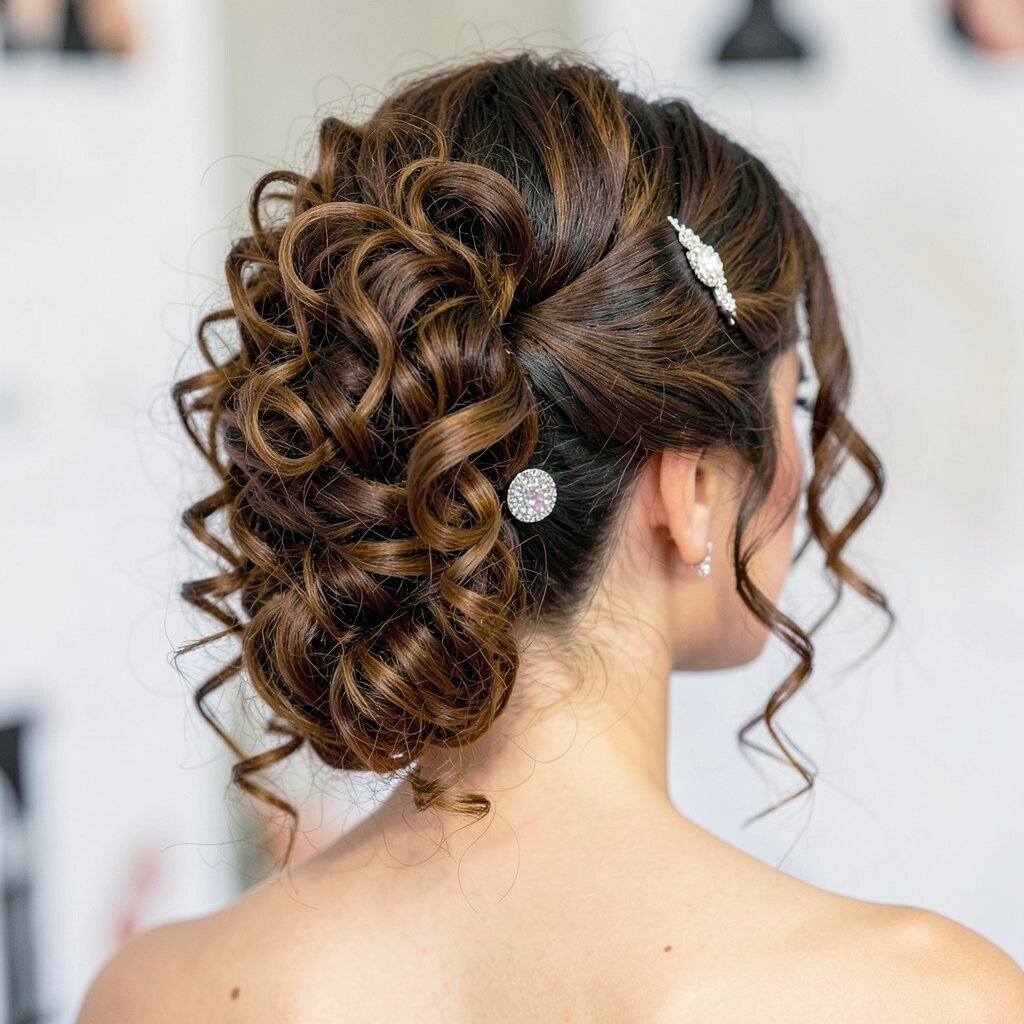
A French twist can look brand-new when it’s built from curly texture instead of straight hair. Keep the twist sleek at the center, then let curls soften the edges for a glamorous crown feel.
This style is great when you want your hair to look elegant without being too tight. Use a pinning rhythm that supports the twist from underneath, then smooth the front just enough to look refined.
To make it unique, place the twist slightly toward one side for a graceful angle. Personalize it with a side glimmer pin, like a small crystal clip, near your temple area.
Cost considerations are generally low because the look relies on technique, not extra hair. Trend-wise, “curly couture” styles are popular, meaning texture should be visible even in sleek shapes.
19. Curly Smoke-Updo with Soft Back Volume
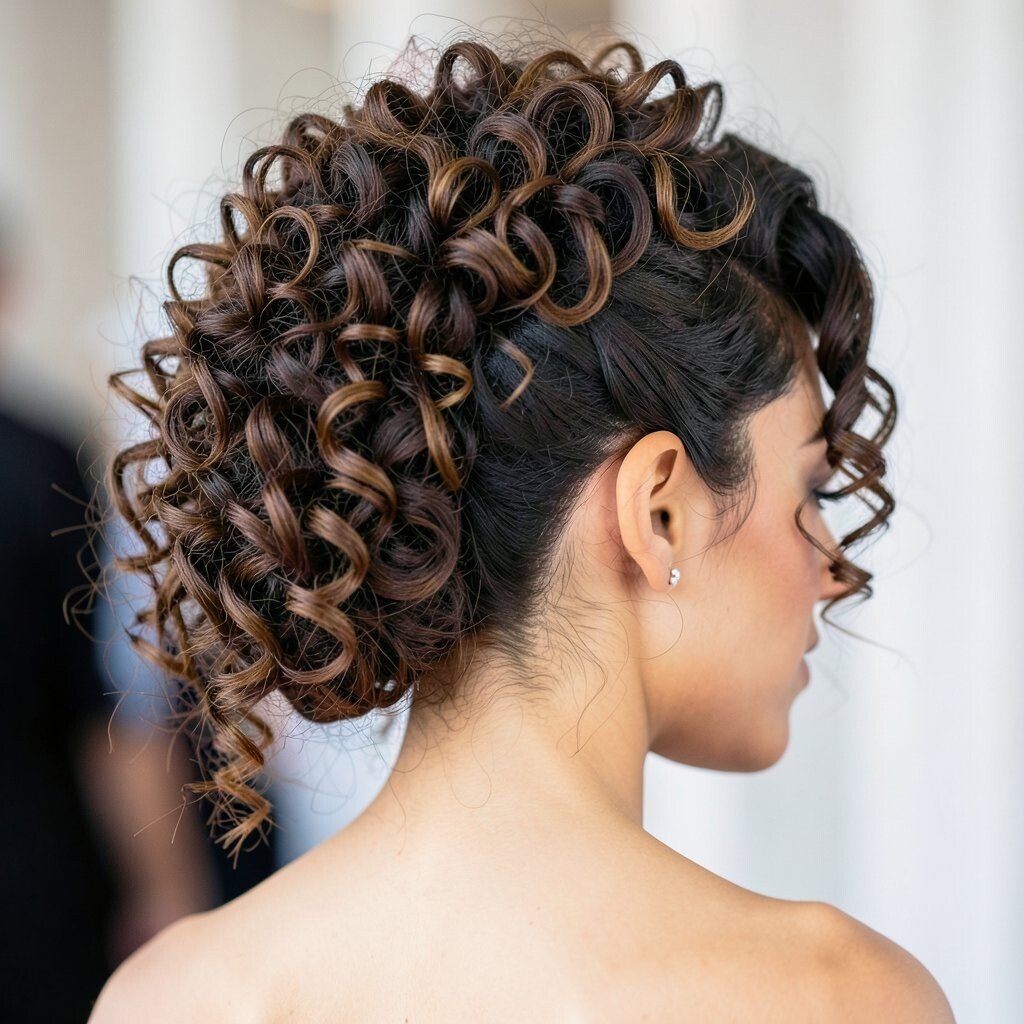
This dramatic updo feels like a curtain of curls gathered into a smoky, rounded shape. The back volume looks lush, while the front stays styled so your face looks bright and framed.
It’s beneficial for giving your hairstyle that red carpet lift, even if your hair is medium length. Start by lifting curls at the roots, then pin layers so the shape rounds out from the sides to the center.
For uniqueness, create a slightly hollow center so the curls look airy, not heavy. Personalize it with a statement headband or a metallic pin at the top where the volume peaks.
Cost can be managed because you mostly need good sectioning and a dependable hairspray. Current trends favor fuller backs and softer edges, so avoid over-tightening and let curls breathe.
If you want extra staying power, set each pinned layer with a light mist before adding the next section. Finish by gently fluffing the top for that photo-ready glow.