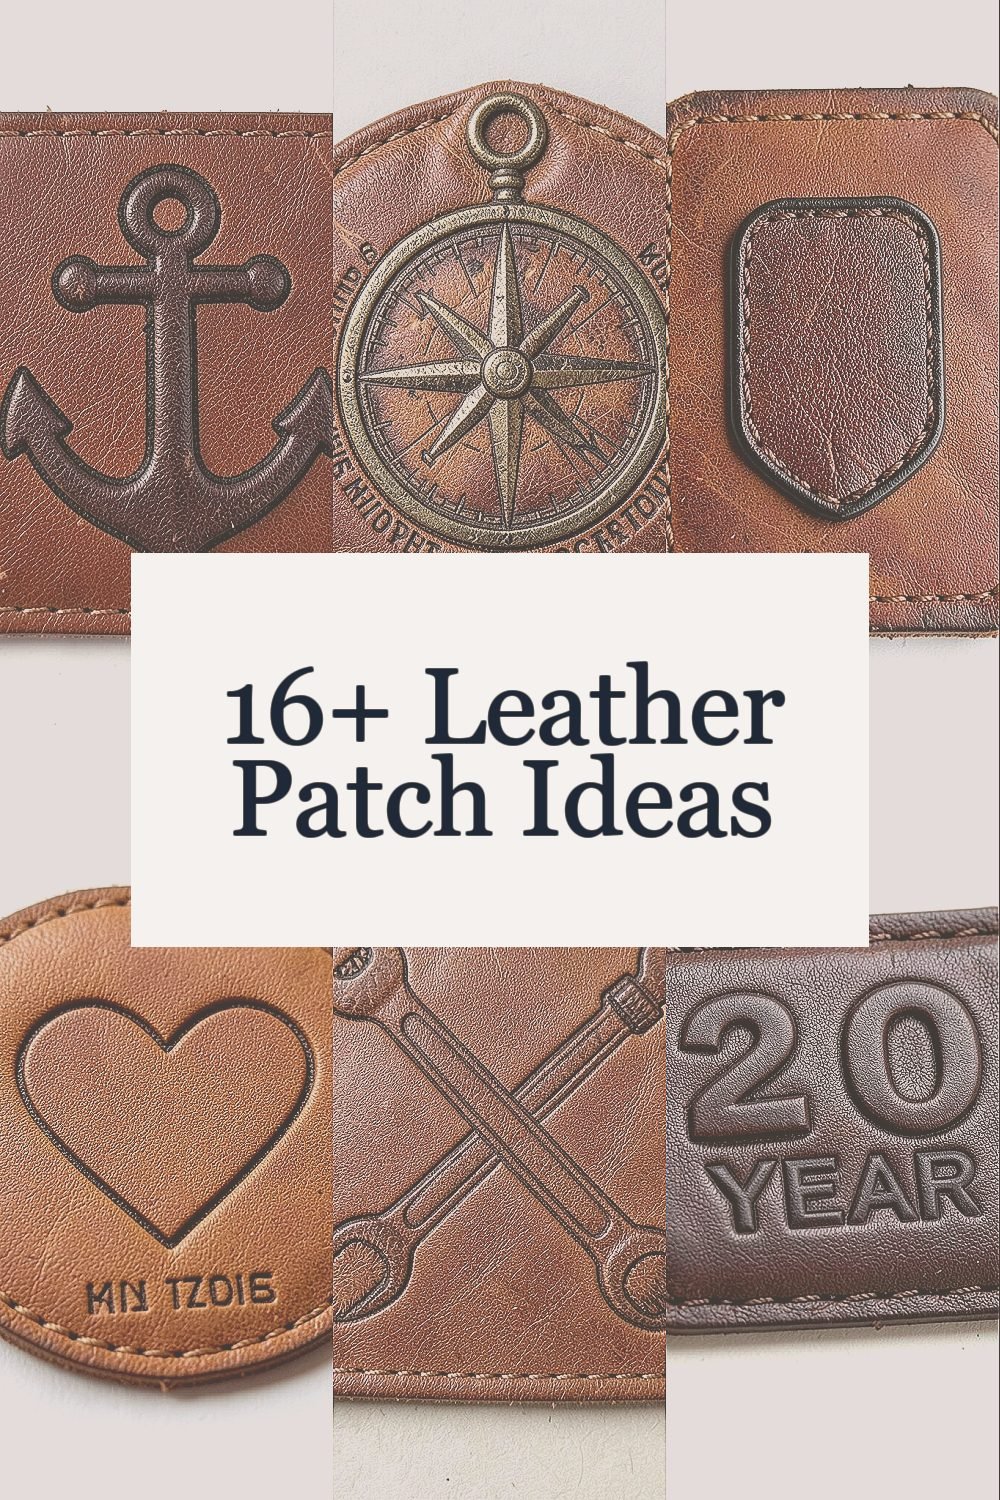
The right leather patch can make everyday items feel like yours. It’s a small detail with big personality.
When your bag, jacket, or gear looks a little different, you notice it every time you reach for it. Leather adds warmth, texture, and a rugged charm that stickers can’t match.
1. Monogram Anchor Patch
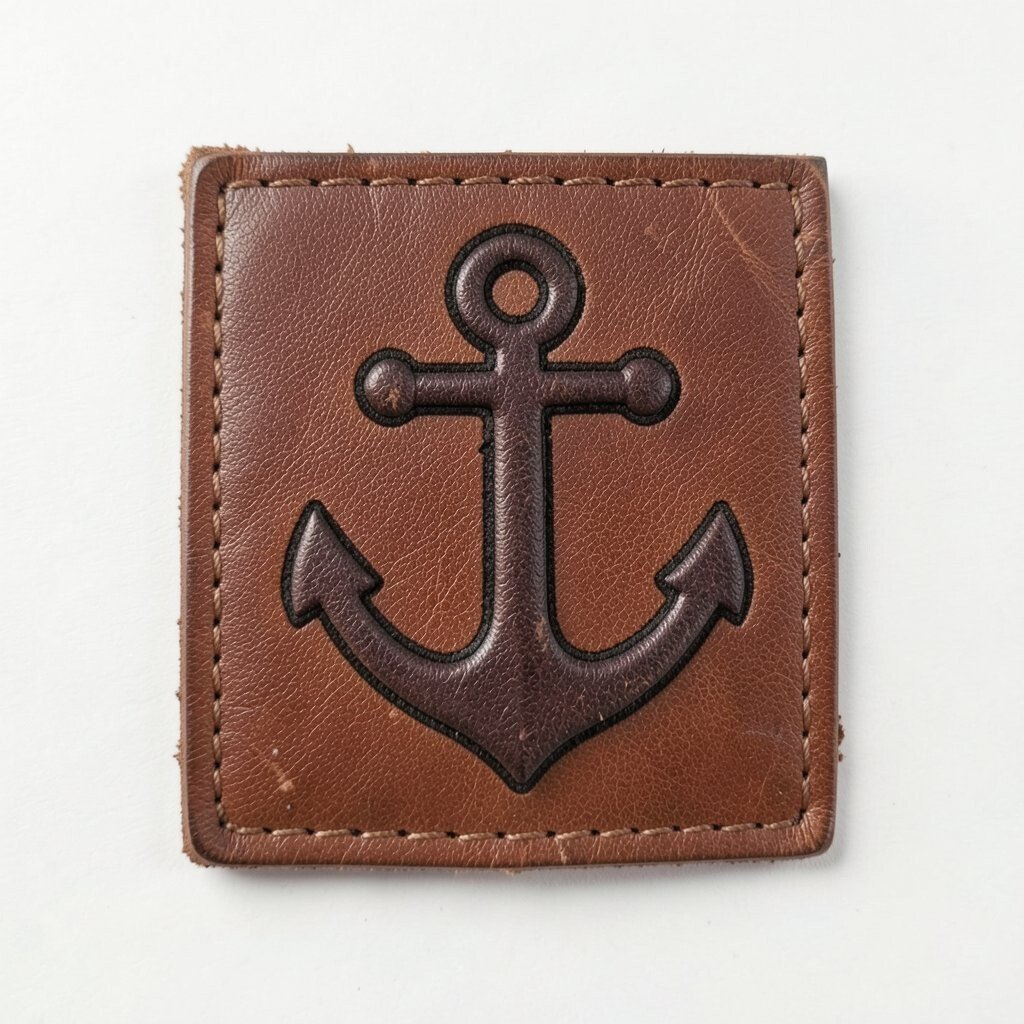
A leather monogram patch gives your items a clean, timeless look. Choose initials that you actually use and place them where your eyes naturally land, like a wallet corner or a backpack side.
To keep it neat, use an outline stitch so the letters stay crisp. This style looks great on dark and light leather, and it helps you spot your stuff in a crowd. For a practical finish, seal the edges with edge paint or a quick burnish so the patch holds up to daily bumps.
2. Weathered Compass Coordinates
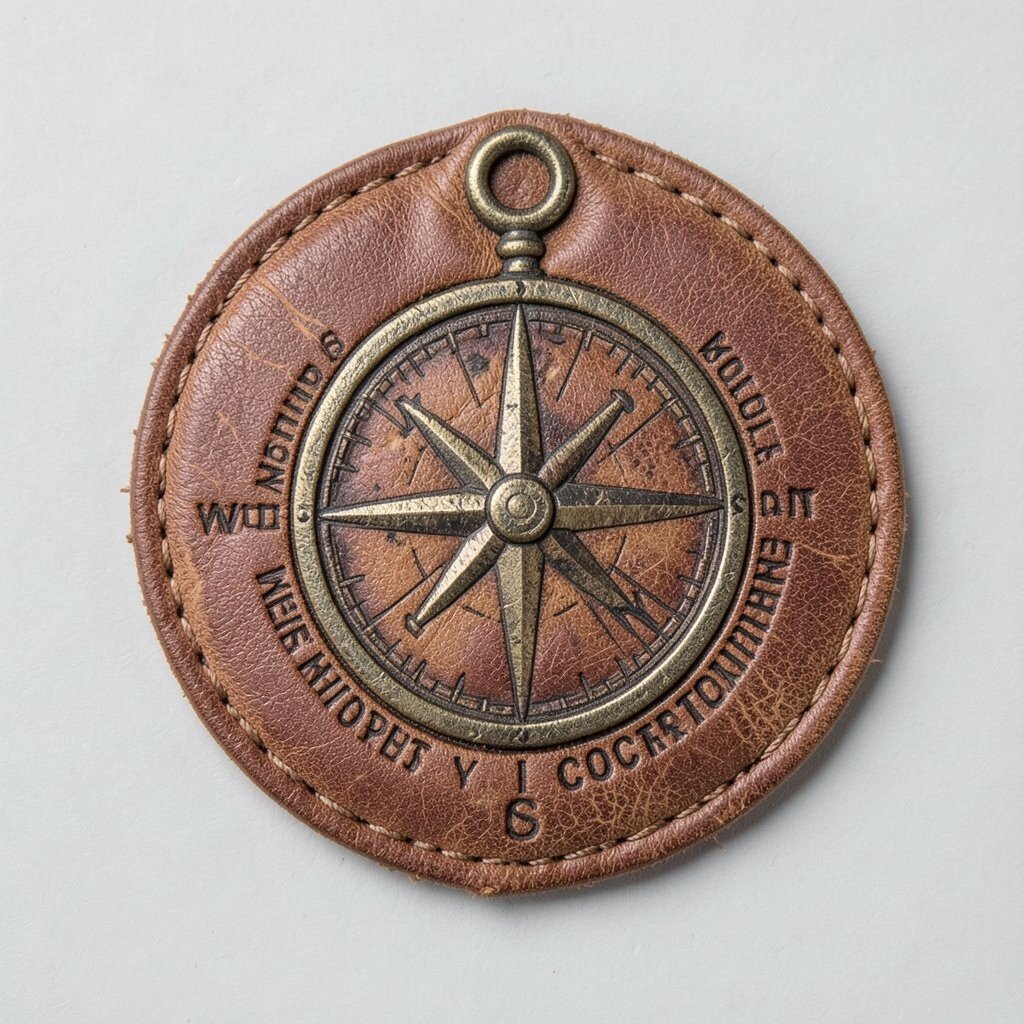
Turn a favorite trip location into a leather compass patch with coordinates or a simple bearing. The worn look can look authentic even if you used brand-new leather.
Lightly distress the surface with sandpaper, then add a tiny compass rose using a contrasting thread. You’ll get a unique story on your gear, and it’s also useful for gift ideas because it points to a memory. For cost control, use a small die-cut shape and keep the design minimal so you don’t waste leather.
If you want it to feel current, pair it with modern typography and a single bold arrow. A practical tip is to place it where it won’t get scuffed constantly, like the back of a jacket near the seam. When you stitch it on, keep the tension steady so the compass lines don’t ripple.
3. Dog Tag Style ID Patch
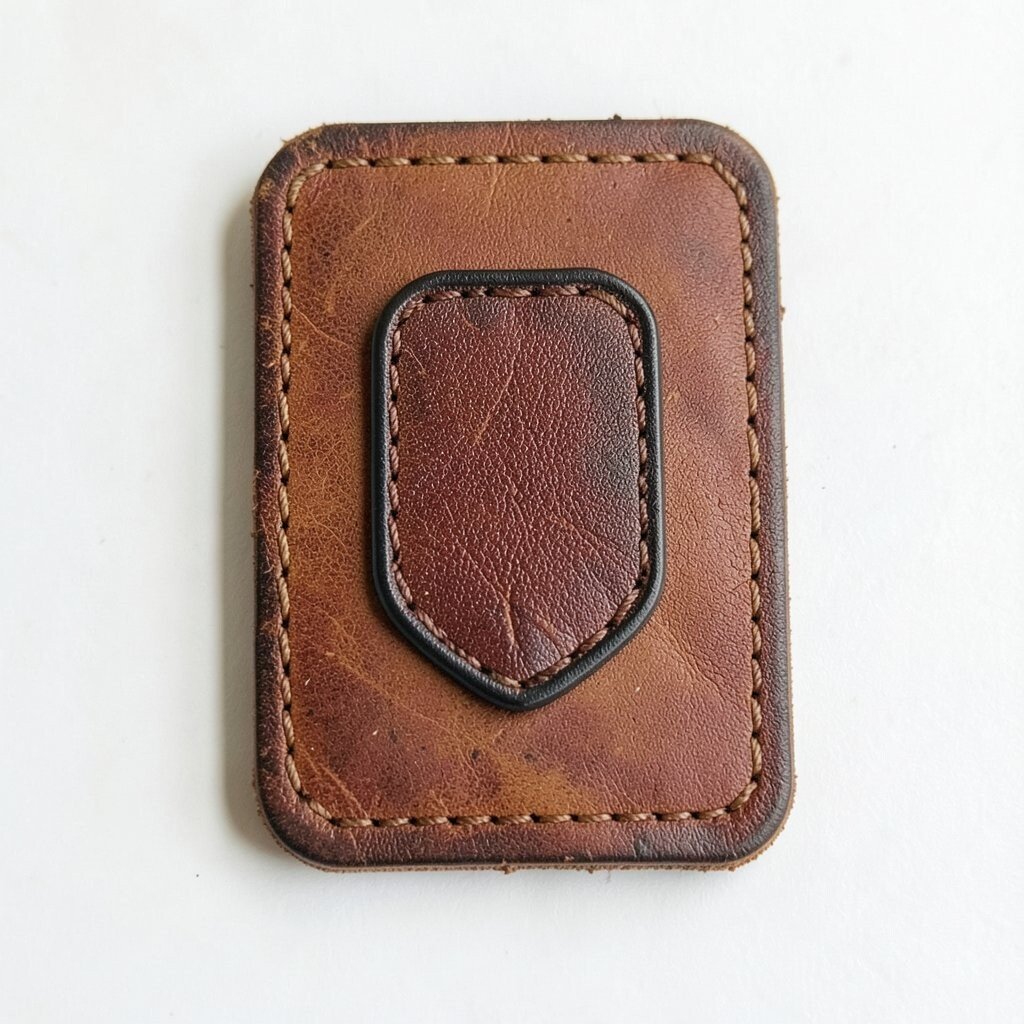
A leather tag patch mimics classic dog tags and makes your belongings easy to recognize. It’s especially handy for backpacks, laptop sleeves, or travel pouches.
Stamp a name, initials, or a short contact label, then add a small stitched border for strength. This gives you personalization that still feels practical, not just decorative. Keep the stamping shallow enough that it doesn’t weaken the leather, and consider conditioning it before and after stamping for smoother impressions.
For a visual pop, use a darker thread and match it to your hardware. Many people are leaning toward utilitarian style lately, and this one fits right in. If you’re making it for someone else, choose a font that’s easy to read from a distance.
4. Minimal Heart With Hidden Message
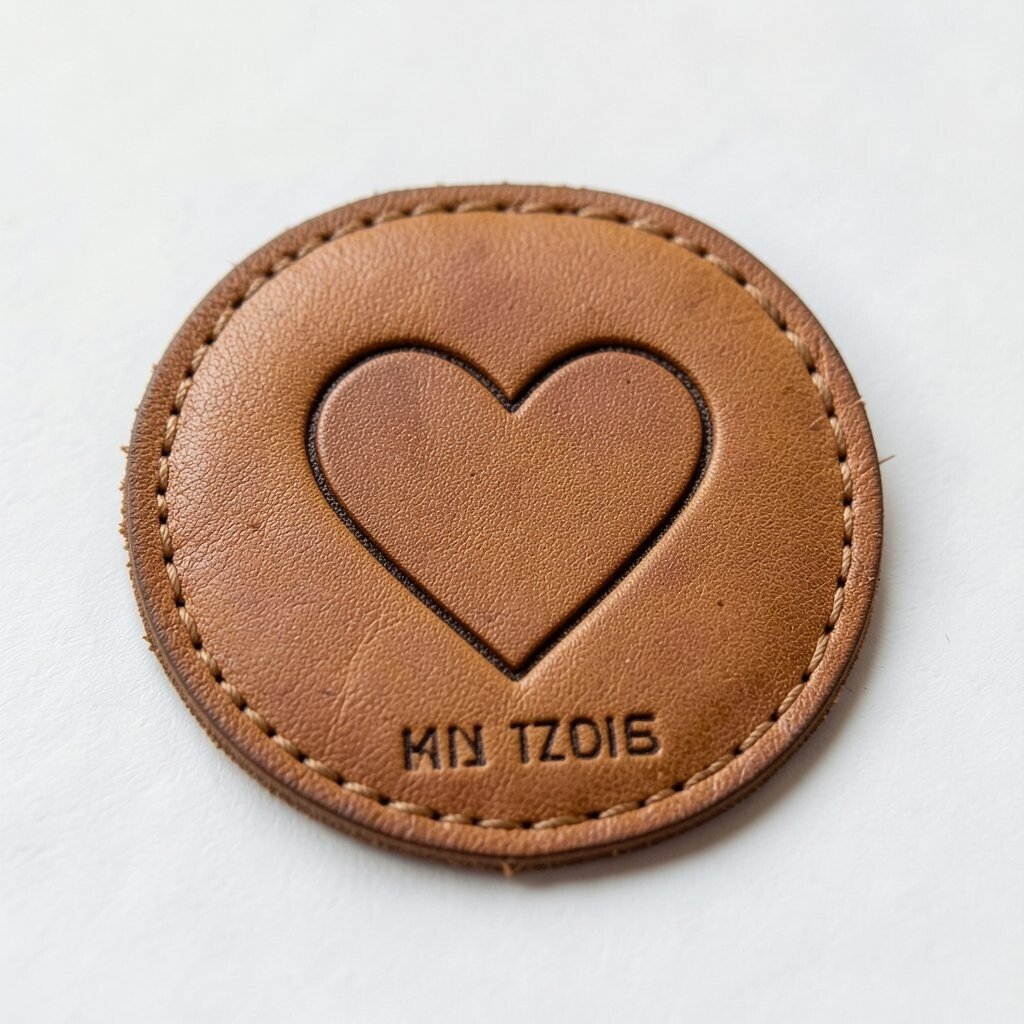
Go for a tiny heart patch that looks sweet but carries meaning. You can hide a short word, date, or nickname on the inside edge or along the border.
Use a single color thread for a tidy look, and keep the heart small so it doesn’t overpower the item. This kind of patch feels unique because it’s private, and it also gives you a simple way to personalize gifts. For durability, stitch around the heart twice, then condition the leather so it stays soft instead of stiff.
5. Workshop Tools Crossed Lines
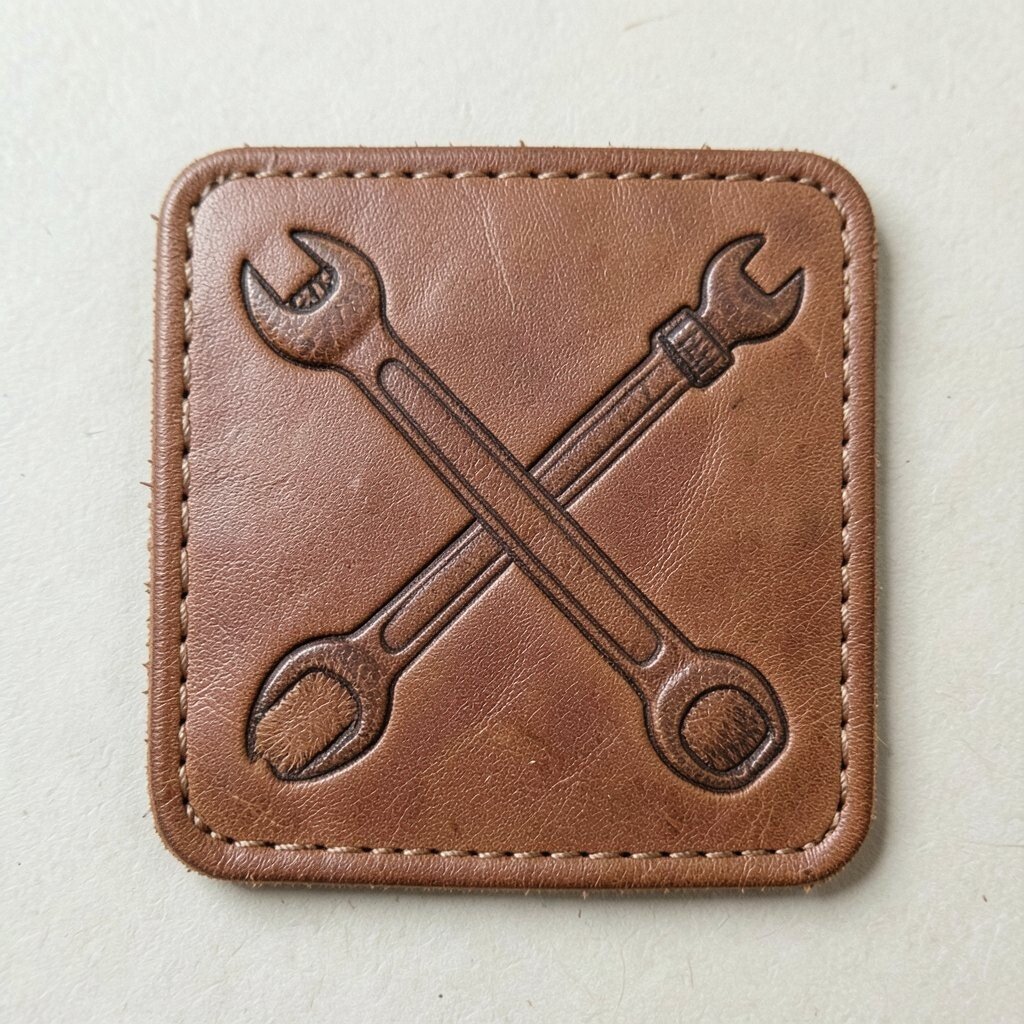
Leather patches shaped like crossed tools bring a maker vibe to your bag or apron. Think tiny wrenches, screwdrivers, or even a simple silhouette that suggests tools without crowding the leather.
Choose a shape that fits your item’s size, then outline the tools with contrasting thread. This design feels both personal and useful because it connects to what you do every day. If you’re on a budget, reuse offcuts and cut several small patches instead of buying a whole hide for one piece.
To keep it looking current, pair the design with clean lines and avoid too many tiny details. You’ll love how it looks against canvas, denim, or workwear. Stitch it near a seam where it’s less likely to scrape against the ground.
6. Raised Number or Year Badge
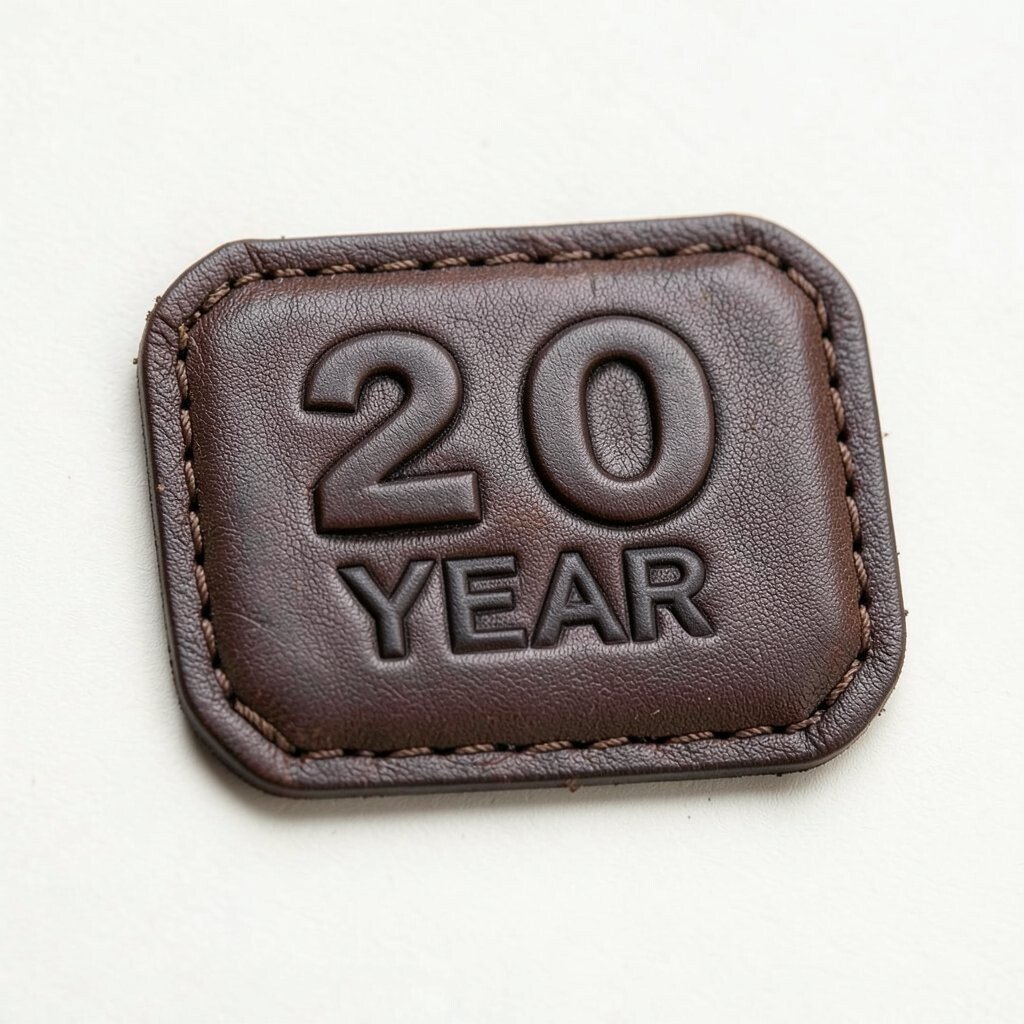
A raised leather badge with a year or number gives your gear a bold, vintage tone. It can mark a graduation year, a favorite jersey number, or the year you started a hobby.
For a great visual effect, emboss the leather first, then add a top stitch around the badge. This creates uniqueness because it feels like a real label, not just decoration. If you want it practical, place the badge where you’ll always see it, like on a case lid or the front of a pouch.
7. Patchwork Leather Frame for Photos
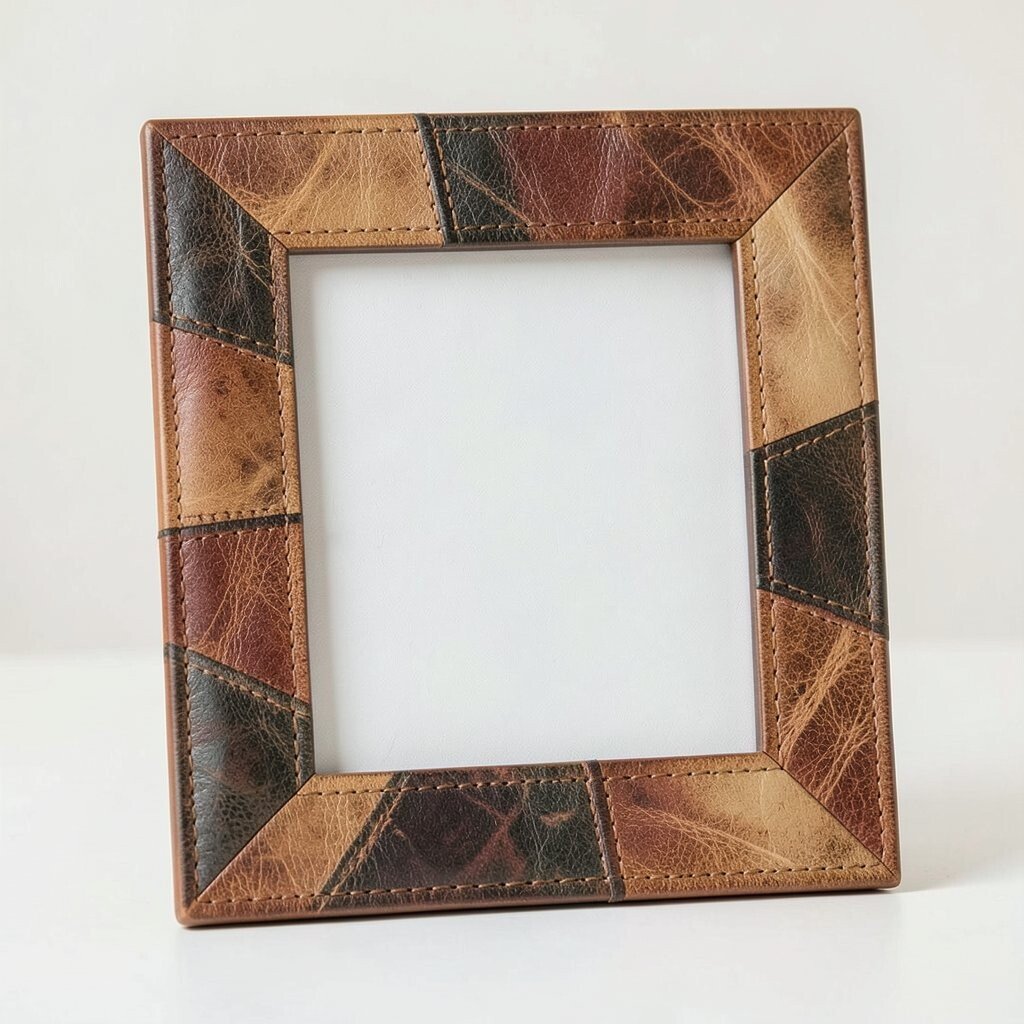
Instead of adding a full photograph, make a leather frame patch that holds a small card. It can show a team logo, a mini art print, or a message that changes with seasons.
Use a leather rectangle with stitched corners and a pocket opening on one side. This keeps the look clean and gives you personalization you can update over time. If you’re cost-minded, buy thin leather scraps and back them with sturdy fabric so you don’t need heavy hide.
Right now, people love “swap-friendly” accessories, and this fits that trend. A practical tip is to use a clear sleeve inside so the card doesn’t get ruined by sweat or rain. Choose thread colors that match your item’s existing stitching for an easy, polished result.
8. Geometric Sleeve Panel
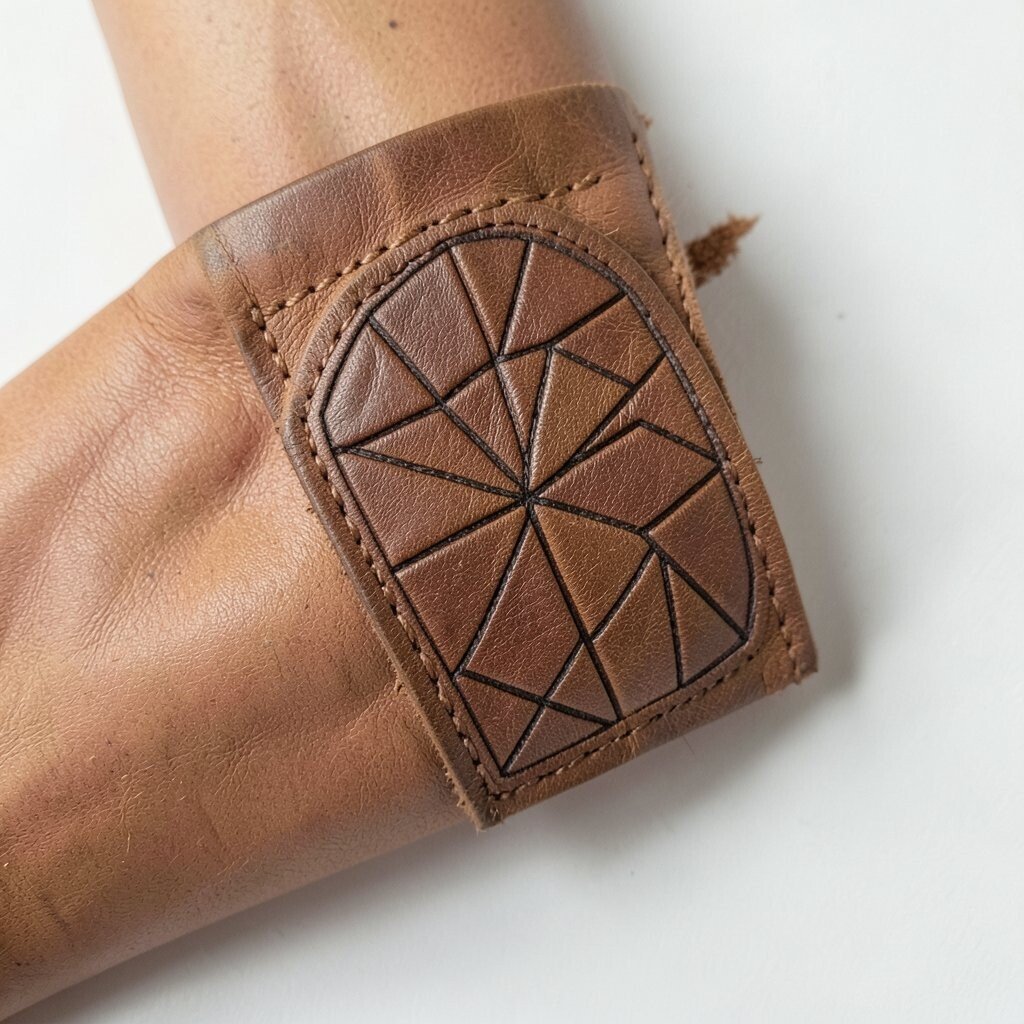
A geometric leather panel patch brings modern style to jackets, sleeves, or even a tool belt. Use simple triangles, zigzags, or angled stripes that look sharp and intentional.
Pick two leather tones, like tan and dark brown, for visual depth. This gives your item a unique layout while also helping hide small scuffs or wear marks. For practicality, apply the patch on a spot that already gets handled, like near a wrist or strap edge, so the worn areas get a strong, protective layer.
9. Pet Paw Print With Thread Texture
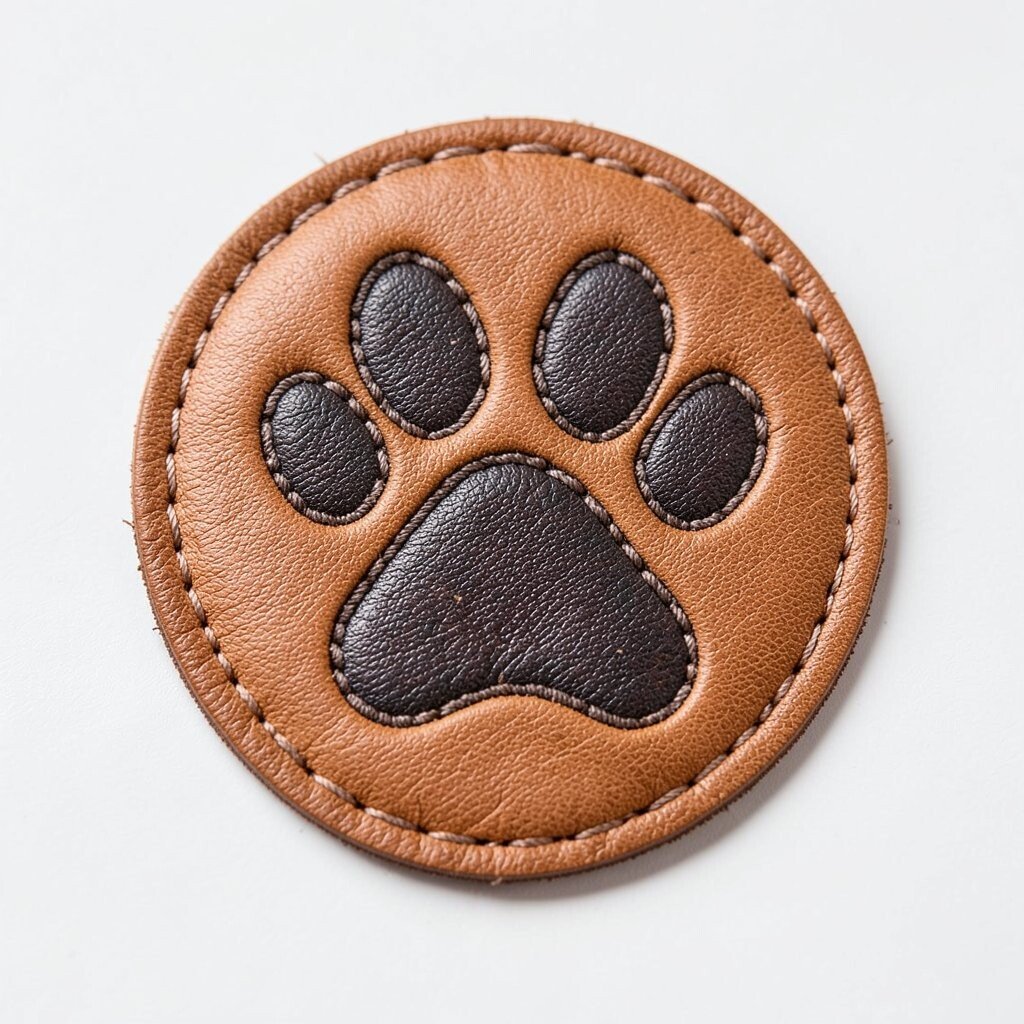
Show your love with a paw print patch that feels soft, even though it’s leather. Add a loop of extra thread around the paw pads to create a raised texture.
This kind of patch is instantly recognizable, and it makes your stuff feel warmer and more personal. It’s also a great gift because it carries emotion without needing big words. For durability, seal the edges well and use tight stitches so the paw shape stays sharp after lots of use.
To keep it trend-friendly, use a simple outline instead of adding lots of tiny fur details. Place it on a dog leash handle area, a treat pouch, or a backpack strap where the paw shape will be seen often. If you want a cost win, cut the paw from a small scrap and keep the patch compact.
10. Library Stamp Style Emblem
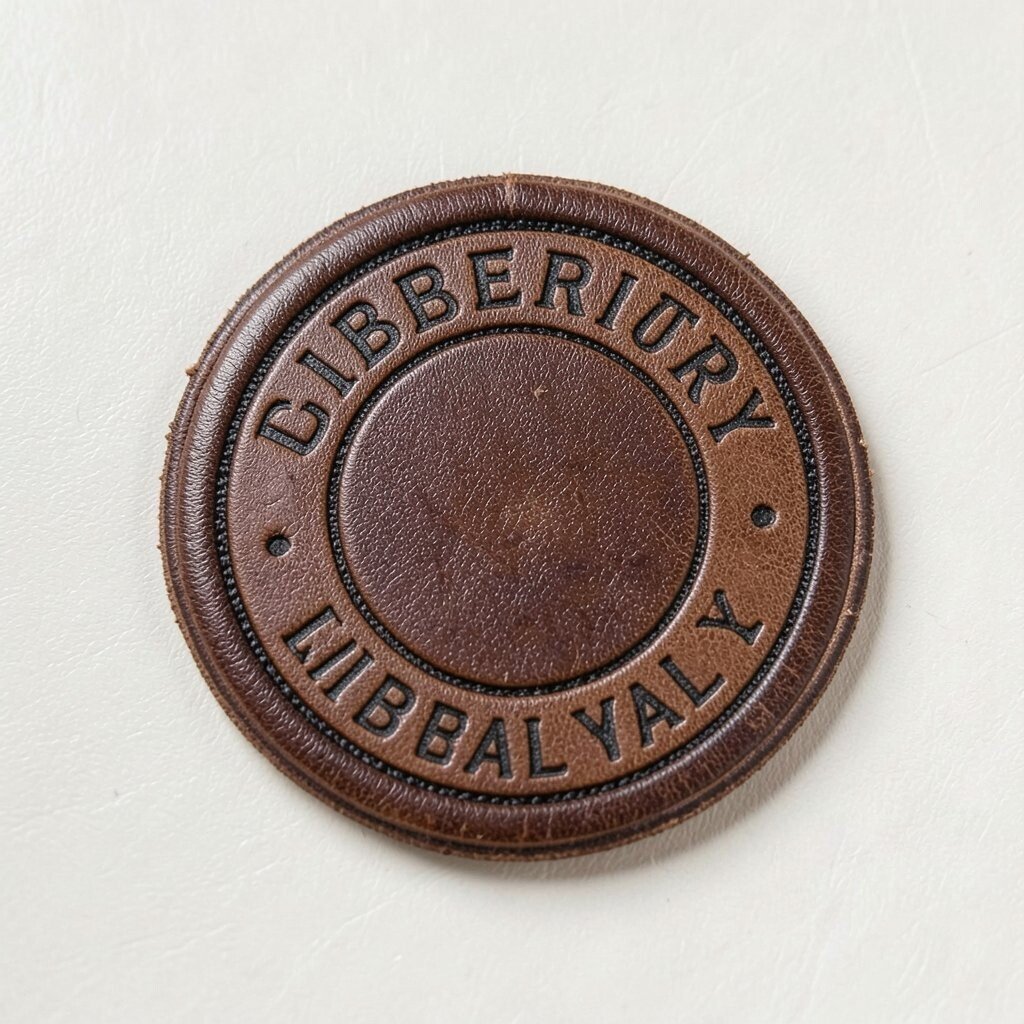
A leather stamp style patch gives a librarian-meets-collector vibe. Think of a badge shaped like a library stamp with a small emblem and a year.
Use a slightly roughened leather surface and then stitch a neat border so it looks like it was made to last. This design feels unique because it turns your items into tiny stories. For practical tips, keep the stamped area small so you don’t weaken the leather, and condition it so the surface stays smooth enough to touch.
11. Bicycle Chain Link Border
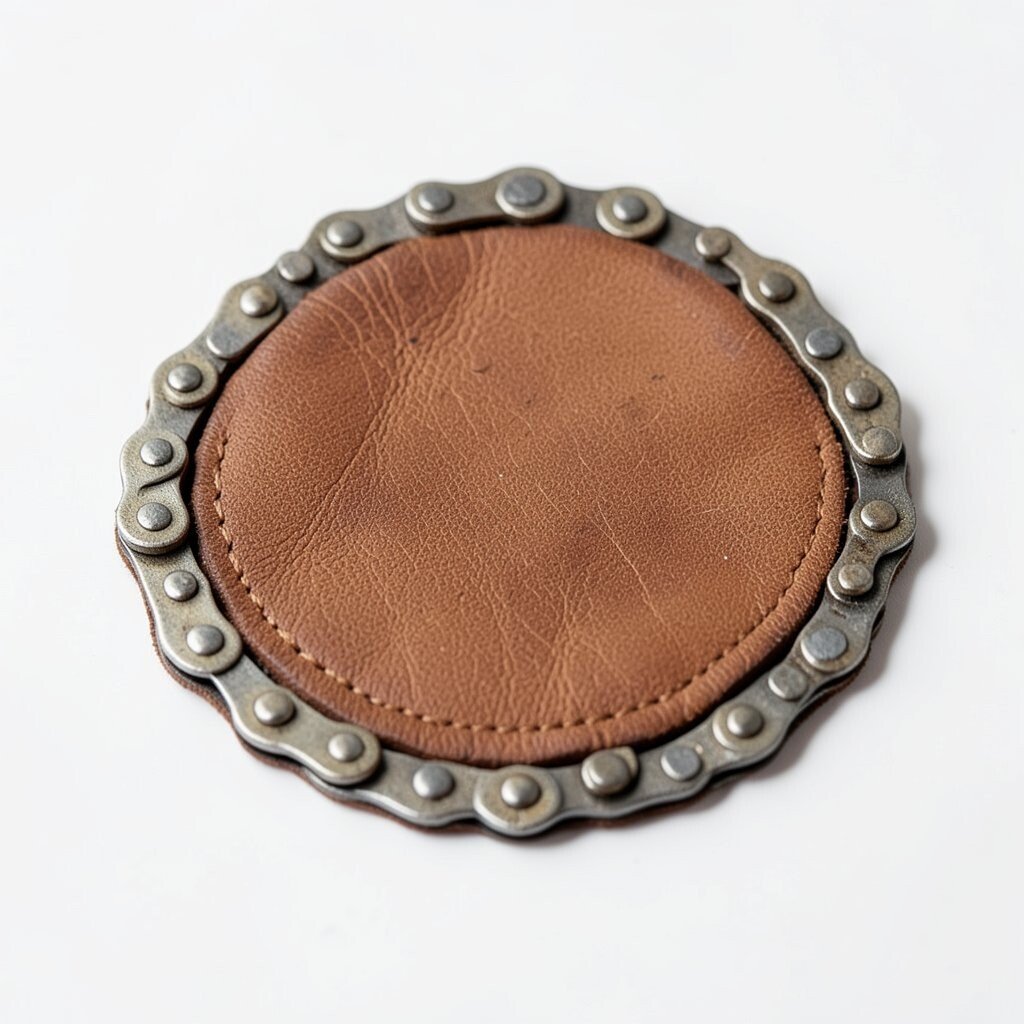
If you ride a bike, a chain link leather border is a fun way to personalize your helmet bag or pannier. Create a strip that looks like connected rings and stitch it around the edge.
This gives a visual rhythm and helps protect the item’s most scuffed areas. It’s unique because it borrows from a real object you love, and it fits today’s trend toward sporty, mechanical details. For cost considerations, cut narrow strips from leftover leather and only make a few links if the border needs to be shorter.
When you stitch, keep the links aligned so the border doesn’t twist when the patch bends. A practical tip is to add the patch on a flat panel section, not on a stretch curve. That helps it look crisp and keeps the seam from taking extra strain.
12. Firefly Dot Pattern Patch
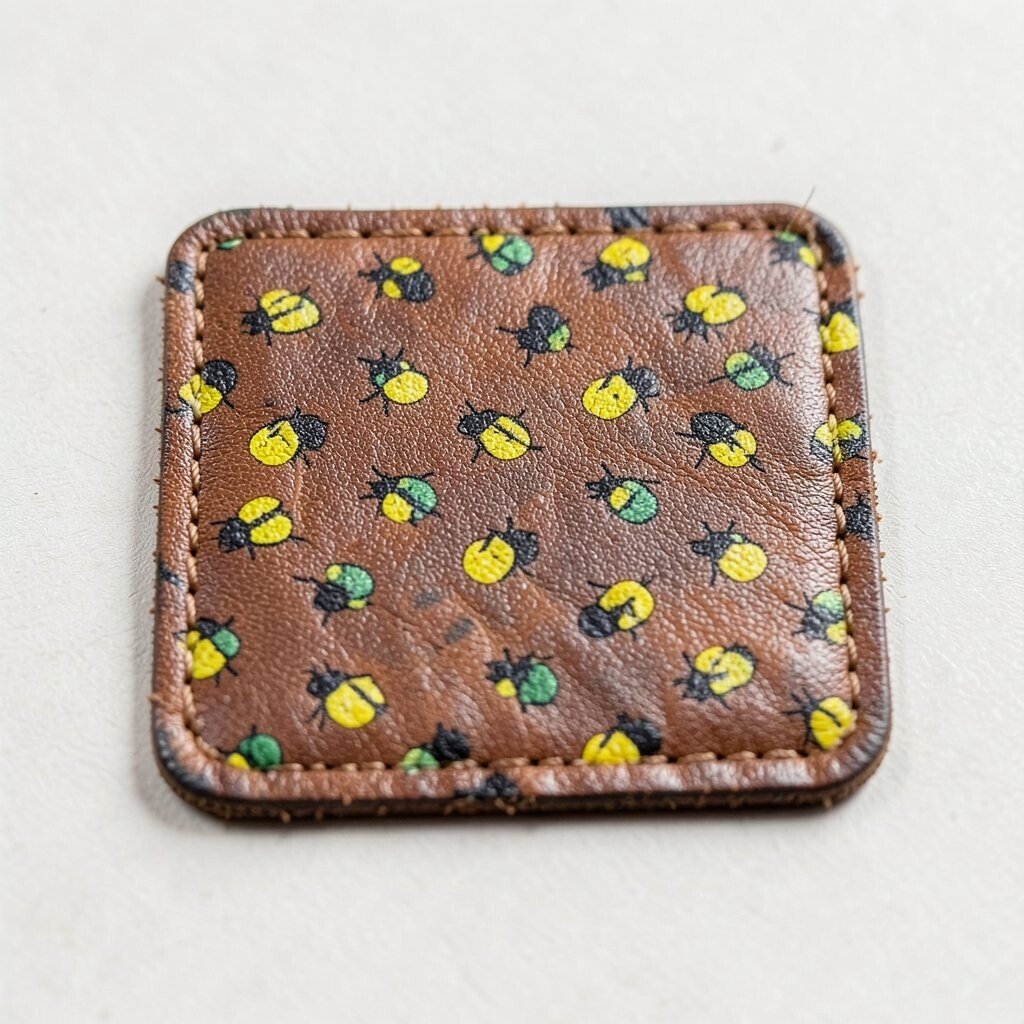
A firefly-inspired dot pattern patch looks playful while still feeling classy. Use small circular holes or burned-in dots that form a glowing trail across the leather.
This style is unique because the dots can be arranged like a constellation or a path you walked at night. It’s practical too, since it hides light scratches and gives the leather extra texture. For personalization, use dots to map a route, then stitch the edges with thread that matches your gear.
To keep it feeling current, choose fewer dots and stronger spacing rather than a busy pattern. A useful tip is to keep the patch small so it doesn’t catch on things as you move. If you’re working with thin leather, back it with cloth so the punched holes don’t tear over time.
13. Sketched Mountain Range Badge
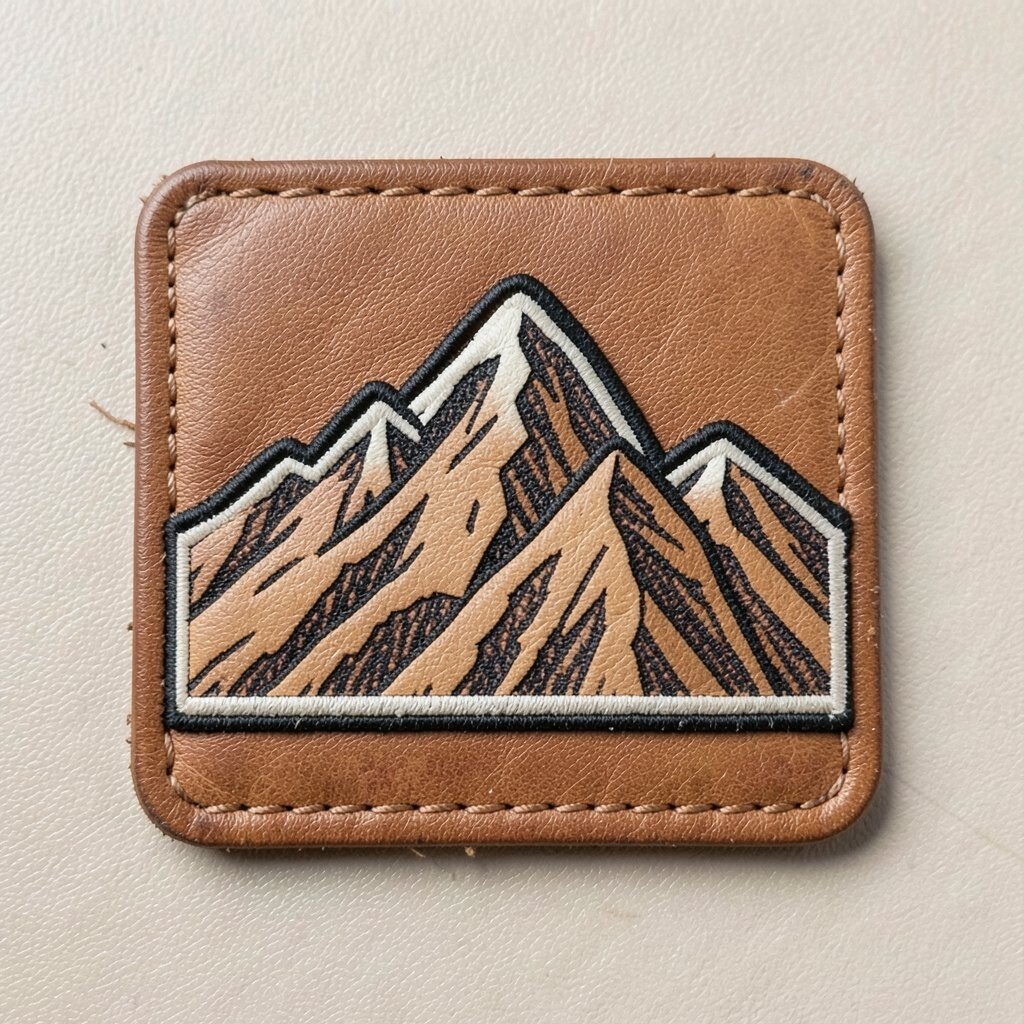
A mountain range badge turns a jacket or bag into a quiet travel poster. Use a simple line drawing style so it looks like it was sketched, not printed.
Leather gives the drawing warmth, and the raised stitch lines can add depth without extra materials. This helps the patch feel unique because every person’s route can be different. For a practical tip, place the badge where it won’t get bent too often, like a flat front panel on a backpack.
If you want a modern look, keep the range minimal and use one accent color thread. Cost considerations stay friendly if you use stencils and cut just one solid silhouette. You’ll get a strong result without needing lots of tiny pieces.
14. Winged Key Patch for Memories
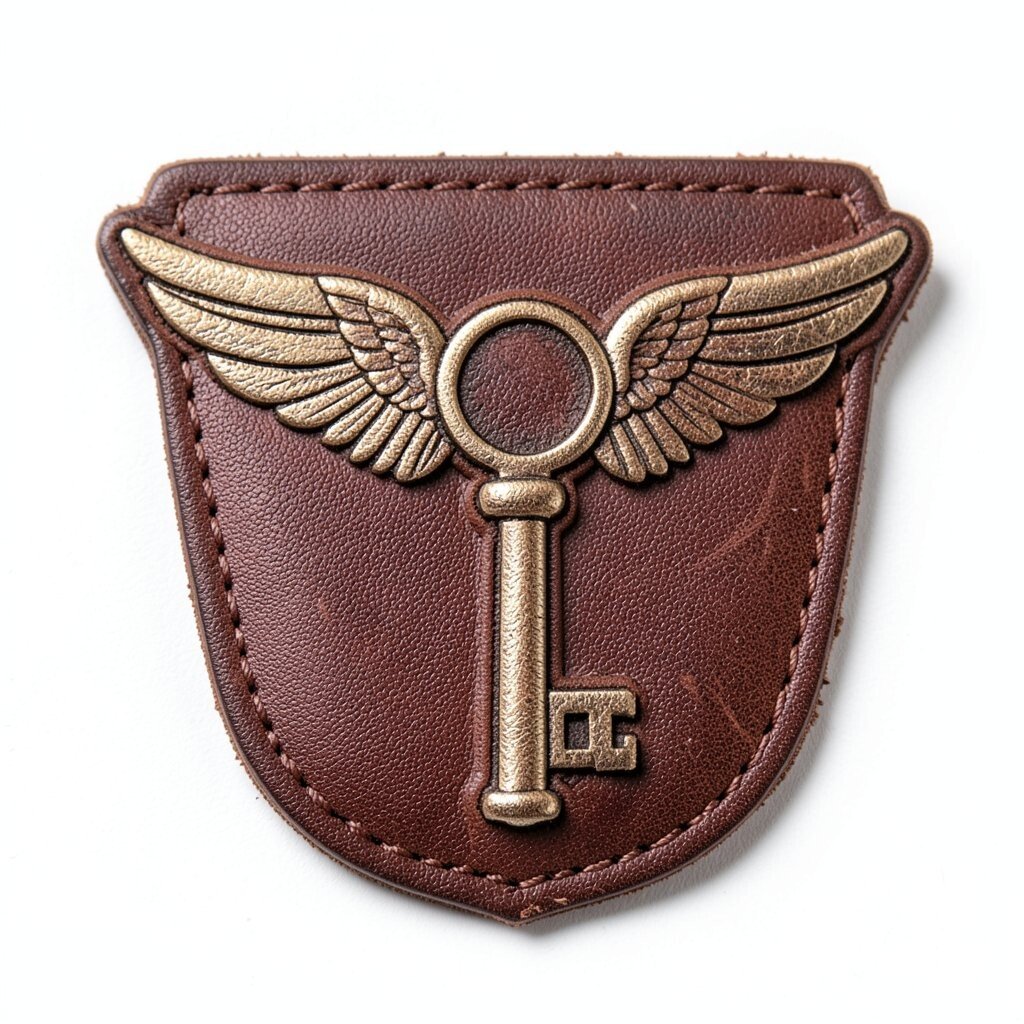
Create a patch shaped like a key with small wings, like a magical charm for your everyday carry. It fits wallets, passport holders, and belt pouches really well.
This kind of design is naturally personalized, because you can stamp a date or place name on the key head. It looks unique and meaningful without needing a lot of text. For durability, reinforce the key area since sharp points can get stressed during use.
15. Leather Nameplate With Small Crown
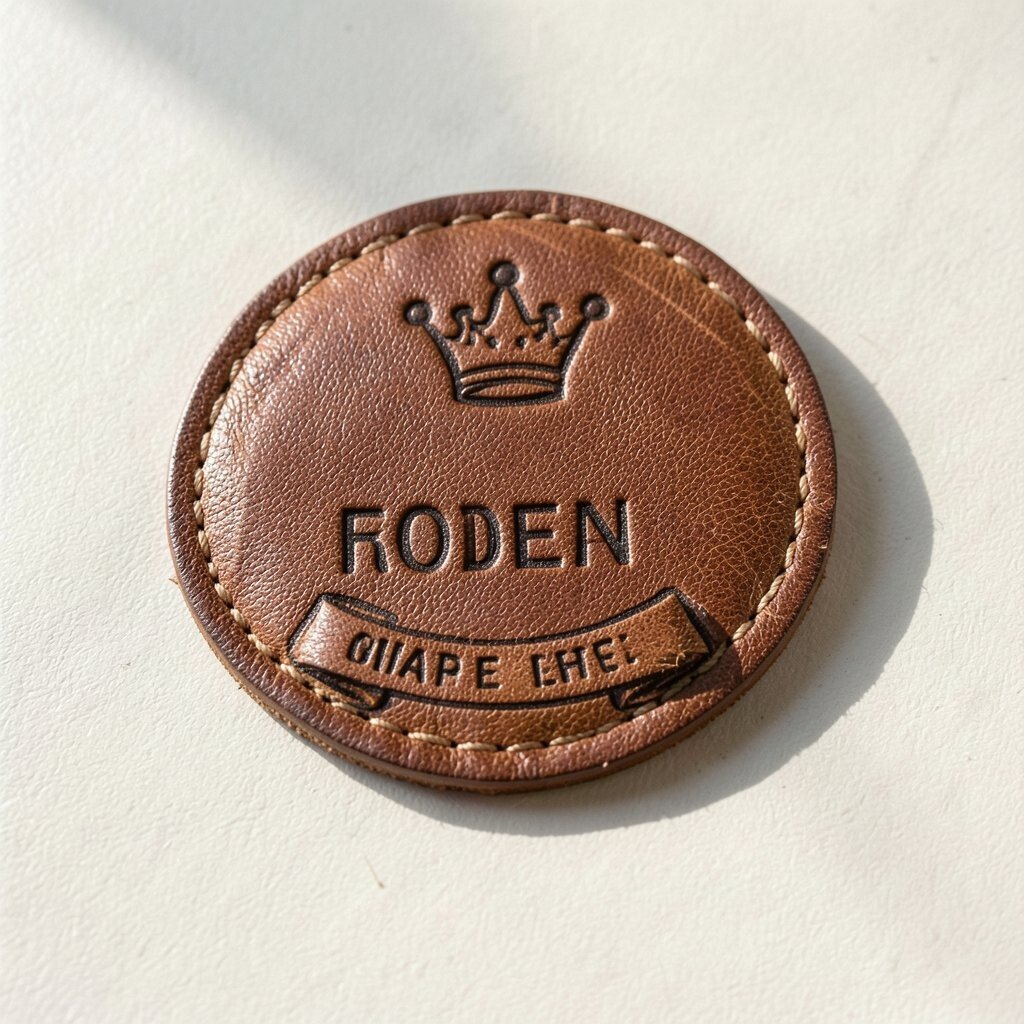
A classic nameplate patch with a tiny crown makes gear feel official and fun. It’s a strong choice if you want personalization that’s obvious but not loud.
Use clean lettering and a simple crown icon, then stitch a border for a finished edge. This style is unique because it feels like a premium product label, even if you made it at home. For practical tips, measure the space on your item before cutting so it fits without covering important seams or zippers.
If you want a cost-smart approach, use one leather scrap size and stamp multiple patches for future gifts. Current trends favor tidy, brand-like details, and nameplates fit right in. Choose thread color that contrasts slightly so the letters stay readable.
16. Rolling Scroll Label for Journal Owners
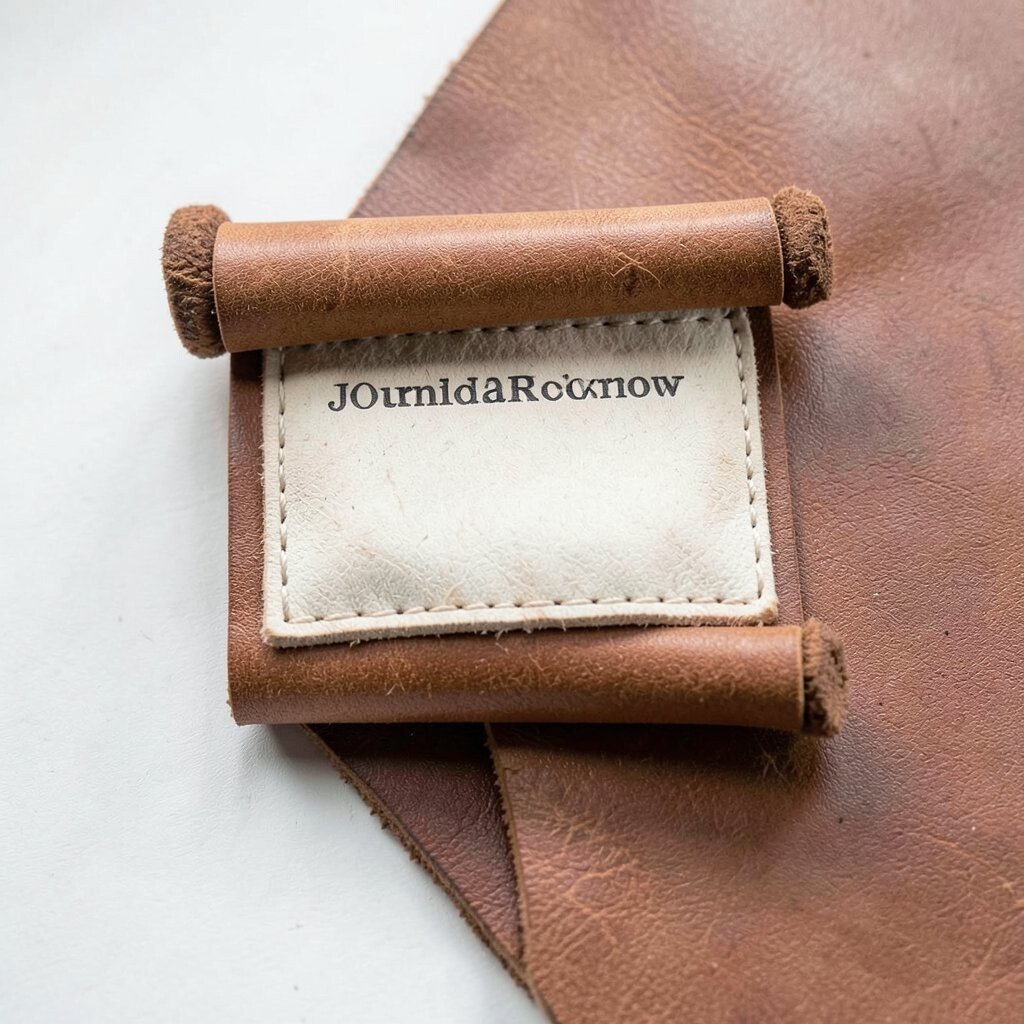
A rolling scroll patch is perfect for notebooks, planners, and journal covers. It can wrap around a corner or sit centered like a seal.
Use an old-school style outline and stitch the scroll lines so they stand out against the leather. This adds uniqueness because you can personalize it with a word that motivates you, like a short mantra. For practical durability, stitch through a thicker area or add a small backing fabric so it doesn’t wear thin quickly.
17. Subtle Leather Border With Contrast Stitching
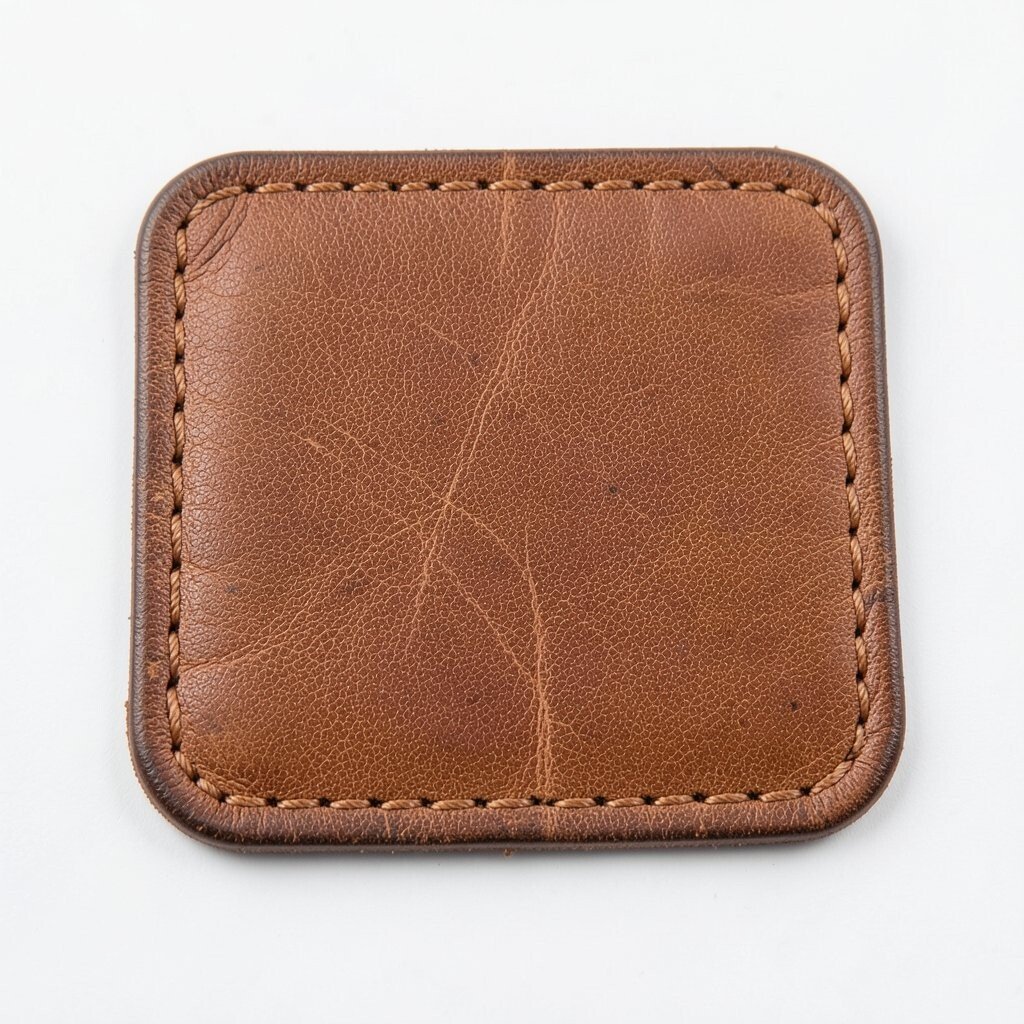
Sometimes the best patch idea is a border patch that frames your existing item. Add a thin leather strip with contrast stitching around a pocket, handle, or the edge of a sleeve.
This technique gives visual structure and makes even plain gear feel intentional. It’s unique because the border can match your item’s shape, and it’s also practical since the leather strip adds extra protection to worn edges. For cost considerations, you can use very small offcuts and still get a big payoff because the border requires minimal material.
If you want to keep it trendy, choose modern contrast thread colors and keep the leather strip narrow. A practical tip is to use evenly spaced stitches so the border looks calm and tidy. Finish by conditioning the leather so it blends smoothly with the rest of your items.